DIY Trunk Dresser Redo
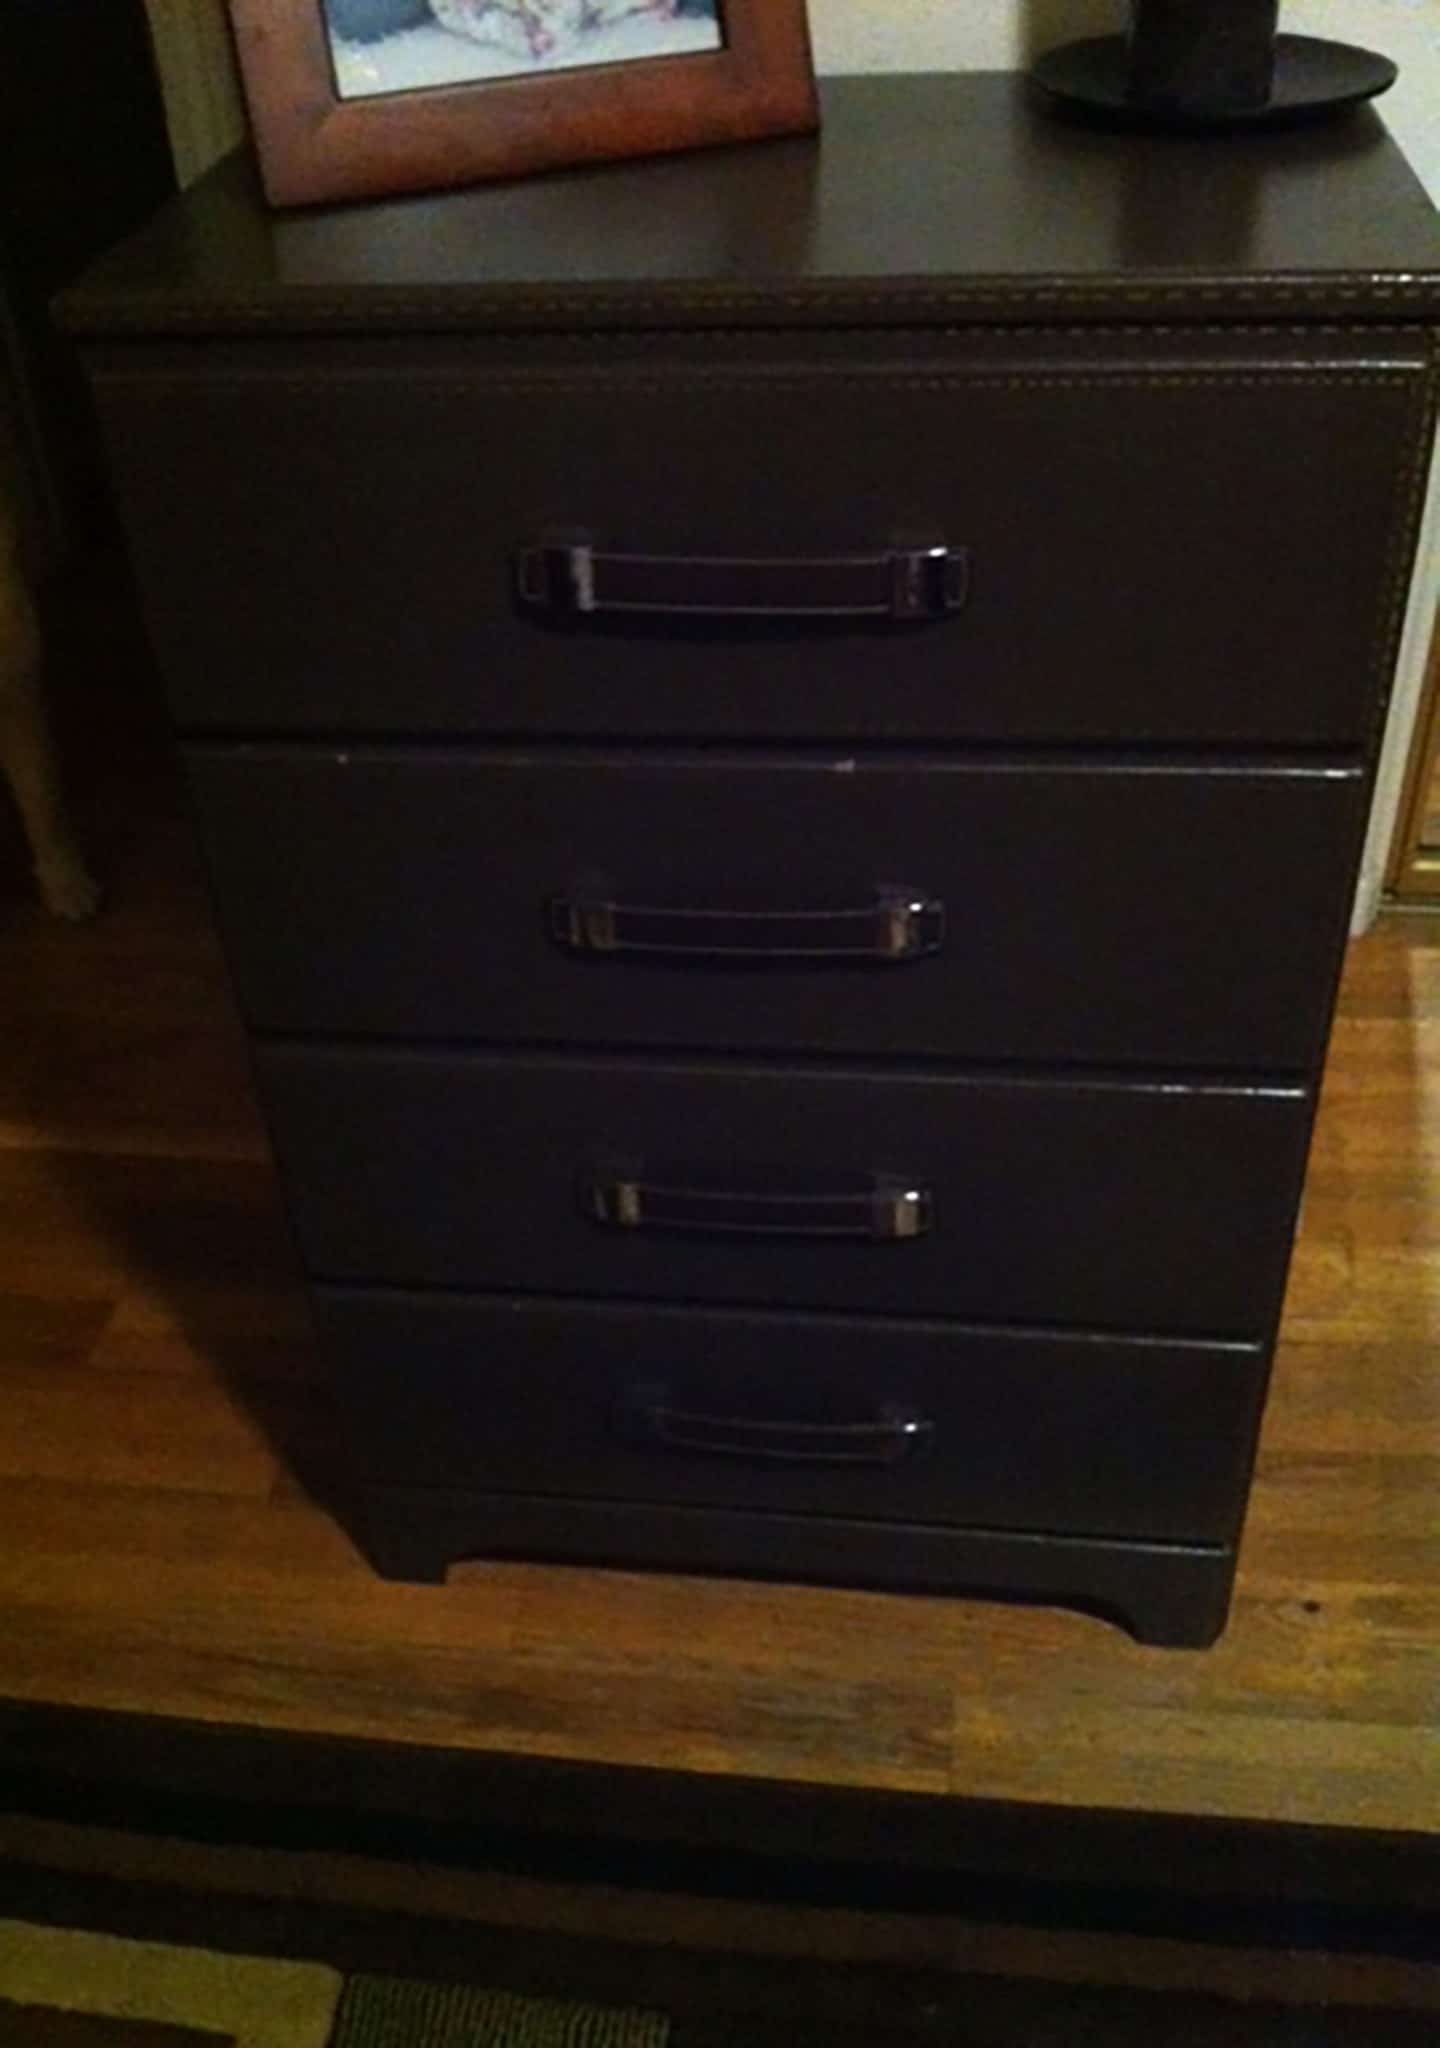
The DIY Trunk Dresser Redo is a terrific upcycling project where I used an old box-store chest of drawers I had in my garage and turned it into a trunk like dresser for my son's room. It was really easy to do and took only one – two days to complete.
What you Need: DIY Trunk Dresser Redo
-
- Old chest of drawers
- Drawer Handles that simulate those on a trunk (affiliate)
- Primer
- Paint that matches your chosen handles
- Flotrol — optional
- Paint brush
- Gold paint pen
- Wood Putty
- Sandpaper
- Ruler
- Electric Drill — optional
- Screw Driver
Step 1: DIY Trunk Dresser Redo
The first thing you need to do is to locate the handles. There are many sources for these trunk like handles. I located mine at one of my affiliates-Amazon Sewing and Crafts![]() . They come in a variety of colors. I chose a dark brown for my project. Once you have obtained your drawer pulls you will want to take them to your local hardware store so that you can get a quart of matching paint. I had my handle scanned into the machine and the paint department matched my handle perfectly. Most, if not all, paint and hardware stores offer this service free of charge. While at the paint or hardware store you should purchase some of the other items you will need if you don't have them on hand such as the primer, flotrol, wood putty, sandpaper, and paint brushes. Head on over to your local craft store, mine is my affiliate Joann Fabric and Crafts and purchase a gold paint pen. Once you have these products you are ready to go.
. They come in a variety of colors. I chose a dark brown for my project. Once you have obtained your drawer pulls you will want to take them to your local hardware store so that you can get a quart of matching paint. I had my handle scanned into the machine and the paint department matched my handle perfectly. Most, if not all, paint and hardware stores offer this service free of charge. While at the paint or hardware store you should purchase some of the other items you will need if you don't have them on hand such as the primer, flotrol, wood putty, sandpaper, and paint brushes. Head on over to your local craft store, mine is my affiliate Joann Fabric and Crafts and purchase a gold paint pen. Once you have these products you are ready to go.
Step 2: DIY Trunk Dresser Redo
Depending on the condition of your dresser when you start you will need to fill any holes left by previous drawer pulls, chips or cracks using the wood putty. Once the wood putty has dried, sand it smooth making sure that the entire piece is smooth to the touch. Take a damp cloth and wipe the piece down so that all of the sanding dust is cleaned from the surface of the piece. Once it is dry you can begin with the primer.
Step 3: DIY Trunk Dresser Redo
You should prime the entire piece using a high quality primer. I like Kilz oil based primer. It covers very well but is difficult to clean up because it is oil based. If you are a novice you should stick with a water based primer product. Any will do. The primer will provide a nice base coat for your final painted finish. It is tempting to skip this step but you will be better off taking a few extra minutes to complete this step.
Step 4: DIY Trunk Dresser Redo
Once the Primer has completely dried, you can begin to paint. I like to use a high quality brush for my furniture projects but many people use foam brushes because they are inexpensive and can be thrown away when the project is finished. It is entirely up to you. I always advise using a bit of Flotrol when painting furniture because it extends the drying time of the paint and allows me to keep a wet edge as I'm painting so that my final finish is smooth and error free.
Step 5: DIY Trunk Dresser Redo
Add the Flotrol to your paint if you choose to use it and mix completely. Paint your chest. Let dry. Paint a second coat. That should be all the coats you need for this project. I like to make sure that my paint has completely dried overnight before taking on the finishing steps for this project.
Step 6: DIY Trunk Dresser Redo
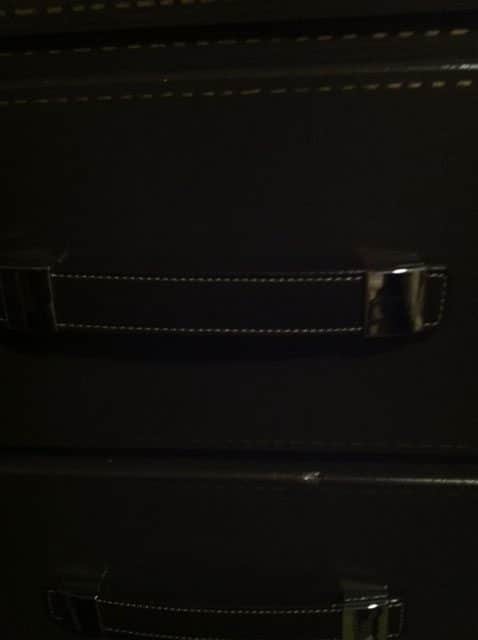
To finish this dresser, take a long ruler and your gold paint pen. Begin by measuring in 1/2 inch from the edge of the top of the dresser and mark 1/4 inch dashes along your ruler to mimic the stitch line of a trunk all the way around the top and all of the other edges of the trunk and each drawer. After the gold paint dries, attach the handles using a screw driver. I pre-drilled the holes using an electric drill after measuring them in accordance with the template included with the drawer handles. Once the handles are on the trunk dresser is ready to be filled with your son's or daughter's messy clothes.