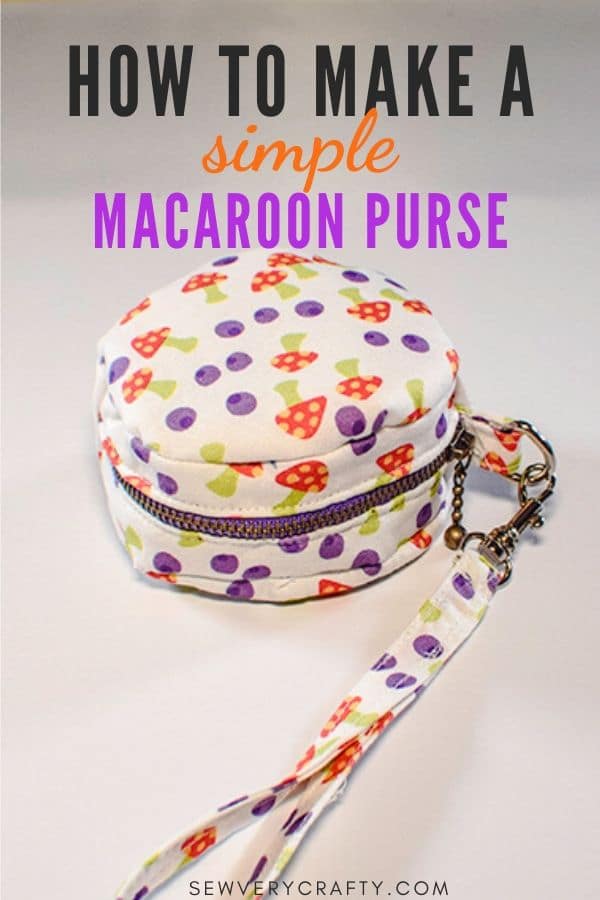
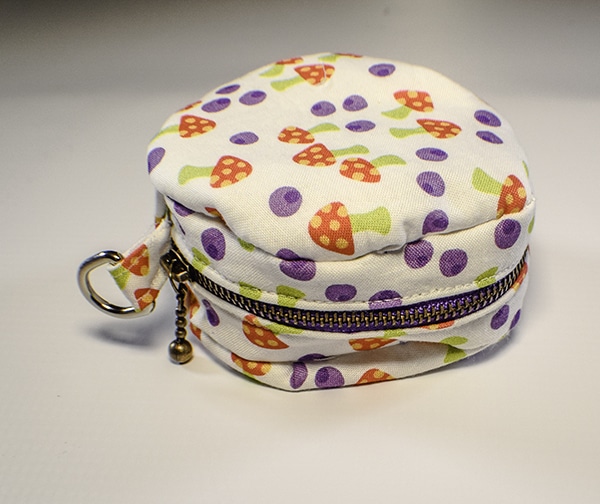
How to Make a Macaroon Purse

I love these macaroon purses. They are so cute. I wanted to create a fun macaroon purse pattern so I set to it today and came up with this one. This is a fun little project to make and absolutely adorable. There was some trial and error with this one but I think I got it right. You could always change the size if you want but I didn't want it too big or too small so this seemed about right to me. I decided to line this little macaroon purse because I hate having raw edges in my bags. I used a drop in lining because of the shape of the bag so there is some hand stitching involved in this pattern but not too much.
Some fun fabric that I purchased from Fabric Frenzy for the outer macaroon purse and a coordinating purple that I got from JOANN Fabric & Craft Stores![]() as the lining made this macaroon purse a step ahead. Of course you could head to Hobby Lobby or Fabric.com to get exactly what you want for your macaroon purse. I also used an 8″ zipper I purchased from my Amazon shop and some Pellon fusible fleece that I also purchased at JOANN Fabric & Craft Stores
as the lining made this macaroon purse a step ahead. Of course you could head to Hobby Lobby or Fabric.com to get exactly what you want for your macaroon purse. I also used an 8″ zipper I purchased from my Amazon shop and some Pellon fusible fleece that I also purchased at JOANN Fabric & Craft Stores![]() . This post contains affiliate links that if click on them and make a purchase I will receive a small commission at no extra cost to you. As an Amazon Associate I earn from qualifying purchases.
. This post contains affiliate links that if click on them and make a purchase I will receive a small commission at no extra cost to you. As an Amazon Associate I earn from qualifying purchases.
What you will Need: How to Make a Macaroon Purse
- Pattern you can get by clicking this link
- 1 fat quarter of outer and lining fabric
- 1/8 yard Fusible Fleece or other interfacing
- 1 8″ zipper
- Standard Sewing supplies
- 1 1/2″D Ring (optional)
- 1 1/2″swivel clip (optional)
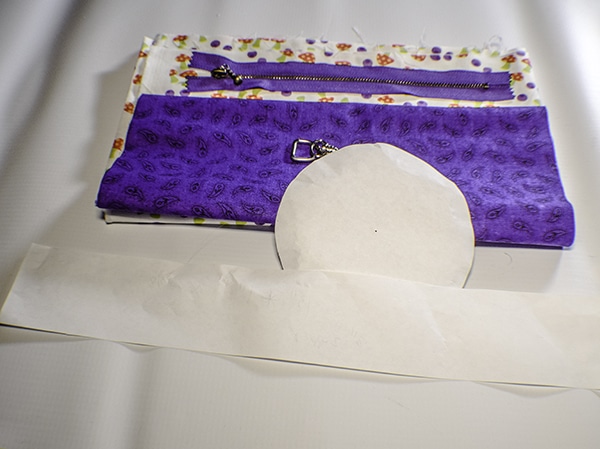
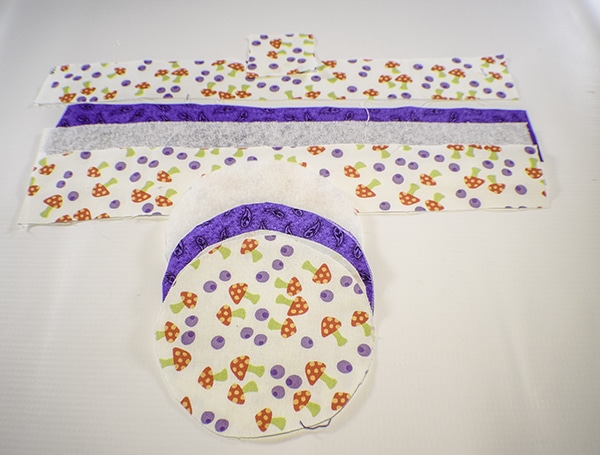
Step 1: Cut your Fabrics and Fleece
Using the pattern cut two outer, lining and interfacing pieces. Cut a strip of outer, lining and interfacing that measures 14″ x 2 3/8″. If adding a strap, cut a tab piece that measures 2″ x 2″ and a strap piece that measures 2″ x 14″.
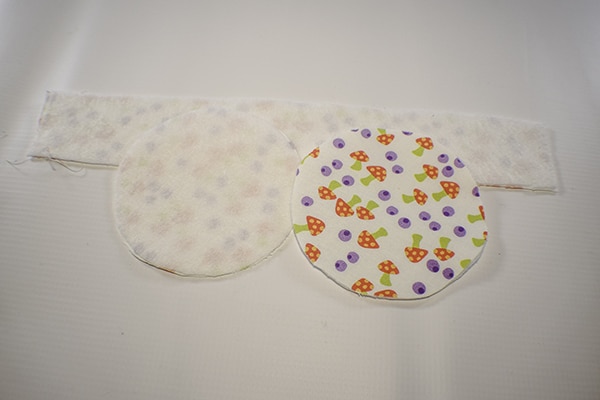
Step 2: Fuse the interfacing
Fuse the interfacing to the outer fabric pieces using a hot iron and following the manufacturers instructions. I used fleece for my purse but if yu would like a stiffer version of this project you could use Pellon 808.
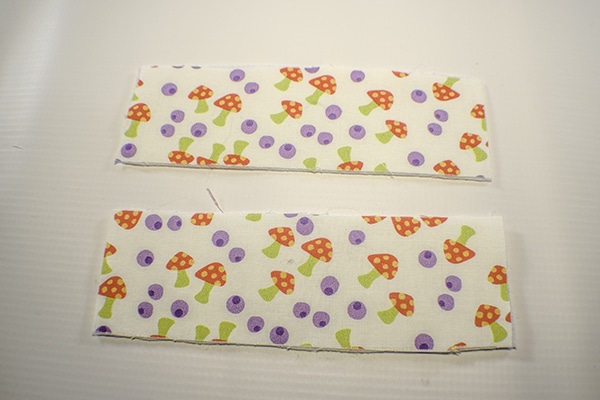
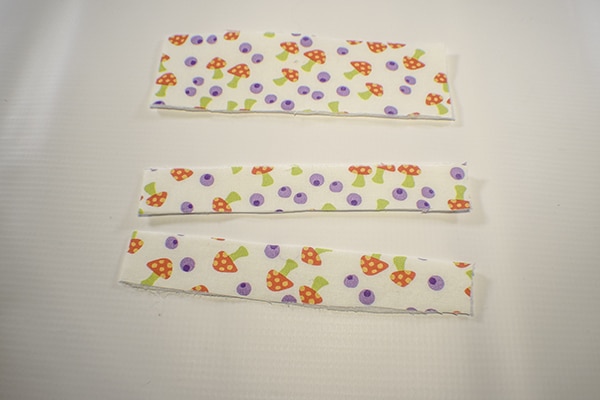
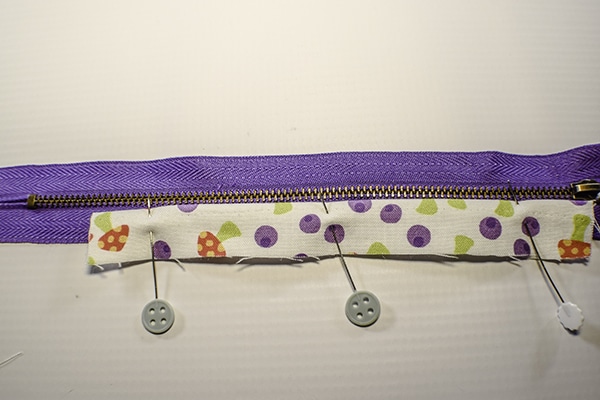
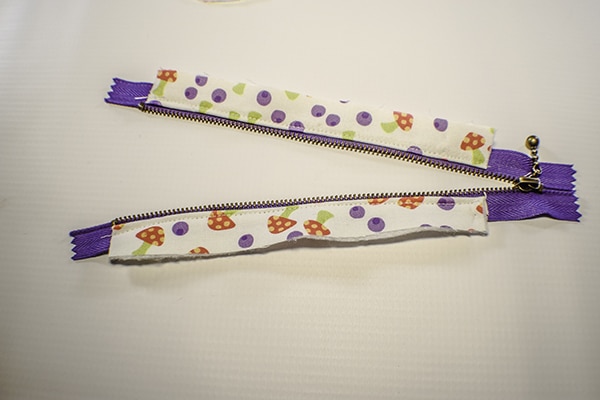
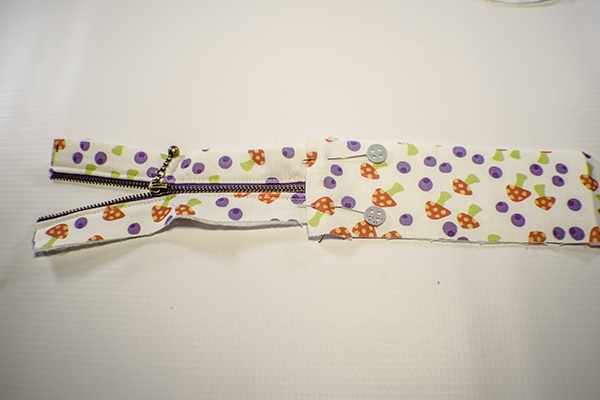
Step 3: Create the zipper placket
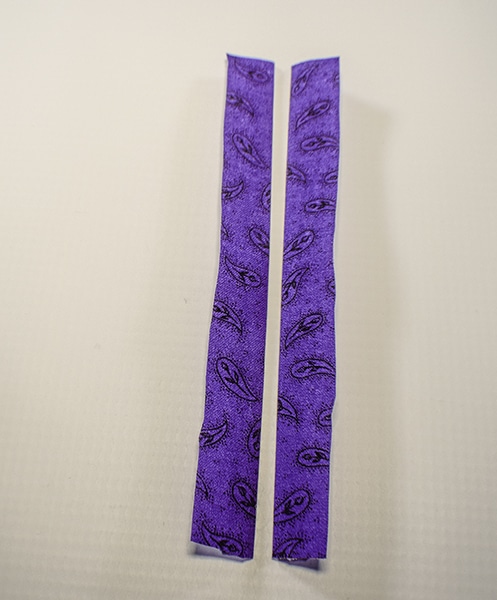
Take the 14″ x 2 3/8″ strip and cut it in half widthwise. Next, cut one of the two pieces in half lengthwise. These are the zipper placket. Fold the one long edge of the two cut pieces over by 1/4″ and press. Place on each side of the zipper and stitch close to the teeth using a zipper foot. Trim off the short fabric ends by 1/4″ on each end along with any excess zipper. Make sure your zipper pull is in the middle of the zipper. I used an 8″ zipper and shortened it in this process because it was easier to work with.
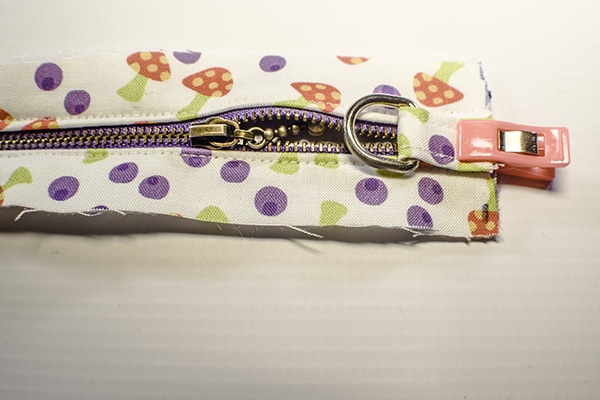
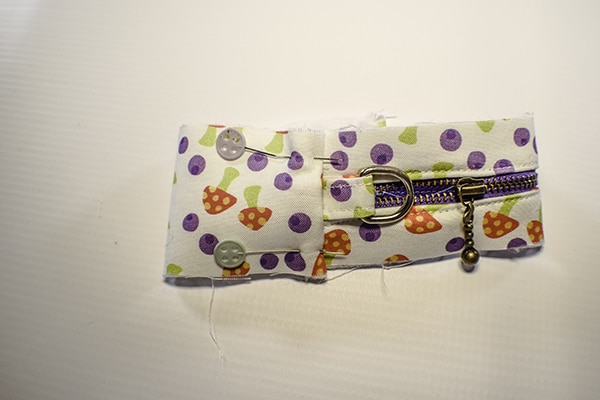
Step 4: Add the D-Ring and Tab (Optional)
If you are adding a strap now is the time to add the D-Ring and tab. Create the tab by folding the raw edges to the center and then folding the tab in half to conceal the raw edges. Press. Top stitch along both sides. Wrap the tab around the D-ring. Place the raw edges against one end of the raw edges of the zipper so that the D-ring is facing the zipper teeth. Stitch the tab in place.

Create the strap in the same way you created the tab except when you top stitch start 1″ down from the top and finish 1″ down from the bottom so that the top and bottom are not stitched. Add the swivel clip to the strap. Place the unsewn raw edges right sides together and stitch across the short end using a 1/4″ seam allowance. Close up the strap so that the raw edges are enclosed. Finish top stitching the strap. Top stitch along the swivel clip bar to keep it in place.

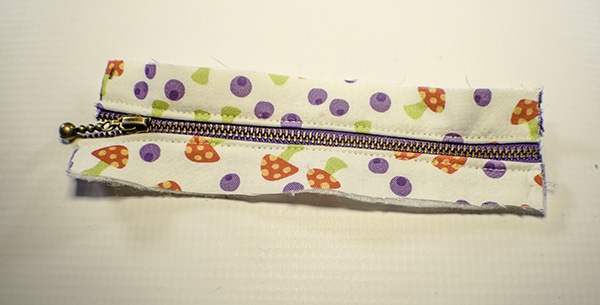
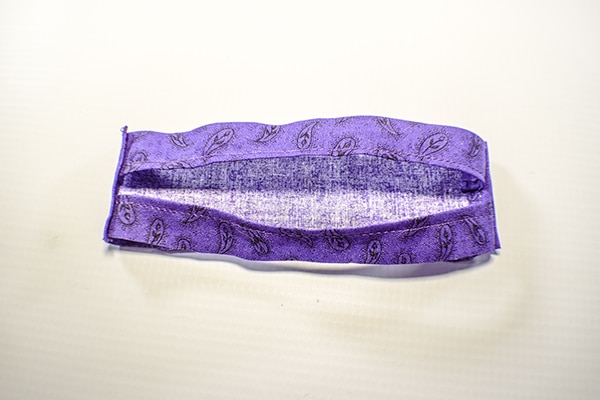
Step 5: Add the remaining part of the zipper placket
Take the other half of the placket and fold in the short edges by 1/4″ and press. Place the non zipper placket on top of the zipper placket and stitch the short ends together. One side may be wider than the other. Trim off the excess to make both sides even. Clip off any excess zipper. Repeat for the other end.
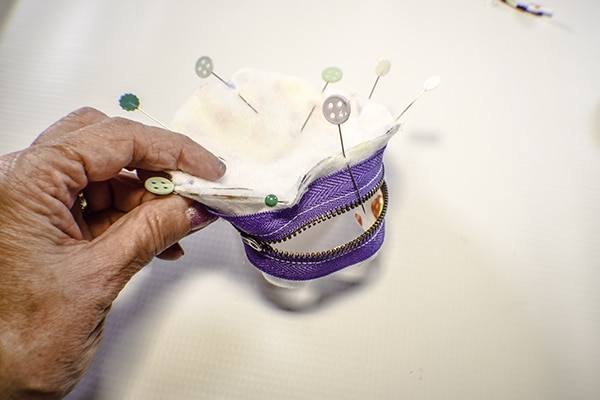
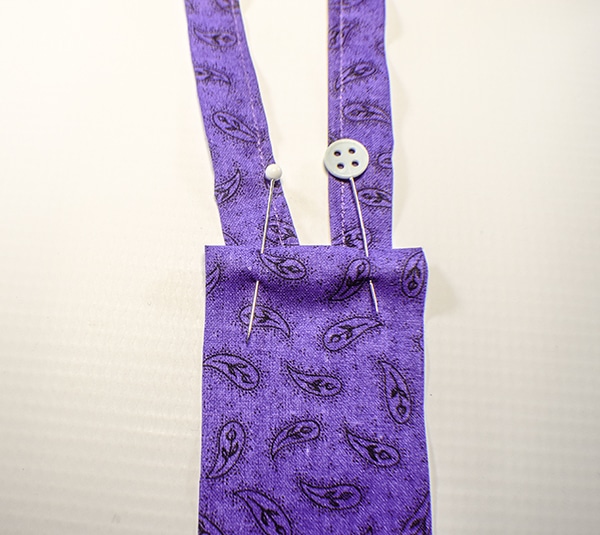
Step 6: attach the placket to the CIrcles of your macaroon purse
Find the center points of the circles by folding them in half and marking the center point. Fold in half the other way and mark again. I like to use Frixion heat erasable pens for this because this disappear instantly when pressed with an iron. Find the center points of the zipper placket in the same way you did the circles by folding in half and marking twice. Clip or pin the placket to the first outer circle right sides together matching the center point markings. Stitch the placket to the circle using a 1/4″ seam allowance. Make sure the zipper is open. Repeat for the other circle. Turn the macaroon purse right sides out.
Step 7: Create the lining of your macaroon purse
You will create the lining exactly the same way that you did the outer bag except you will not include the zipper or D-ring tab. To create space for the zipper, fold the zipper placket sides over by 1/4″ and press and top stitch. Stitch the remaining lining in the same way you did the outer bag. You will now have an outer bag with a zipper and a lining bag without a zipper.
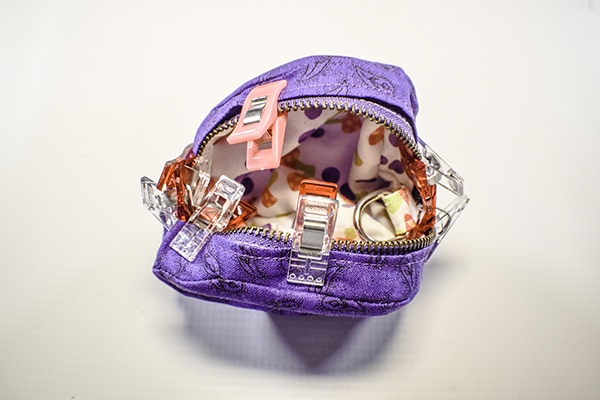
Step 8: Add the lining to the outer bag
Drop the lining into the outer bag wrong sides together. Clip the lining to the outer bag at the zipper. Turn the bag so that the lining is facing out. Stitch the lining to the zipper using invisible stitch.
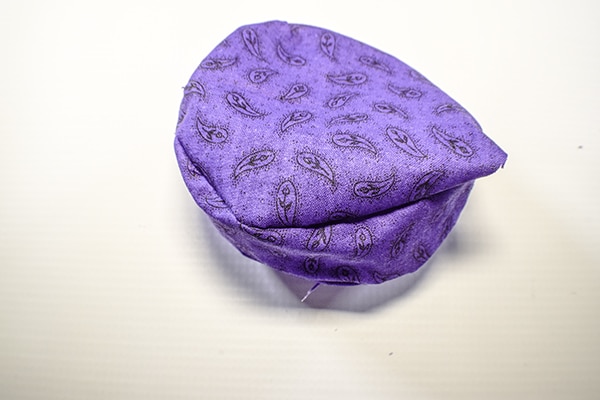
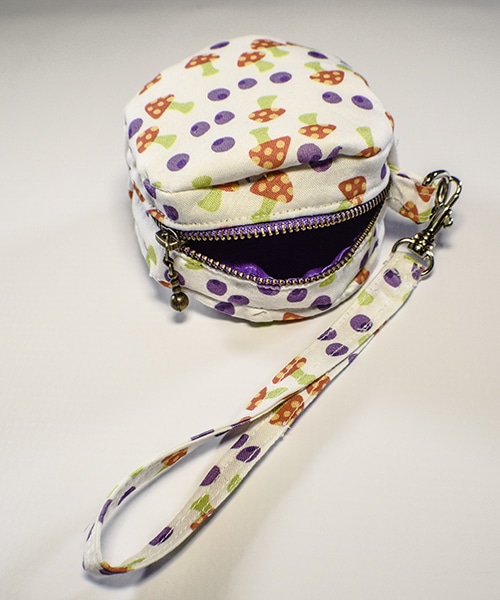
Step 9: Finish the bag
Using ladder stitch, stitch the opening closed in the lining. Add the strap to the D-Ring and you have finished your macaroon Purse.
I hope you enjoyed this project. If you would like more sewing and crafting projects signup for our newsletter and receive your free eBook of 15 handbag patterns and tutorials
If you would like video tutorial sof some of Sew Very Crafty's most popular posts subscribe to our YouTube Channel here.