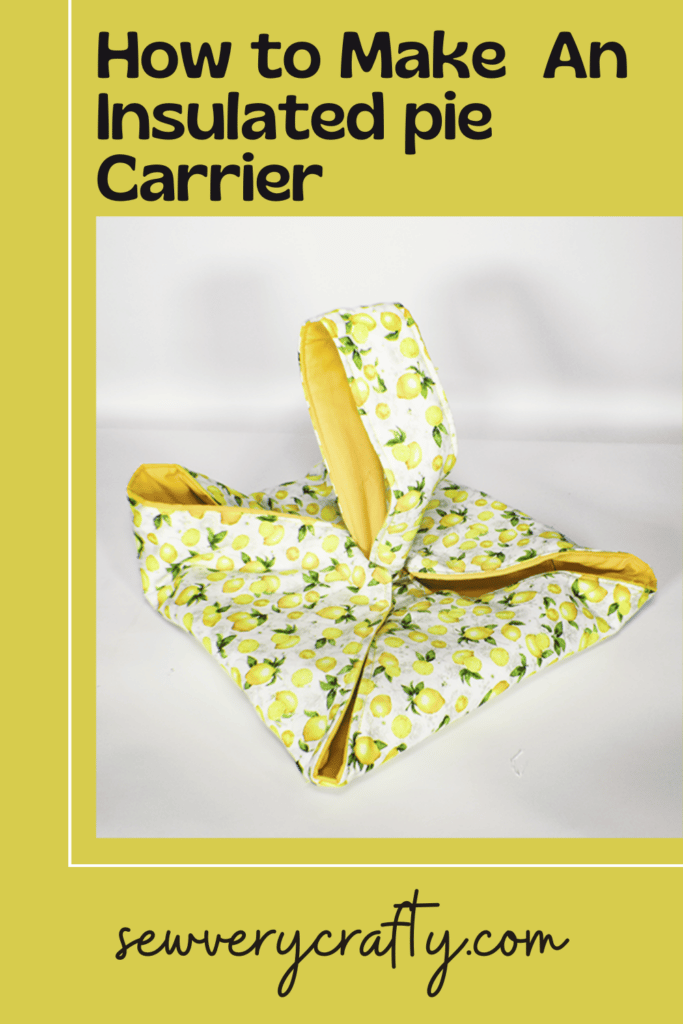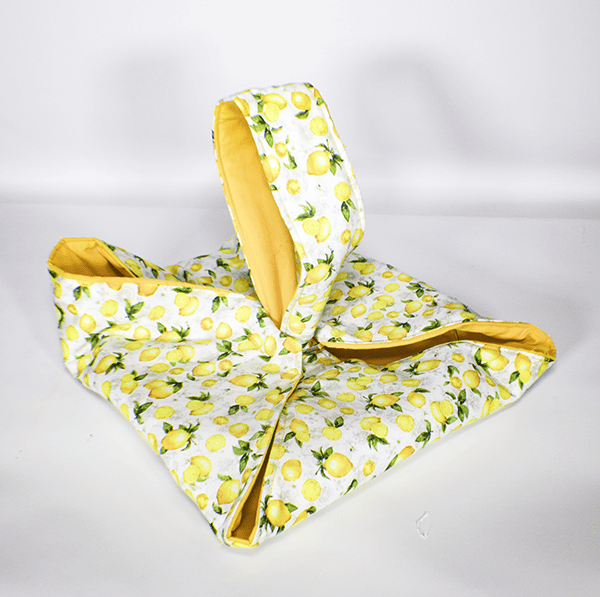
With the holidays fast approaching I thought this pie carrier would be the perfect solution to my pie carrying woes. I wanted something festive and easy to make so that I could arrive with pie in hand and leave a gift behind. This pie carrier is a super simple sewing project for the beginner sewist. It makes a great gift along with the pie or other small casserole. If you would like the the longer rectangular casserole carrier check out my tutorial here.
I made this pie carrier insulated in case you wanted to use it for a small warm or cold casserole. For that I used Insul-Bright to keep it insulated. For the fabrics I used basic cotton fabrics that IO purchased at Joann's. Of course you could head to Fabric.com or onlinefabricstore.net to get exactly what you need for your pie carrier. This post contains affiliate links that if you click on them and make a purchase I may receive a small commission at no extra cost to you. As an Amazon affiliate I earn from qualifying purchases.
If you would like a video tutorial of this project head over to YouTube and check out my video. While you are there subscribe to my free YouTube channel.

What you will Need: How to Make a Pie carrier
- 1/2 yd outer and lining fabric
- 1/2 yd Insul-Bright or quilt batting
- 2 2″ D-Rings
- Standard sewing supplies
Step 1: Cut Your Fabrics
From the outer, lining and Insul-Bright fabrics cut a square that measures 18″ x 18″. From each of the three cut 3″ x 22″ rectangles for the handles.
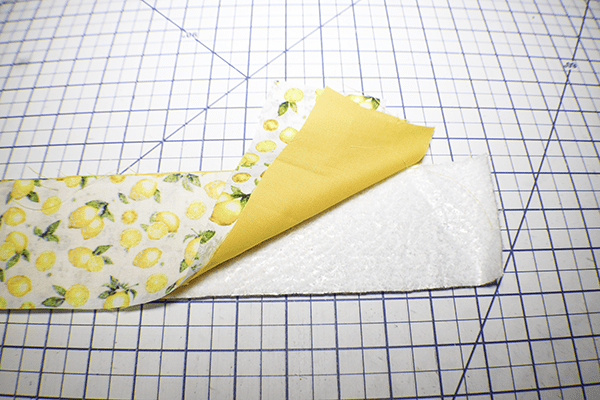
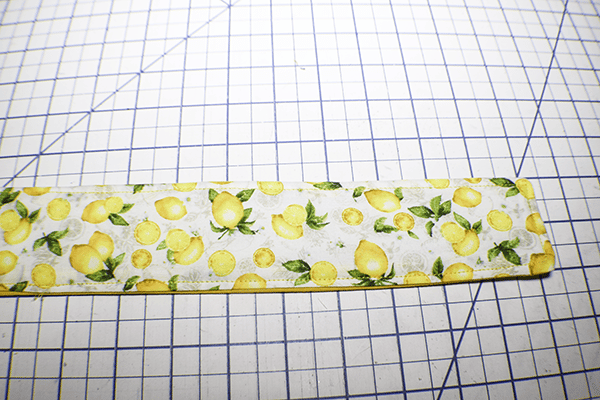
Step 2: Create the Handles
Place the Insul-Bright onto your work space. Then place one of your fabrics wrong side down onto the Insul-Bright. Place the other fabric right sides together with the first fabric. Stitch all the way around using a 1/4″ seam allowance and leaving an opening for turning on one of the sides. Turn the strap right sides out and press. Topstitch all the way around the strap closing the opening as you go.
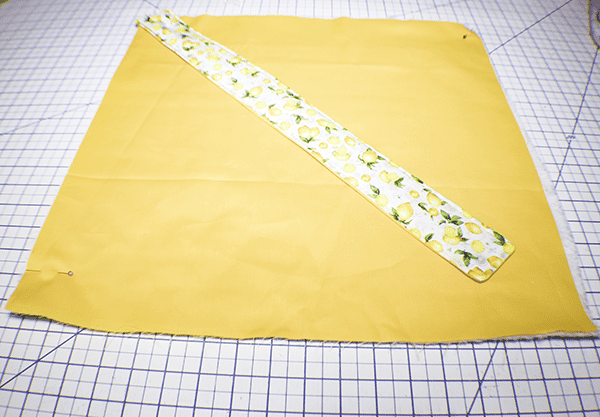
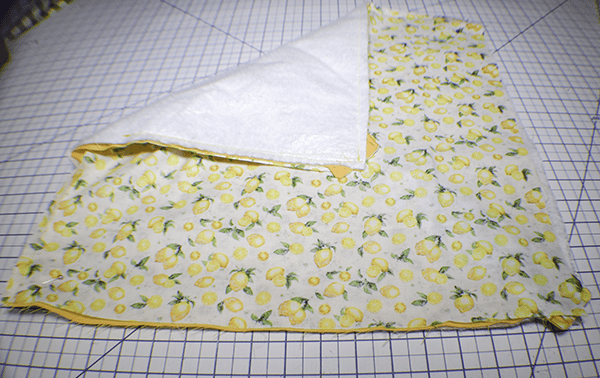
Step 3: Create Half of the Pie Carrier
Place the square of Insul-Bright on your work surface. Then, place one of the fabrics wrong side down on the Insul-Bright. Place the strap onto one of the corners of the outer fabric and pin. Lay the other piece of fabric right sides down on the outer fabric. You will notice that the strap does not lay all the way across the fabric. This is correct. Stitch along two sides including one of the sides with the strap but leave a gap for turning. Backstitch several times on the strap to secure.
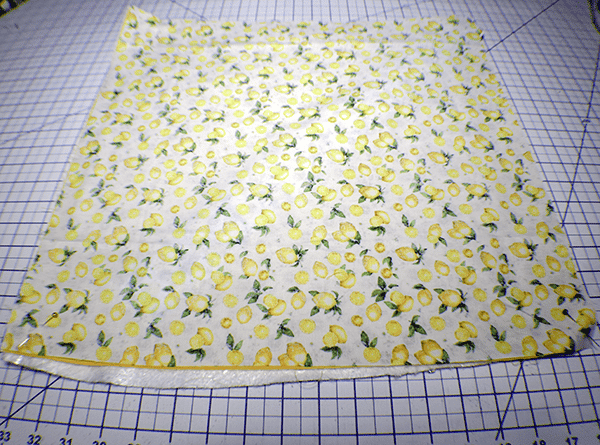
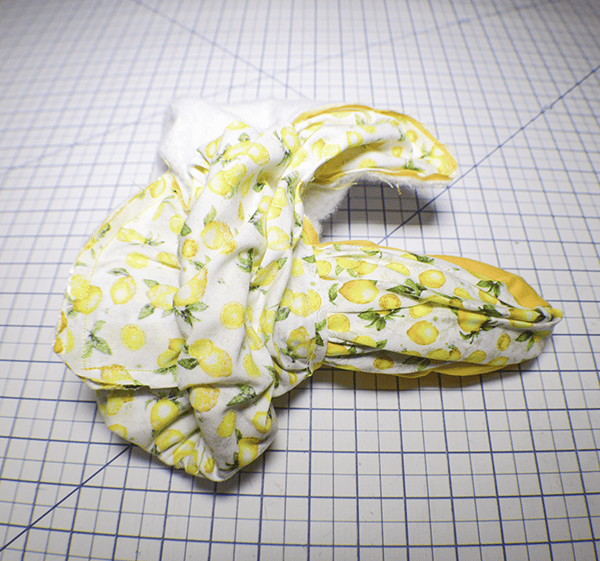
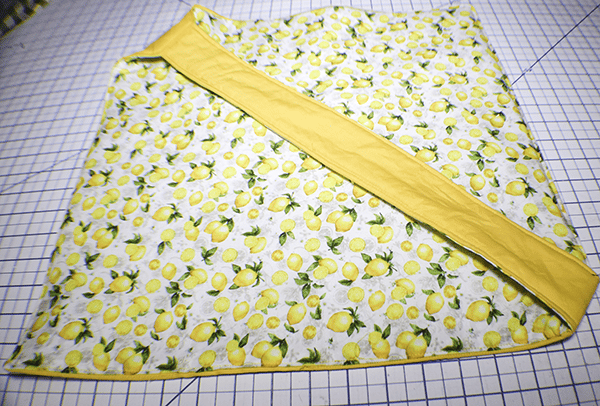
Step 4: Create the Other Half of the Pie Carrier
Place the other end of the strap in the opposite corner and pin. Pin the adjacent corners to keep them flat. Stitch the remaining two sides. Clip the corners and turn the pie carrier right sides out. Press and topstitch all the way around enclosing the opening as you go.
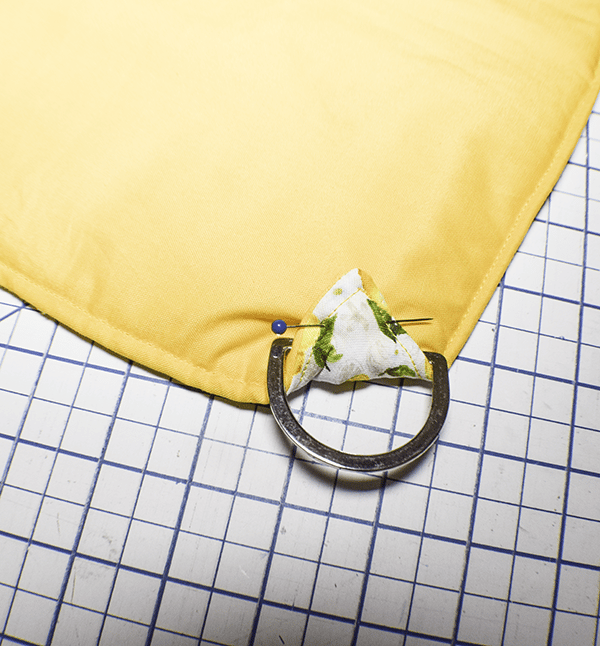
Step 5: Add the D-Rings Rings
Place the D-Rings rings onto the corners opposite the corners with the straps. Fold the corners to the inside and stitch. Place your pie in the center and pull the strap through the D-Rings and you are finished.

I hope you enjoyed this pie carrier project. If you would like more sewing and crafting projects subscribe to my newsletter and receive access to our free printables library.
If you would like video tutorials of some of Sew Very Crafty's most popular posts subscribe to our free YouTube channel here.