How to Make a Lanyard and ID Holder
There is so much security at work these days and just about every one has to show ID when they enter their jobs. I know at my office there is so I thought I would show you how to make a lanyard and ID holder for yourself. You can really make this your own. I know I did. I chose fabrics perfect for me. Just because everyone has to show ID does not mean we can't be individual by doing it. I chose a St. Louis Cardinals Fabric for my lanyard and ID holder but you can choose something perfect just for you.
Because I live in Los Angeles I was not able to get this fabric locally. Instead, I relied on online fabric stores to get it. I Obtained this fabric from Fabric.com but it is also available at Hobby Lobby or JOANN!![]() . This post contains affiliate links that if you click on them I may receive a small commission at no extra cost to you. As an Amazon Associate I earn from qualifying purchases. This is a simple project that anyone with basic sewing skills can make and is functional for those of us that have to show ID just to get into the building at work. I modified this project from one I saw on Sunflower Happiness.
. This post contains affiliate links that if you click on them I may receive a small commission at no extra cost to you. As an Amazon Associate I earn from qualifying purchases. This is a simple project that anyone with basic sewing skills can make and is functional for those of us that have to show ID just to get into the building at work. I modified this project from one I saw on Sunflower Happiness.
What you will Need: How to make a lanyard and ID holder
- For the lanyard strap 4″ x WOF (Width of Fabric) of main fabric
- For the ID Holder: 2 Pieces 3 1/2″ x 5 1/2″ main fabric
- Pocket and loop 1 piece 2″ x 2″ for loop
- 1 piece of clear vinyl 2 1/2″ x 3″ in.
- Peltex double sided fusible 2 1/2″ x 4 1/2 “
- Medium Weight fusible interfacing like Pellon 808 2 1/2″ x 4 1/2″
- 1″ swivel clip
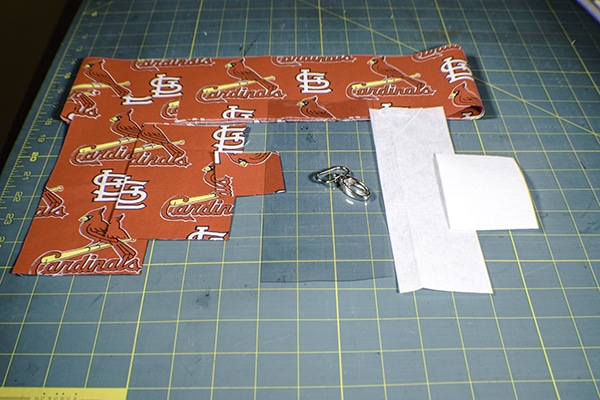
Step 1: Cut All of your Fabrics
Cut all of your fabrics according to all of your fabrics and interfacing.
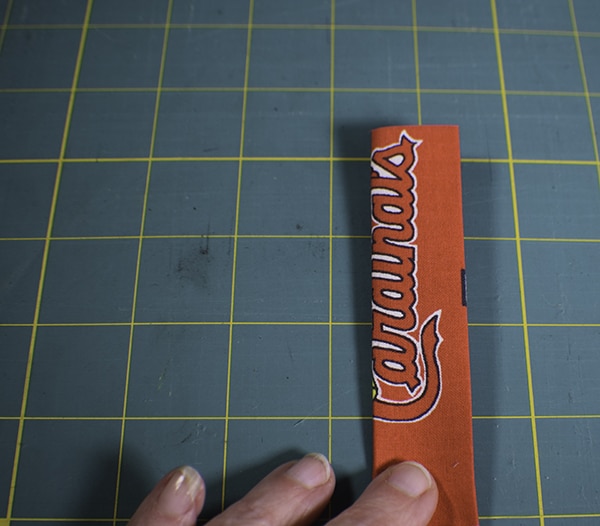
Step 2: Create the Lanyard
Fold the long piece of lanyard fabric in half lengthwise and press. Open the fabric and fold the raw edges to the crease you created and press. Fold in half again so that the raw edges are enclosed. Top stitch along both sides of the lanyard. You should have one long strip of fabric that measures 1″ wide.

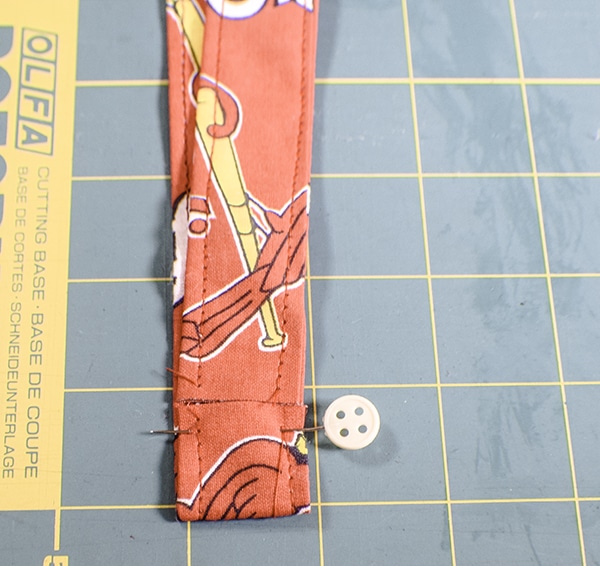
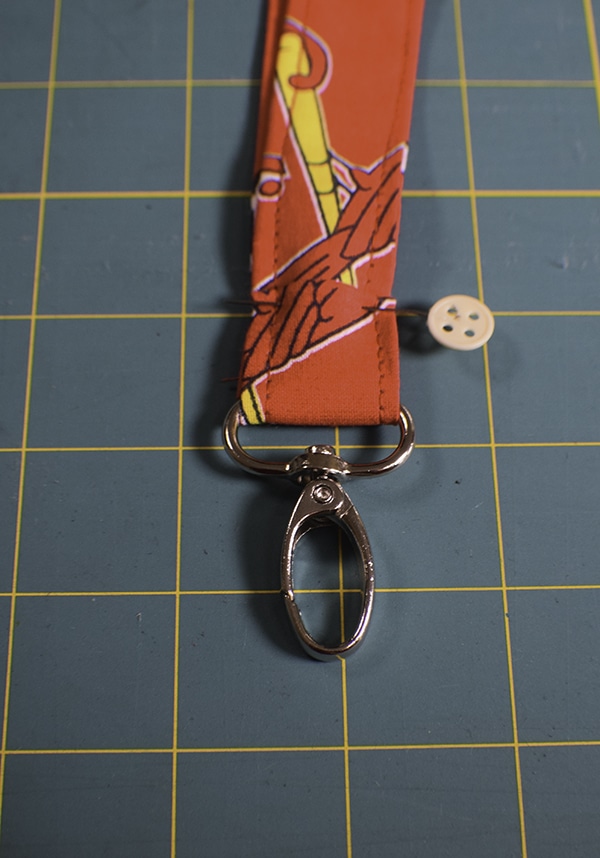
Step 3: Add the Swivel Clip
Lay out the lanyard the way you want it to hang on your neck so that one side is about 2″ longer than the other. You may want o cut it the length that you want. My fabric was quite wide so I needed to cut it down a bit. You should try yours out for the right fit. Fold up the longer side to meed the shorter side and pin. Add the swivel clip and fold up again and pin. Sew a square through the four layers to secure the clip to the lanyard. The lanyard is now complete.
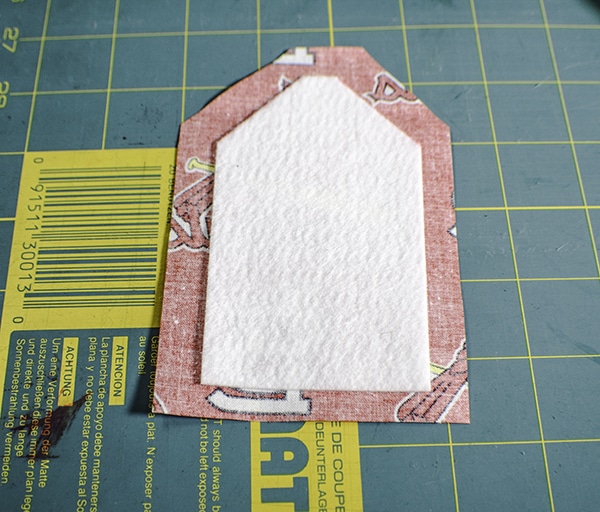
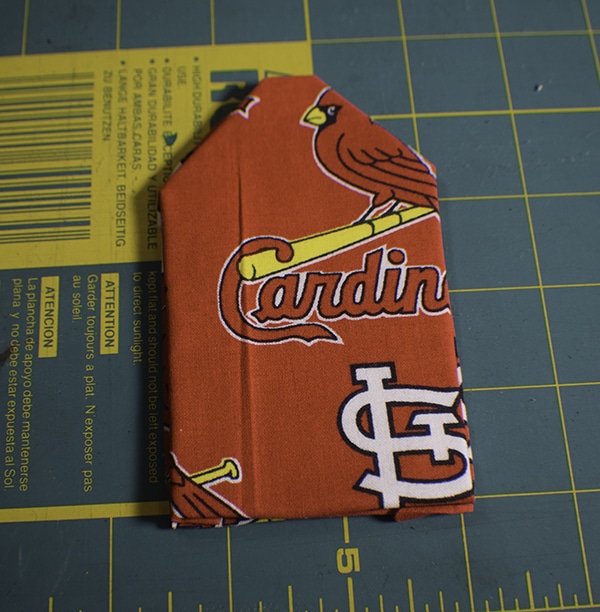
Step 4: Create the ID Holder
Start by cutting the top corners of the interfacings at a 45 degree angle and 1 1/2″ from the top. Center the interfacing to the main holder pieces so that there is 1/2′ all the way around. Clip the corners a bit and fold the fabric in toward to the interfacing and press. Place the two pieces on top of each other wrong sides together.
Step 5: Create the tab
Take the 2″ x 2″ square and create the tab in the same way you created the lanyard by folding the raw edges to the center and folding it in half again to enclose the raw edges. Top stitch 1/8″ from both long edges. Place the tab in between the main holder pieces at the top.

Step 6: Create the Pocket
Create the pocket. Fold the pocket piece in half right sides together. Sew around all three sides using a 1/2″ seam allowance. Leave the top open. Turn the pocket piece right sides out. Turn the raw edges under at the top.
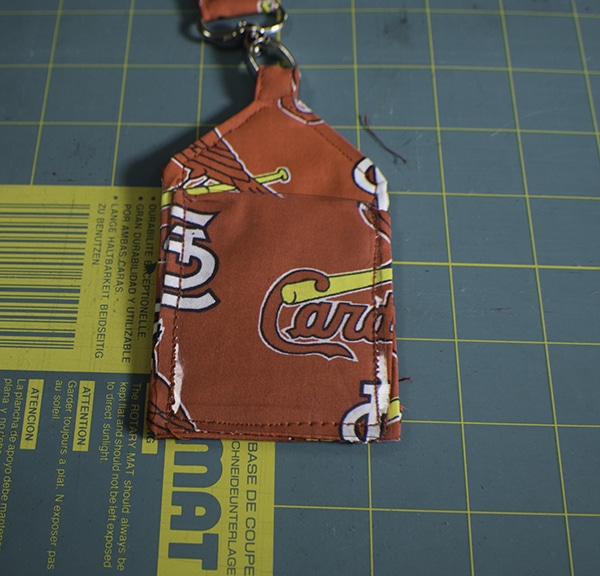
Step 7: Add the Pocket and Vinyl
Place the pocket on top of the holder then place an identical size piece of vinyl on top of the pocket piece. Top stitch around the entire piece using a 1/8″ seam allowance making sure to catch the top loop. Insert your credentials and you have learned how to make a lanyard and ID holder.

I hope you enjoyed this project. If you did sign up for our newsletter and receive access to our free printables library.