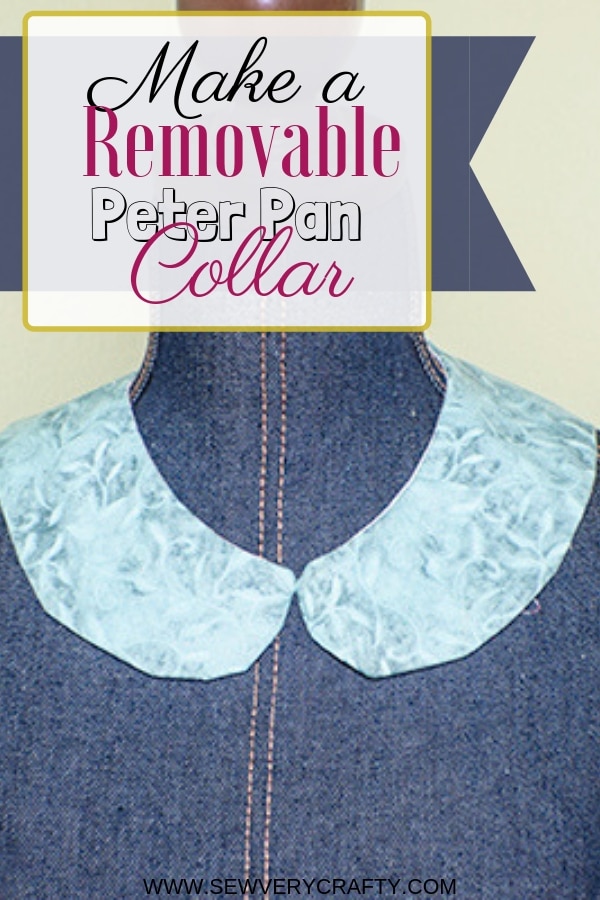
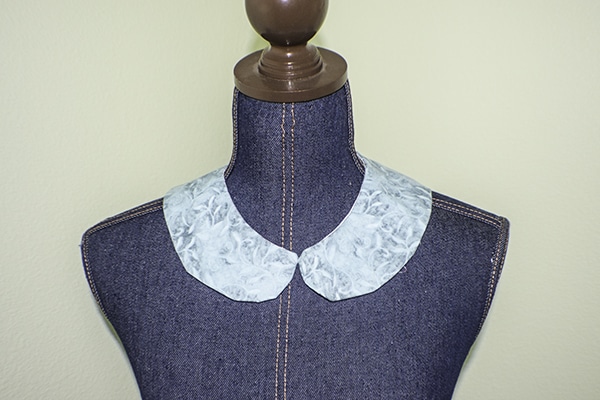
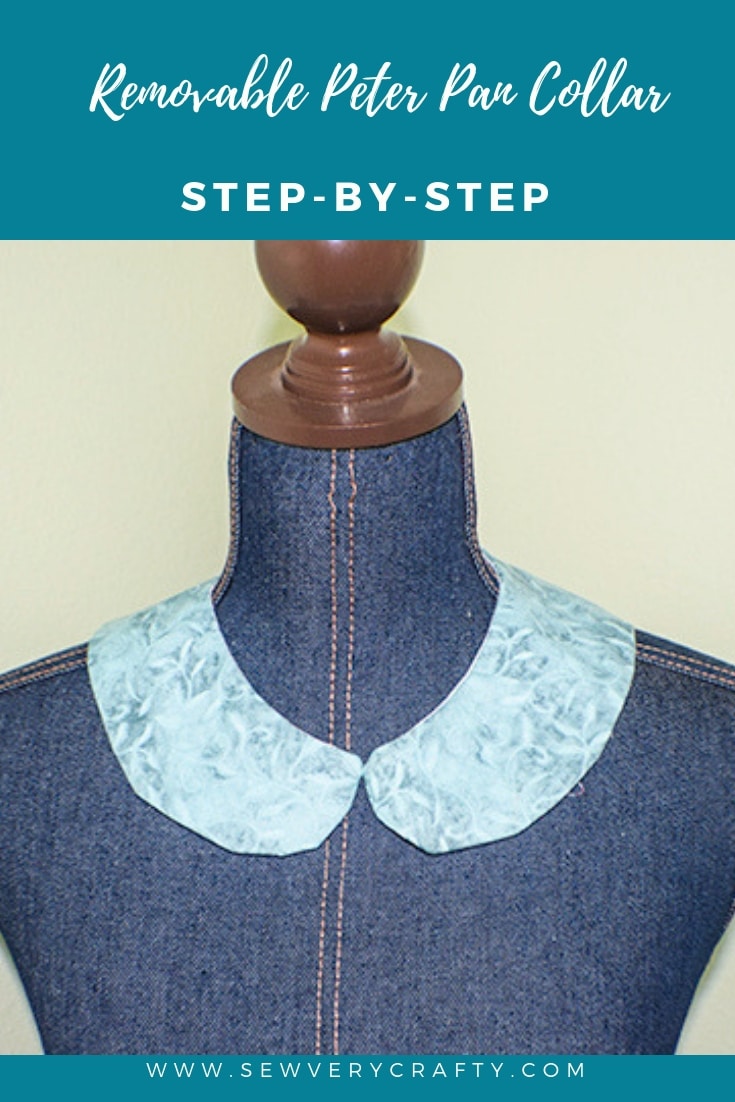
How to Make a Removable Peter Pan Collar
I love Peter Pan Collars. I have a blouse that I bought that has a removable Peter Pan Collar so I thought I would show you how to make a removable Peter Pan Collar of your own. This is a very simple project that even a beginner can make. It adds just a little fun to your everyday wardrobe. Use some sequined fabric to add pizzazz for an evening out. The traditional Peter Pan collar is generally white but it can be made in any color you want to make it to match your style. That is the beauty of making your own.
For this project I used cotton fabric that I got at JOANN!![]() but you could head to Hobby Lobby or Fabric.com to get exactly what you need for this project and a woven interfacing for support. I used leather lacing for the ties and basic sewing skills. Believe me there is nothing to it and it is a terrific little accessory. This post contains affiliate links that if you click on them an make a purchase I may receive a small commission at no extra cost to you.
but you could head to Hobby Lobby or Fabric.com to get exactly what you need for this project and a woven interfacing for support. I used leather lacing for the ties and basic sewing skills. Believe me there is nothing to it and it is a terrific little accessory. This post contains affiliate links that if you click on them an make a purchase I may receive a small commission at no extra cost to you.
What You will Need:
- Click here for Free Pattern
- 1/2 yd of main fabric and lining
- 1/2 yd woven interfacing like Pellon 101
- 2 10″ pieces of leather lacing

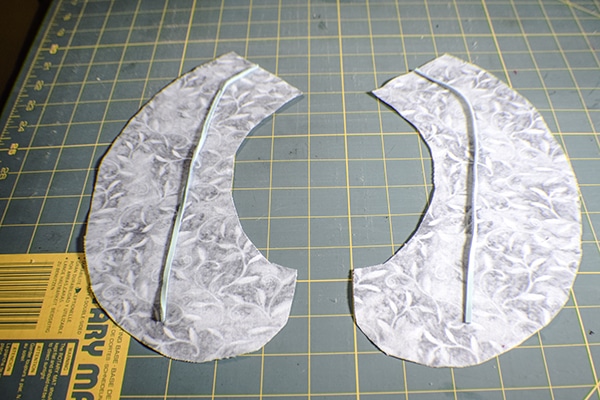
Step 1: Cut out the Pattern and Fabrics
Print out the free pattern. Tape the two pieces together. Cut two main pieces, two lining pieces, and two interfacing pieces using the pattern.
Step 2: Fuse the interfacing
Fuse the interfacing to the main fabric pieces following the manufacturers instructions. If you are unfamiliar with how to fuse interfacing it is a simple process. The interfacing has a glue side and a non glue side. The glue side is slightly shinier. Place the glue side to the wrong side of the fabric and press with a hot iron. The glue will start to melt and fuse with the fabric so that the two pieces can be treated as one.
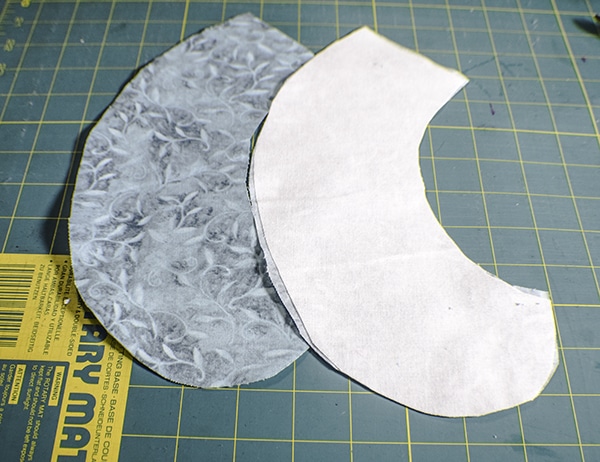
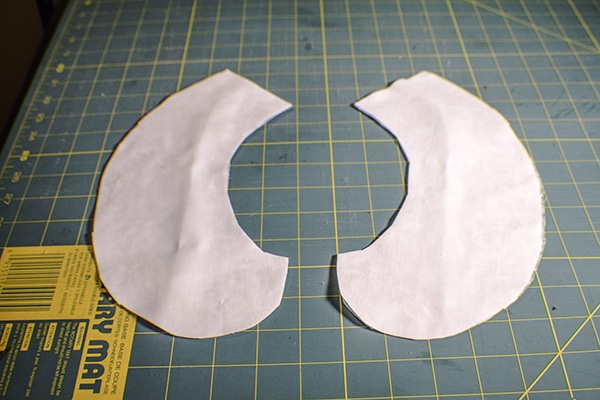
Step 3: trim the lining
Trim the lining about 1/8″ all the way around. This will allow for a neater looking seam.
Step 4: Pin the Pieces together
Place the leather lacing at the short end of the main piece right side up. Lay the lining right side down. Pin or clip.
Step 5: sew
Sew the pieces together using a 1/2″ seam allowance. Even though the lining is smaller than the main fabric you will still make sure that the raw edges are even as you sew. Trim the seam allowance. This will allow the main fabric to roll to the wrong side when finished for a nice clean look. Leave a 2″ opening on the long edge for turning. Clip the curves so that they lay nice and flat. Repeat for the other set of pieces.
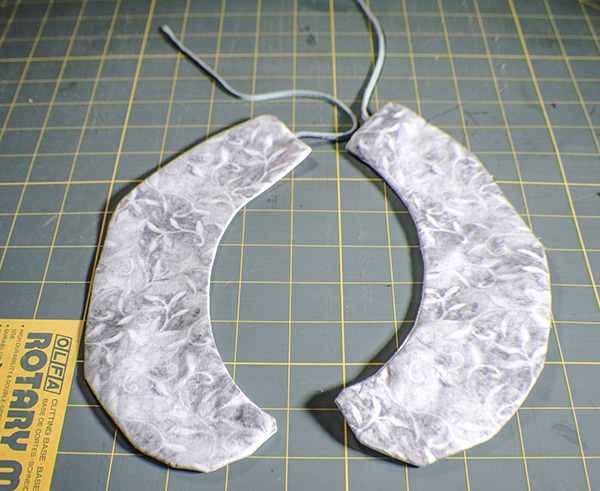
Step 6: Turn
Turn the piece right sides out. Press so that the entire piece is nice and flat. Use a pointy tool to poke out the curves and corners. For this purpose I like to use That Purple Thing. It is a great tool for turning all kinds of sewing projects,
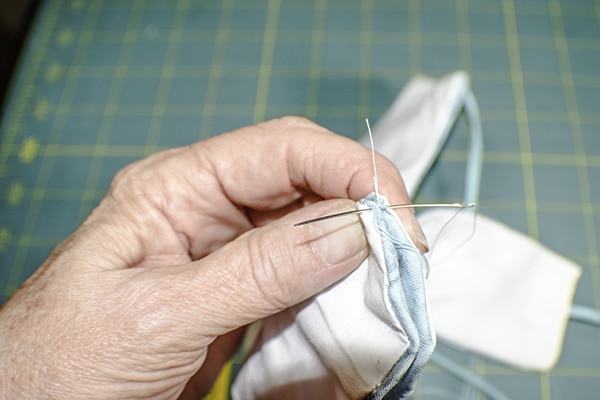
Step 7: Sew the Opening closed
Sew the opening closed using ladder stitch. Ladder stitch is very important here because the side of the collar will be seen and you do not want your stitches to show. If you are unfamiliar with ladder stitch take a look at this video.
Step 8: Sew the two pieces together
You should have two pieces. Place the two pieces right sides together. Sew the tips together using a few whip stitches.
Step 9: Embellish
Open the collar. You can add a button or brooch to the center to embellish the collar if you like or just keep it plain. You have now finished your removable Peter Pan Collar.
I hope you enjoyed this project. If you did sign up for our newsletter for more sewing and crafting projects and receive access to our free printables library.