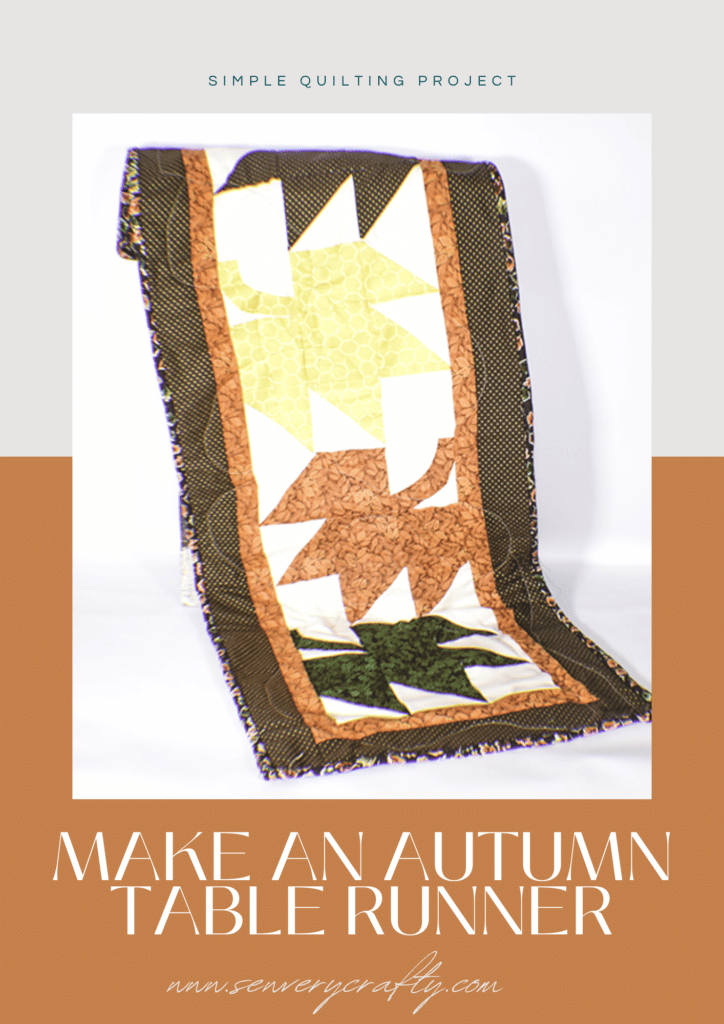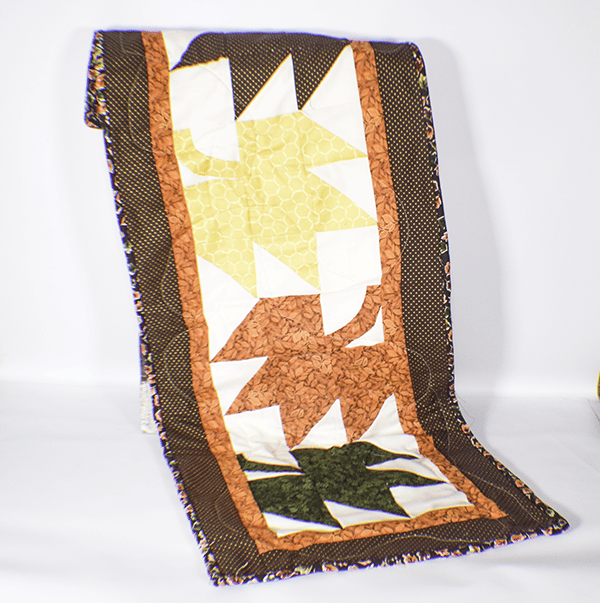
Autumn is just around the corner so it is time to get ready for the season. This autumn table runner is a simple quilting project for us beginner quilters that has a lot of impact for your fall table. Like a lot of table runners this project can be expanded to a full sized quilt by adding more blocks. I chose this leaf pattern because it is a simple piecing pattern to make and really exhibits to feel of autumn. If you would like more quilting projects check out my quilting page.
I used a fat quarter bundle that I purchased at JOANN Fabric & Craft Stores![]() along with some remnants that I had on hand to create this terrific autumn table runner. Of course you could head to
along with some remnants that I had on hand to create this terrific autumn table runner. Of course you could head to
What you Will Need: How to Make an Autumn Table Runner
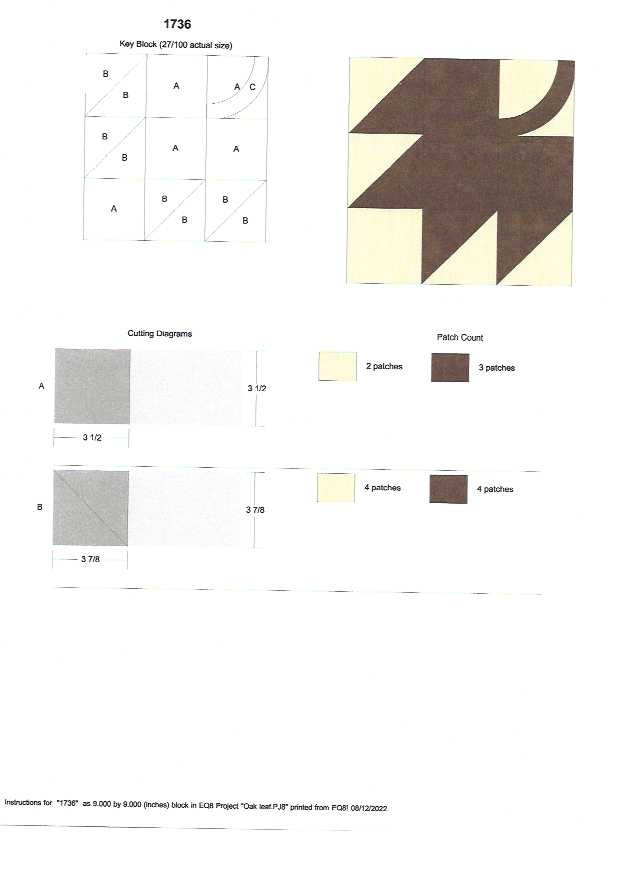
- Pattern you can get by clicking on this link
- 1/4 yd natural fabric for background
- 1/2 yd brown fabric
- 1/8 yd gold fabric
- 3/8 yd orange fabric
- 1/8 yd green or grey fabric
- 1/2 yd backing fabric
- 1/2 yd quilt batting

Step 1: Cut Your Fabrics
- Cut three 3 1/2″ squares from each color other than natural
- Two 3 7/8″ squares from each color other than natural
- From the natural cut eight 3 1/2″ squares and 8 3 7/8″ squares
- Two 9 1/2″ x 1 1/2″ orange strips
- Two 38 1/2″ x 1/2 orange strips
- 2 2 1/2″ x 11 1/2″ strips
- two 2 1/2″ x 42 1/2″ strips
- Backing and batting
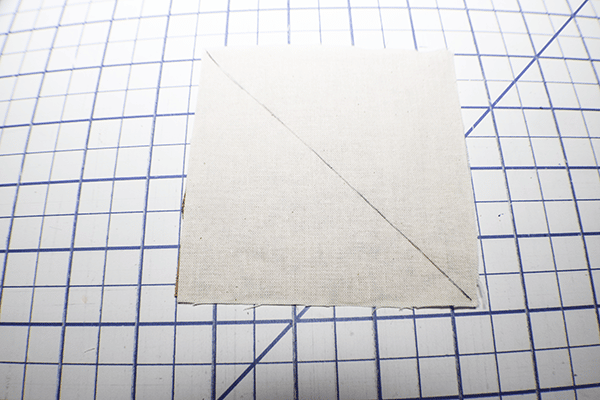
Step 2: Create the Half Square Triangles
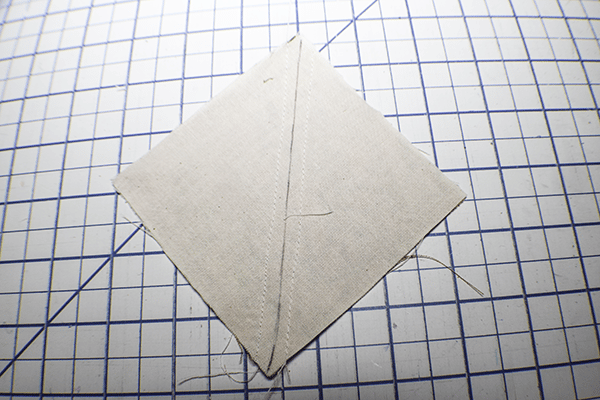
There are 16 half square triangles. There are four in each color. To create the half square triangles take a colored piece and a natural piece B that measure 3 7/8″ square and place them right sides together. Draw a line along the diagonal. Stitch 1/4″ on either side of the diagonal. Cut along the diagonal line. Open the pieces, press and you should have two half square triangles.

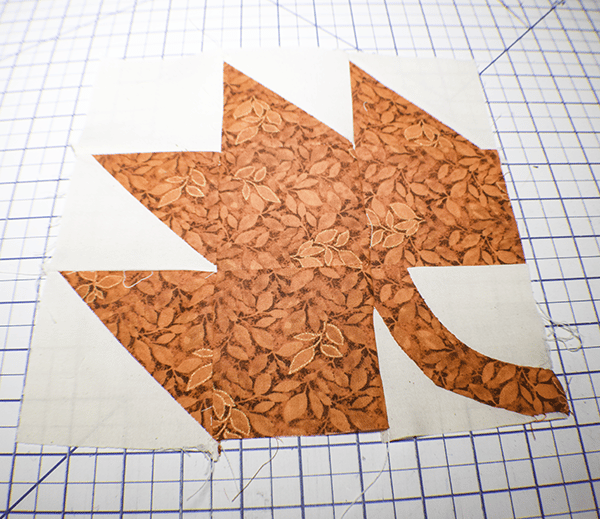
Step 3: Create the Stems
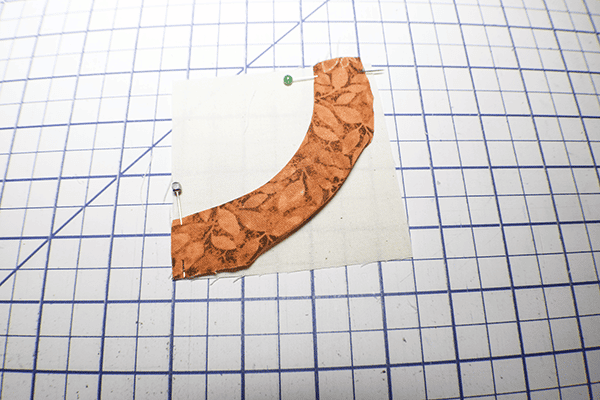
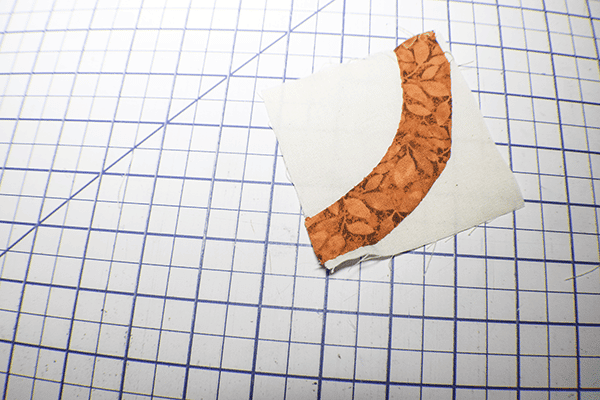
Using the pattern piece, appliqué the stem to a 3 1/2″ x 3 1/2″natural square off fabric. you can appliqué the piece any way you like. I used needle turn appliqué. If you are unfamiliar with needle turn appliqué check out this video.
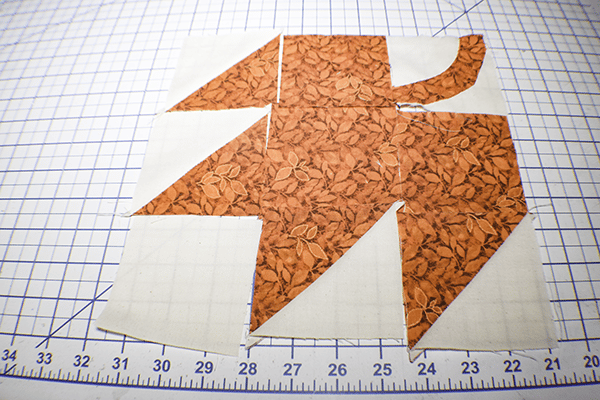
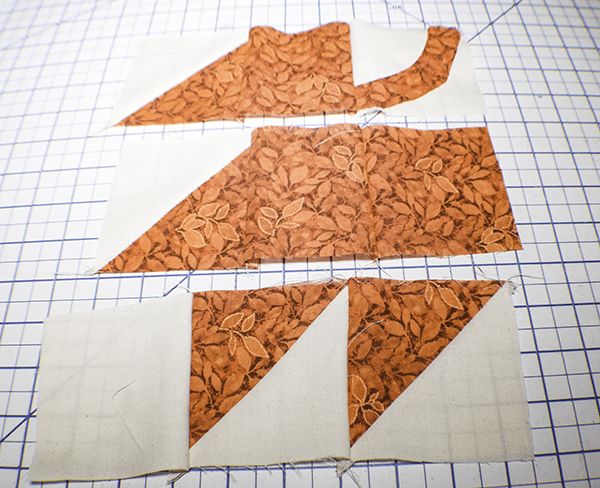
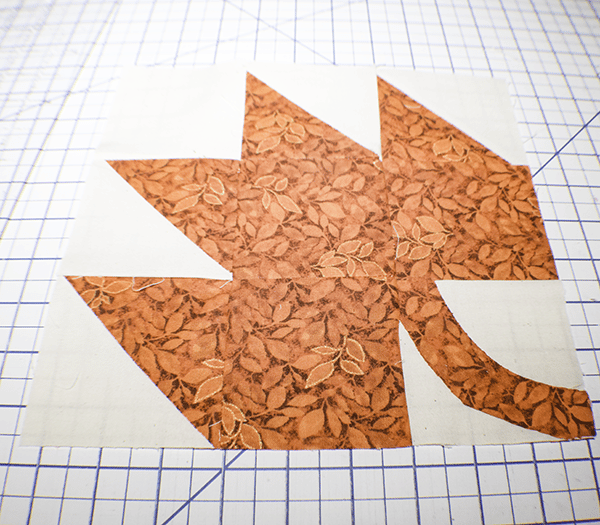
Step 4: Create the Blocks
With right sides together and following the diagram stitch the pieces together using a 1/4″ seam allowance until you have created the entire leaf block. Remember to flip the stem piece for every other color to create the right look.
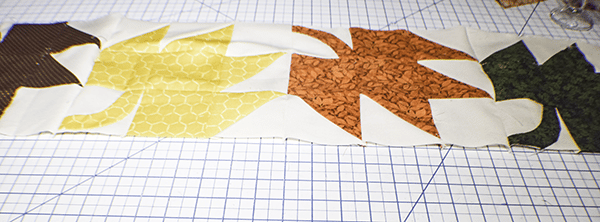
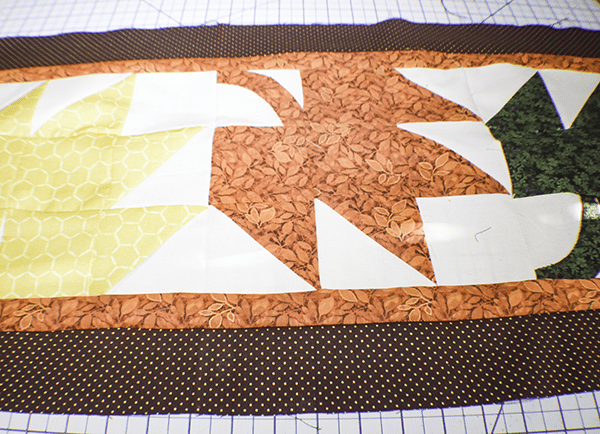
Step 5: Stitch the Blocks Together
Using a 1/4″ seam allowance stitch the blocks together so they look like they are tumbling as in the diagram.
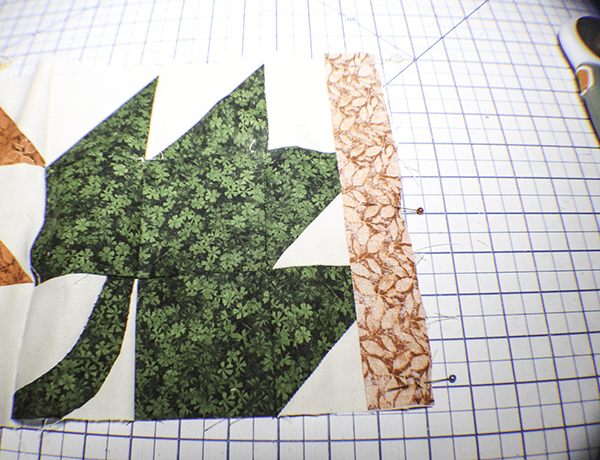
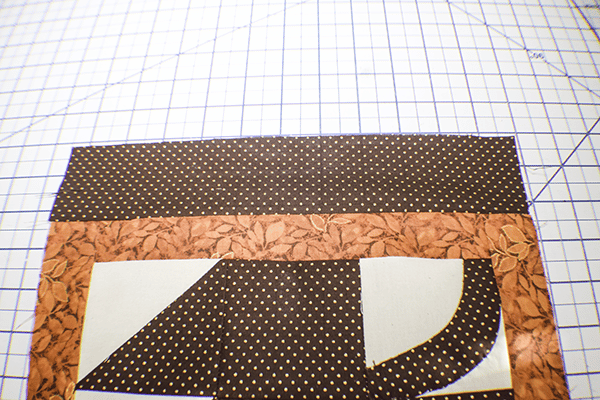
Step 6: Add the Inner Border
Place the 1 1/2′ border pieces on the short ends and stitch. Then stitch on the long border pieces.
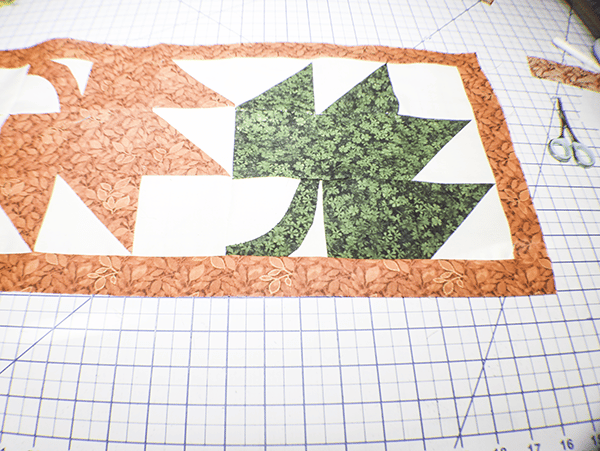
Step 7: Add the Outer Border
Add the outer Border the same way you added the inner border.
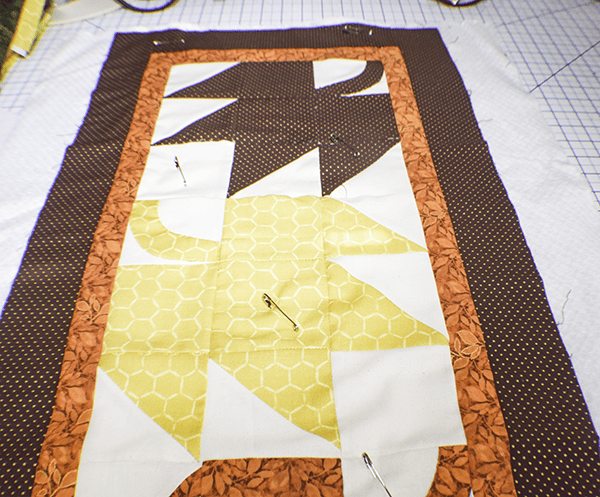
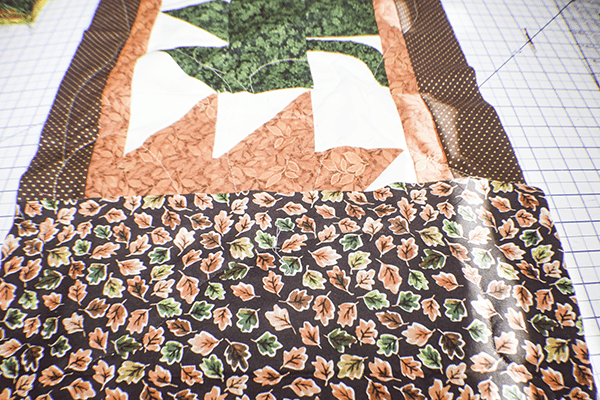
Step 8: Add the Backing and Batting
Cut batting and backing pieces a bit larger than the pieced piece. Place the backing piece right sides down on your work surface. Add the batting piece on tap then the pieced leaves on top of that. Pin together or use basting spray.
Step 9: Quilt the Layers
Quilt the layers any way you choose. I chose an all over design as it is easiest.
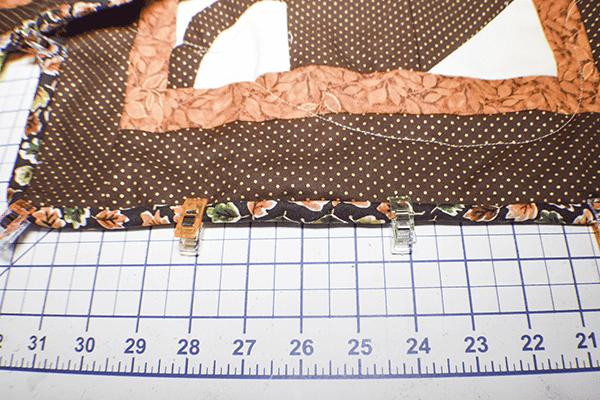
Step 10: Square up and Bind the Table Runner
Square up the quilt and bind it following the below tutorial.

I hope you enjoyed this autumn table runner project. If you would like more sewing and crafting tutorials subscribe to our newsletter and receive access to our free Printables library
If you would like video tutorials of some of Sew very Crafty's most popular posts subscribe to our free Youtube channel here.