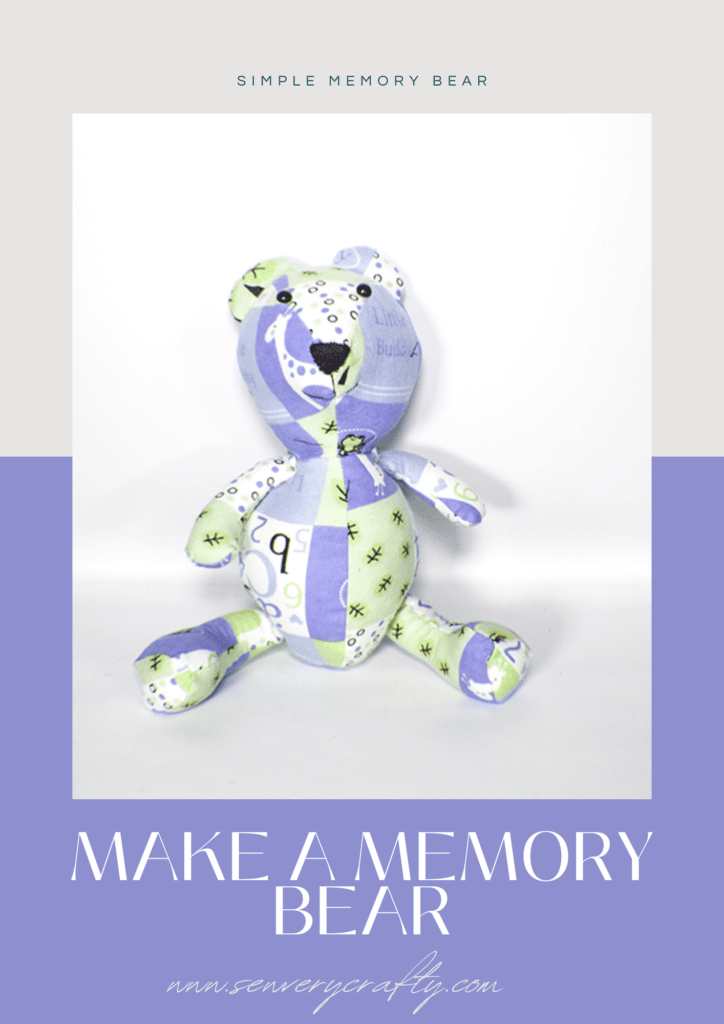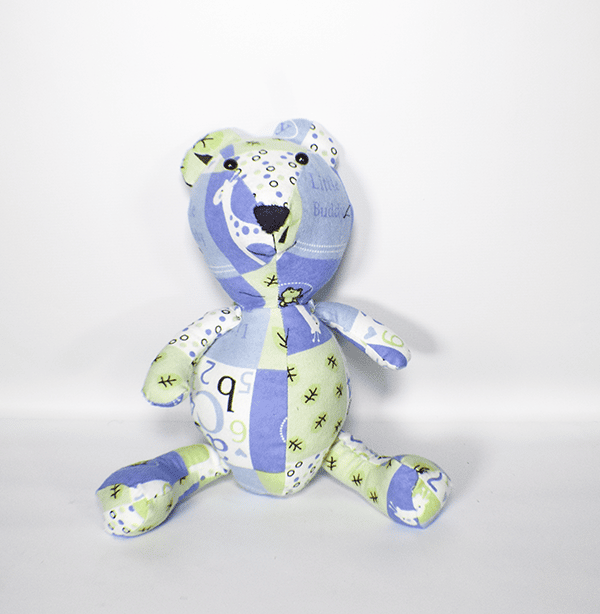
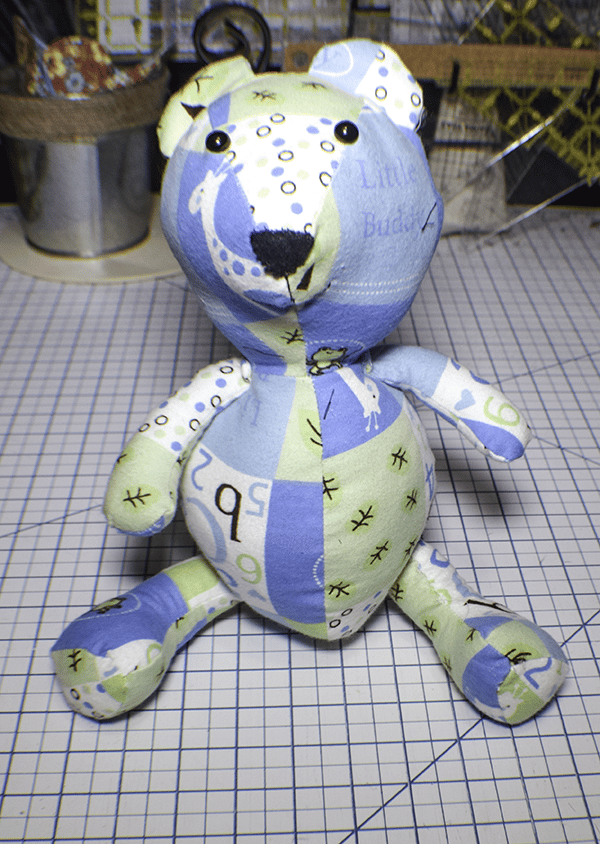
Making a memory bear is a good way to recycle a child's clothes into something they can keep forever. My children are all adults now so I used fabrics that I had on hand but you could use your child's or grandchild's clothes or blankets to create a memory bear just for them. This is a pretty simple sewing project but not necessarily for beginners. Although a beginner could try this project it is a little fidgety so take it slow. If you would like other stuffed animal projects she k out my making cats and dogs post here.
I used fabrics from my stash for this project that I purchased as remnants from JOANN Fabric & Craft Stores![]() for 50% off but you could use your child's or grand child's things for a nice memory bear. You could also head to
for 50% off but you could use your child's or grand child's things for a nice memory bear. You could also head to
What you will need: How to Make a Memory Bear
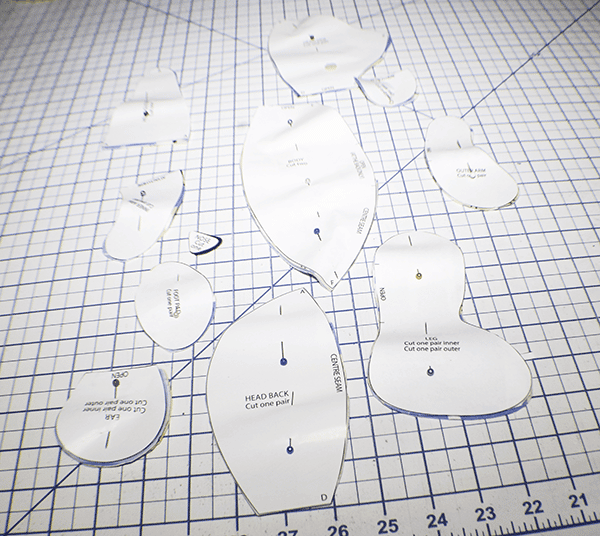
- Pattern you can get by clicking on this link
- A variety of fabrics
- Polyester fiberfil for stuffing
- Standard sewing supplies
Step 1: Cut out Your Memory Bear Fabrics
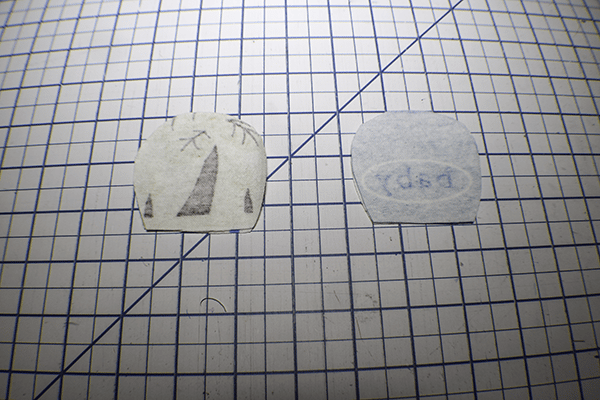
Using the pattern pieces cut out the pieces as designated using a variety of fabrics.
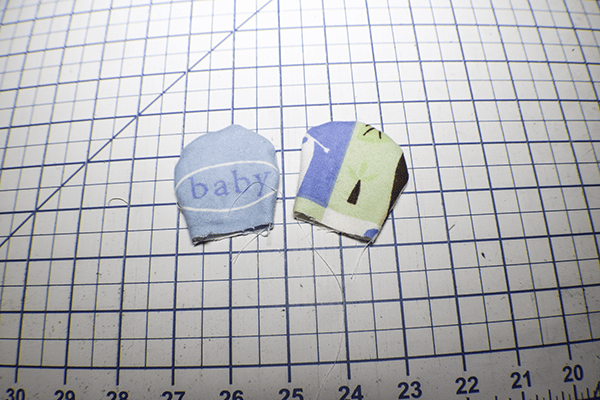
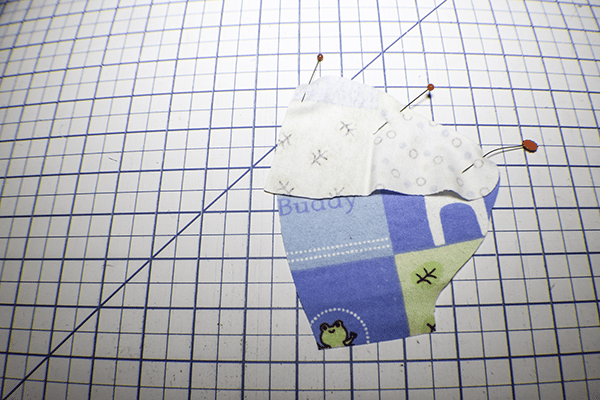
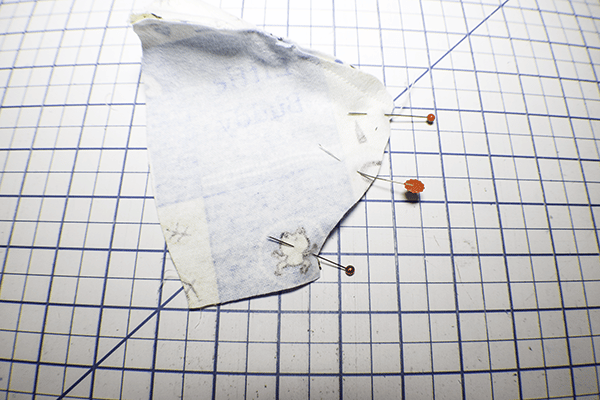
Step 2: Create the Bear Ears
You should have an inner ear and an outer ear for both sides of the head. Stitch the inner ear to the outer ear right sides together using a 1/4′ seam allowance leaving the bottom open. Turn right sides out and press.
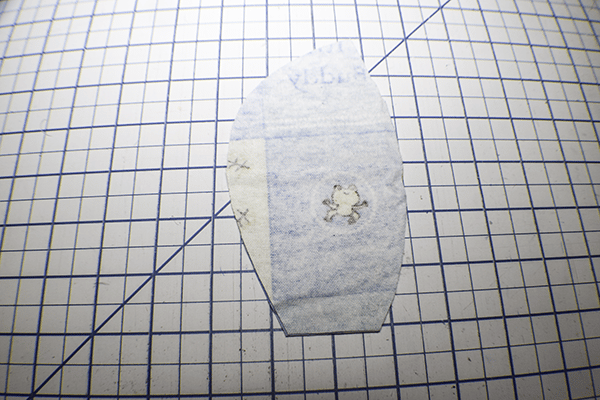
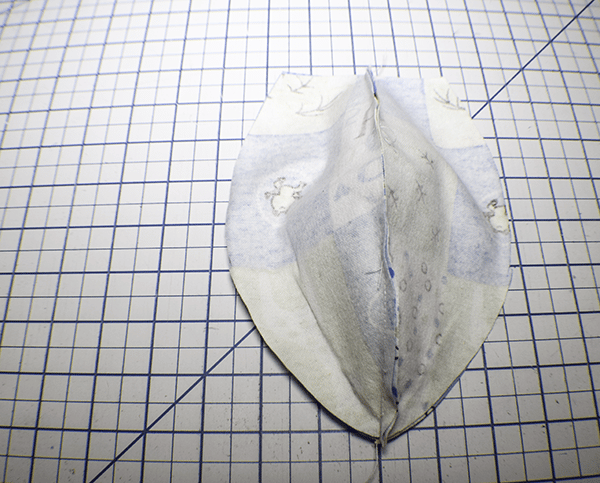
Step 3: Stitch the Head
You should have a head gusset and a two head sides. Stitch one head side to the head gusset right sides together from point A to Point B. Repeat for the other side of the head.
Step 4: Stitch the Chin
Stitch the chin of the bear together from point B to point C.
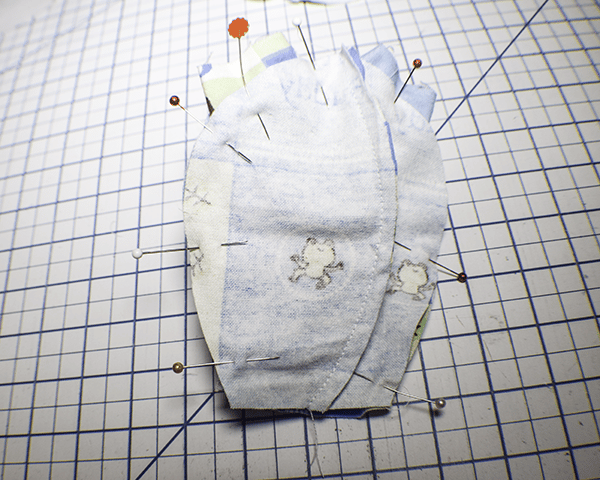
Step 5: Stitch the Back Head Pieces
You should have two back pieces. Place them right sides together and stitch them from point A to Point D using your 1/4″ seam allowance.
Step 6: Stitch the Back to the Front
Pin the back of the head right sides together with the front of the head so that the center seam matches the middle of the gusset. Place the ears on either side of the head sandwiched between the layers. Stitch. Turn the head right sides out.
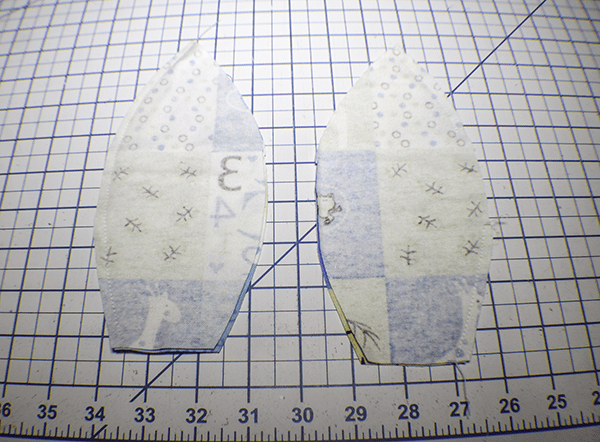
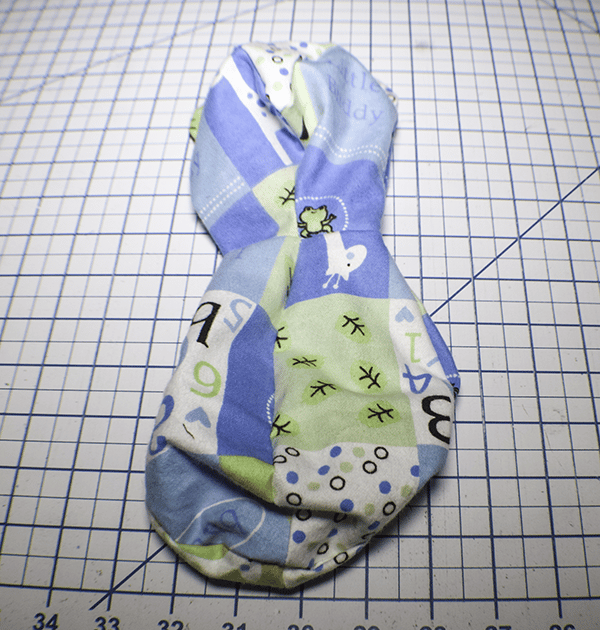
Step 7: Stitch the Body
With right sides together stitch the body pieces from point E to point F. You should actually have four body pieces. Stitch them in pairs. Leave an opening for turning on one of the pairs of body pieces. Place the pairs right sides together and stitch to form the body.
Step 8: Add the Head to the Body
Place the head inside the body cavity so that they are right sides together and matching the center seam of the neck to the center seam of the body. Stitch the head to the body. Turn the bear right sides out through the opening in the body.
Step 9: Stuff the Bear Body and Head
Using the opening in the body stuff the head and body firmly pushing out the seams. Close the opening using ladder stitch.

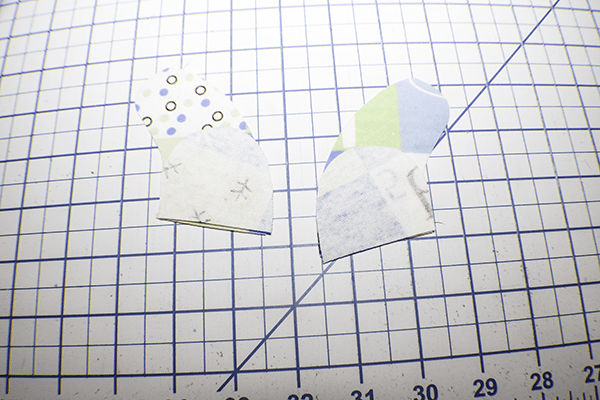
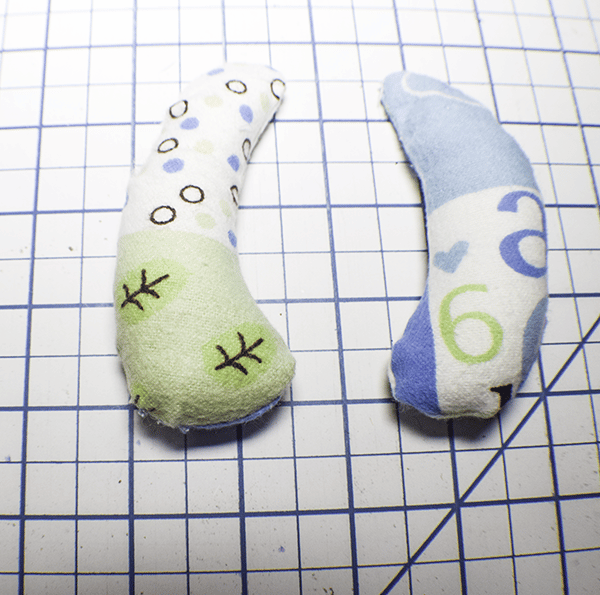
Step 10: Create the Arms
With right sides together stitch a paw pad to the inner arm. Stitch the The outer arm to the inner arm right sides together leaving an opening for turning. Stuff the arms firmly except at the top. Stuff a little lighter at the top to make attaching easier. Repeat for the other arm.

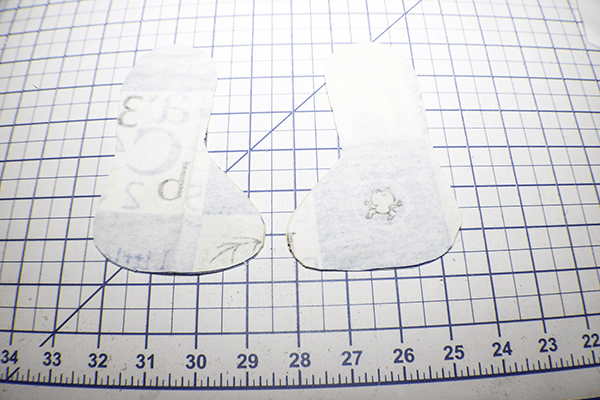
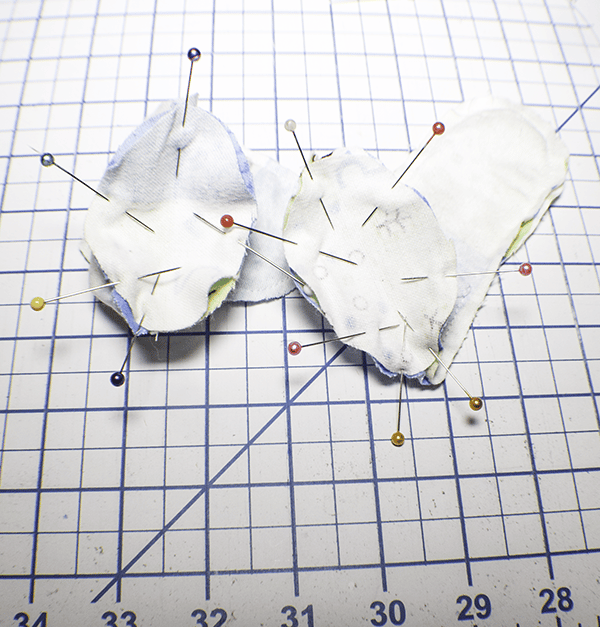
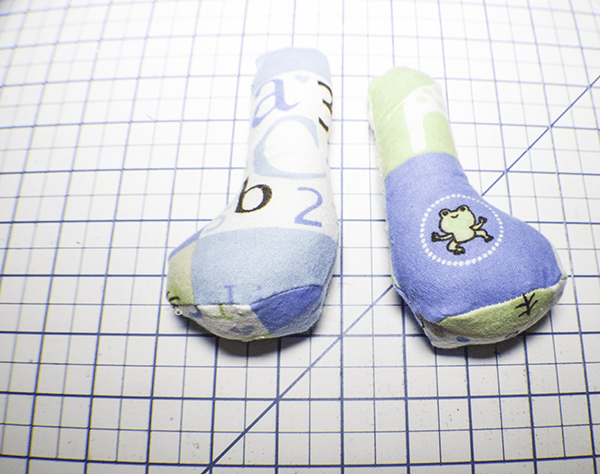
Step 11: Create the Legs
With right sides together stitch the inner leg to the outer leg from the top to the foot pad leaving an opening for turning. Add a foot pad piece to the foot pad of the leg with right sides together. Stitch. Turn right sides out and stuff firmly except for the op which should be stuffed lightly. Close the opening using ladder stitch.
Step 12: Attach the Arms and Legs
Measure down 3/8″ from the neck seam and pin the arms on either side of the bear body. Stitch the arms to the body using a long dolls needle pushing the needle though the body to the other side inside and out until the arms are secure. Repeat for the legs.
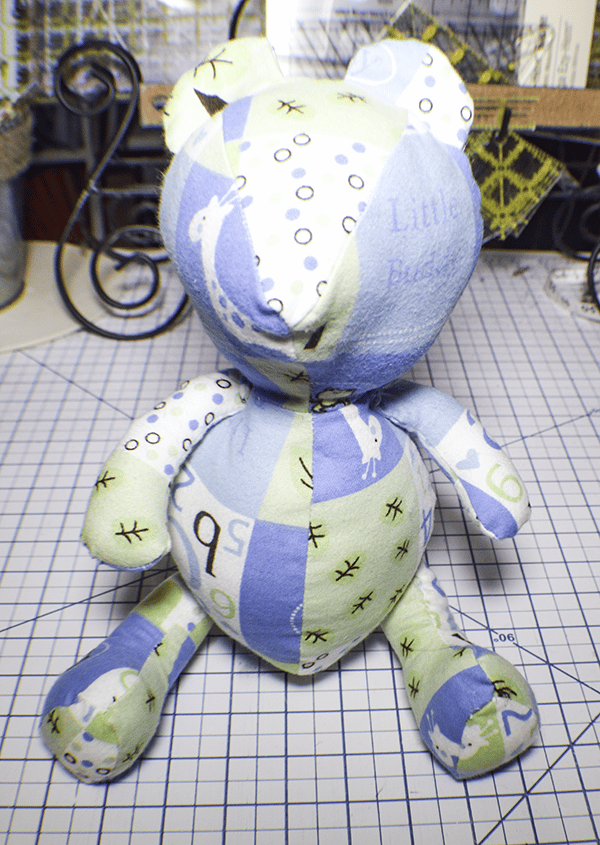
Step 13: Create the Bear Face
Add two small buttons for the eyes on either side of the head. Place the nose at the intersection at the front of the face and stitch using blanket stitch. Stitch a mouth if you like using back stitch.
I hope you enjoyed this memory bear project. If you would like more sewing and crafting projects subscribe to our newsletter and receive access to our free printables library
If you would like video tutorials of some of sew Very Crafty's most popular posts subscribe to our free youTube channel here.