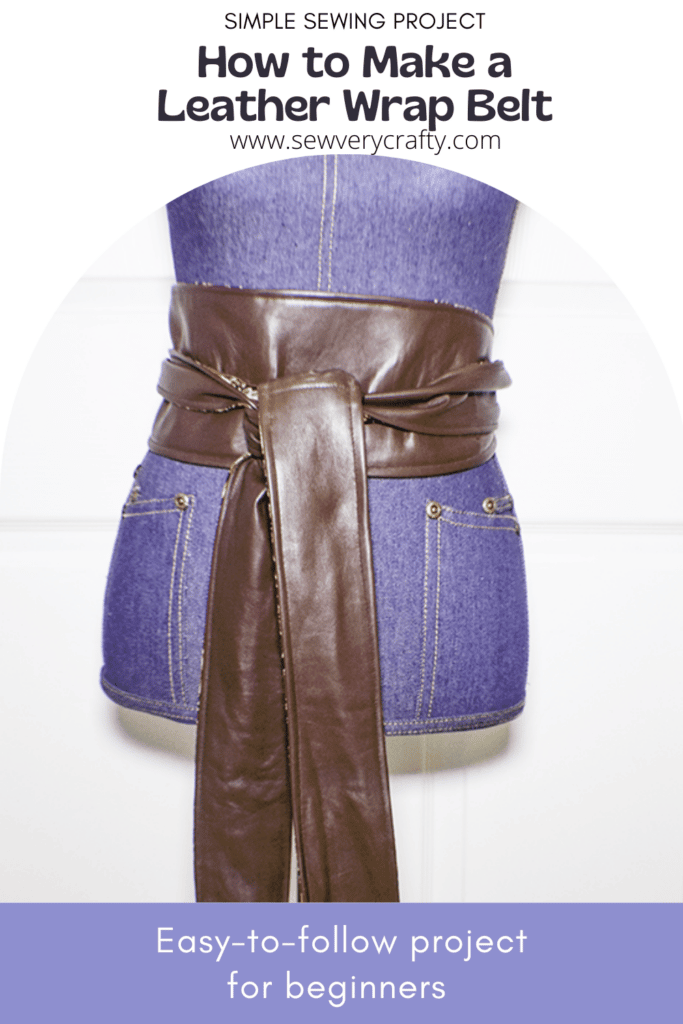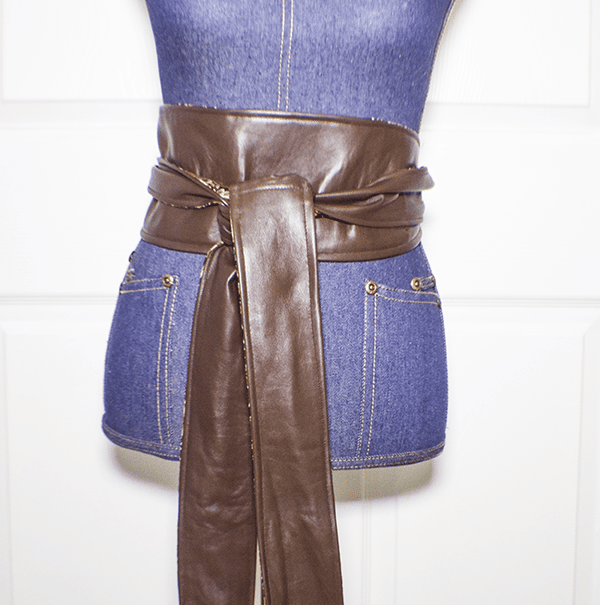
This leather wrap belt is a great addition to any wardrobe and a beginner sewing project too. It is the perfect way to begin sewing with leather. A soft lambskin or even a faux leather will work perfect for this project. I chose lambskin for my my leather wrap belt. A little measuring goes a long way for this simple wardrobe accessory so let's get started. By the way, if you want more leather making projects check out my leather bow clutch here.
I purchased my leather from a shop on Etsy but you could use an old pair of leather pants or a leather jacket and upcycle those. I used cotton fabric for the reverse side of my leather wrap belt that I had in my stash and had purchased from JOANN Fabric & Craft Stores![]() . Of course you could head to fabric.com or onlinefabricstore.net to get exactly what you need for your leather wrap belt. This post contains affiliate links that if you click on them and make a purchase I may receive a small commission at no extra cost to you.
. Of course you could head to fabric.com or onlinefabricstore.net to get exactly what you need for your leather wrap belt. This post contains affiliate links that if you click on them and make a purchase I may receive a small commission at no extra cost to you.
What you will Need:
- 1/2 yd of leather or faux leather
- 1/2 yd of cotton fabric
- 1/4 yd Pellon SF101 Interfacing
- Leather needle
- Wonder clips
- Rotary Cutter and mat
- Walking foot
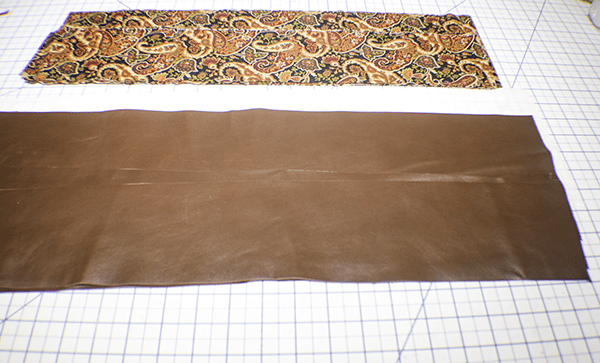
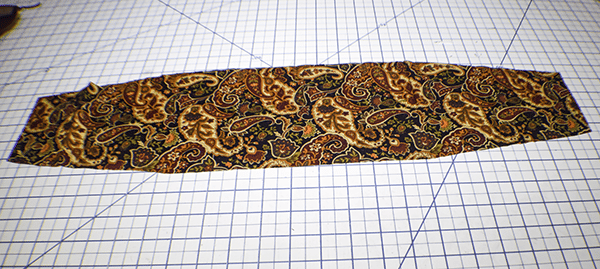
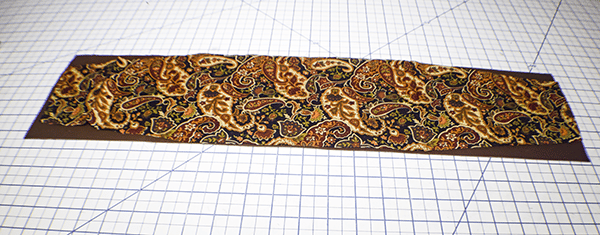
Step 1: Cut your Fabrics
To begin, cut one strip of leather 6″ x 24″ for the front and two strips that measure 4″ x 45″. I had to stitch two pieces together to create the 45″ pieces. Cut a piece of interfacing to measure 6″ x 24″.
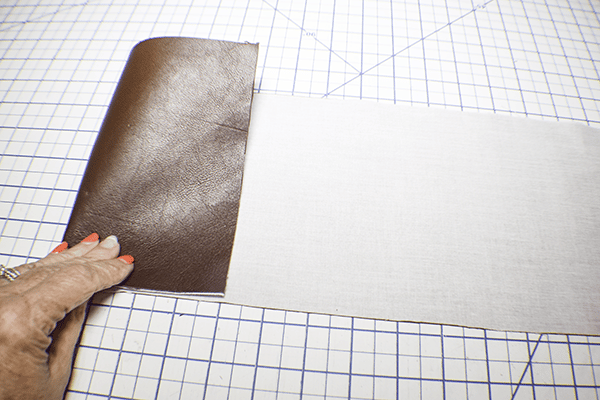
Step 2: Fuse the Interfacing
Following the manufacturer's instructions, fuse the interfacing the the wrong side of the 6″ x 24″ leather strip.
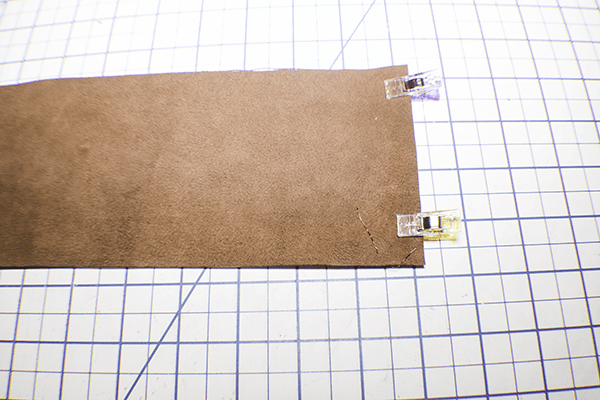
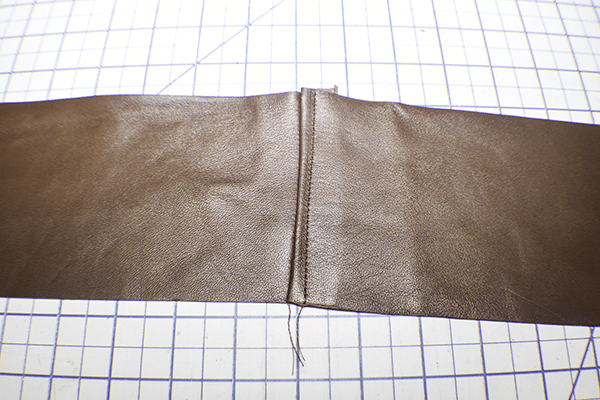
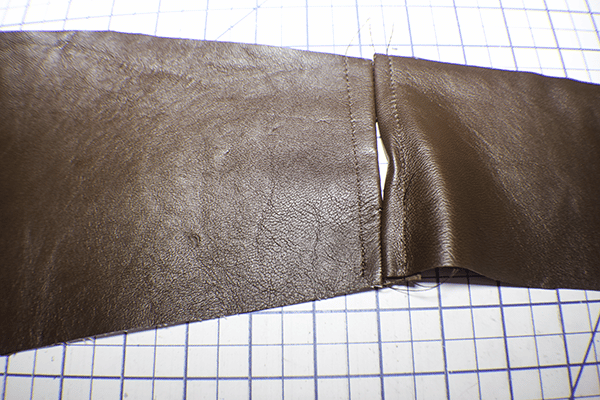
Step 3: Stitch the Pieces Together
In order to form the 45″ length for the two ties stitch the pieces together using a 5/8″ seam allowance. Finger press the seam to one side then topstitch 3/8″ from the seam on the seam allowance to secure. Make sure that you use a walking foot to stitch these pieces together.
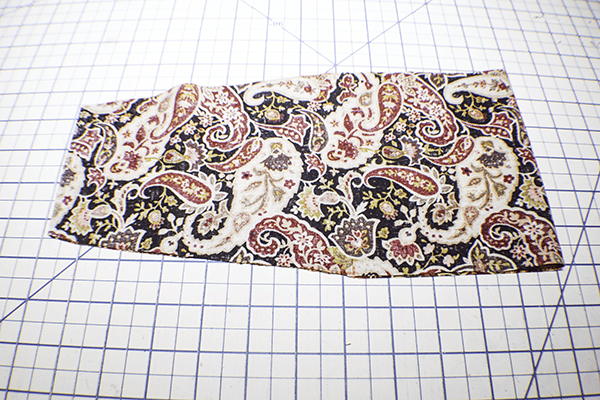
Step 4: Create the Lining Front
Place the lining front right sides up on your work surface. Fold the lining in half widthwise so that it is right sides together. Measure down from the top raw edge 1″ and up from the bottom raw edge 1″ and mark. Measure down the top and bottom 7″ and mark. Draw a line between the 1″ and 7″ lines. Cut along each line and unfold.

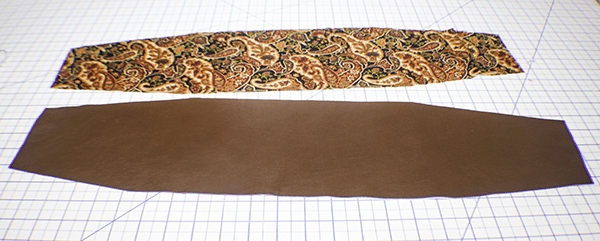
Step 5: Create the Leather Front
Place the lining front on top of the leather front and cut the leather to match the lining.
Step 6: Add the Belt Ties
Place one tie piece right sides together with the front piece and stitch using a 5/8″ seam allowance but leaving a 2″ opening for the ties to pass through. Do this for the leather ties and the lining ties. Press the seams open top stitch on either side of the seam.
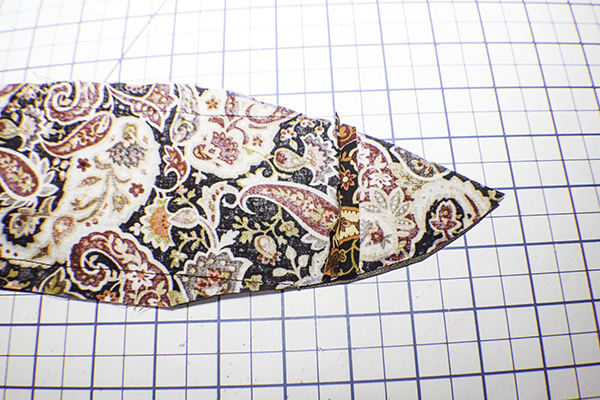
Step 7: Create the Tie Ends
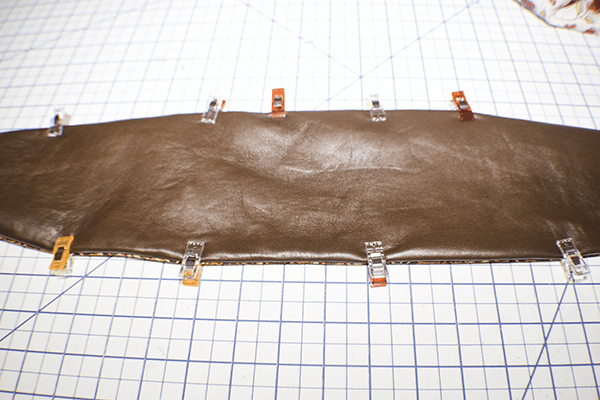
Place the leather belt and the lining belt right sides together. Clip using wonder clips. Do not pin or the pin holes will show. On each short end find the center and mark. Measure down the top and bottom 5″ and mark. Draw a curved line from the center point to the 5″ mark n the top and bottom.
Step 8: Stitch the Wrap Belt
Using a 1/2″ seam allowance stitch the leather and lining pieces together leaving a 3″ opening for turning. Trim the seam allowance and turn the belt right sides out.

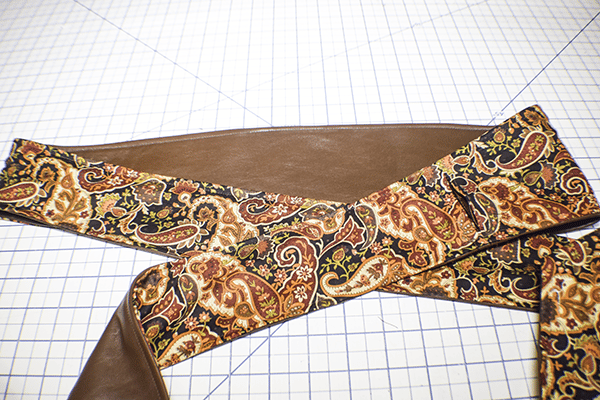
Step 9: Topstitch the Wrap Belt
Topstitch all round the belt using a 1/4″ seam allowance closing the opening as you go. You have now finished your leather wrap belt.
I hope you enjoyed this leather wrap belt project. If you would like more sewing and crafting projects subscribe to our newsletter and receive acce to our free Printables library
If you would like video tutorials of some of Sew Very Crafty's most popular posts subscribe to our free YouTube channel here.