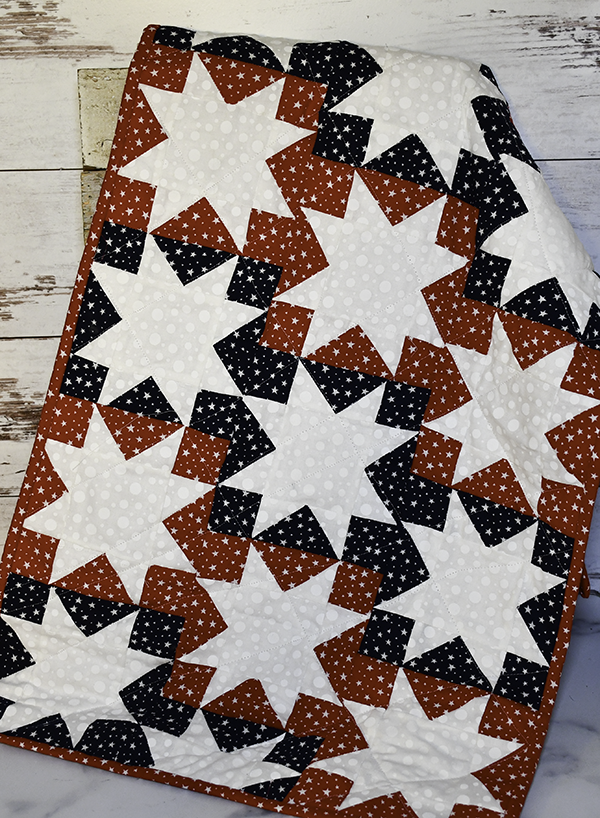
I saw this project on AllPeopleQuilt.com where you can find a variety of free quilting projects. You can get the pattern here. This pattern was designed by Jo Kramer. It is coming on to patriotic season and just had to create a patriotic quilted table runner to celebrate the season. This is a simple quilt project even for the beginner quilter. I really enjoyed creating this project. It is a great patriotic design that is easy to piece and easy to quilt. I made a table runner for this project but you can keep adding blocks to make it as large as you like. If you would like more quilting projects head over to our quit page for more.
Note: This post contains affiliate links that if you click on them and make a purchase I will receive a small commission at no extra cost to you. As an Amazon Associate I earn from qualifying purchases.
What you will Need: How to Make a Patriotic Quilted Table Runner
- 7⁄ ⁄8 yard white (blocks)
- 1⁄ ⁄2 yard red star fabric (blocks)
- 7⁄ ⁄8 yard blue star fabric (blocks, binding)
- 1 1⁄ ⁄2 yards backing fabric
- 27× 51″ batting

Step 1: Cut the Fabrics
From white fabric cut: 22—3 1⁄2″ squares and 176—2″ squares
From red star fabric cut: 44—2×3 1⁄ ⁄2″ rectangles, 44—2″ squares
From blue stars, cut: 4—2 1⁄ ⁄2 × 42″ binding strips, 44—2×3 1⁄ ⁄2″ rectangles, 44—2″ squares

All stitching will be done with a 1/4″ seam allowance.
Step 2: Create the Flying Geese
Start with the white 2″ squares. Draw a diagonal line across the wrong side of each of the 2″ squares. Take a 2″ x 3 1/2″ red star rectangle and place it right sides up on your work station. Place one of the white marked squares right sides together at one short end. Note the direction of the drawn line. Stitch on the marked line. Trim the seam allowance to 1/4″, Press the open. Repeat for the other end also noting the direction of the drawn line. This creates a red Flying Geese unit. The unit should measure 2″ x 3 1/2″ including seam allowances. Create four of these units per block.


Step 3: Arrange the Top and Bottom Thirds of the Block
Start with a red 2″ square. Place the red 2″ square right sides together with the Flying Geese piece. Stitch the Flying Geese to the 2″ red square. Repeat for the other end of the Flying Geese piece. Create another strip in the same way to create the top and bottom pieces of the block. Press all pieces.

Step 4: Create the Center Third of the Block
Place a Flying Geese piece right sides together with a white 3 1/2″ square so that the white raw edges match. Add another Flying Geese piece on the opposite side of the white square. Make sure to press all of the pieces.

Step 6: Stitch the Thirds Together
Place the top strip right sides together with the center piece so that the white raw edges are matching. Stitch the pieces together. Place the bottom third right sides together with the opposite side of the center third with the white raw edges matching. Press the block. The block should measure 6 1/2″ on all sides including seam allowances. Create 11 red and white blocks. Repeat for the blue star and white pieces to create 11 more blocks.

Step 7: Create Two Half Blocks
Given the way this table runner fits together you will need to create two half blocks for either short end. To do this measure 1/4″ up from the inner points of a red and blue block. Cut the block on this mark so that the block is divided.

Step 8: Assemble the Table Runner
To put this table runner together start with the vertical rows. Begin with a red block and alternate colors until you have seven blocks in the row. Stitch the red blocks right sides together with the blue blocks until you have a column of seven. Repeat for the third vertical row but this time start with the blue block. The create the center vertical row start with the half blue block then alternate the colors and finishing with the half red block stitching them right sides together. Once all three rows are created, stitch them right sides together to create the top of the runner.

Step 9: Sandwich the Runner
Place the backing fabric wrong sides up on your work table. Spray with quilt adhesive spray if you like. Place the batting on top of the backing fabric. Again you can spray the top of the batting with basting spray if you like. Then, place the pieced top you just created on top of the batting. I like to add a few safety pines to keep it secure.

Step 10: Quilt the Sandwich
Stitch through all layers in any pattern you like. I used designer Jo Kramer's diagonal grid for mine. As I created the diagonal lines I made sure to stitch diagonally making sure that the stitching went from point to point through the white center squares along the straight lines.

Step 11: Create the Binding
I used the blue star fabric to bind my quilt. I like to use 2 1/2″ binding strips for my binding. Cut four 2 1/2″ x 42″ wide binding strips. Stitch the strips together on the short ends on the diagonal to make the seam less noticeable. To do this place the strips right sides together so that the ends create a plus sign. Stitch diagonally from the top corner to the bottom corner. Open the pieces to make sure you have a nice straight piece. If you do. Trim the excess fabric from the seam to 1/4: Press the seam open. Fold the binding in half wrong sides together and press.


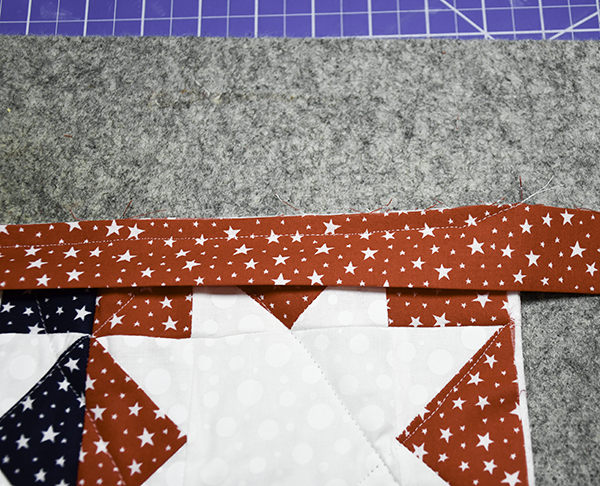
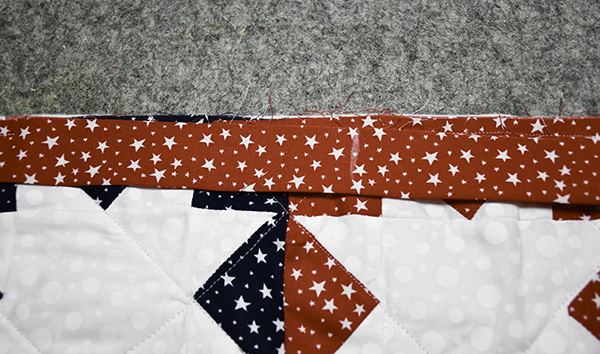
Step 12: Bind the Runner
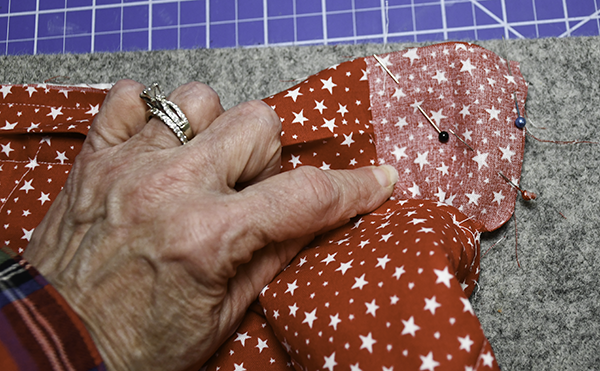
Place the binding strip right sides together with the runner matching the raw edges starting in the center of one side. Leave a tail of about 3″ before starting to sew. Stitch the Binding to the runner using a 1/4″ seam allowance. When you get to the corner stop stitching about 1/2″ from the end and then stitch diagonally of the runner. Fold the biding so that the fold is even with what is the top of the next side. Stitch along the side starting at the top where the fold is. Stitch to the next corner and repeat. Continue until you reach the beginning of the stitching.

Overlap the ends by 2 1/2″ and cut of the remaining binding strip. Place the ends right sides together in a plus like you did when you created the binding. Stitch diagonally in the same way. Trim off the excess and pull the binding taut. Stitch the unstitched binding to the runner. Fold the binding over so that the folded long edge is on backing side of the runner. Pin or clip. Stitch the folded edge to the runner using either your machine or by hand. I prefer to finish my quilts by hand. It is up to you. Once the binding is finished so are you.

I hope you enjoyed this simple patriotic quoted table runner. For more sewing and crafting projects subscribe to our free newsletter for more and receive free access to our printable library.
For video tutorials of some of Sew Very Crafty's most popular posts subscribe to our free YouTube channel here.
Join our Sew Very Crafty Fans Facebook group
If you want to ask questions and share your projects join our Facebook group here. The community will help to achieve your sewing and crafting dreams.