How to Make a Fun Cat Plushie
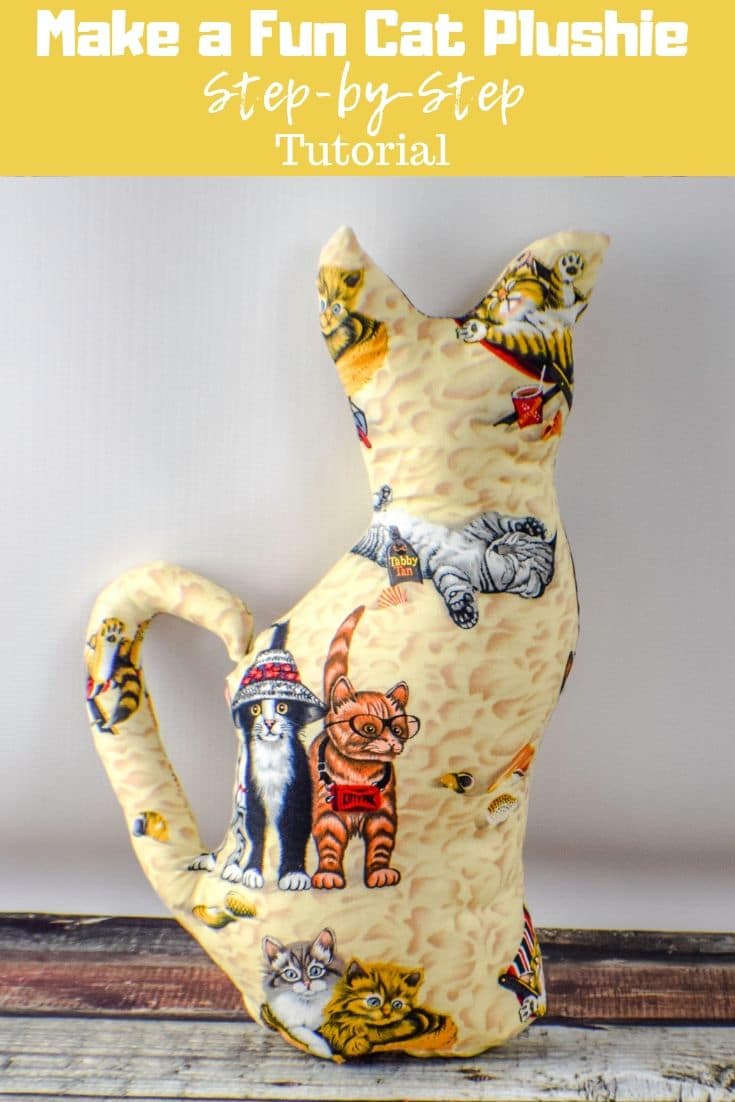
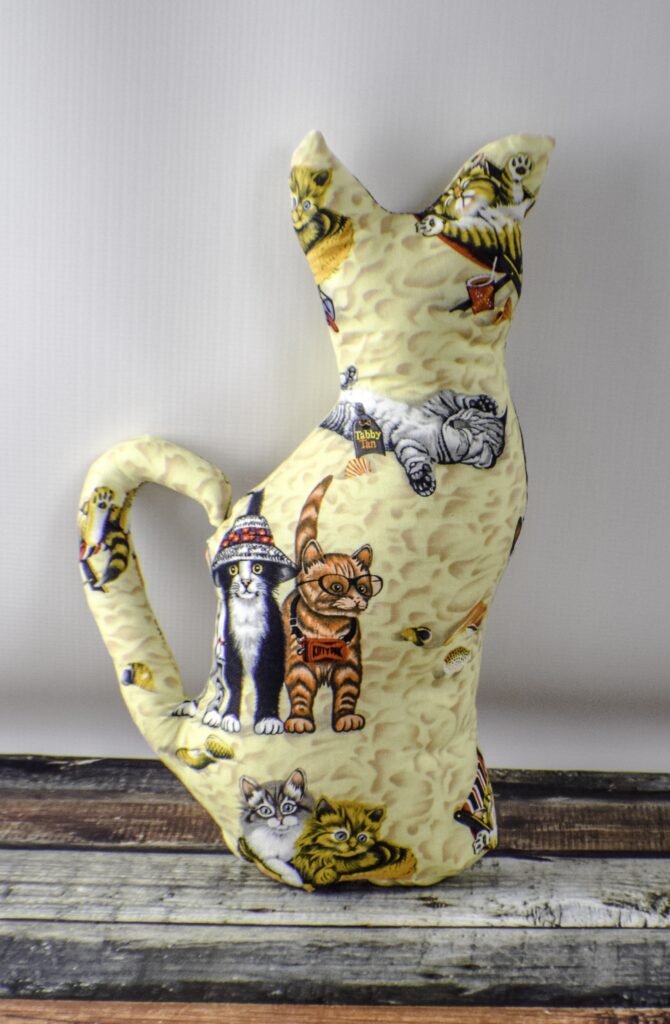
As I stated in my last post I had this fun summer kitten fabric that I really wanted to sew. I decided to make this fun cat plushie out of this summer kitten fabric. This cat plushie is super simple to make using basic sewing skills. This plushie is fairly large and can stand up all on its own. Add a little weight and you can use it as a door stop. Either way if you are a cat lover this is the project for you. The pattern is free and easy to put together.
I found these beach going kittens at JOANN Fabric & Craft Stores![]() but you can head to Hobby Lobby or Fabric.com to get the perfect fabric for your cat plushie. I left my plushie without a face because of the cool fabric but you could embroider a cute cat face on your plushie. This post contains affiliate links that if you click on them and make a purchase I may receive a small commission at no extra cost to you.
but you can head to Hobby Lobby or Fabric.com to get the perfect fabric for your cat plushie. I left my plushie without a face because of the cool fabric but you could embroider a cute cat face on your plushie. This post contains affiliate links that if you click on them and make a purchase I may receive a small commission at no extra cost to you.
What you will need: how to make a fun cat plushie
- Pattern Pieces 1
- Pattern Piece 2
- 1/2 yd fabric
- Polyfill
- Standard sewing supplies
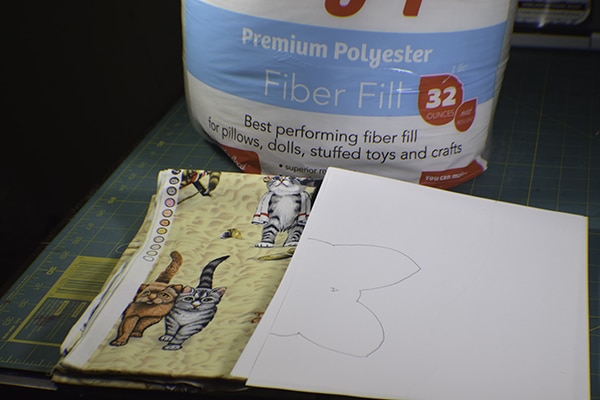
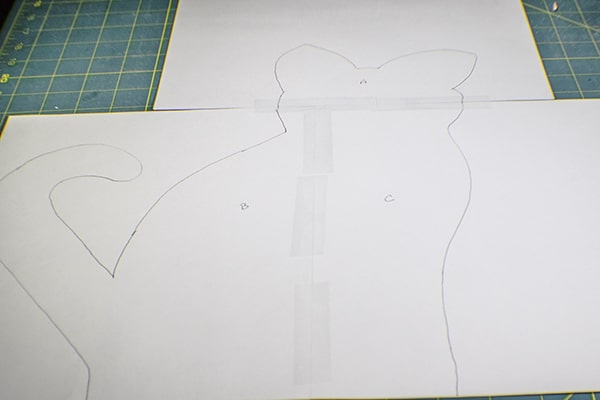
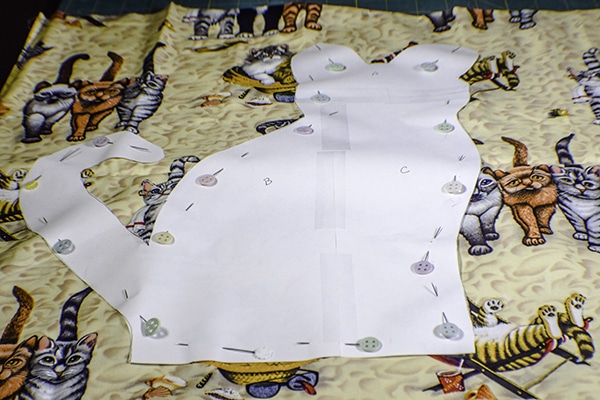
Step 1: Print out the Pattern
Print out the 4 pattern pieces using the links above. There are three pieces in the first set and one piece in the second. Tape the first set of pieces together to form the body of the cat. The other piece is the bottom.
Step 2: Cut out the fabric
Place the pattern onto your fabric and cut two body pieces and one bottom piece.
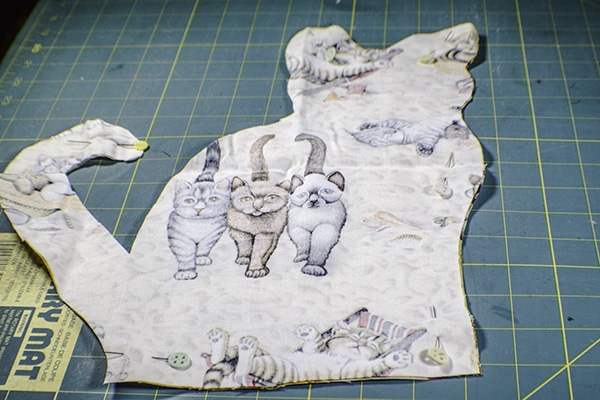
Step 3:Stitch the body
Place the two body pieces right sides together and stitch all the way around using a 1/4″ seam allowance and leaving the bottom open. When you come to a corner leave the needle in and lift up the presser foot and redirect it to the next direction. Clip the tips of the ears without cutting through the stitching so that you get a nice point.
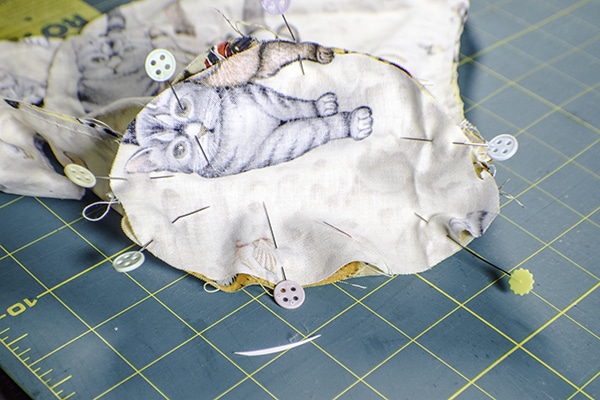
Step 4: Add the bottom
Carefully pin the oval bottom piece to the bottom of the body right sides together. You may have to adjust the size of the oval to get it to fit. Sew around the oval using a 1/4″ seam allowance. Leave an opening in the bottom so that you can turn and stuff the plushie.
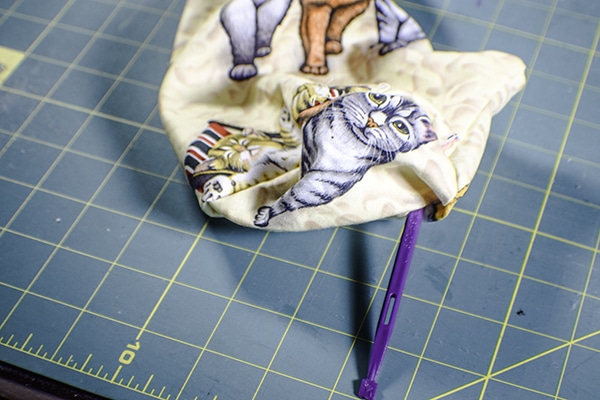
Step 5: Turn the fabric
Turn the fabric right sides out. Push out the tail and the ears using a poking device like a chopstick or my favorite That Purple Thing. The tail can be a little fidgity but it is not too bad. Just take your time.
Step 6: Stuff the plushie
Using polyester fiberfill stuff the fabric. Again I used That Purple Thing to help with stuffing the ears and tail. Again the tail can be a bit fidgity but it isn't too bad. I stuffed my cat plushie pretty full but it is up to you how much filler you want to include in yours.
Step 7: Sew the opening closed
Once the plushie has been stuffed completely sew the opening closed using ladder stitch. If you are unfamiliar with ladder stitch check out this video. The beauty of ladder stitch is that it is virtually invisible. You can close up your opening without anyone knowing it was there.
I hope you enjoyed this project. If you would like more sewing and crafting projects sign up for our newsletter and receive access to our free printables library.