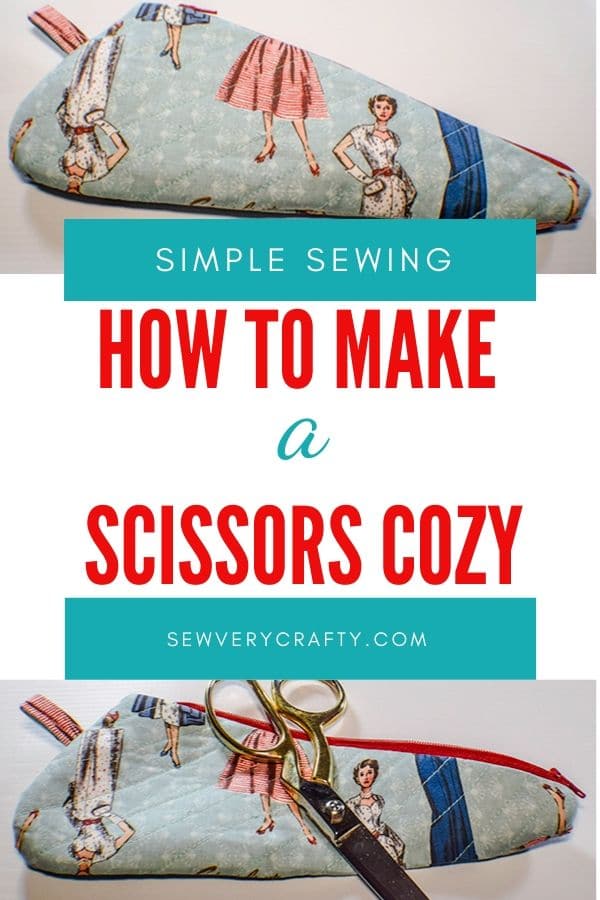
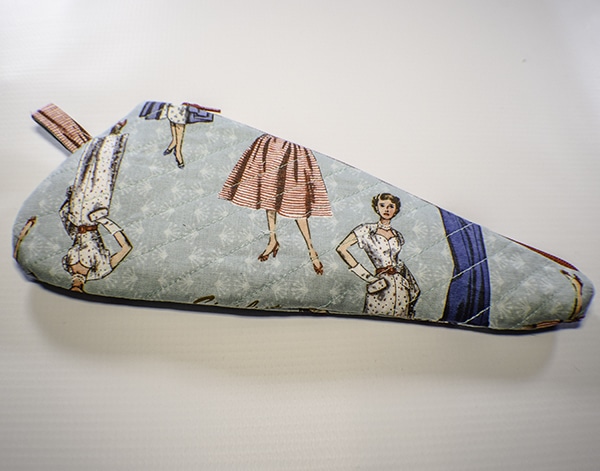
How to Make a Scissors Cozy
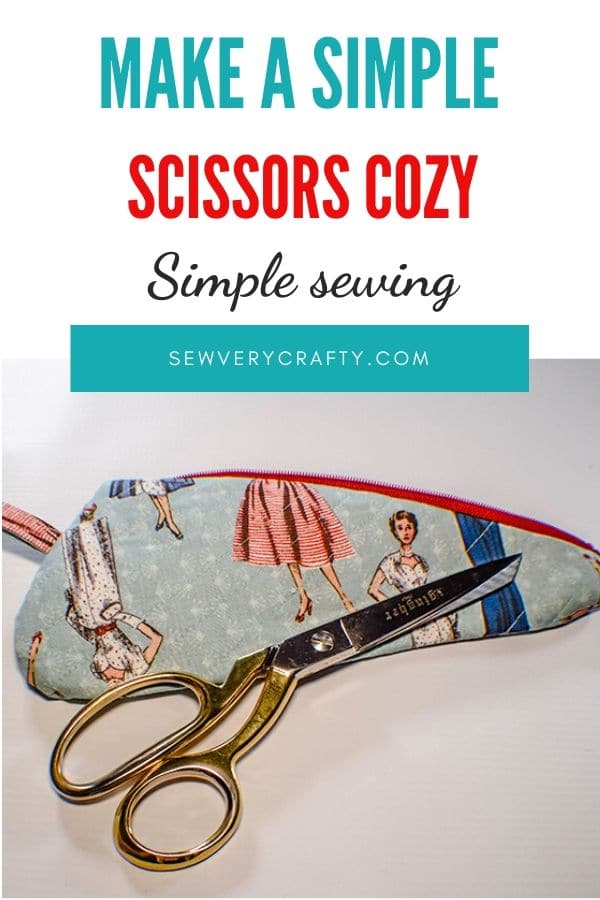
Protect your fabric scissors with this terrific scissors cozy. It is a fun and functional sewing project that anyone with basic sewing skills can make. I love creating sewing related projects and I found this one on YouTube and had to recreate it for you. Even though this project has a zipper it is a simple project and the perfect way to practice your zipper sewing skills. Just get out that zipper foot that came with your machine it is a simple process.
I chose a fun Simplicity fashion fabric for my scissors cozy that I purchased at JOANN Fabric & Craft Stores![]() but you could head to Hobby Lobby or Fabric.com to get the perfect fabric for your project. You could even delve into your stash for this one because you only need a small amount of fabric for this project. This post contains affiliate links that if you click on them and make a purchase I may receive a small commission at no extra cost to you. As an Amazon Associate I earn fro qualifying purchases.
but you could head to Hobby Lobby or Fabric.com to get the perfect fabric for your project. You could even delve into your stash for this one because you only need a small amount of fabric for this project. This post contains affiliate links that if you click on them and make a purchase I may receive a small commission at no extra cost to you. As an Amazon Associate I earn fro qualifying purchases.
What you will Need: How to Make a Scissors Cozy
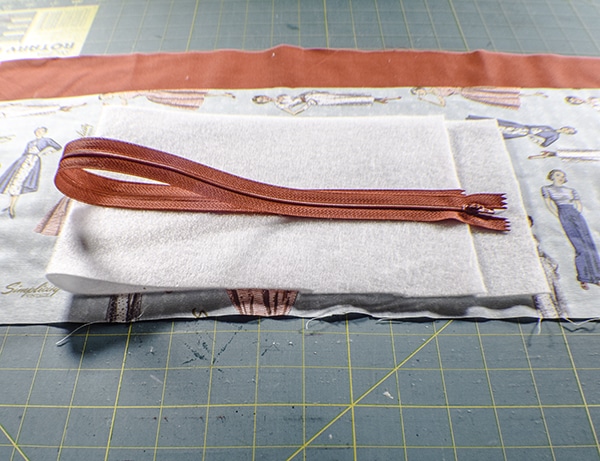
- 1/4 yd outer and lining fabric
- 1/4 yd Fusible Fleece
- 1 10″ zipper
Step 1: Measure your scissors
Measure your scissors to determine the size of your scissors cozy. My scissors are 8 1/2″ long and my handles are 3″ wide.
Step 2: Cut your Fabric
Cut a rectangle of outer and lining fabric that is 3/8″ longer than your scissors or in my case 8 7/8″ and 4 1/2 longer than the width of your scissors or 7 1/2″ So your outer and lining fabric will measure 8 7/8″ x 7 1/2″. Cut a 2″ x 2″ piece of outer fabric for the zipper tab and a 2″ x 2″ piece of outer fabric for the hanger.
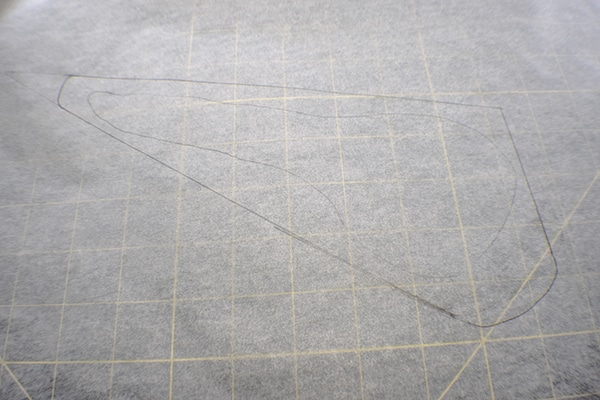
Step 3: Trace out your Pattern
Lay your scissors on a piece of paper and and trace around them. Draw a triangle 3/8″ away from the tracing and round the corners as shown. Cut out the Triangle.
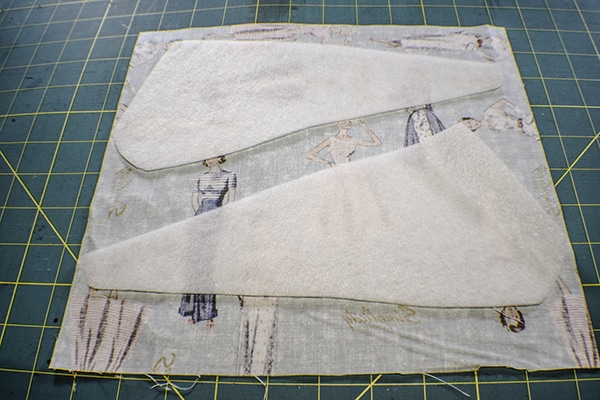
Step 4: Cut and fuse the Fleece
Cut out two pieces of fusible fleece using the pattern making sure that the pieces are mirror images of each other. To do that, simply flip over the pattern piece to cut out one of the pieces or cut the fleece while folded. Place the two pieces of fleece onto the outer fabric and fuse following the manufacturers instructions.
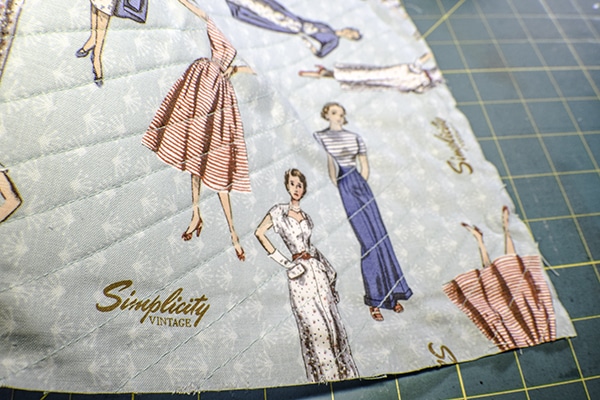
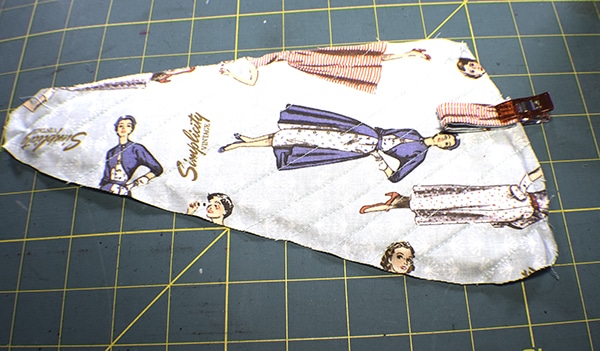
Step 5: Quilt the outer fabric
Starting in the corner sew straight lines evenly across the outer fabric until you reach the other corner.
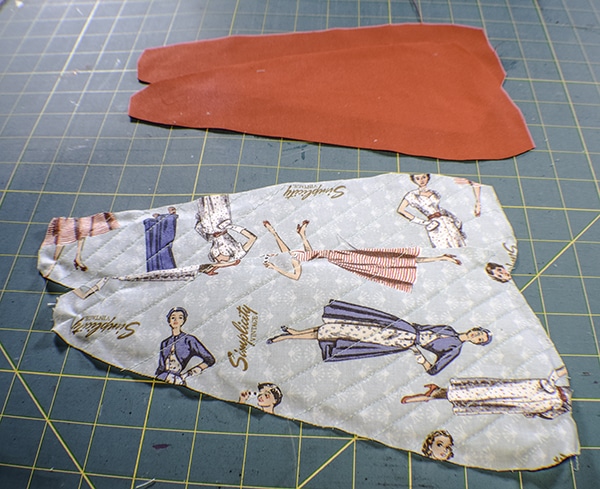
Step 6: Add the lining
Place the lining right sides together with outer fabric and clip or pin together. Cut out the pieces following the outline of the fusible fleece 3/8″ outside the edge to account for seam allowance. Separate the lining from the outer pieces.
Step 7: Add the Hanger
Fold the 2″ x 2″ piece so that the raw edges meet in the center.Fold the piece in half again and press. Stitch on both sides. Fold in half and place in the center of the end of one of the outer triangle pieces and clip. Tack into place.
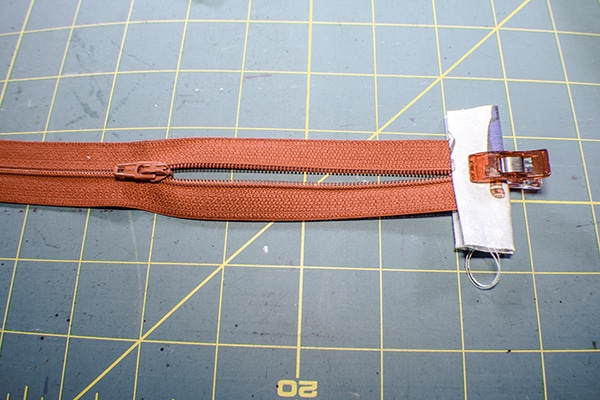
Step 8: Add the Zipper Tab
Fold the zipper tab so that the raw edges meet in the middle. Fold in half again. Place the zipper tab at the shortened pull end of the zipper. Trim the tab to meet the edges of the zipper tab to meet the sides of thew zipper. Stitch along the bottom. I shortened my zipper on both ends by simply putting the zipper pull in the middle of the zipper and cutting off both ends. My zipper measured 9 1/2″.
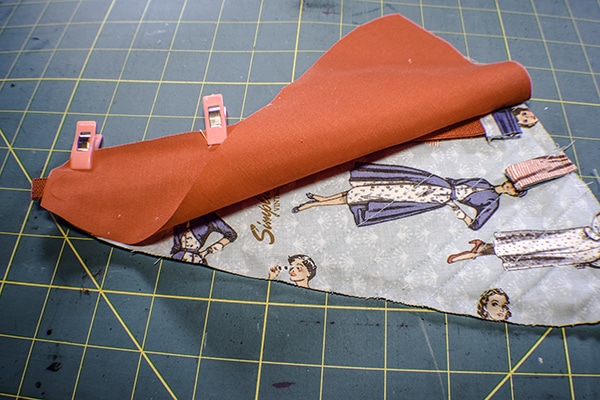
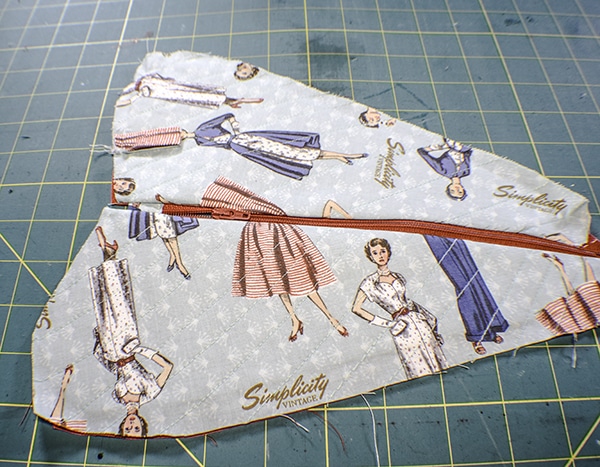
Step 9: Add the zipper
Place the outer piece right sides up on your work surface. Lay the zipper right sides down 3/8″ from the triangle end and then the lining piece right sides down and clip the raw edges together. Make sure that the zipper is open half way so that when you sew the zipper you are sewing on a flat surface. When you reach the zipper pull, stop with the needle down and move the zipper pull back to where you have sewn and continue to sew until you have finished. Press. Repeat for the other side of the zipper. Top stitch both sides of the zipper.
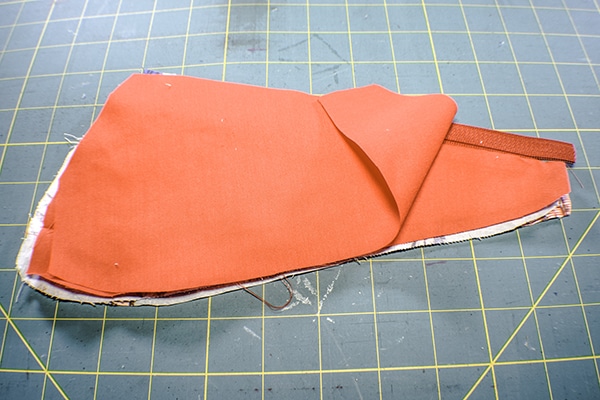
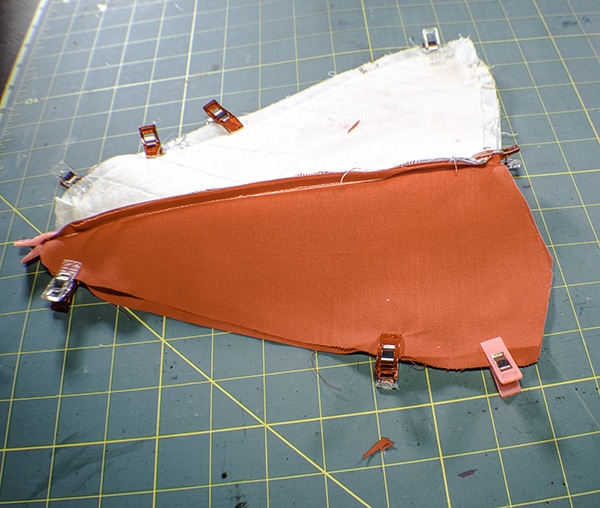
Step 10: Stitch the cozy
Unzip the zipper half way. Match the lining pieces together and the outer pieces together and clip. Starting at the lining, stitch all the way around the cozy but leave an opening in the lining for turning. Clip the curves of the cozy.
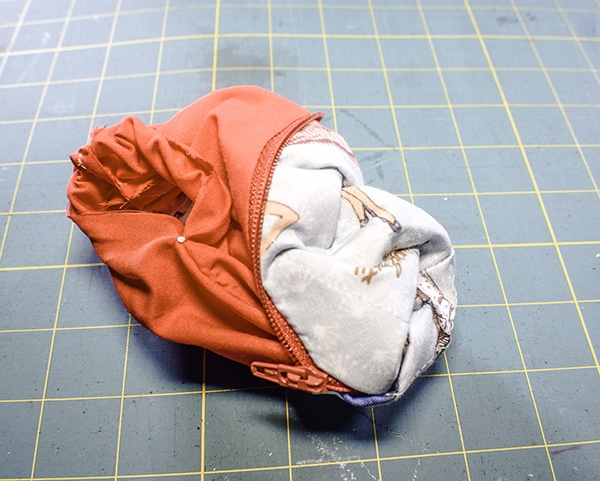
Step 11: turn the scissors Cozy
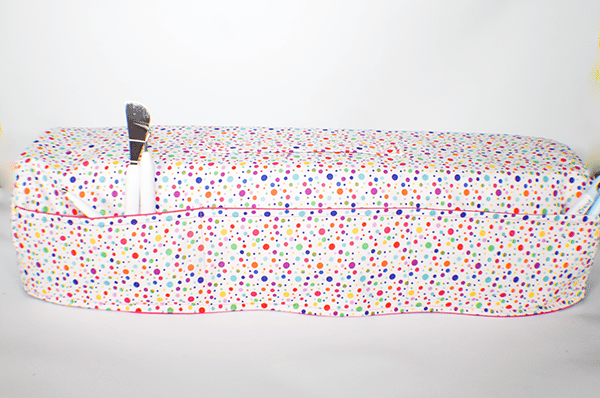
Turn the cozy right sides out pushing out all of the curves and corners. Stitch the opening closed using ladder stitch or your machine. Push the lining into the outer cozy. Insert your scissors and your are done.
I hope you enjoyed this project. If you would like more sewing and crafting projects sign up for our newsletter and receive access to our free printables library.
If you would like video tutorials of some of Sew Very Crafty's most popular posts subscribe to our free YouTube channel Here.