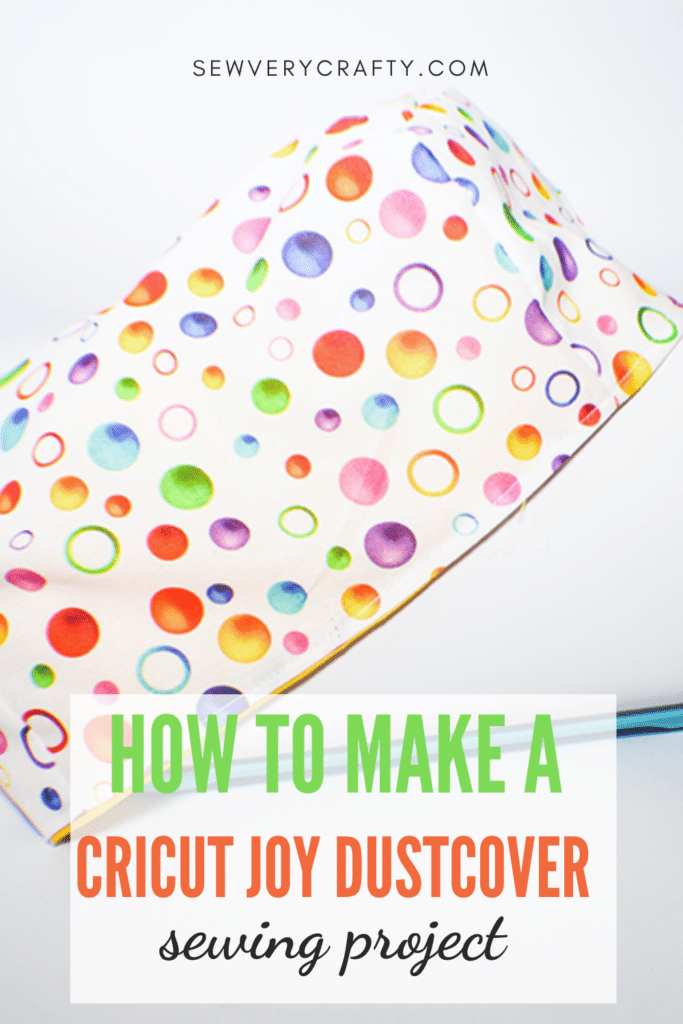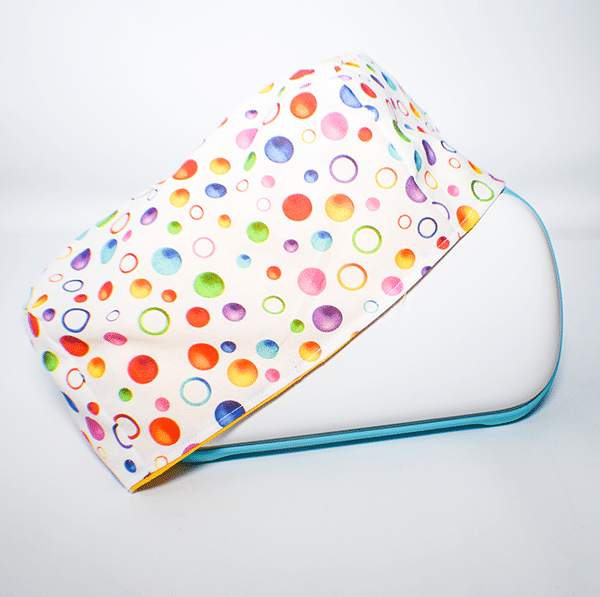
I recently purchased a Cricut Joy and needed a dustcover for it so I designed this one. This Cricut Joy dustcover is super simple to make and can be embellished with iron on vinyl for that special touch. If you are a Cricut lover like I am this is perfect for you. The pattern, as usual, is free. Just click on the link and download it and it is all yours. If you would like more Cricut projects head over to my new website paperdaisy.com for loads of Cricut and sublimation crafts. If you would like a Cricut Maker 3 Dustcover check out this tutorial.
I used standard quilting cotton for this project that I purchased at JOANN Fabric & Craft Stores![]() online and picked up in store. You could head to Amazon Fabrics or
online and picked up in store. You could head to Amazon Fabrics or
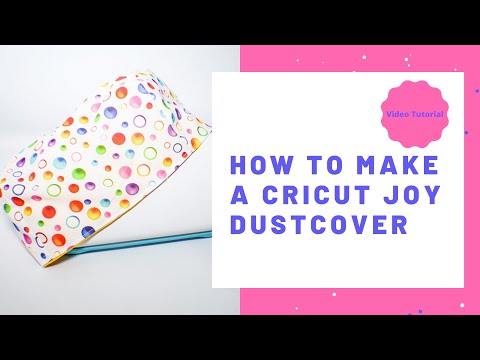
If you would like a video tutorial of this project head over to YouTube and check out my video. While you are there subscribe to my free YouTube channel.
What you will Need: How to Make a Cricut Joy Dustcover
- Pattern you can get by clicking on this link
- 1/2 yd outer fabric
- 1/2 yd lining fabric (Optional)
- Sewing Machine
- Standard Sewing Supplies
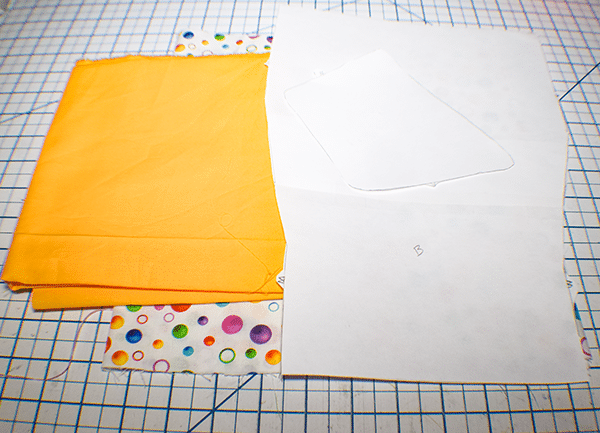
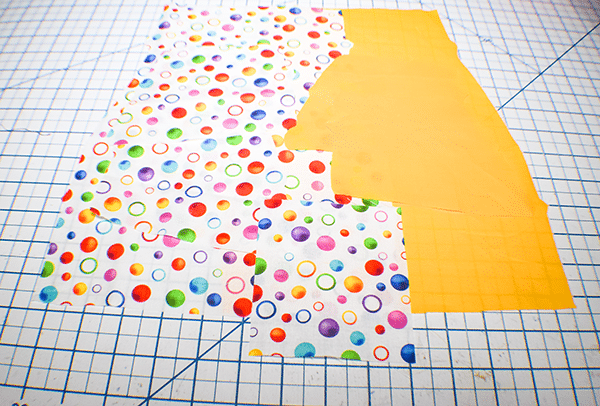
Step 1: Cut out Your Fabrics
There are three pattern pieces to this project. Two sides and a body. The body pieces need to be taped together so match the A piece with the B piece and tape them then cut. You will notice that there are markings on the sides and the body that need to be matched up so don't forget to cut those out. You can simply hem the outer fabric around the bottom and have a one layer cover but I made mine lined so I cut the outer fabric and a lining fabric from each of the pattern pieces. Cut a 4″ x 4 1/2″ piece if outer fabric for the handle.
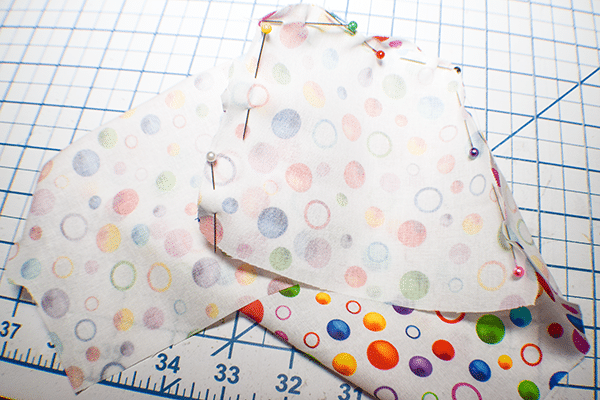
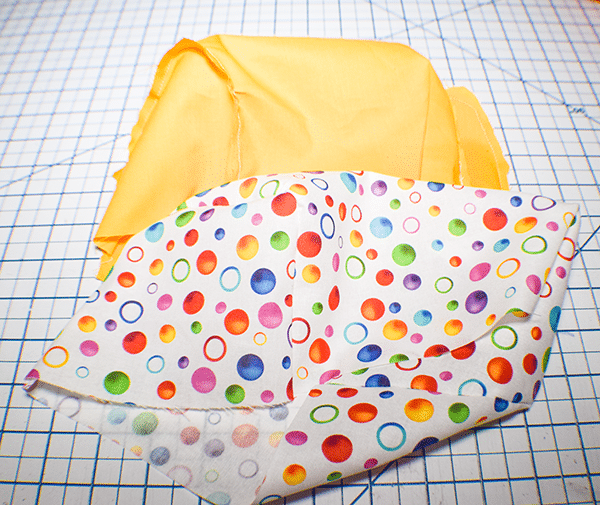
Step 2: Add the Sides
Match the single triangle marks on the sides to the marks on the body and pin. Continue pinning around until you reach the double triangles and match those. Do this for both sides. Stitch the Sides to the body using a 1/4 seam allowance. Repeat for the lining but leave an opening in the lining for turning. If there is excess fabric at the bottom just trim it off.
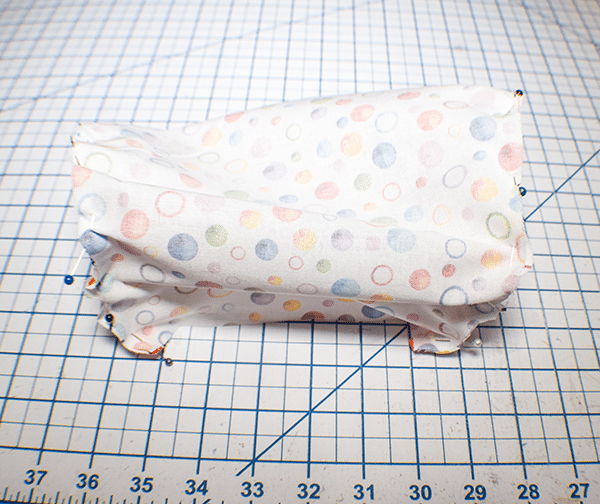
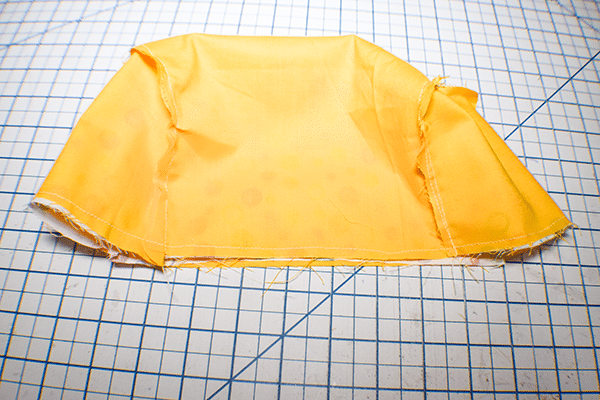
Step 3: Add the Outer Fabric to the Lining
Place the outer cover inside the lining cover so that they are right sides together. Stitch all the may around the bottom of the cover using a 1/4″ seam allowance.
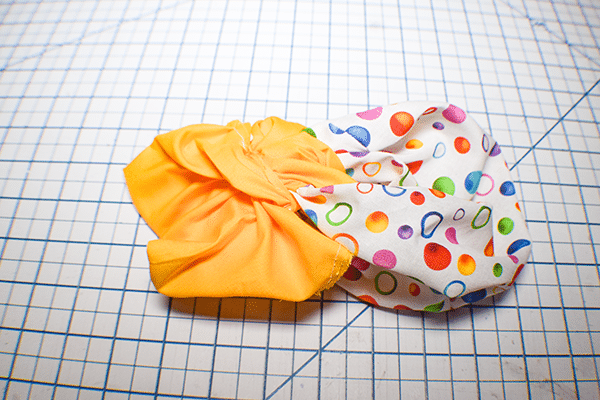
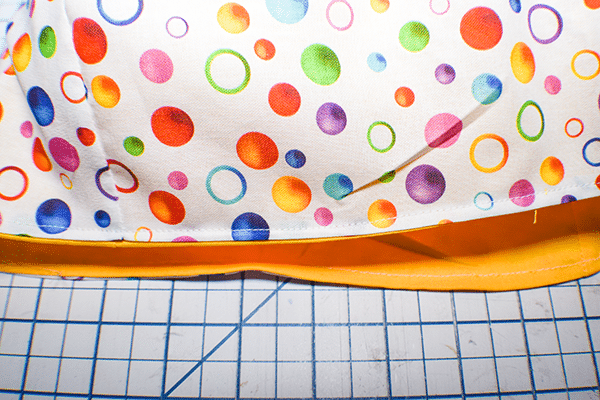
Step 4: Turn Right Sides Out
Turn the piece right sides out through the opening you left in the lining. Press. Close the opining using ladder stitch or your machine. Topstitch around the bottom to secure the lining.
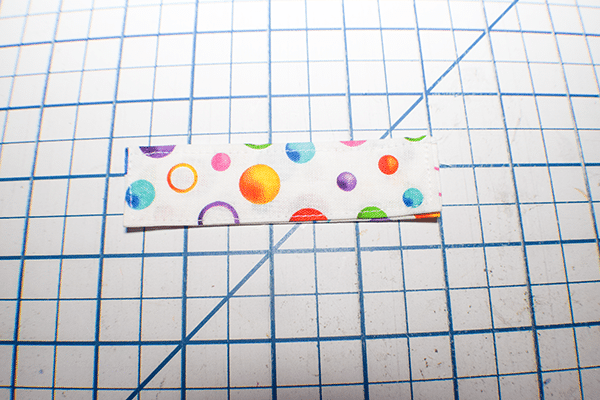
Step 5: Create the Handle
Take the handle piece and fold the short ends in about 1/4″. Fold the long edges to the center and press. Fold in half lengthwise and press again. Topstitch all the way around the handle.
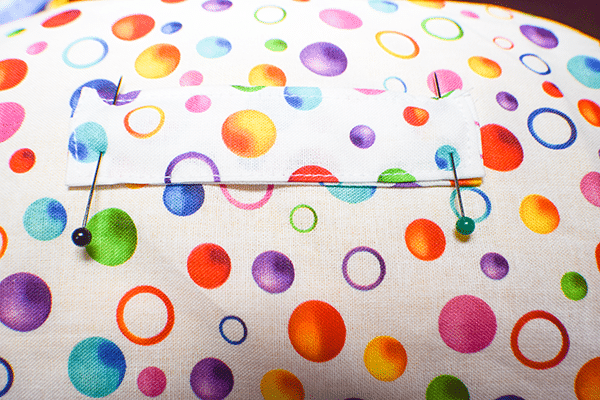
Step 5: Add the Handle
Find the center of the top of the dustcover and place the handle. Stitch a box at each end of the handle through all layers to secure. You have now finished your Cricut Joy Dustcover.
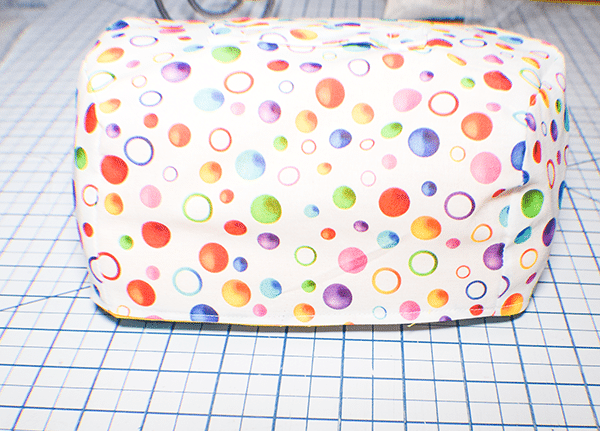
I hope you enjoyed this simple Joy dustcover project. If you would like more sewing and crafting projects subscribe to our free newsletter and receive access to our free Printables library.
If you would like video tutorials of some of Sew Vey Crafty's Most popular posts subscribe to our free YouTube channel here.