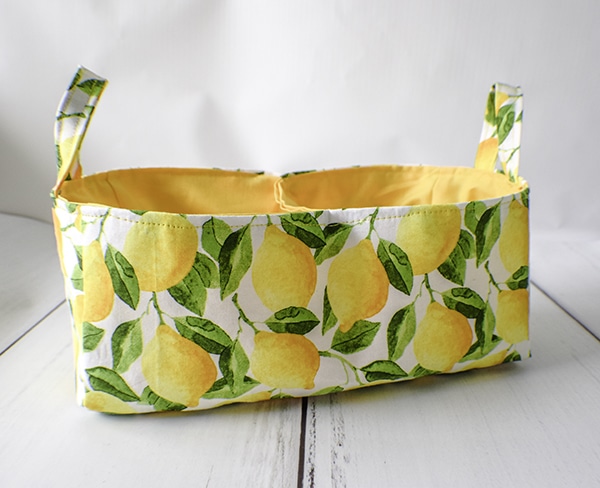
How to Make a Fabric Divided Basket
I can't get enough of these fabric divided baskets so I thought I would share this project with you. It is a fun little project to make and so functional. These divided fabric baskets come together quickly once you know how to make them so I urge you to make several. I was inspired to create this project from some fabric I ordered from Joann's. For some reason it just seemed like the perfect project for these beautiful lemons. I turned to Sewspire for the measurements and the size was perfect for what I wanted. This pattern could easily be modified to make it larger or smaller if you like.
As I said, I purchased the exterior and lining fabrics from JOANN Fabric & Craft Stores![]() . Spring is in the air and I just loved the lemons. I ordered the fabrics online but you could head to Hobby Lobby or Fabric.com to get the perfect fabrics for your project. This post contains affiliate links that if you click on them and make a purchase I may receive a small commission at no extra cost to you.
. Spring is in the air and I just loved the lemons. I ordered the fabrics online but you could head to Hobby Lobby or Fabric.com to get the perfect fabrics for your project. This post contains affiliate links that if you click on them and make a purchase I may receive a small commission at no extra cost to you.
What You will Need: How to Make a Fabric Divided Basket
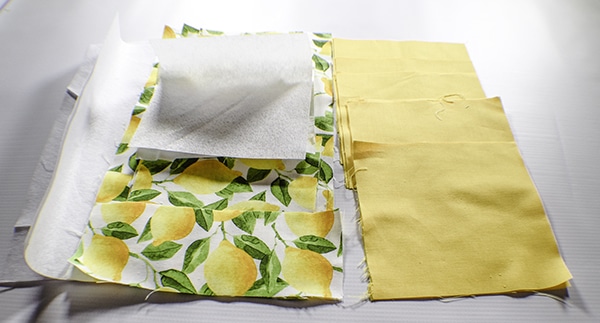
- 1/2 yd exterior and lining fabric
- 1/2 yd medium weight interfacing (optional)
- Standard sewing supplies
Step 1: Cut Your Fabrics
- (3) 6″ x 12″ exterior body panels
- (2) 6″ x 6″ exterior body panels
- (10) 6″ x 6″ interior body panels and exterior side panels
- (2) 3″ x 8″ handles from either exterior or lining fabric
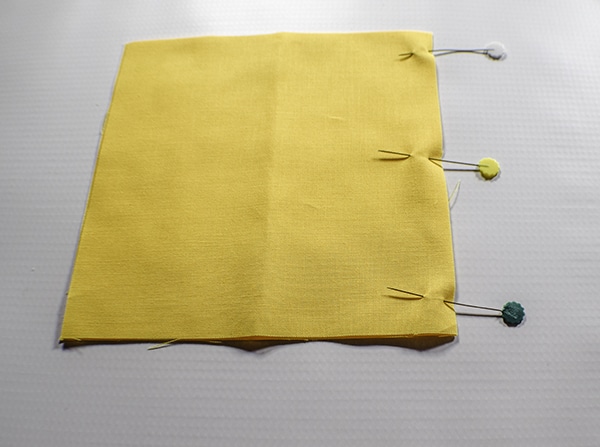
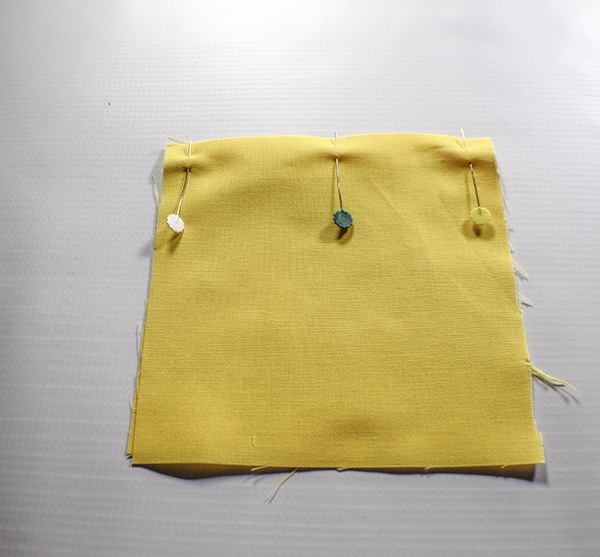
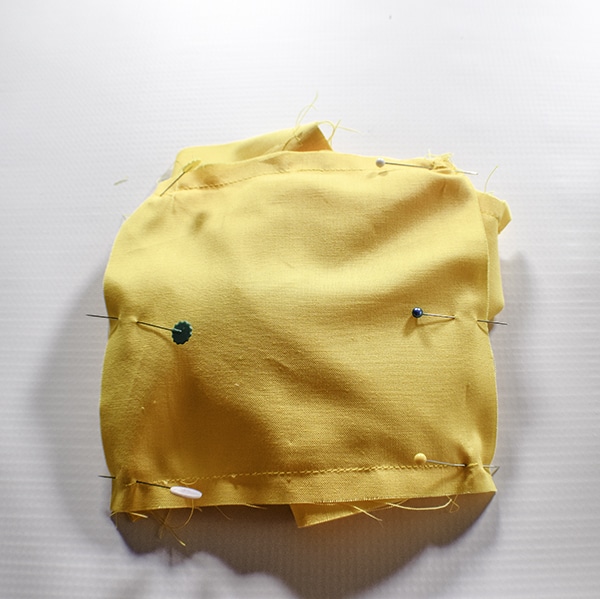
Step 2: Create the first part of your inner cube
You will create two identical inner baskets. Each inner basket uses five 6″ x 6″ panels. I used my yellow lining fabric for my basket. Take one panel and stitch it to the other panel right sides together along the right edge using a 3/8″ seam allowance. Stitch another panel to the first panel along the left edge right sides together. You should have three panels stitched together. This is the beginning of your cube.
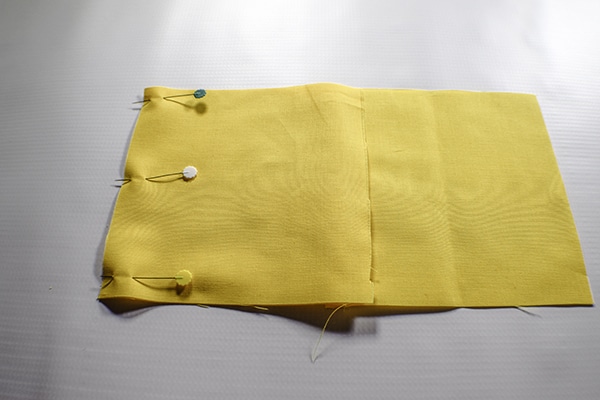

Step 2: Create the Second part of your inner cube
Take one panel and place it right sides together with a second panel and stitch along the top again using a 3/8″ seam allowance.
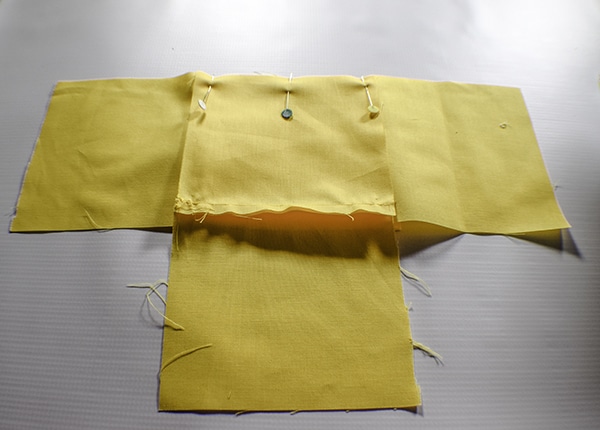
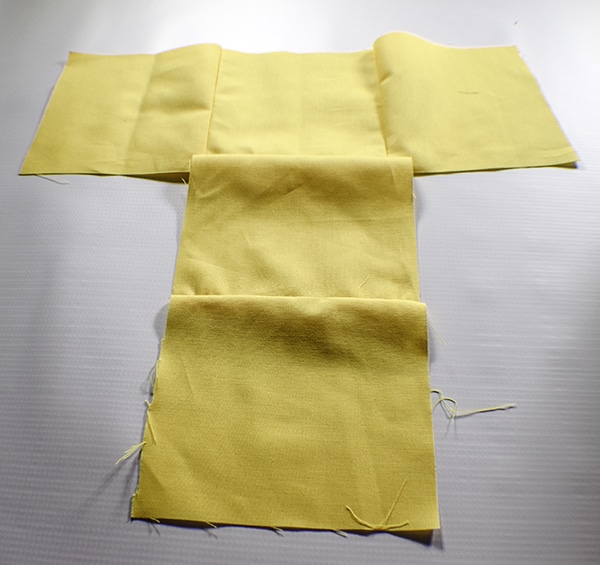
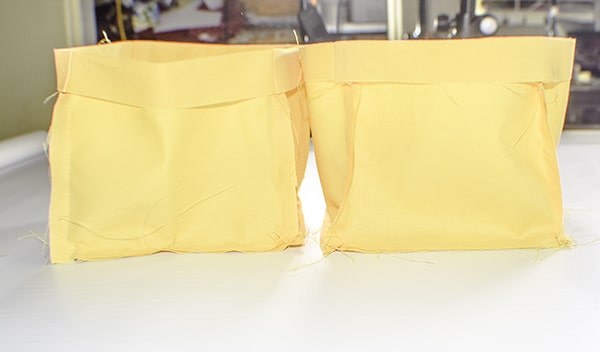
Step 3: Add the second piece to the first
Place the second piece of two panels right sides together with the center panel of the first tri-panel piece that you stitched. Stitch from seam to seam. You will notice that you have created a large “T”. Take the side of the bottom panel of the “T” and place it right sides together with the side of the corresponding panel on the tri-panel piece and stitch from seam to seam. You will see that the cube is taking shape. Stitch the remaining sides right sides together seam to seam until the cube is complete. Create the second cube exactly the same way. Fold down the top raw edges by about 1″ and press.
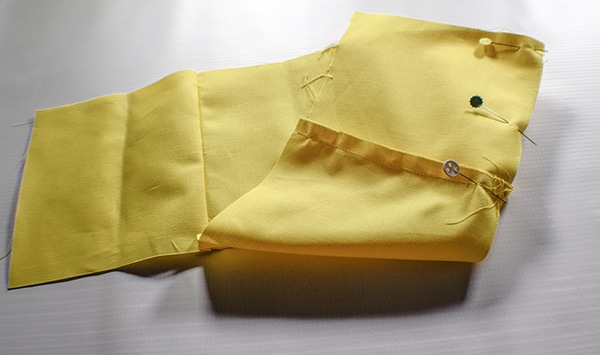

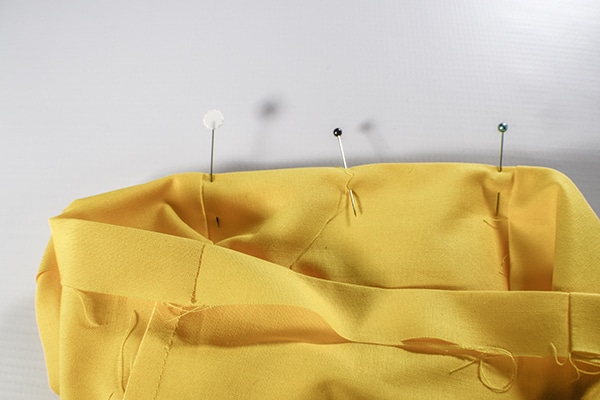
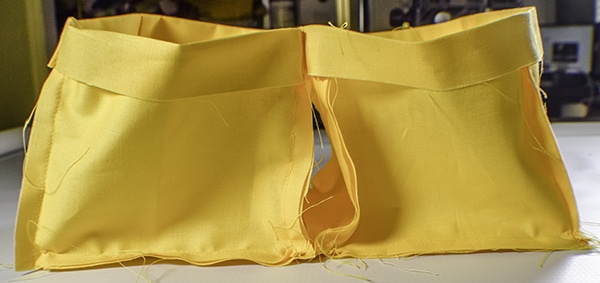
Step 4: Stitch the cubes together
Fold the top raw edge down 3/4″ and press. Place the tops of the cubes together and stitch using a 3/8″ seam allowance.
Step 5: Create the outer basket
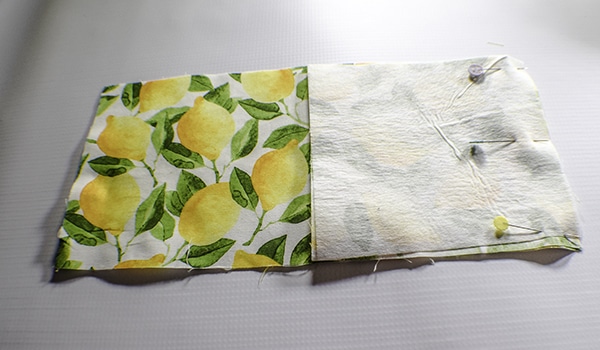
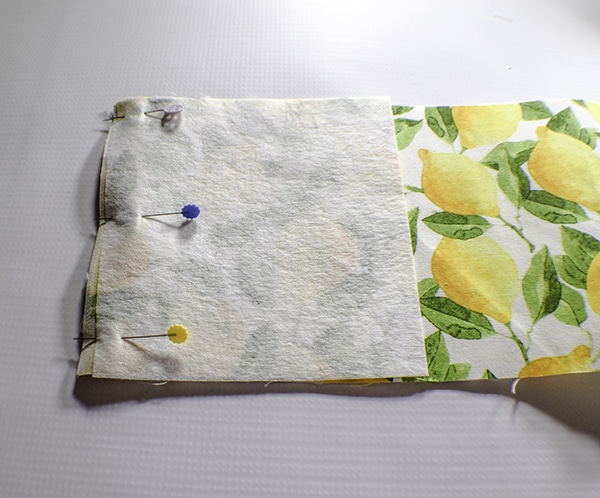
If you are going to add interfacing now is the time to do it. I added Pellon 808 to my outer fabric pieces to add a little structure because I was using quilting cotton. Just follow the manufacturer's instructions for that process. Create the outer basket using the rectangle pieces exactly the same way that you created the cubes except that you are creating a large rectangle. Start with a large rectangle and add the squares to either side and stitch as you did for the cubes. Then stitch the two remaining rectangles together along the long edges. Continue on as you did before attaching the piece with the two long edges to the piece with the three panels. Finish the rectangular box in the same way.
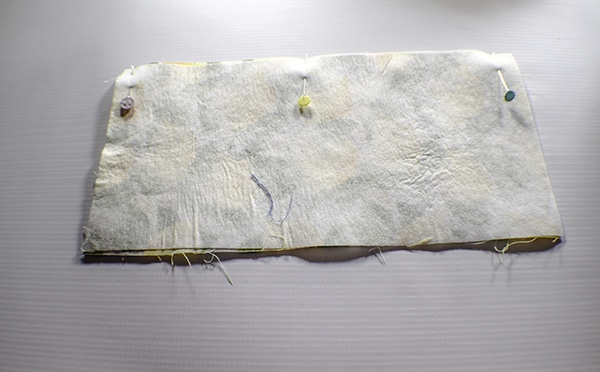
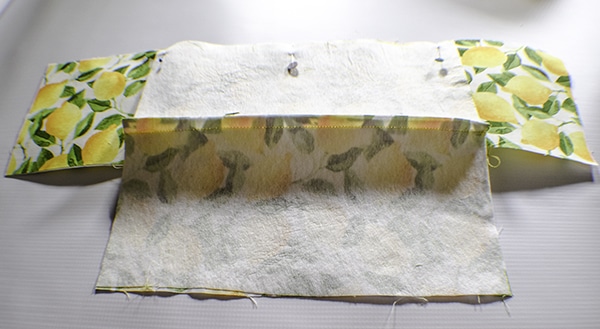
Turn in the raw edges by 3/4″ and press.
Step 6: Create the Handles
Create two handles by folding the raw edges into the center and press. Fold on half again and press. Stitch along both sides of the handle pieces to enclose the raw edges.
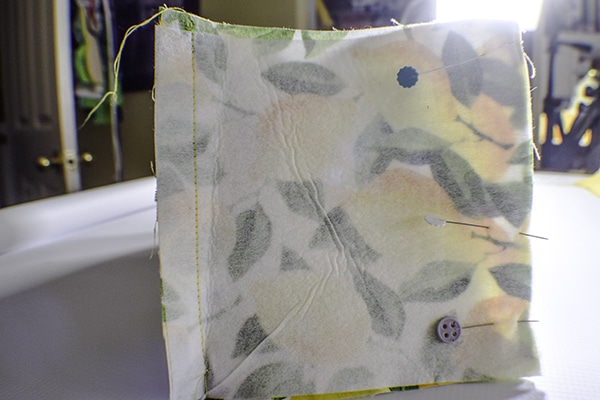
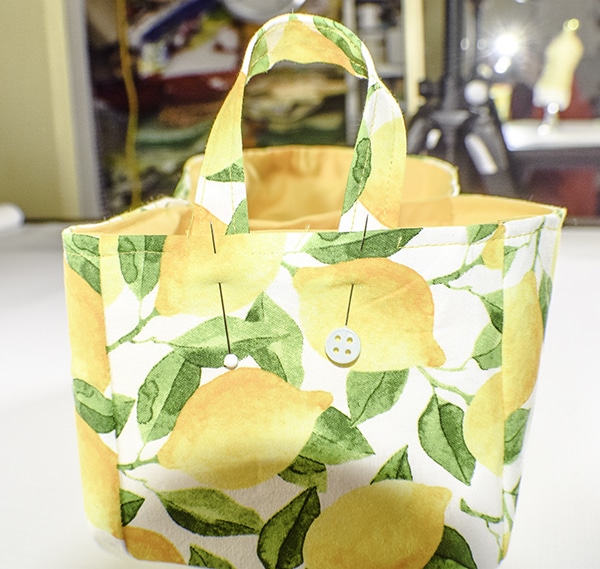
Step 6: Finish the Basket
Place the cubes inside the rectangle and pin or clip so that the edges are even all the way around. Insert the handles at each end of the basket so that they are even on both ends. Pin or clip in place. Stitch along the top of the basket to finish it off and to secure the handles. You have now finished your fabric divided basket.
I hope you enjoyed this project.If you would like more sewing and crafting projects sign up for our newsletter and receive your free eBook containing 15 handbag patterns and tutorials.
If you would like video tutorials of some of Sew Very Crafty's most popular posts subscribe to our free YouTube channel Here