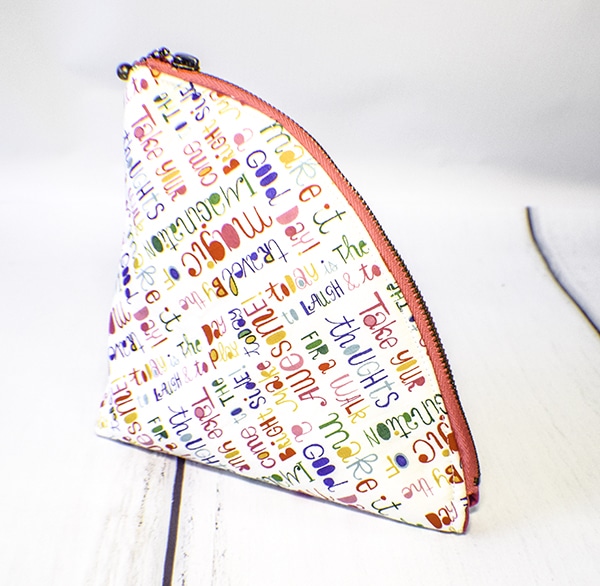
How to Make a Fan Pouch
Once again I am making a pouch project from Sewing Times and this one is adorable. This project is super simple and is fun to make.This fan pouch is a fun and functional little pouch that can store your small items in a fun way. I love the shape of this pouch. Choose some fun fabrics and really make it your own.
I chose some fun fabrics that I got from Fabric Frenzy. But you could go to Hobby Lobby, Fabric.com, or onlinefabricstore.net for the perfect fabric for your your fan pouch. You could also delve into your stash for this simple sewing project. This post contains affiliate links that if you click on them an make a purchase I may receive a small commission at no extra cost to you. As an Amazon Associate I earn from qualifying purchases.
What You will need: How to Make a fan Pouch
- Pattern that you can get by clicking on this link
- 1/4 yd or less of outer and lining fabric
- 1/4 yd or less of Fusible fleece like Pellon TP971F
- 1 8″ zipper
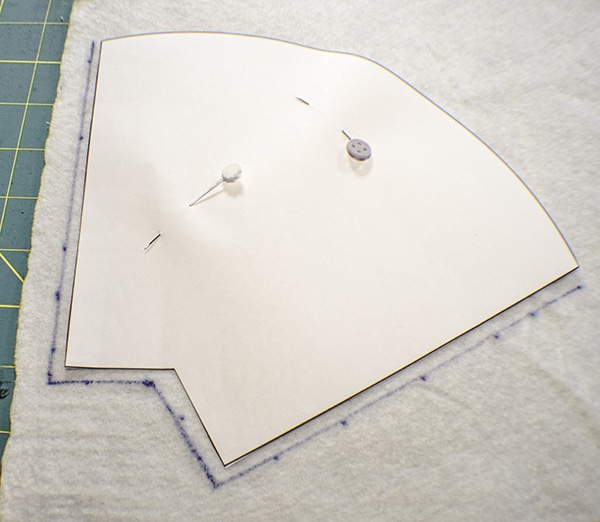
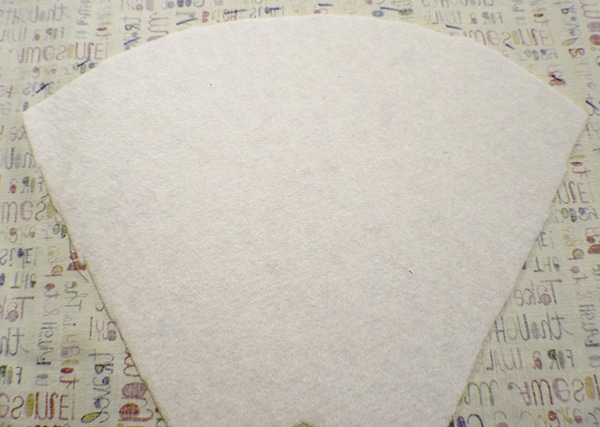
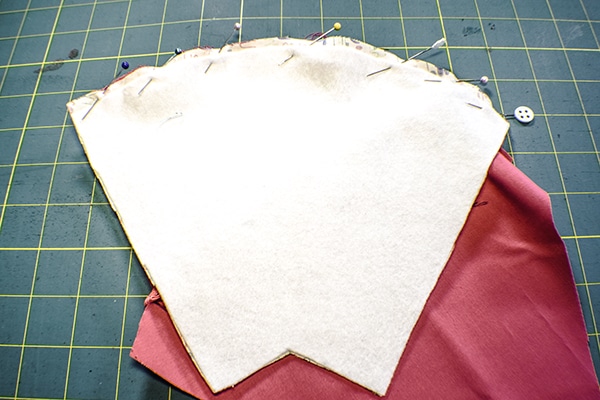
Step 1: Cut your Fabrics
Unfortunately the pattern does not include seam allowance. Start by placing the pattern on your Pellon TP970F and adding 3/8″ seam allowance to all sides but not the curve and cut two pieces. Fuse the fleece to a square of outer fabric that measures 5 3/4″ x 5 3/4″ following the manufacturers instructions. Now add a 3/8″ seam allowance to the curve. This way you will have part of the outer fabric that does not have any fleece on it. Using the two pieces you just cut, cut two pieces of lining fabric.
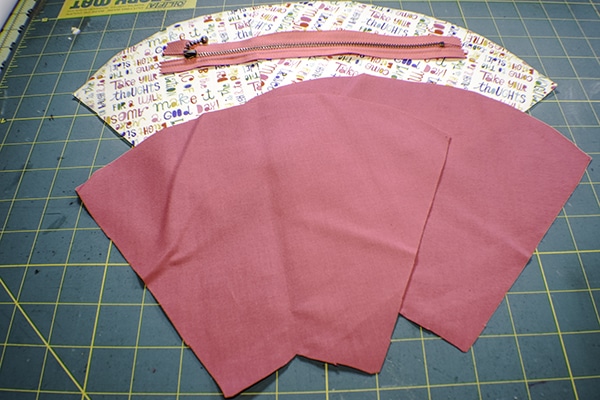
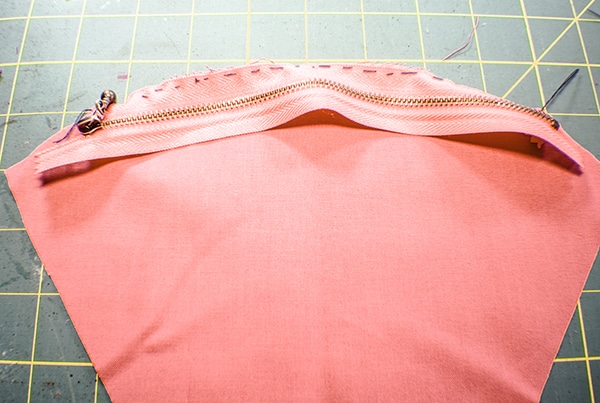
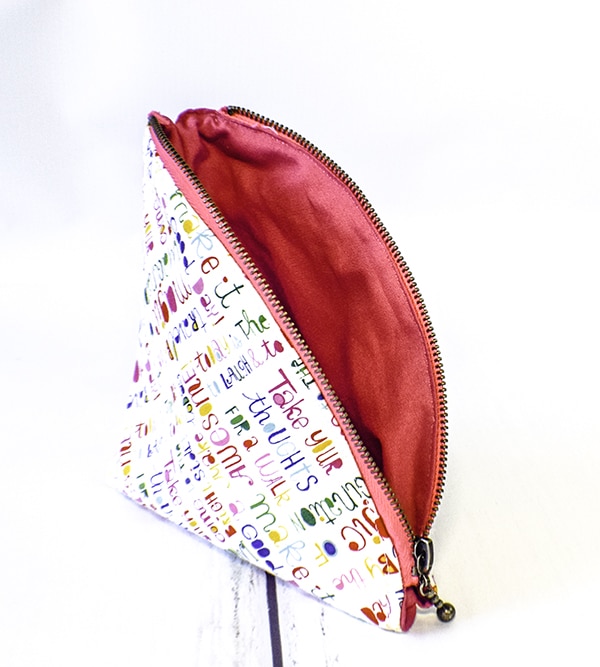
STEP 2: Add the Zipper
Find the center of the zipper by folding it in half, Mark. FInd the center of the curves on the outer and lining fabrics by folding them in half as well and making a mark. Lay a lining piece on your work space right sides up. Place the zipper right sides up on top of the lining and hand baste the zipper to the lining. Fold the ears and tail of the zipper as you stitch. Repeat for the other lining piece. Open the zipper and place the outer fabric wrong sides down matching the center marks. Pin. Stitch the outer fabric to the zipper. Repeat for the other side. Top stitch the zipper on both sides.

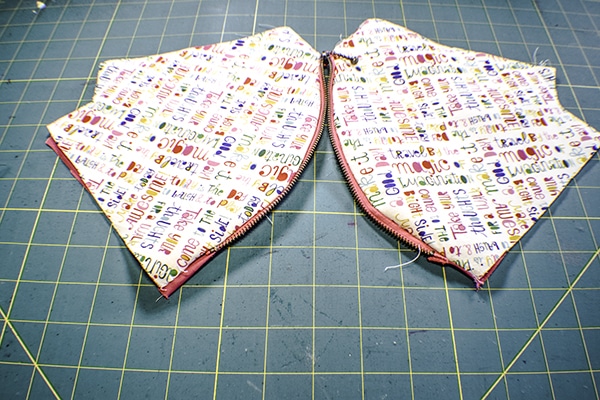
STEP 3: Stitch the fan pouch
Place the outer pieces right sides together and the lining pieces right sides together. Stitch along the sides of both the outer and lining fabric remembering to leave an opening in the lining for turning.

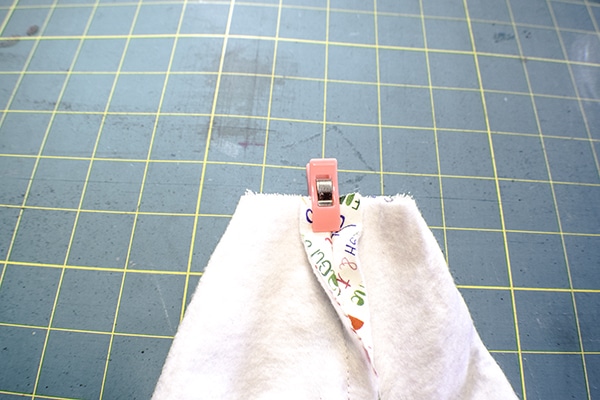
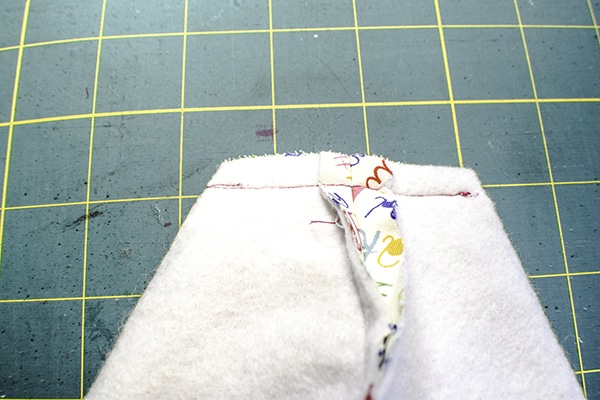
STEP 4: box the bottom
Take the fish tail like bottom and pinch the seams together so that they form a line. You will need to finger press the seams open. Stitch across the line using a 3/8″ seam allowance.
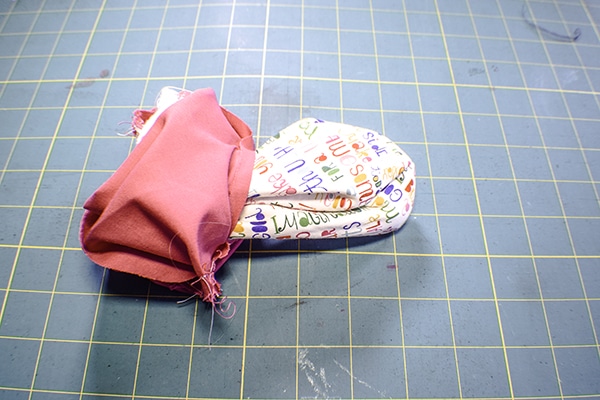
STEP 5: FInish the Fan pouch
Turn the bag through the lining and the open zipper. Stitch the opening closed using ladder stitch and push the lining into the fan pouch. You have now completed this terrific little fan pouch.
I hope you enjoyed this project. If you would like more sewing and crafting projects sign up for our newsletter and receive your free eBook containing 15 handbag patterns and tutorials.
If you would like video tutorials of some of Sew Very Crafty's most popular projects subscribe to our free YouTube channel here.