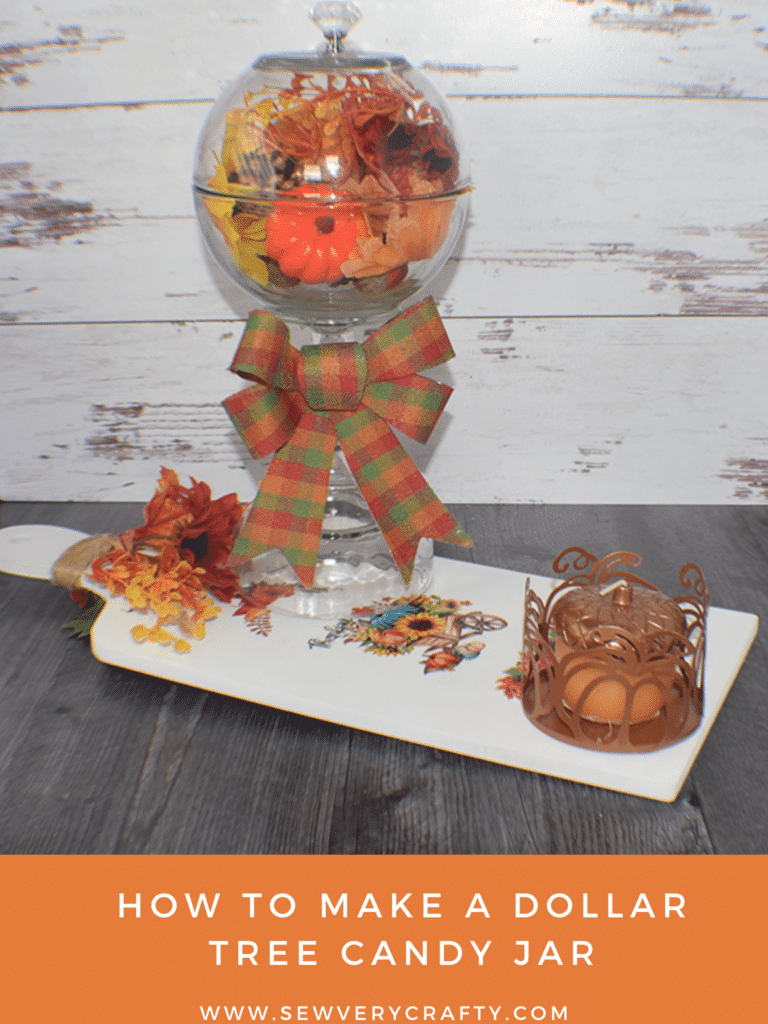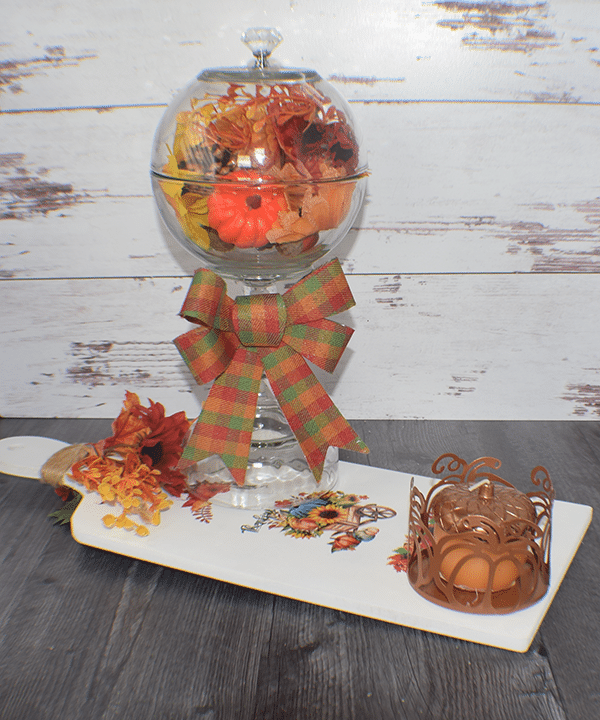
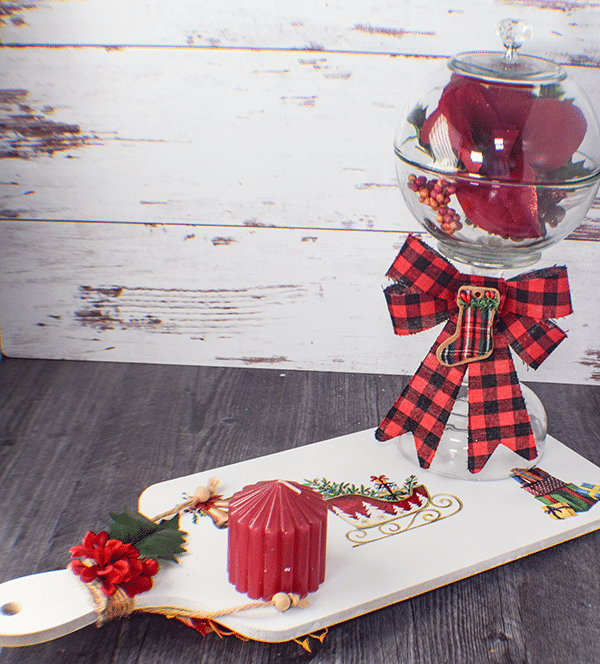
Here we go again. Another Dollar Tree Craft. This time we are making a Simple Dollar Tree Candy Dish. It really does not get any easier than this. You can use it as a candy dish or to put small holiday decorations. I just love this project. Honestly, anyone can create this project. Just head over to Dollar Tree and get what you need. I did add a drawer pull that I got from Amazon but otherwise it is all Dollar Tree. If you would like more Dollar Tree Crafts head over to my Dollar Tree Crafts page.
This post contains affiliate links that if you click on them and make a purchase I will receive a small commission at no extra cost to you. As an Amazon Associate I earn from qualifying purchases.
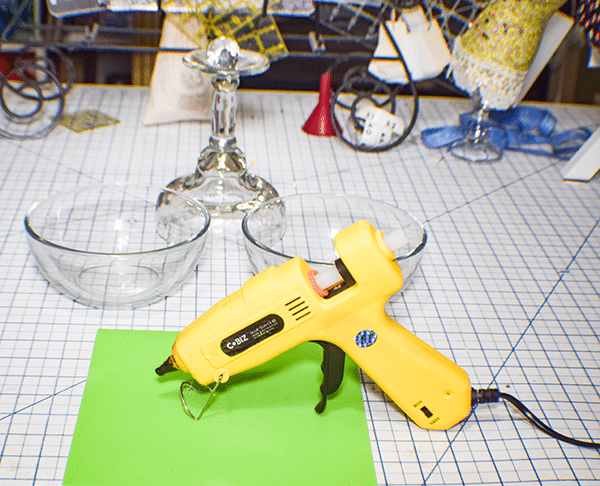
What you will Need: How to Make a Dollar Tree Candy Jar
- 2 Round Dollar Tree Bowls
- 1 Dollar Tree Margarita Glass
- 1 Crystal Drawer Pull
- Hot Glue
- e6000 glue
- Dollar Tree Embellishments
- Dollar Tree Wall Hanger
- Mod Podge
- White paint
- Decorative Hinges
- Autumn Rub-ons
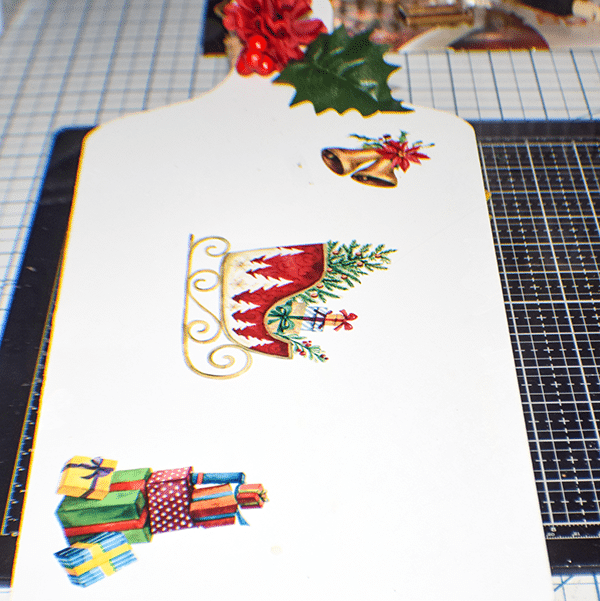
- Christmas Rub-ons
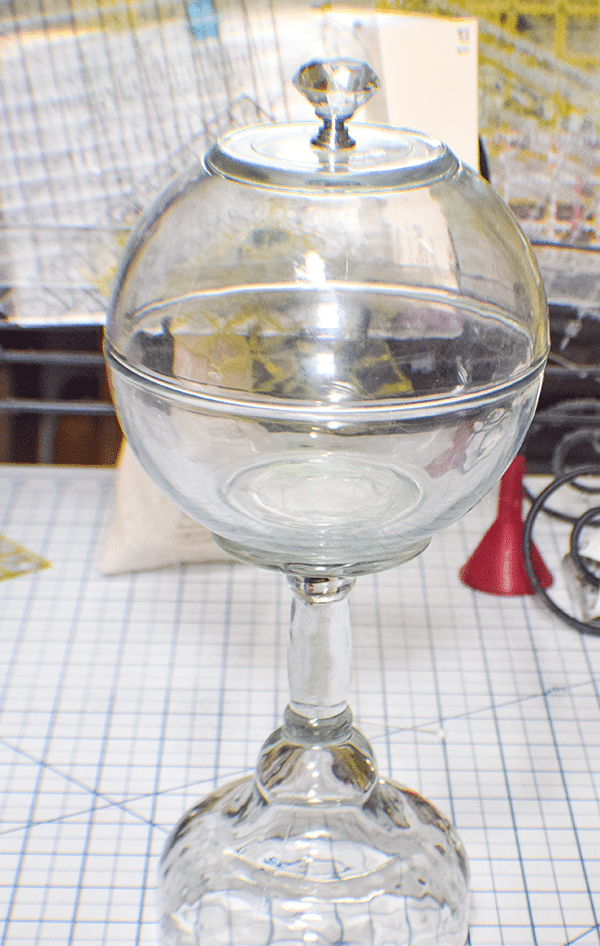
Step 1: Glue the Bowl to the Margarita Glass
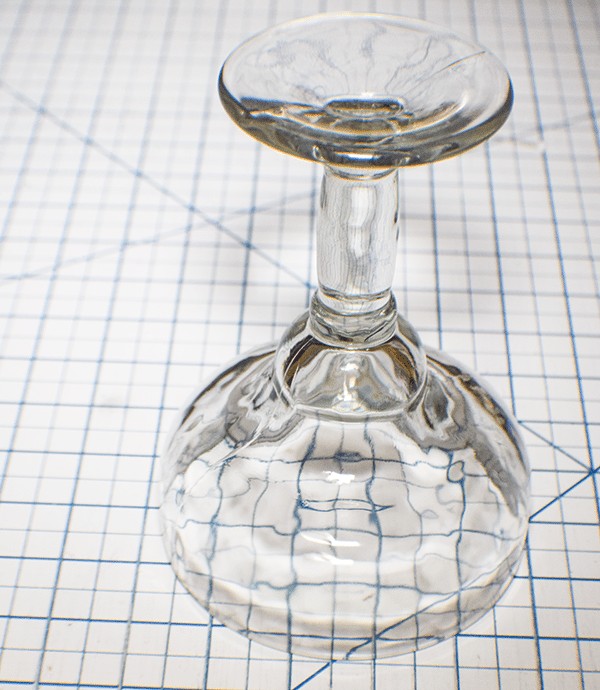
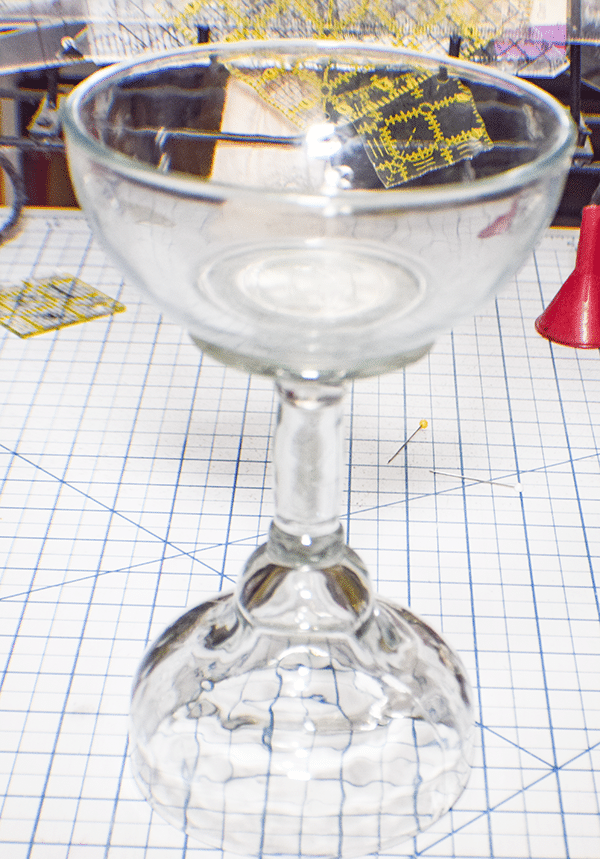
Turn the margarita glass so that it is upside down. Place some e 6000 and hot glue on the bottom of the glass. Place the bottom one of the bowls to the bottom of the glass. It is important to add both the e6000 and the hot glue because the hot glue alone will not hold it and the e6000 takes time to dry and tends to slip. The hot glue will hold it long enough for the e6000 to dry.
Step 2: Glue the Drawer Pull to the Other Bowl
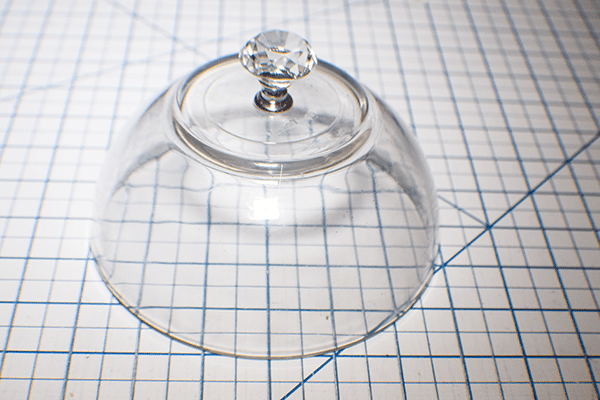
Find the center of the bottom of the second bowl. Place some e6000 and hot glue on that point. Place the bottom of the drawer pull on the glue. This will be the top of the dish.
Step 3: Add the Hinge
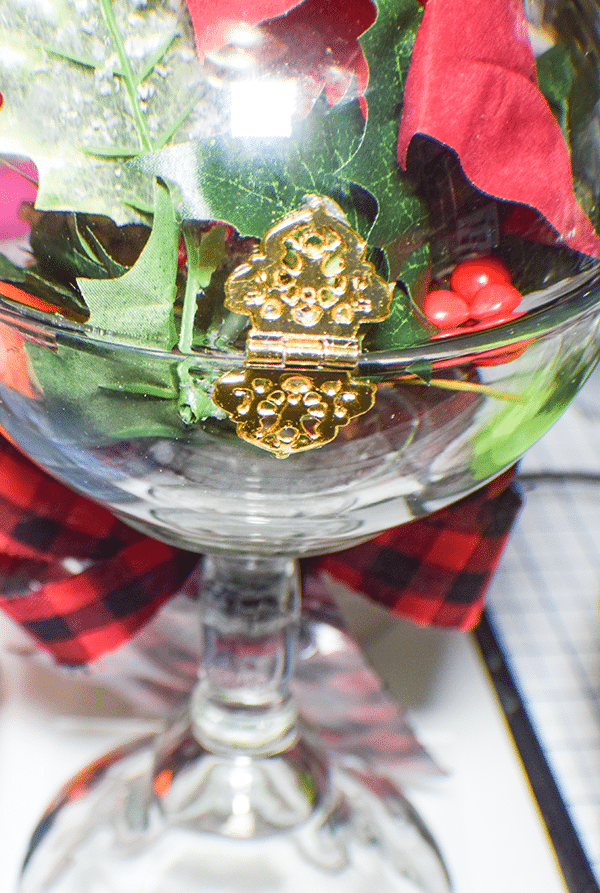
I purchased some mini decorative hinges from Amazon. Place the top of the jar on top of the bottom. Glue one half of the hinge to the top and one half to the bottom. Again, use both e6000 and hot glue for this process.
Step 4: Add the Embellishments
I made two dishes, one for Thanksgiving and one for Christmas. For the Thanksgiving dish I added some random Dollar Tree Thanksgiving embellishments such as fall flowers, acorns, pumpkins, and berries. For the Christmas dish I used.

Step 5: Create the Board
I wanted something to sit my creation on so I found this Dollar Tree wall hanger that resembles a cutting board. Decoupage and sublimation were used to create a two sided tray, one side for Thanksgiving and one side for Christmas. I started with the Thanksgiving side. Dollar Tree Napkins and my sublimation printer came in to play for this. They had a selection of fall napkins. I chose one that was covered with leaves.
Step 6: Paint the Board
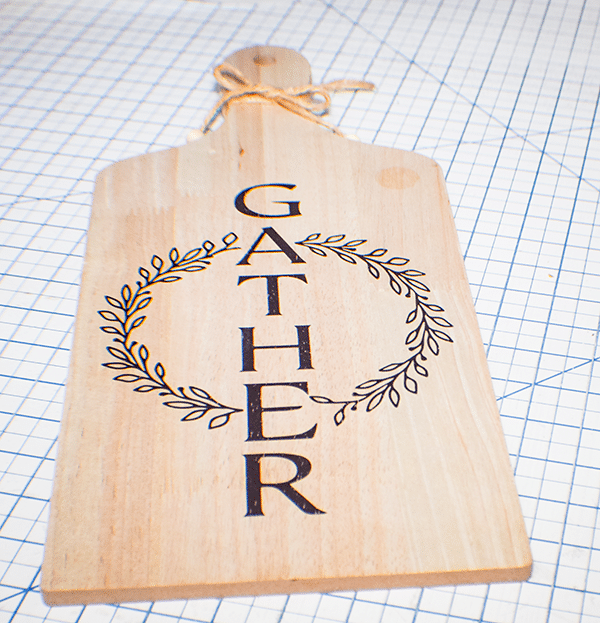
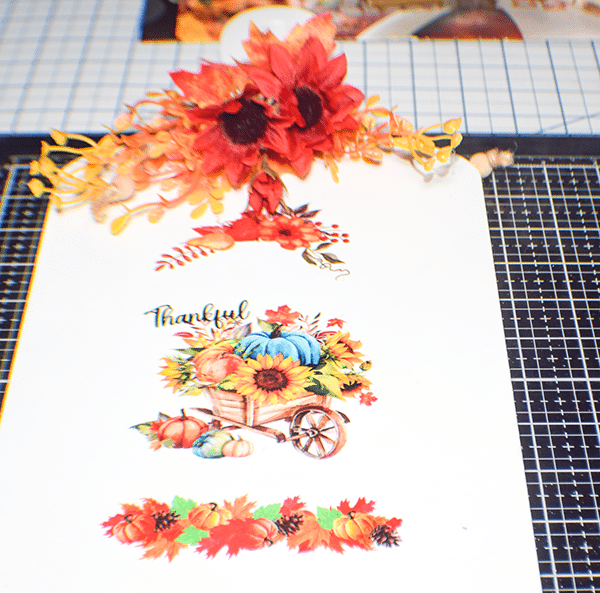
I chose to paint both sides of the board white to emphasize the the vinyl words that I made with my Cricut.
Step 7: Add the Autumn Rub-On
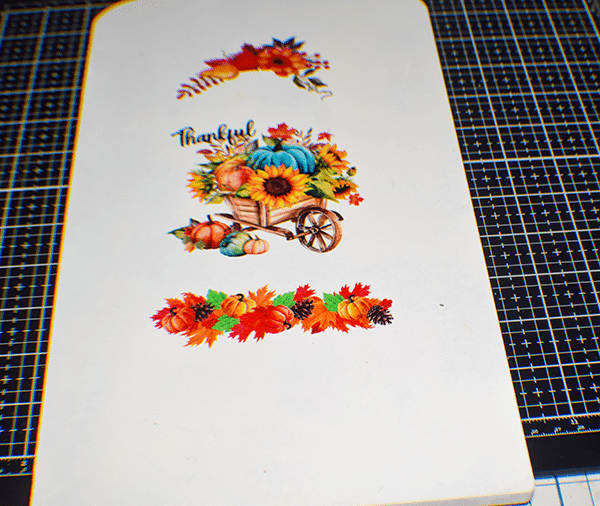
I wanted to make this process as easy as possible so I used rub-on holiday images. If you have a Cricut I provided a free SVG to create the Autumn Side of the board. If you do not have a Cricut you can add premade stickers or the rub-ons to create your design on the board. You can even just paint it yourself.
Step 8: Add the Leaves and Twine
There is twine that comes with the board. Paint and then add the leaves to the twine and wrap it arounds the board. You have finished the Thanksgiving side of the board.
Step 9: Christmas Side of the Board
Once again add the Christmas rub-on for the Christmas side of the board but you can decorate it any way you like. Again I added a free SVG for all of you Cricut users.
I hope you enjoyed the simple Dollar Tree project. If you would like more sewing and crafting projects subscribe to our free newsletter for access to our free printables library.
If you would like video tutorials of some of Sew Very Crafty's most popular posts subscribe to our frr YouTube channel here.
