How to Make a Shoe Bag

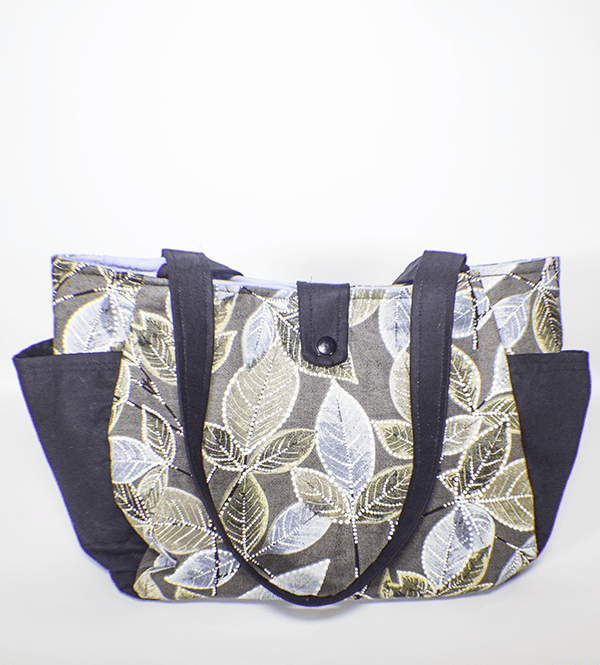
Some of your very special shoes should be stored in a shoe bag. You can also store them in the box they came in but those disintegrate after a while and they become unusable. This fabric shoe bag is perfect for storing those special shoes you don't just want to toss in your closet. I have made this bag so that it is waterproof on the inside while it is a lovely cotton outside. Choose some fun fabrics to make your bag extra special. Regardless of the fabric you choose for this project it is the perfect way to protect and store your shoes.
I chose a cotton remnant for the outer part of my project and some ripstop nylon for the lining. I purchased both at JOANN Fabric & Craft Stores![]() but you could head to Hobby Lobby or Fabric.com to purchase the perfect fabrics for your project. This project contains affiliate links that if you click on them and make a purchase I may receive a small commission at no extra cost to you. As an Amazon Associate I earn from qualifying purchases.
but you could head to Hobby Lobby or Fabric.com to purchase the perfect fabrics for your project. This project contains affiliate links that if you click on them and make a purchase I may receive a small commission at no extra cost to you. As an Amazon Associate I earn from qualifying purchases.
What you will Need: How to Make a Shoe Bag
- 1/2 yd exterior cotton fabric
- 1/2 yd ripstop nylon
- 18″ zipper
- Bias binding – Pre-made or make your own
- Basic sewing supplies
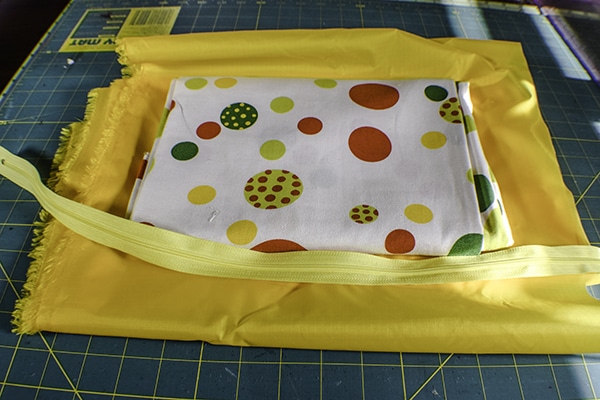
Step 1: Cut your Fabrics
Cut 1 pieces of outer cotton fabric and ripstop nylon that measure 16 1/2″ x 28″. Cut another piece of outer fabric that measures 4″ x “10” for the handle.
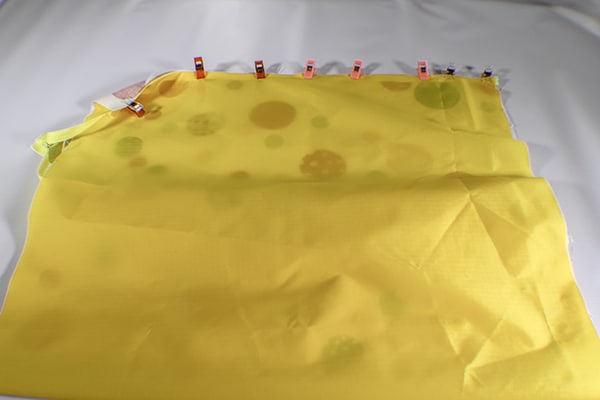
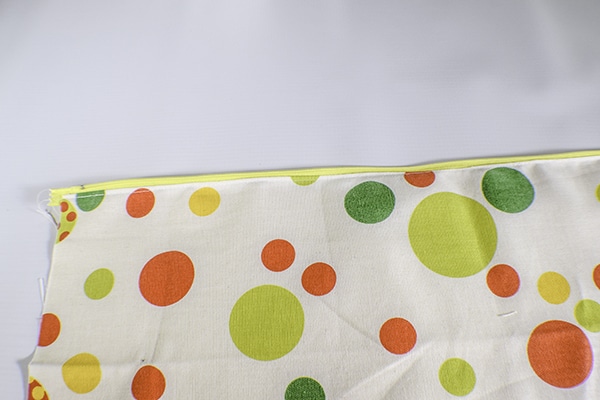
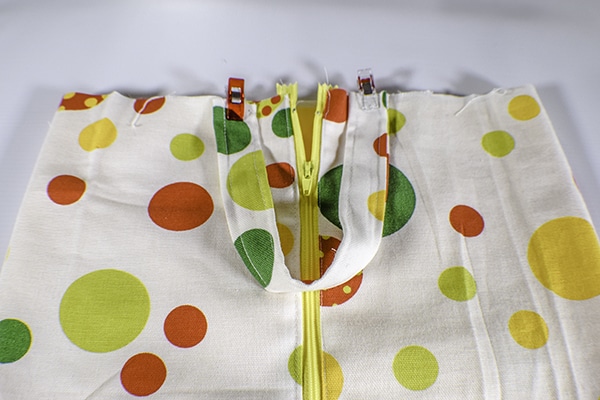
Step 2: Add the zipper
Lay the outer fabric on your work surface right sides up.Lay the zipper right sides down on one of the short outer ends of the fabric. Place the nylon right sides down on the zipper to form a zipper sandwich. Clip the zipper with wonder clips. If you don't have wonder clips you can get them here. Using a zipper foot stitch the layers together near the zipper teeth. Turn the fabrics right sides out. Top stitch along the zipper. Repeat for the other side of the zipper.

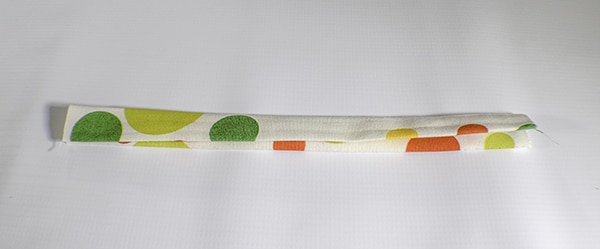
Step 3: Create the Handles
Fold the handle piece so that the raw edges meet in the center and press. Fold in half to enclose the raw edges. Topstitch along both long edges.
Step 4: add the Handles
Stitch the handles to the top center of the front of the bag on either side of the zipper matching the raw edges.
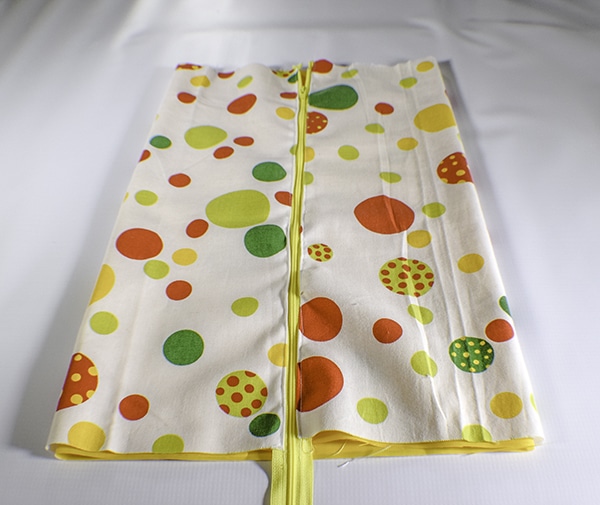
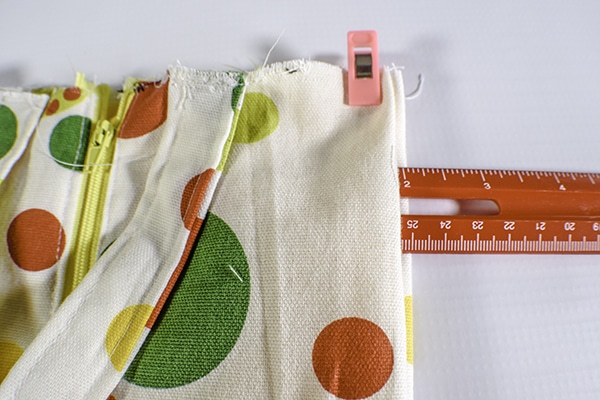
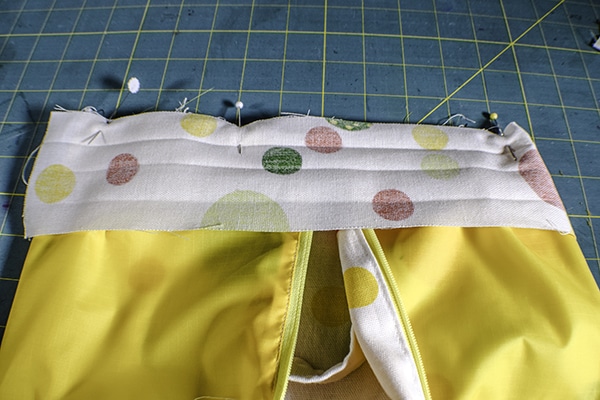
Step 5: fold the sides
Push each side inward 1 7/8″ to form a pleat and clip at the top and bottom. Open the zipper and turn the bag so that the wrong sides are out.
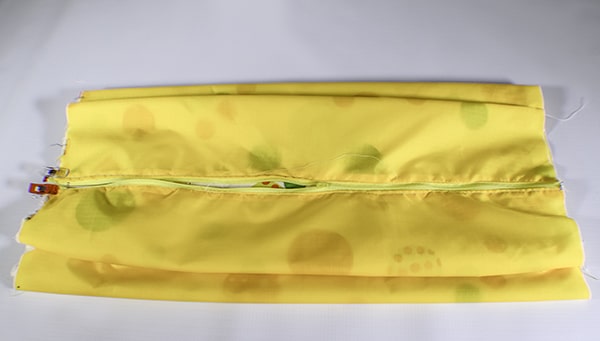
Step 6: Stitch the Short Ends
Stitch or serge the the short ends together.
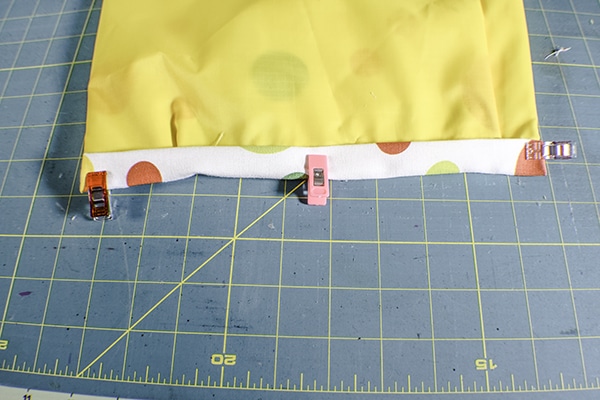
Step 7: Add the Binding
If you serge the ends you do not need to add the binding. If you do not serge, add the binding to the raw ends of the bag. I made my own 1/2″ binding for this project but you can use pre-made binding if you like. If you want to make your own binding check out my tutorial on how to make bias binding here. To attach the binding simply

I hope you enjoyed this project. If you would like more sewing and crafting projects sign up for our news letter and receive your free eBook of 15 handbag patterns and tutorials.
If you would like video tutorials subscribe to our free YouTube CHannel here.