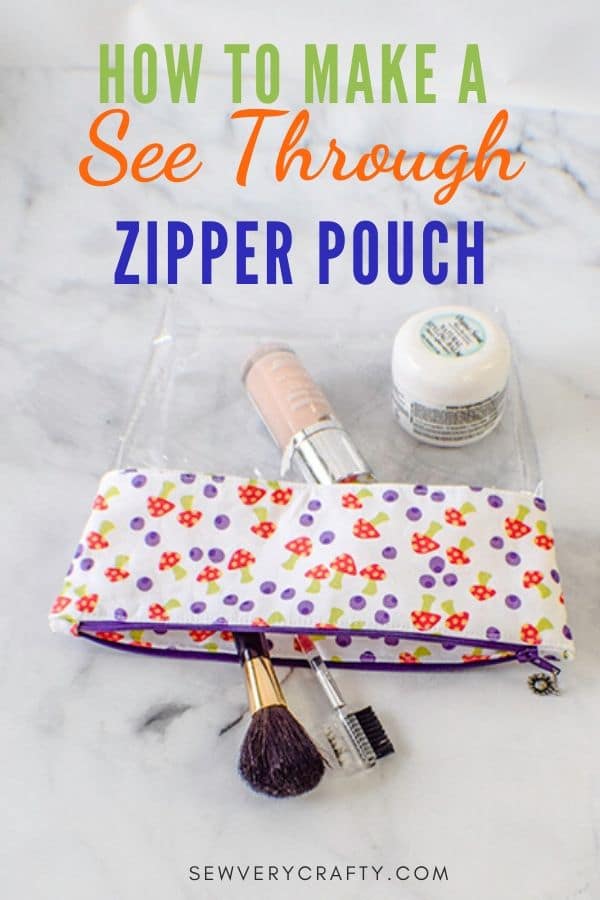
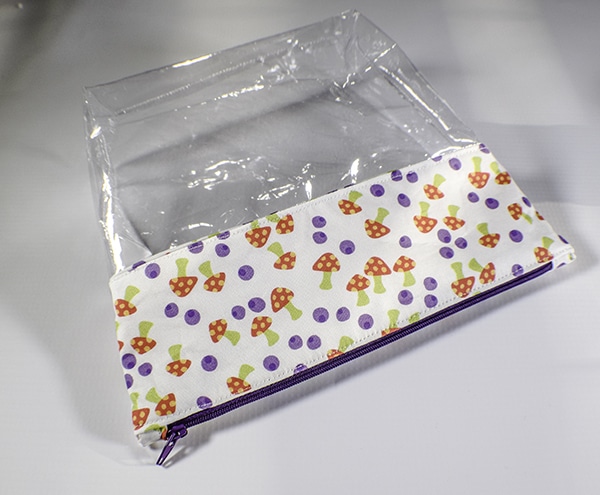
How to Make a See Through Zipper Pouch
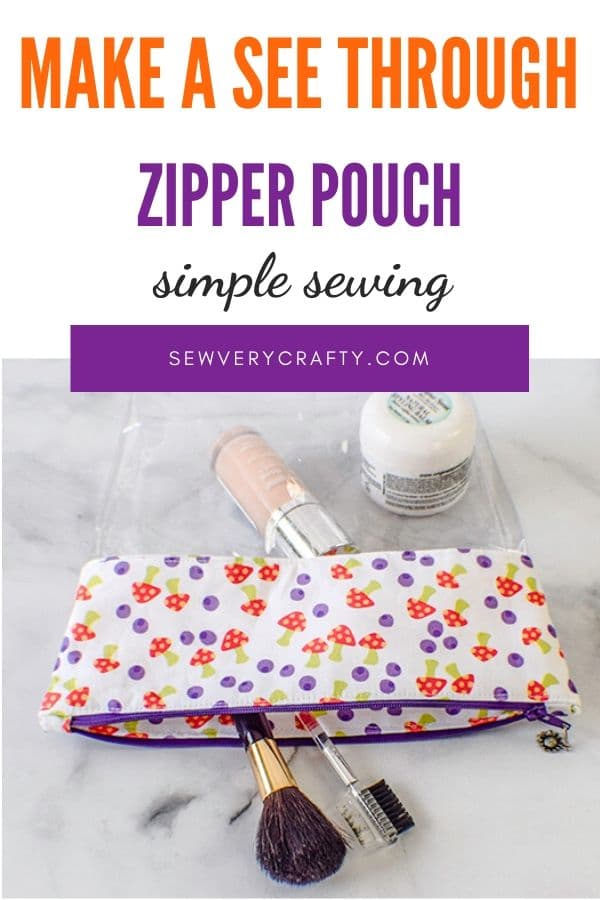
It is always nice to see what is actually in my zipper pouches so I decided to create a see through zipper pouch that has a little bit of size that I can put my stuff in. I didn't want it all vinyl. I actually wanted some fun fabric to top off my vinyl. This pouch is supper simple to make and is actually no different than any other zipper pouch except that it requires clear vinyl as the body. This specialty material is a little fidgity but fairly easy to work with. I would recommend a Teflon foot when sewing the vinyl so it sews nice and smooth.
I purchased the vinyl at JOANN Fabric & Craft Stores![]() online and the fun fabric at Fabric Frenzy online but you could head to Hobby Lobby or Fabric.com to get exactly what you need for your see through zipper pouch. Because this only requires a small amount of fabric you could delve into your stash as well. This post contains affiliate links that if you click on them and make a purchase I may receive a small commission at no extra cost to you. As an Amazon Associate I earn from qualifying purchases.
online and the fun fabric at Fabric Frenzy online but you could head to Hobby Lobby or Fabric.com to get exactly what you need for your see through zipper pouch. Because this only requires a small amount of fabric you could delve into your stash as well. This post contains affiliate links that if you click on them and make a purchase I may receive a small commission at no extra cost to you. As an Amazon Associate I earn from qualifying purchases.
If you want a video tutorial of this same project head over to YouTube and check out my latest video and subscribe to my channel while you are there.

What you will Need: How to Make a See Through Zipper Pouch
- 1/4 yd exterior and lining fabric
- 1/4 yd clear vinyl
- 9″ zipper or longer
- 1/4″ Pellon SF 101
- Standard sewing supplies
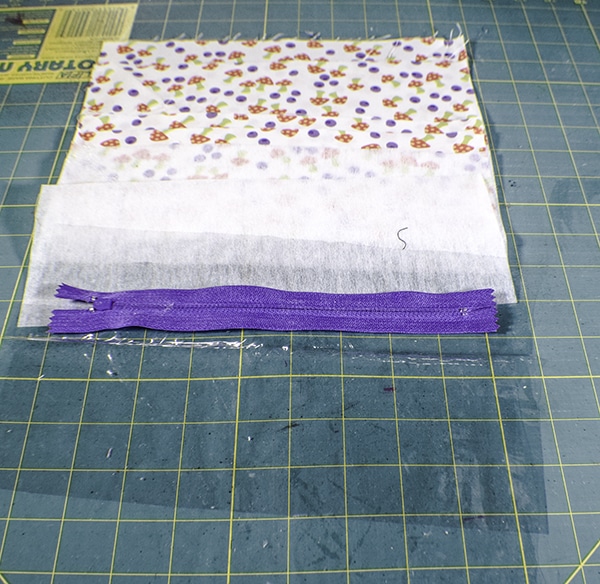
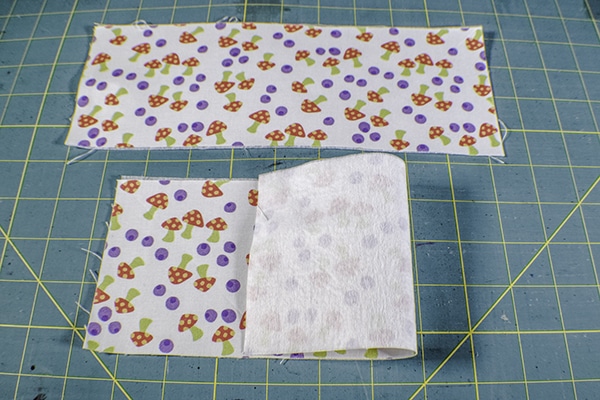
Step 1: cut your fabrics
From the outer fabric cut two 4″ x 10 1/2″ pieces and from the lining cut two pieces the same size. Cut two interfacing pieces 4″ x 10 1/2″ as well. From the outer fabric cut two zipper tabs that measure 2″ x 2 1/2″. Cut two vinyl pieces that measure 6 1/2″ x 10 1/2″.
Step 2: Fuse the interfacing
Fuse the interfacing to the outer fabric following the manufacturers instructions.
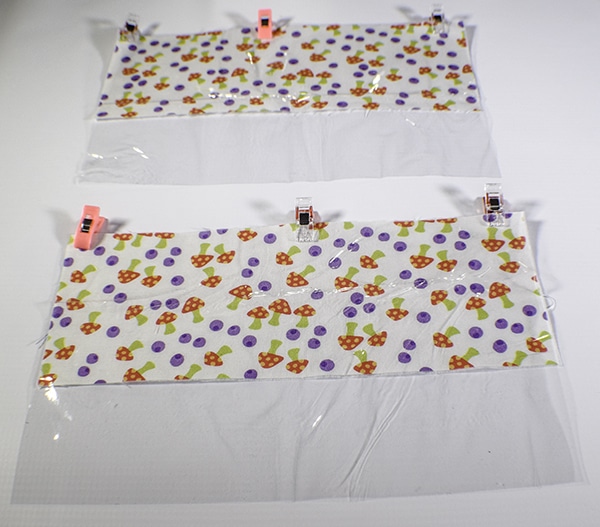
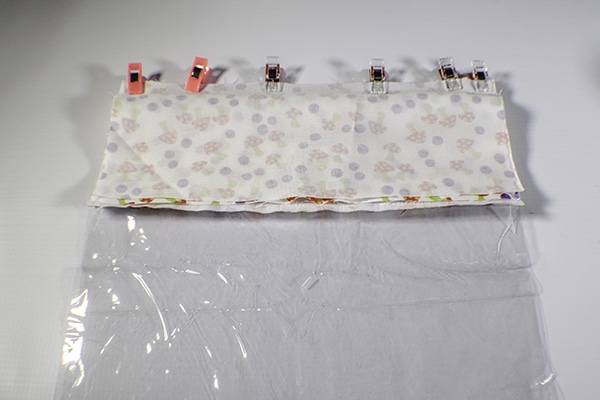
Step 3: Add the vinyl
With right sides together stitch one vinyl panel to one outer panel using a 1/2″ seam allowance. There is really not a right or wrong side to the vinyl. Just make sure that you stitch with the right side of the outer fabric. Repeat for the other outer panel.
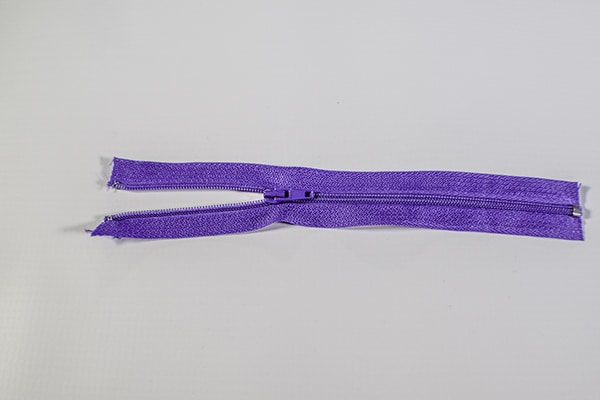
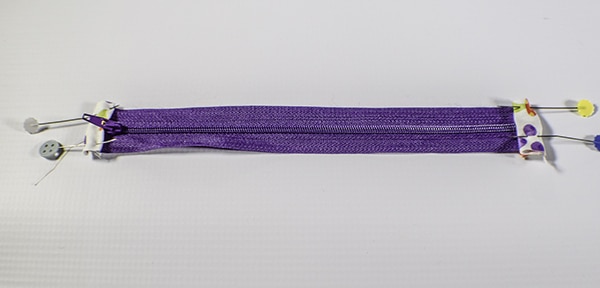
Step 4: add the zipper tabs
Fold the raw edges of the 2″ side into the center of the tab and press. Fold in half again and press. Your tab should measure 1/2″ x 2 1/2″. Cut in half. Trim the ends of the zipper to the stops on each end or shorten a longer zipper to 9″. Open one side of the zipper tab and insert the zipper into the tab and pin. The top end of the zipper will want to open so take care when stitching this end. Topstitch the zipper tabs near the interior folds to secure.

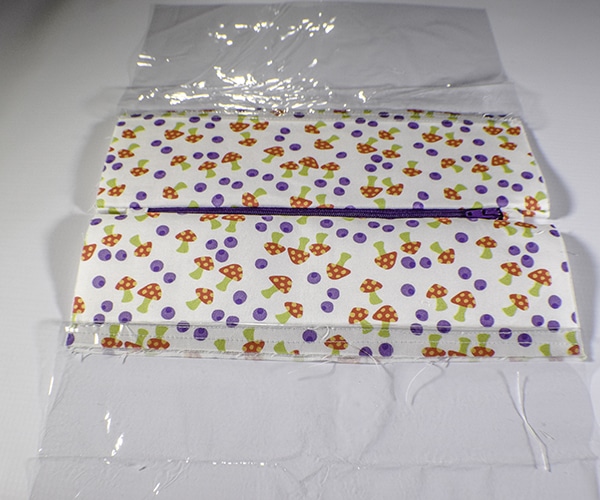
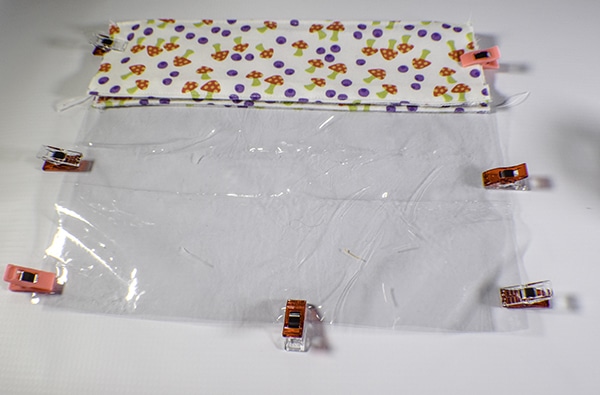
Step 4: Install the zipper
Lay your outer fabric right sides up on your work space. Place your zipper right sides down on the outer fabric centered. There will be a 1/2″ space on either side of the zipper. Place the lining fabric right sides down on the zipper like a zipper sandwich and clip all three layers. Using a zipper foot, stitch the zipper to the lining and outer fabric close tot he zipper teeth. Open up the fabric so the zipper is showing and press without touching the vinyl because it will melt. Repeat for the other side of the zipper.
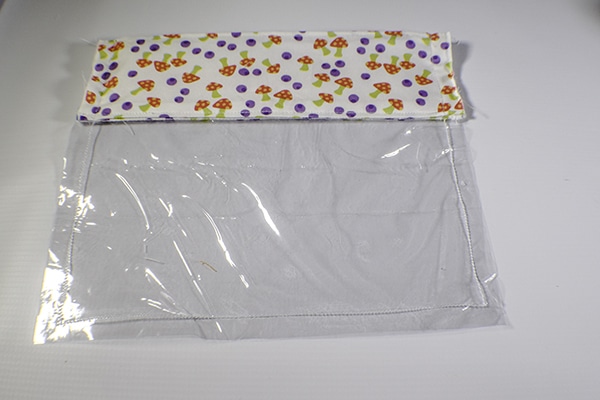
Step 5: Stitch the lining to the vinyl
Fold up the raw edge of the lining panels by 1/2″ and press. Lay the folded lining edge over the seam you created when you stitched the outer panel to the vinyl. Refold the lining until it completely covers the seam and cannot be seen from the front. Top stitch along the front seam for a finished look and to secure the lining in place. Top stitch the zipper as well.


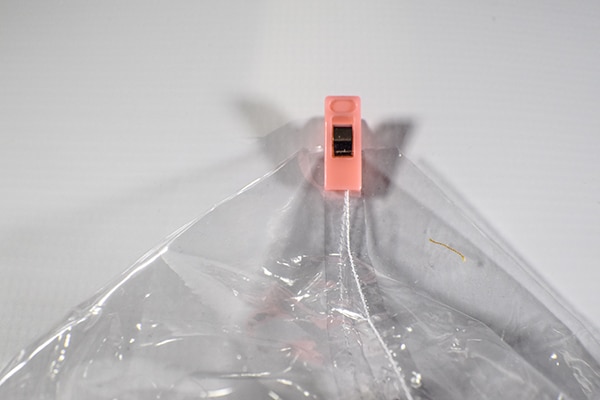
Step 6: stitch the front and back together
With right sides together stitch the front and back panels together using a 1/2″ seam allowance. Starting next to the top zipper tab but not on it stitch down the bag, along the bottom and up the other side.
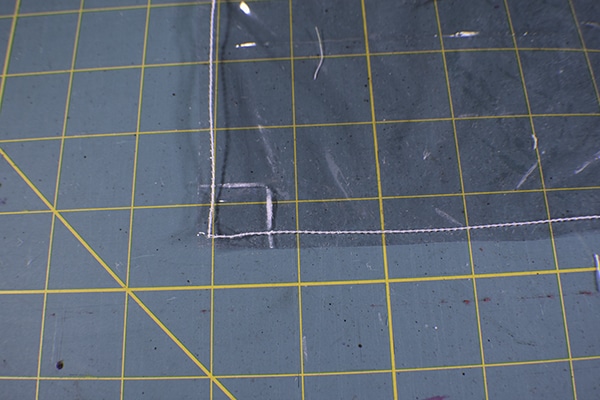
Step 7: box the corners
Cut a 3/4″ x 3/4″ square from each corner of the bag. Trim the rest of the seam allowances to 1/4″. Match the side seam with the bottom seam and stitch across the corner using a 1/2″ seam allowance. Trim the excess. Turn the bag right sides out and you have finished your see through zipper pouch.

I hope you enjoyed this project. If you would like more sewing and crafting tutorials sign up for our newsletter and receive your free eBook of 15 handbag patterns and tutorials.
If you would like video tutorials of some of Sew Very Crafty's most popular projects subscribe to our free YouTube channel Here.