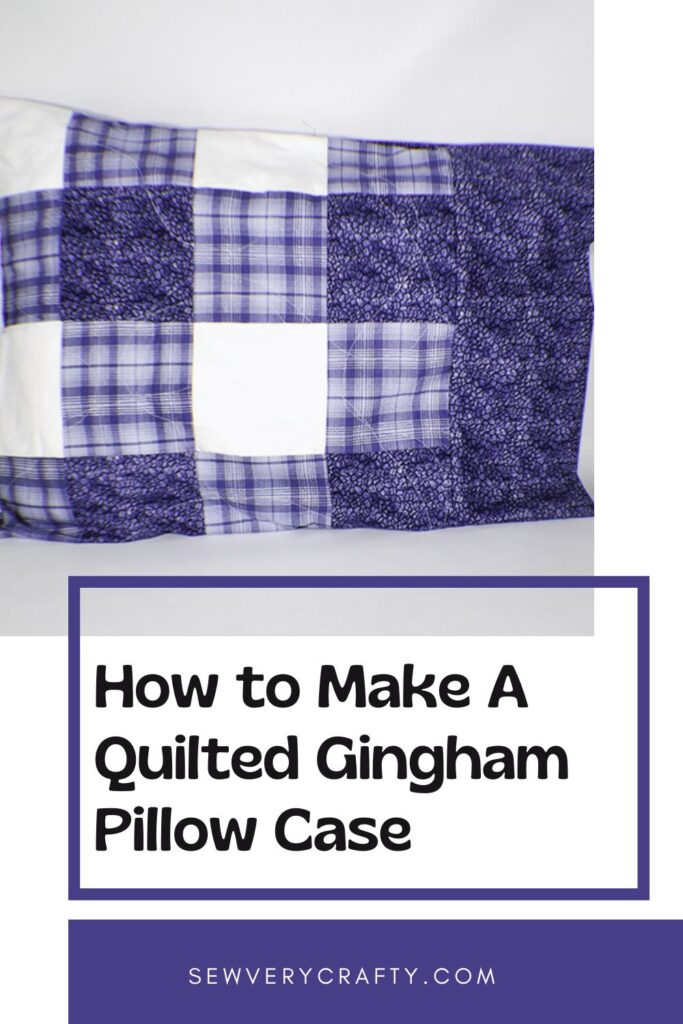
I came across this great gingham quilt pattern by Erica Arndt at www.confessionsofahomeschooler.com and thought to share it with you. Rather than doing the entire quilt for you I decided to do the quilted gingham pillow case instead. You can find the pattern and instructions for the entire quilt and the pillow cases on Erica's website. If you would like more quilting projects check out my other quilting tutorials.
I actually want to JOANN Fabric & Craft Stores![]() and purchased fabrics for this project in accordance with Erica's pattern. I went with a dark, and medium blue and a white for the gingham and a plain white for the backing. You can head to your local quilting store or to
and purchased fabrics for this project in accordance with Erica's pattern. I went with a dark, and medium blue and a white for the gingham and a plain white for the backing. You can head to your local quilting store or to
What you Will Need: How to Make a Gingham Pillowcase
- Pattern you can get by clicking on this link
- 3/4 yd dark fabric
- 1/2 yd medium fabric
- 3/8 yd white fabric
- 23″ x WOF Backing Fabric
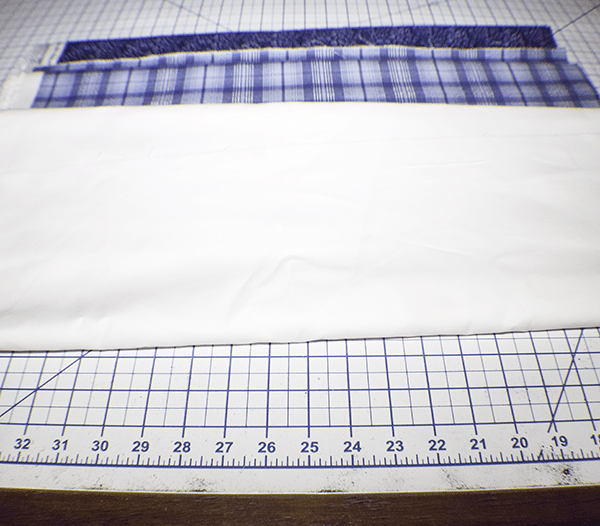
Step 1: Cut your Fabrics
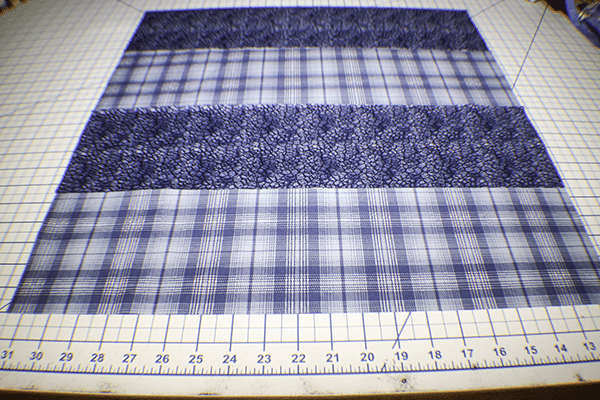
From the dark fabric cut two 5 1/2″ x WOF strips. From those strips cut four 5 1/2″ x 20 1/2″ strips. Also from the dark fabric cut one 13″ x WOF Strip for the cuff. From the medium fabric cut four 5 1/2″ x WOF Strips that you will cut 20 1/2″ strips from as well. Finally, from the white fabric cut two 5 1/2″ x WOF strips that will also be reduced to 20 1/2″.
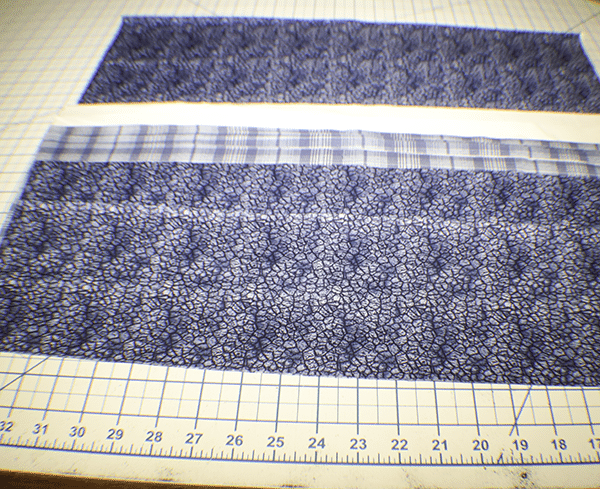
Step 2: Stitch the Strips
Stitch a strip of dark fabric to a strip of medium fabric using a 1/4″ seam allowance. Stitch another dark strip to the medium strip and finally another medium strip to the dark so that you have four rows that are dark, medium, dark, medium. Do the same with the medium and white strips. Press all the seams toward the medium fabric.
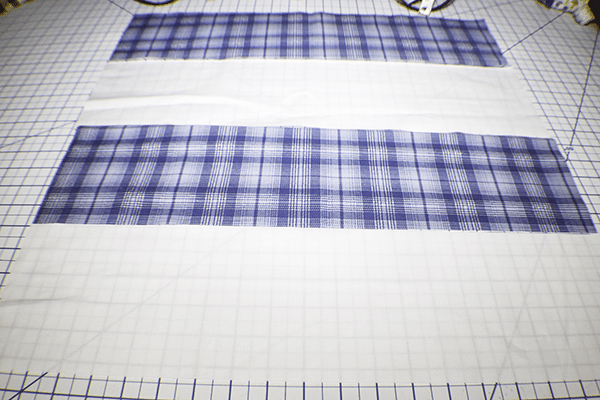
Step 3: Cut the Strips
Measure across each strip set 5 1/2″ and cut a strip of alternating fabric. Cut four strips forom each strip set.
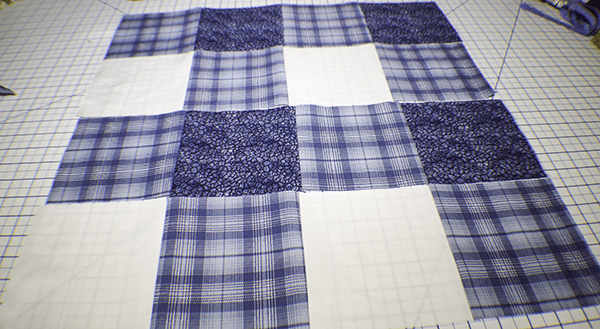
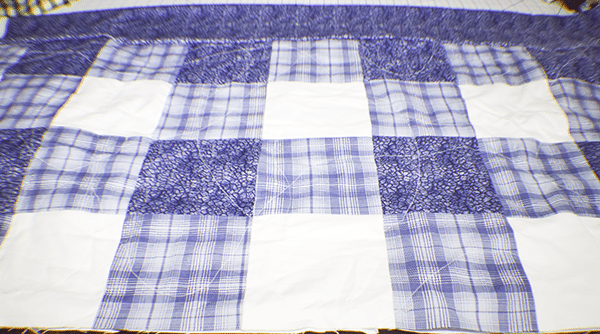
Step 4: Assemble the Rows
Stitch a medium and dark row to a medium and light row pressing toward the dark rows. Stitch the rows together until you have all eight rows stitched.
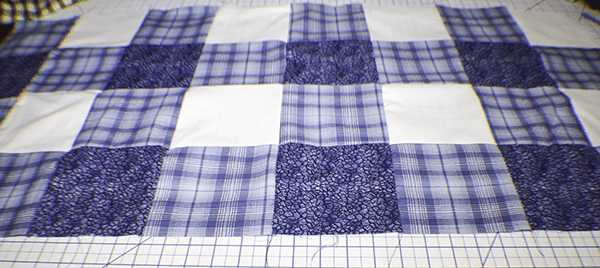
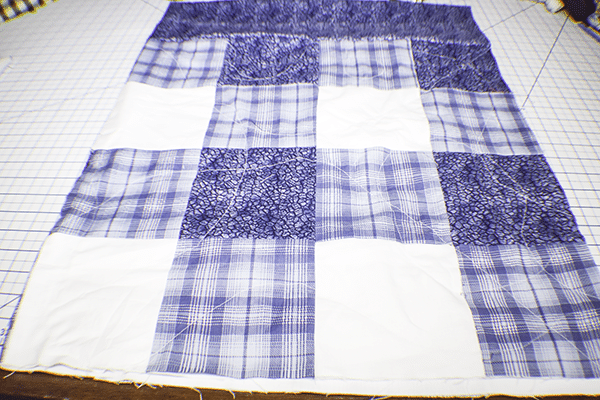
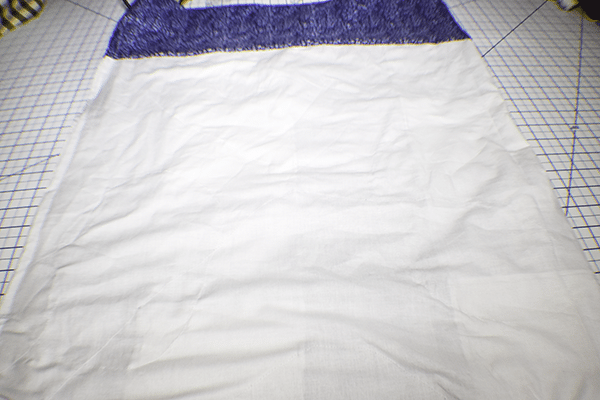
Step 5: Back the Pillowcase Top and Quilt
Using a white fabric, back the pillow top you just made and baste it together. Quilt as desired. Trim any excess backing fabric.
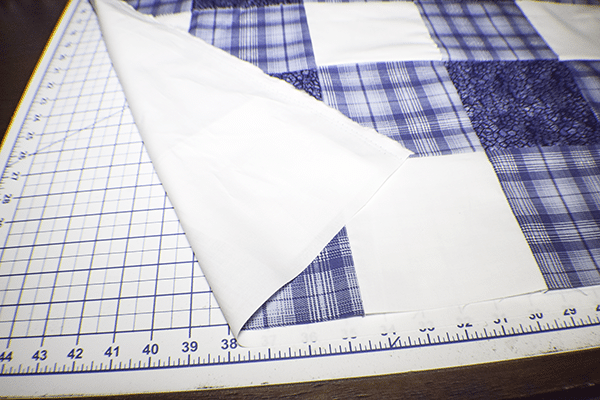
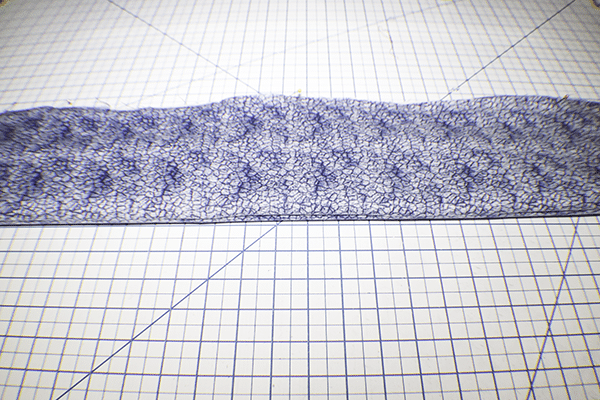
Step 7: Add the Cuff
Press the cuff fabric in half lengthwise wrong sides together. Open it up and place it right sides up on your work surface. Lay the quilted pillow top right side up on the top edge of the cuff. Pin. Roll up the quilted pillow case like a burrito until you reach the top of the cuff. Fold the bottom of the cuff over the rolled gingham to meet the top of the cuff and pin together. Stitch across the top making sure not to stitch the rolled gingham using a 1/4″ seam allowance.

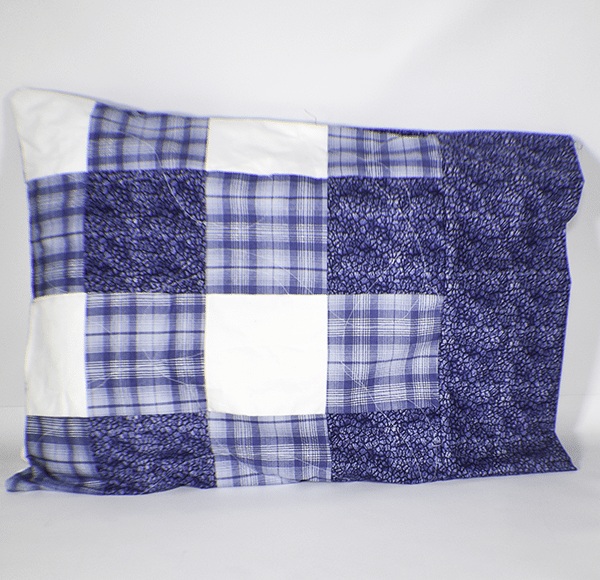
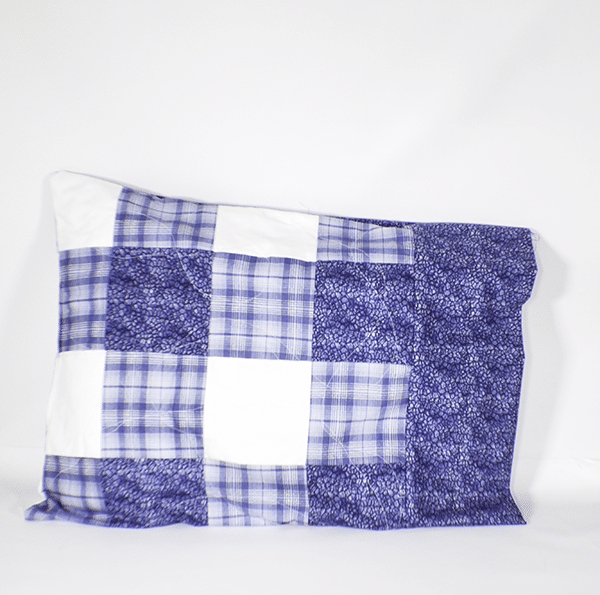
Step 8: Finish the Quilted Pillow Case
Pull the rolled gingham through one end of the tube you just created. Press. Place the pillow case wrong sides together and stitch along the side and bottom using a 1/4′ seam allowance. Trim the seam to 1/8″ and turn the pillow case wrong sides out. Stitch the bottom and side again using a 1/4′ seam allowance. turn right side out and you are finished.
I hope that you enjoyed this simple gingham quilted pillow case project. If you would like more sewing and crafting projects subscribe to our newsletter and receive access to our free printables library.
If you would like video tutorials of some of Sew Very Crafty's most popular posts subscribe to our free Youtube channel here.