Learn to Sew a Small Fabric Gift Bag

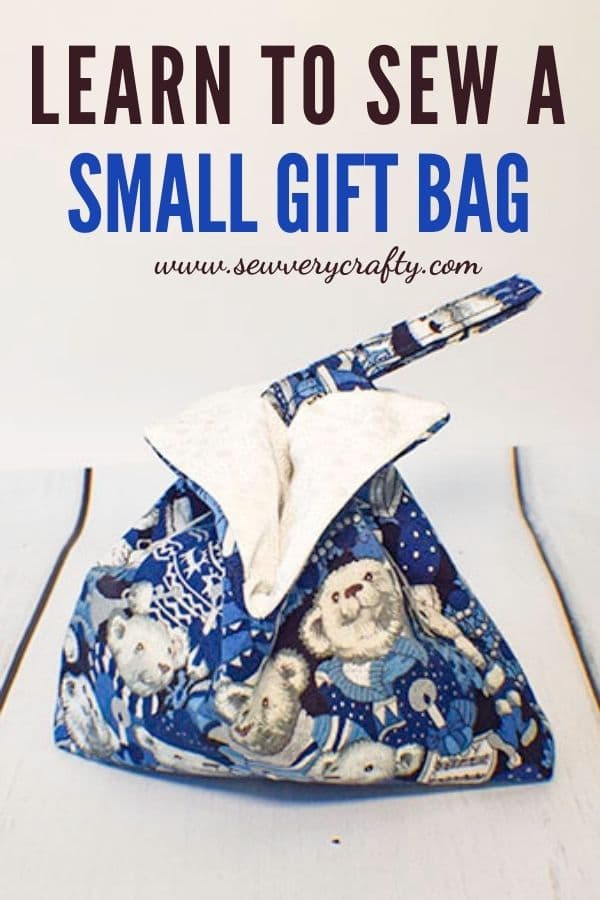
This is a small fabric gift bag that anyone with basic sewing skills can make. It is perfect for giving gift cards, money, jewelry and other small items and really cute too. This project was modified from Ae PooeM from You Tube. It was just too cute and too simple to pass up. This small fabric gift bag can be made in minutes using the free sewing pattern. I am sure that you can enlarge the pattern to your needs if you like. Either way it is a fun and functional little sewing project to make and give away.
I used a Christmas remnant and some white cotton I had on hand for this project. I got both at JOANN Fabric & Craft Stores. Of Course you could head to Hobby Lobby, Fabric.com or onlinefabricstore.net to get exactly what you need for your fabric gift bags. I also used some Pellon 808 craft fuse interfacing that I purchased at Joann's but that you can get elsewhere as well. This post contains affiliate links that if you click on them and make a purchase I may receive a small commission at no extra cost to you.
What you will Need: Learn to Sew a Small Fabric Gift Bag
- Pattern you can get by clicking on this link
- 1/4 yd outer fabric a lining fabric
- 1/4 yd Pellon 808 or equivalent
- Standard sewing supplies
Step 1: Cut your fabrics
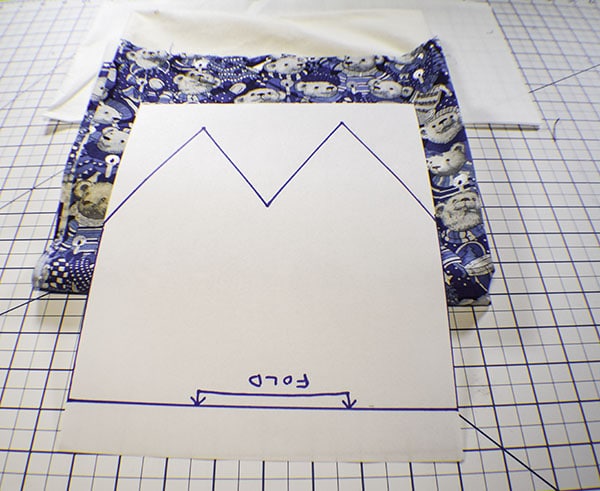
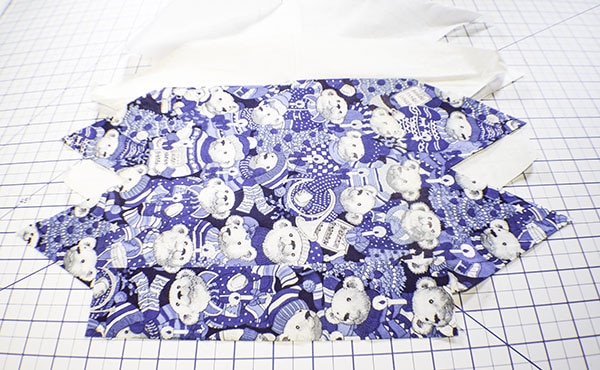
Using the pattern piece cut I piece of outer fabric, lining fabric and interfacing on the fold. Cut one piece of outer fabric that measures 10″ x 2″ for the closures
Step 2: Create the closures
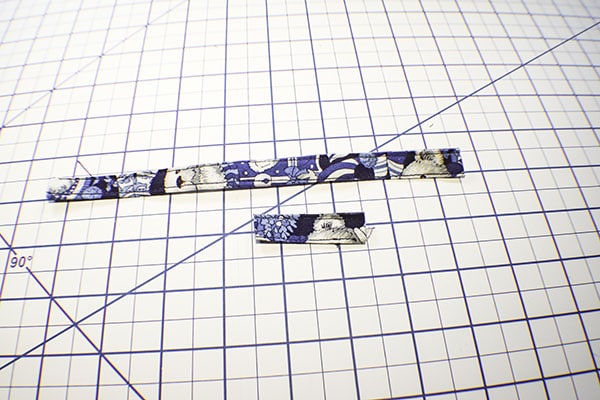
Fold the 10″ x 2″ raw edges toward the center lengthwise and press. Fold in half and press again to contain the raw edges. Topstitch along both long edges. Cut off 2″ from one end of the strip.
Step 3: Add the closures
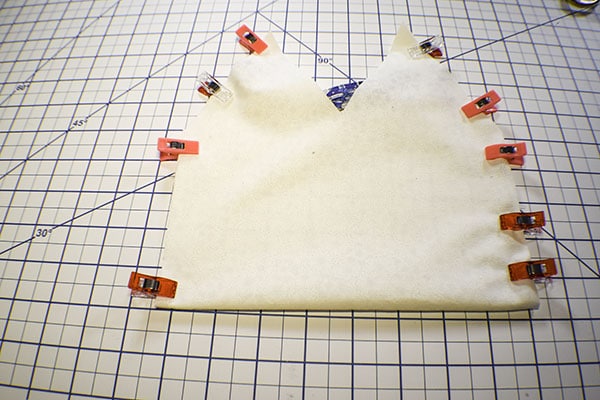
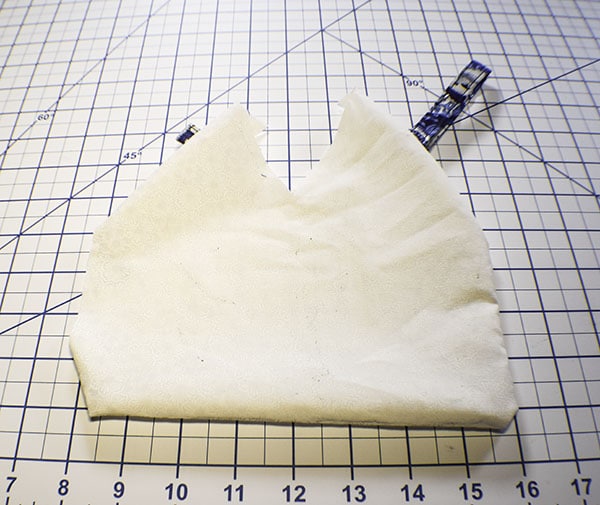
Take the lining fabric and place it right sides up on your work surface lengthwise. Measure 2 1/2″ from the side of the lining piece toward the pint and make a mark. Fold the smaller of the two strips and pin it to that mark aligning the raw edges. Measure another 2 1/2″ in the same way on the other side and place the longer strip also folded in half and aligning the raw edges and pin. You should have two loops as shown.

Step 4: Create your lining
Fold the lining piece right sides together matching the raw edges. Stitch along the sides to the top point using a 1/4″ seam allowance on both sides leaving the inner V open. Also Leave a small opening on one side for turning. Turn right sides out.
Step 5: Create the outer gift bag
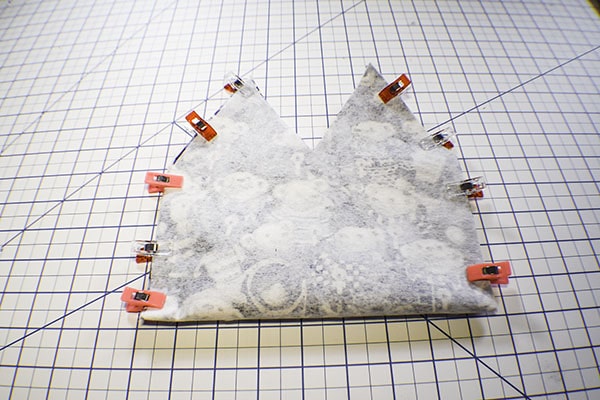
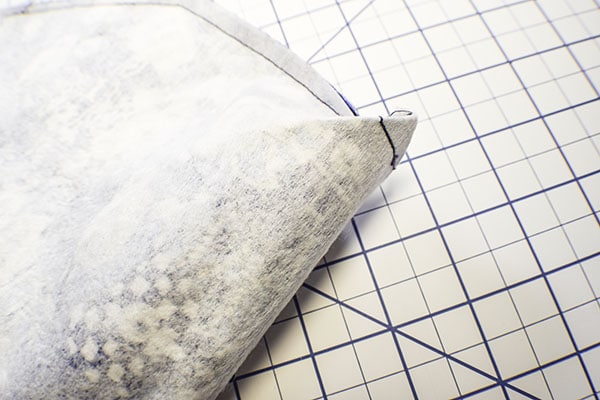
Fuse the interfacing to the outer bag following the manufacturer's instructions. Fold the outer bag right sides together and stitch using 1/4″ seam allowance along the sides to the tip leaving the V open.
Step 4: Finish the Small Fabric Gift Bag
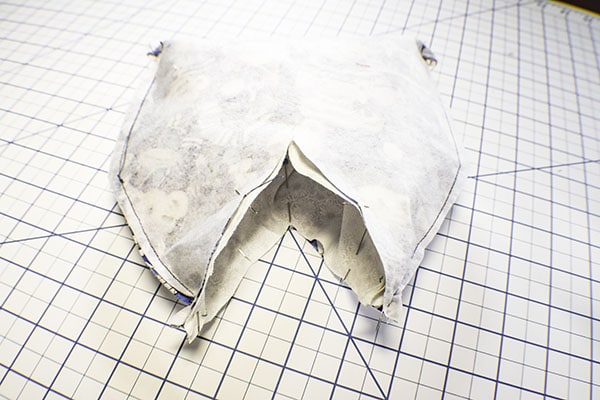
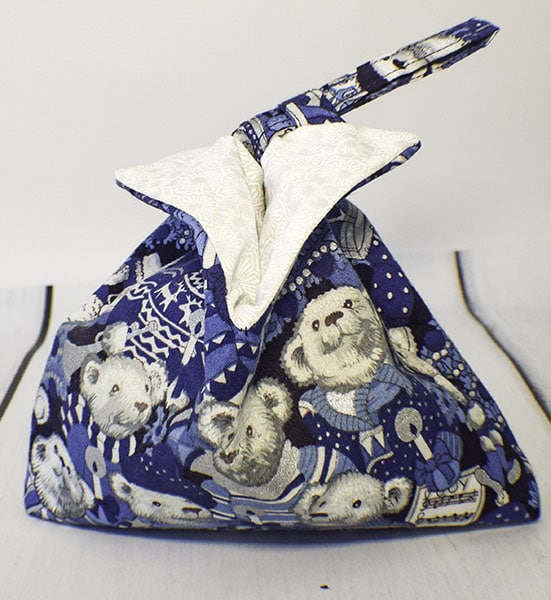
Insert the lining into the outer bag so that they are right sides together. Pin the seams so that they match and are open. Pin along the V matching the raw edges. Stitch all along the V using a 1/4″ seam allowance. Clip the V up to but not including the stitching. Pull the lining out from the outer fabric and box the corners by placing the bottom fold against the corresponding side seam on both sides and stitch using a 1/2″ seam allowance. Do this for the lining and the outer bag, Turn the gift bag right sides out through the opening you left in the lining. Stuff the lining into the outer piece. Fold down the top and place the long strip into the short strip and close. You have now finished your Small fabric gift bag.
I hope you enjoyed this small fabric gift bag. If you would like more sewing and crafting projects sign up for our newsletter and receive your free eBook of 15 handbag patterns and tutorials taken from the blog.
If you would like video tutorials of some of Sew Very Crafty's most popular posts subscribe to our free YouTube channel here.
