How to Make Fabric Gift Bags
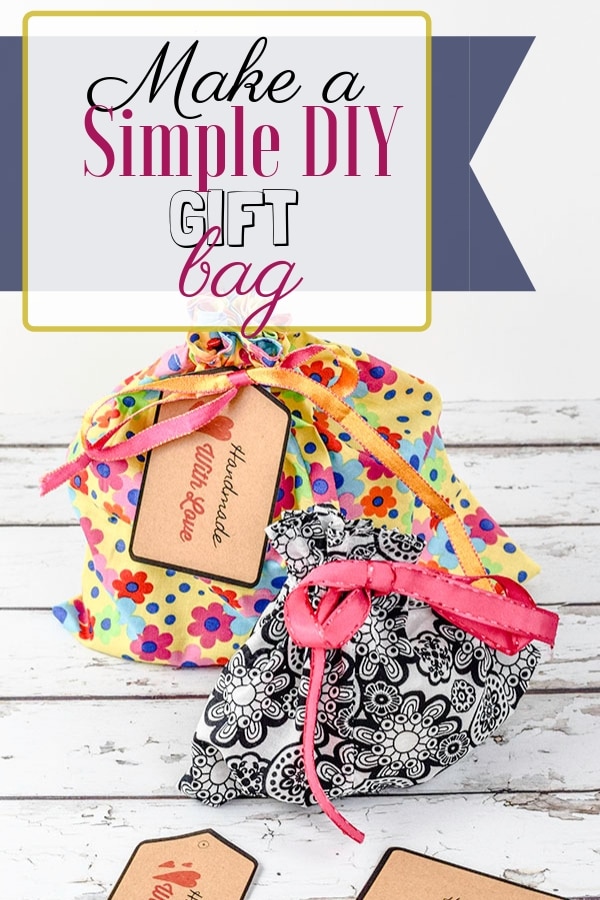
There is nothing nicer than receiving a reusable fabric gift bag with your latest gift. It really adds that extra little bit of thought and presentation. When you receive a fabric gift bag you know that the giver has thought as much about the wrapping as the gift inside. There is just something special about the weight and feel of a fabric bag that really makes a gift special. I thought I would take a few minutes to show you how easy it is to make a simple drawstring gift bag that can be modified to any size you like. All you need is some fabric and ribbon to create these cute little gift bags.
I actually used fat quarters to make my gift bags but you could use remnants or other fabrics that you have on hand. I would recommend that you head to Hobby Lobby or Fabric.com to find the perfect fabrics for your gift bags if you don't have anything in your stash to make your gift bags. This post contains affiliate links that if you click on them and make a purchase I may receive a small commission at no extra cost to you.
What you will Need:
- Fat quarter or remnant
- Ribbon
- Standard sewing supplies
Step 1: How to Make Fabric Gift Bags
Cut your fabric for a medium-sized bag 13″ x 22″. You can make your bag larger or smaller depending on the gift you are giving.
Step 2: How to Make Fabric Gift Bags
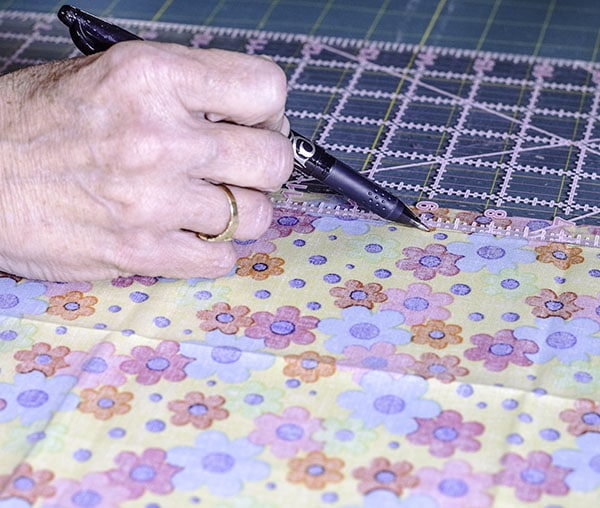
Turn your fabric wrong side up on your cutting surface. Using a Frixion pen draw a line 1/2″ from the top long edge of the fabric. Remember that Frixion pens disappear when you iron over them. Fold the edge down until the raw edge is equal to the line and press.
Step 3: How to Make Fabric Gift Bags
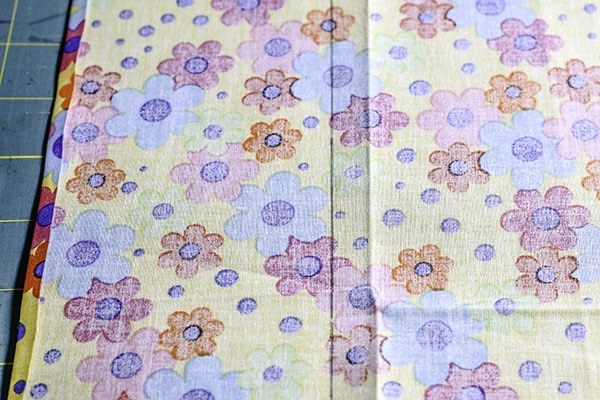
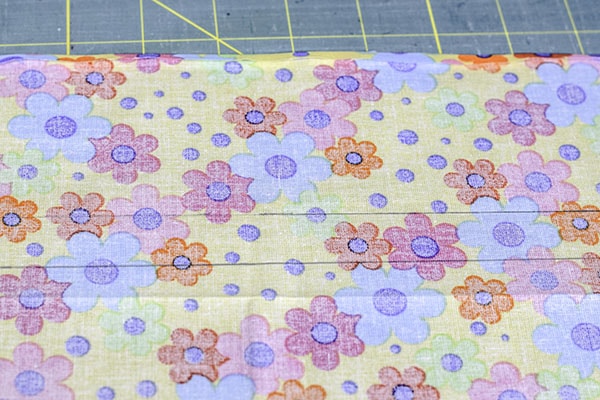
Measure down 3 1/2″ from the folded edge and draw another line. Then measure up 3/4″ from that line and draw another parallel line.
Step 4: How to Make Fabric Gift Bags
Fold the fabric in half width-wise right sides together making sure that the lines match up. Sew a seam from the bottom to the first line and back-stitch using a 1/4″ seam allowance. Sew a seam from the second line to the top and back-stitch. You should have a side seam that has an opening in it. This opening will be for your ribbon.

Step 5: How to Make Fabric Gift Bags
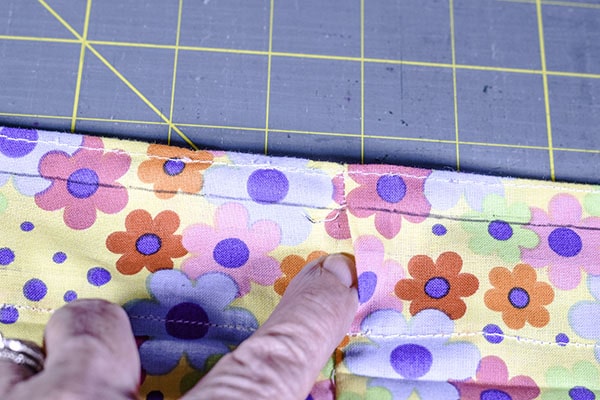
Fold the top of the bag down so that the folded edge covers the 3 1/2″ line that you previously drew and covers the hole you left for the ribbon completely. This should be a fold over amount of about 1 3/4″. Press. Sew a 1/8″ seam around the folded edge. Make sure that you do not sew through the hole.

Step 6: How to Make Fabric Gift Bags
Sew another 1/8″ seam around the top folded edge.
Step 7: How to Make Fabric Gift Bags
Draw another line around the bag just on the top side of the opening you left for the ribbon and sew. This will create a casing for your ribbon.
Step 8: How to Make Fabric Gift Bags
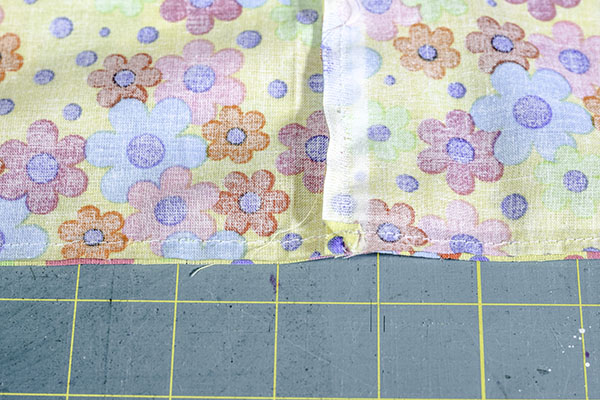
Sew the bottom of the bag closed using a 1/4″ seam allowance. Turn the bag right side out. You should have a completed bag at this point.
Step 9: How to Make Fabric Gift Bags
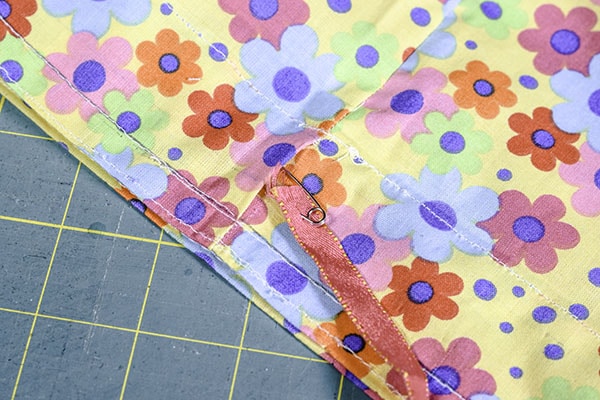
Add the ribbon. I used a 1/2″ ribbon. Using a safety-pin attached to the end of the ribbon feed the ribbon through the opening until it comes out the other end and both ends of the ribbon are exiting the opening in the bag. Add your gift to the bag and draw the bag closed and tie it in a nice little bow.

I hope you enjoyed this simple sewing project, If you would like to receive more sewing and crafting projects and access to our free printables library that includes the gift tags in the photograph feel free to sign up for our newsletter.


