Make a DIY Quilted Sunglass Case
Make a DIY Quilted Sunglass Case
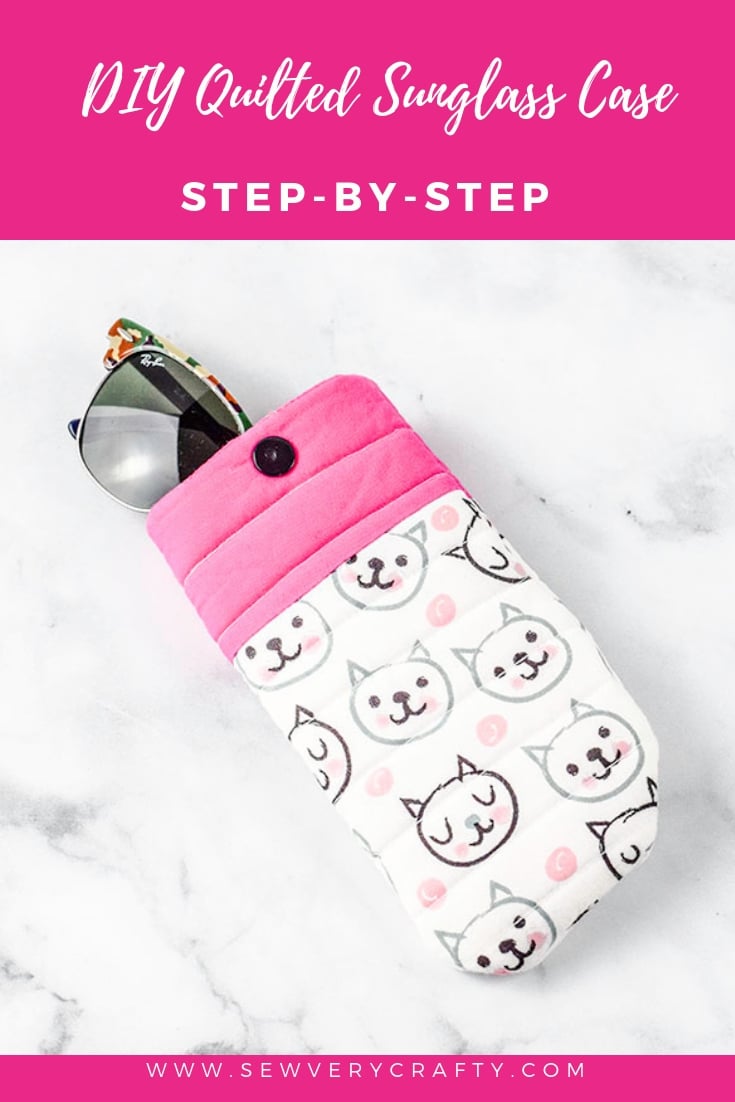
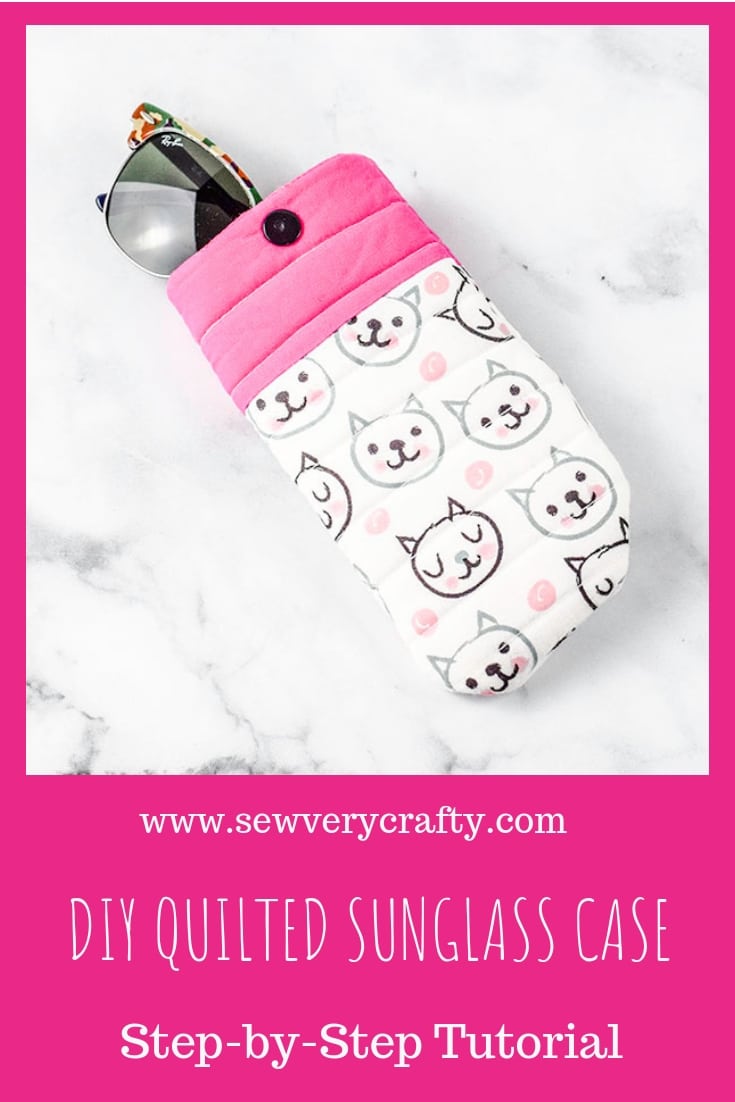
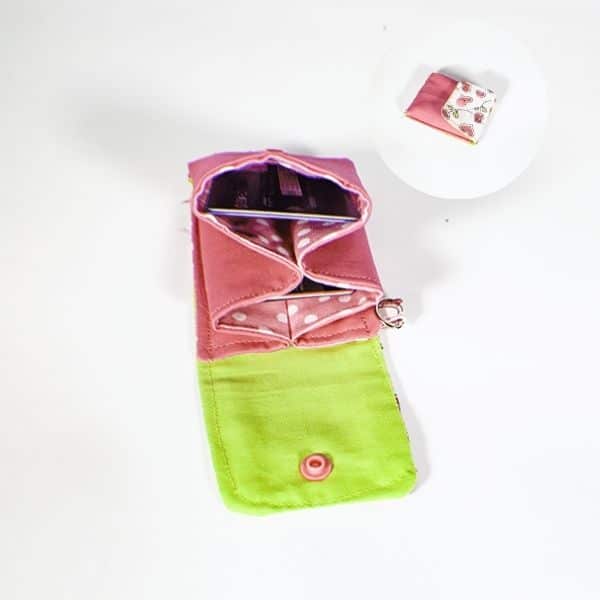
Summer is not that far away and you will be pulling out your sunglasses. Question is from where? One of those plain brown cases that come with your glasses when you buy them or a fun personality driven case that will brighten up your day every time you pull it out. This padded and quilted sunglass case is perfect to store your sunglasses this summer. Color is the name of the game for this case. Pick fabrics that match your personality and brighten up your day. I chose a bright pink and white cat print for my case that I know I will never tire of. Even if I do this case is so simple to make that you can make loads of them to give as gifts or to change out any time you want.
I used remnants for my case but you could use fat quarters or other fabrics for yours. If you don’t have fabrics on hand to make your colorful sunglasses case head over to Hobby Lobby or Fabric.com to find exactly what you need. This is a beginner sewing project that anyone with basic sewing skills can make so I urge you to give this one a try.
If you would like a video tutorial of this project head over to YouTube and check out my video. While you are there subscribe to my free YouTube channel.
What you will Need:
- Remnant or fat quarter of exterior fabric
- Remnant or fat quarter of lining fabric
- 1/4 yd fusible foam interfacing
- Kam Snaps (optional)
- Standard sewing supplies
Step 1: Make a DIY Quilted Sunglass Case
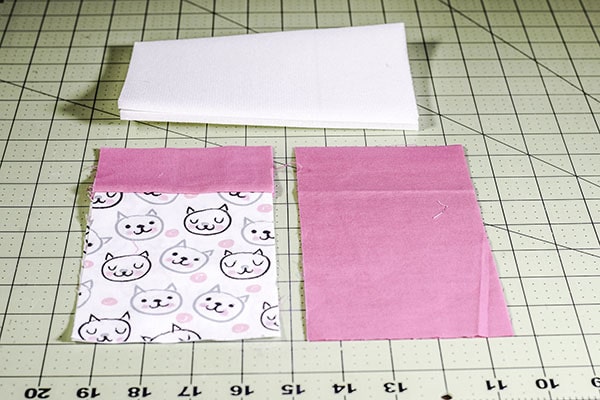
Cut your fabrics and foam. Cut two rectangles of the outer fabric 4 1/4″ x 7 1/2″ unless you use two colors like I did. I chose to cut a solid color 2 1/2″ and the print fabric 5 1/2″ for a total of 8″ in length and 4 1/4″ wide. The reason that the two fabrics combine to be longer than the other fabrics is because they will be joined using a 1/4″ seam allowance in a later step. Cut two each of the lining and the foam 4 1/4″ x 7 1/2″.
Step 2: Make a DIY Quilted Sunglass Case
If you are using two colors sew the solid color to the print using a 1/4″ seam allowance. Your rectangle should now measure 4 1/4″ x 7 1/2″. If you are going for a single color you can skip this step.
Step 3: Make a DIY Quilted Sunglass Case
Fuse the foam to the outer fabric following the manufacturer’s instructions. I used Pellon FF78F1 which requires that the glue side be placed on the wrong side of the fabric and a damp press cloth be placed on top. Press the press cloth with a hot iron for about 10 seconds. I used some steam to really fuse the foam.
Step 4: Make a DIY Quilted Sunglass Case
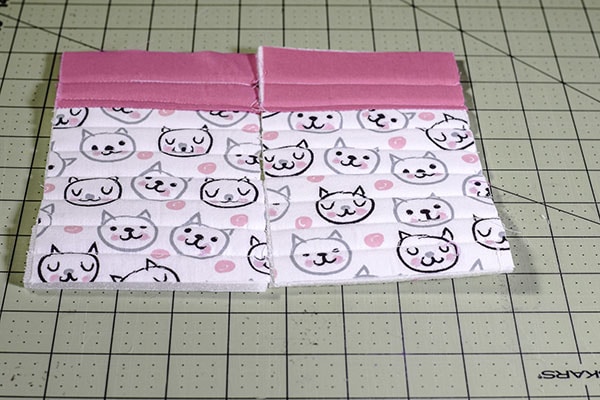
Sew lines across the outer fabric and foam in 3/4″ intervals. This is the quilting. You should have two outer fabric and foam pieces.
Step 5: Make a DIY Quilted Sunglass Case
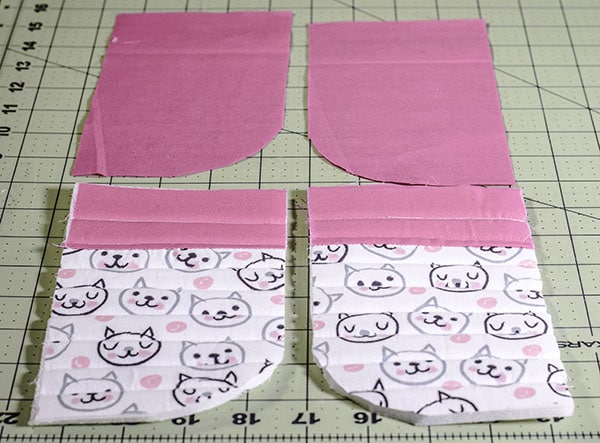
Take the two pieces and match them up with the lining pieces. Take a small lid or curved ruler to round the bottoms of the rectangles. This is important. Make sure that when you are rounding the corners you round one outer fabric/foam combination and lining piece together with right sides facing Turn the next set of fabric, foam and lining over so that wrong sides are facing you then round the corners in the same way.You will have four pieces. Two lining pieces and two fabric and foam combinations with the corners on opposite sides.
Step 6: Make a DIY Quilted Sunglass Case
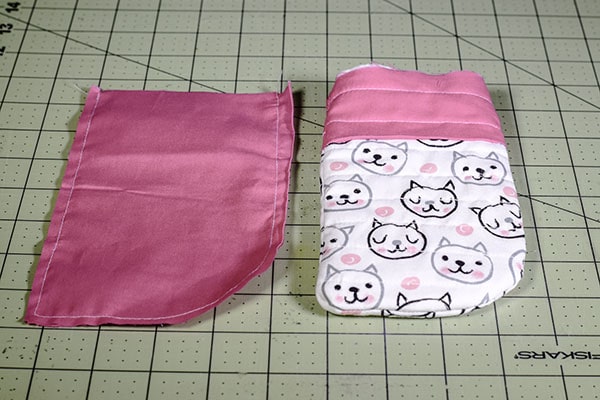
With right sides together sew the two fabric and foam combinations together along the sides and bottom. Turn right sides out. Sew the two lining pieces right sides together in the same way leaving an opening in the bottom of the lining for turning.
Step 7: Make a DIY Quilted Sunglass Case
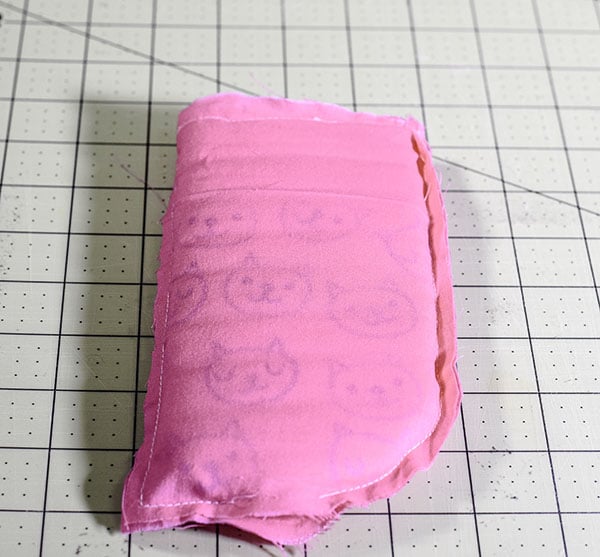
Insert the outer case into the lining case so that they are right sides together. Sew around the top of the case.
Step 8: Make a DIY Quilted Sunglass Case
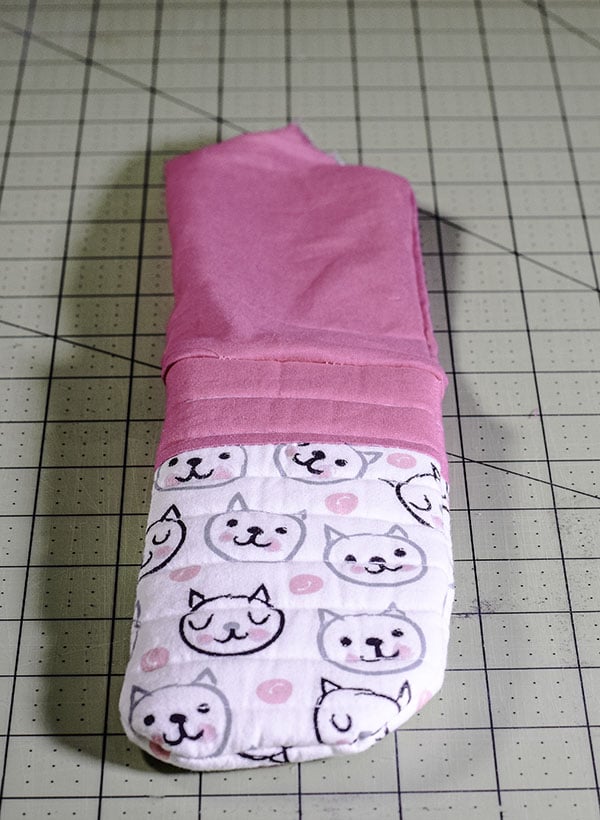
Turn the case through the opening in the lining and press. You can stitch around the top but this is really fidgety because of the size or you can just leave it. You can also add a Kam snap as a closure if you would like. If you would like to add a Kam snap. This is a simple process. Take a look at this video to learn how. I chose to add a kam snap rather than sew around the top. I used the Kam snaps that you can find here.
Step 9: Make a DIY Quilted Sunglass Case
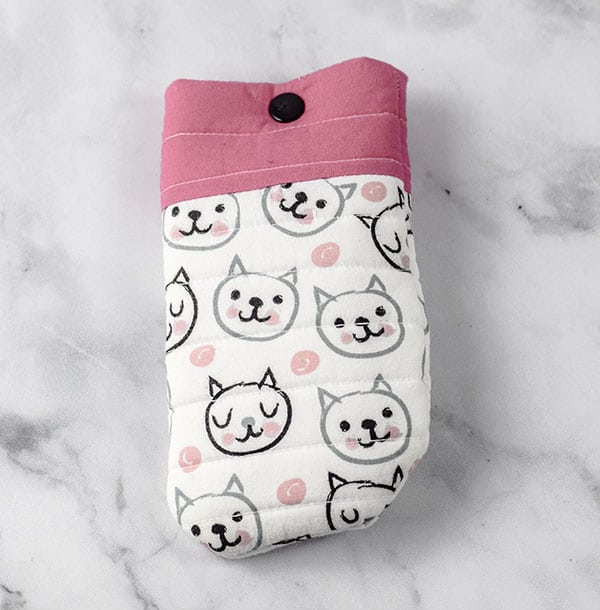
Once you added the Kam snap or sewn around the top of the case you have completed your DIY quilted sunglass case.
If you enjoyed this project try more of my beginner sewing projects by checking out my post on 10 beginner sewing projects.
If you would like more sewing and crafting projects sign up for our newsletter and gain access to our free members only printables library.


Wow! It looking so adorable! I’m trying to do like this one