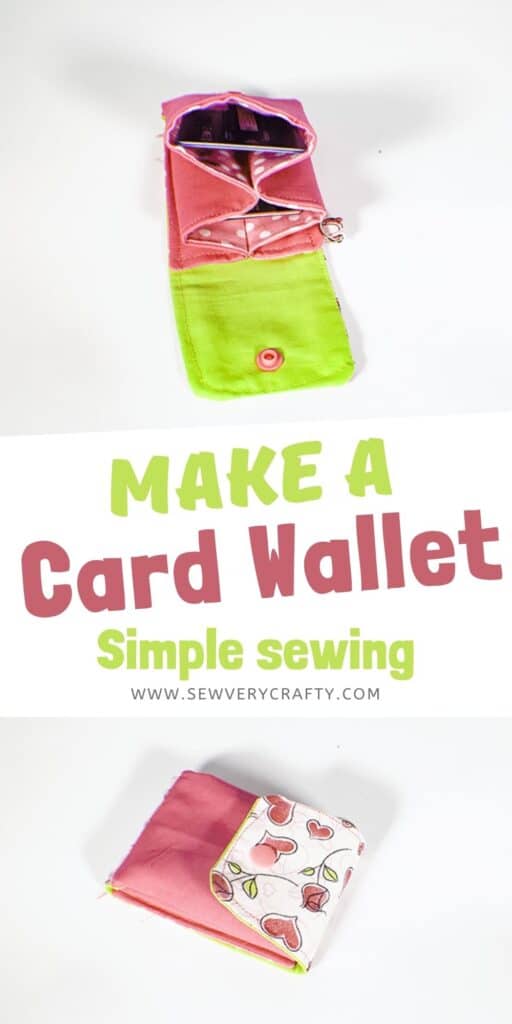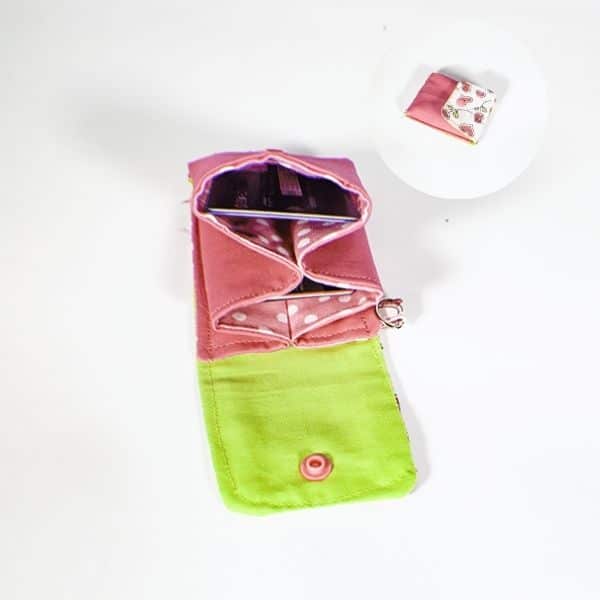
Do you need a wallet just for all of those cards you carry. This card wallet is perfect for that. It is so simple to make and only takes s few minutes. You can store your credit cards, health card or driver's license. Any kind of card you need to keep will fir nicely in this little wallet. It is made in an accordion style with a snap on flap that holds your cards securely. If you would like more wallet projects check out my bi-fold wallet project.
I used remnants that I had on hand for this project but you could head to JOANN Fabric & Craft Stores![]() ,
,
What you will need: How to Make a Card Wallet
- 1/8 yd of four different fabrics
- 1/8 yd of Pellon SF 101 interfacing
- 1 Kam snap
- 1 — 1/2″ D Ring
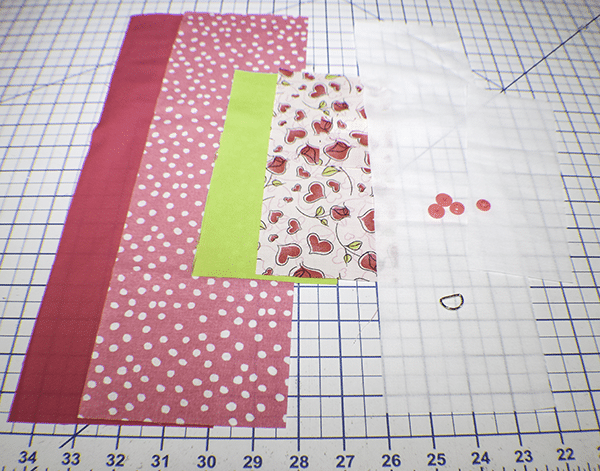
Step 1: Cut your Fabrics
- Outer and lining fabric that measures 8 1/4″ x 3 3/4″
- SF 101 that measures 7 1/2″ x 3″
- inner and inner lining that measures 15 3/4″ x 4 3/4″
- SF 101 that measures 15″ x 4″
- outer piece that measures 1 1/2″ x 2″
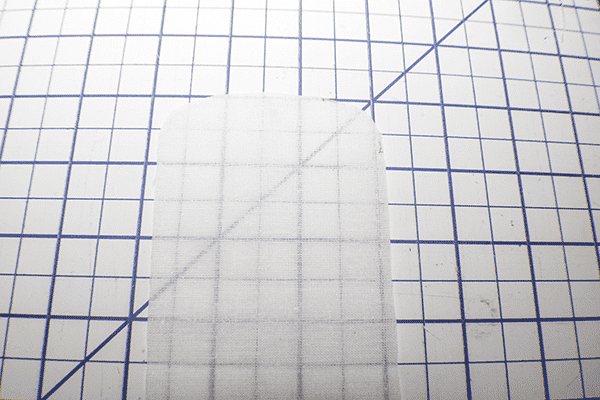
Step 2: Round the Corners of the Small Interfacing Piece
Round the corners of one end of the 7 1/2″ x 3″ interfacing pieces.
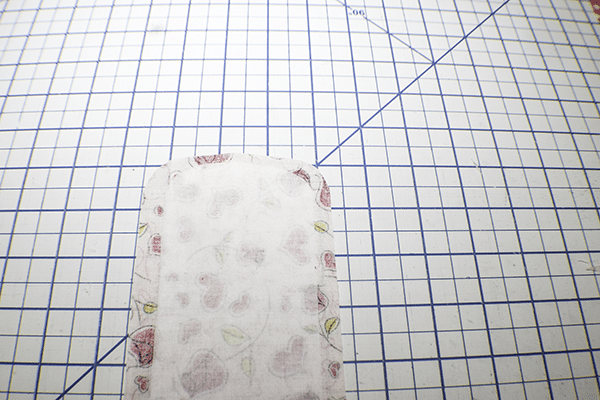
Step 3: Fuse the Interfacing
Fuse the SF101 to the wrong side of the outer fabric pice and one of the inner fabric pieces following the manufacturer's instructions and using a hot iron.

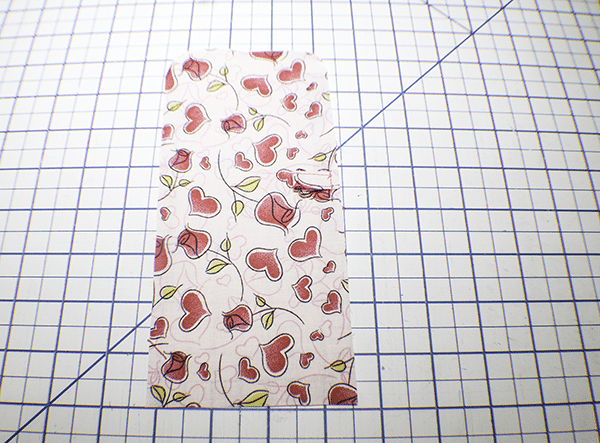
Step 4: Round the Fabric Pieces
Following the contours of the interfacing round the outer and lining pieces but keeping the seam allowances shown.
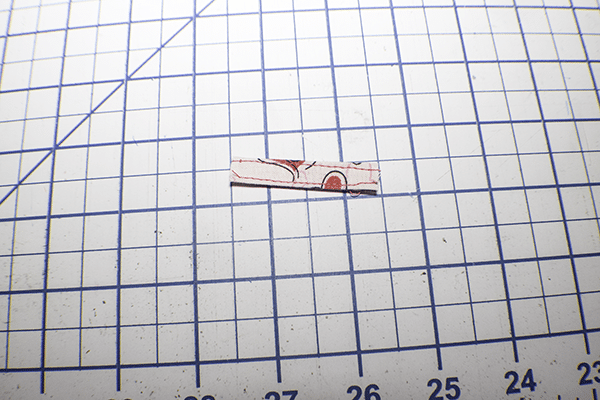
Step 6: Create the Tab
Take the small rectangle of outer fabric and fold the raw edges to the center lengthwise. Fold in half again to enclose the raw edges. Stitch along both long edges to secure. Wrap around the D-Ring and clip.
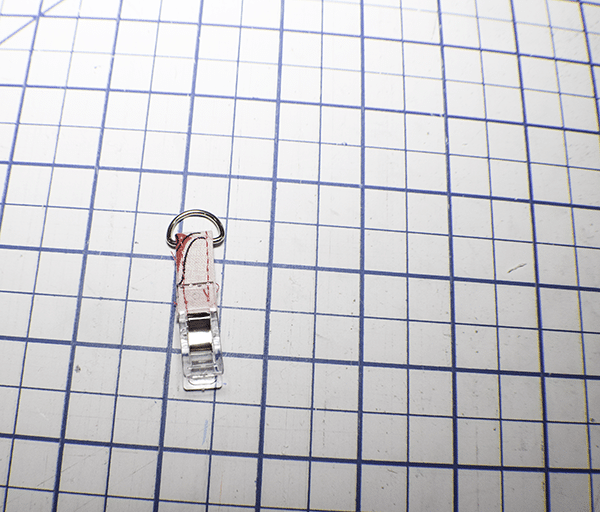
Step 7: Add the D-Ring Tab
Measure down 3 1/2″ from the rounded edge and place the tab. Stitch the tab to the outer piece to secure.
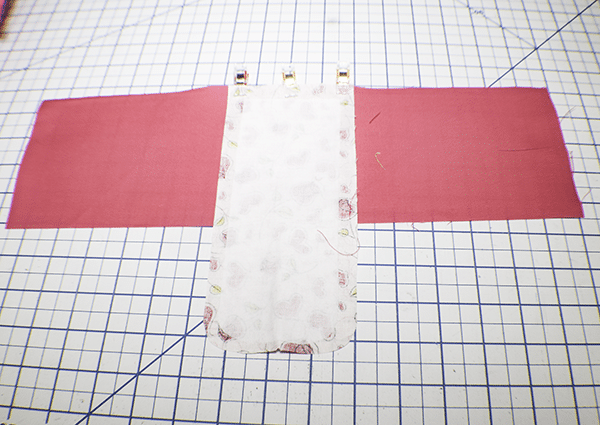
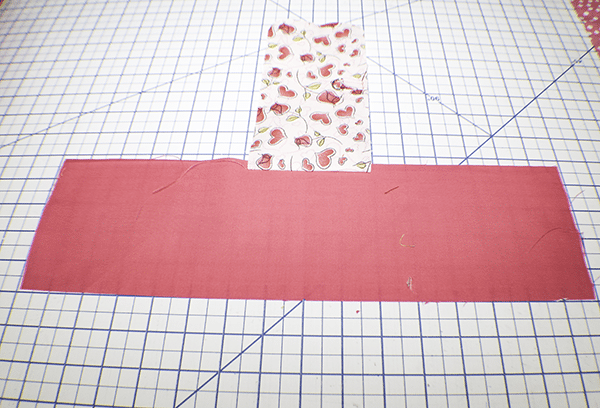
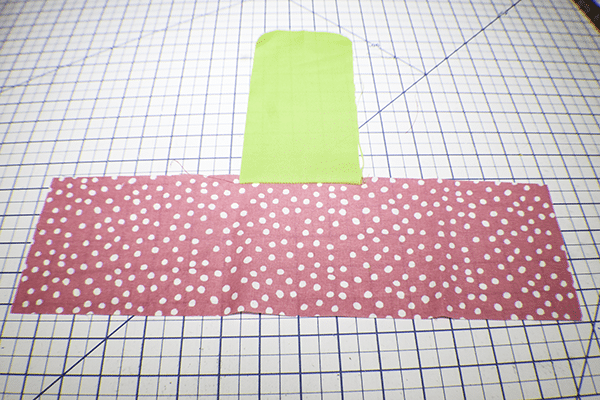
Step 8: Add the Outer Piece to One of the Inner Pieces
Find the center of the short ends of the outer piece and make a mark on the top and bottom. Find the center of the longed of one of the inner pieces and mark on the top and bottom. Place the short straight edge of the outer piece right sides together with the long edge of the inner piece matching the center marks. Stitch using a 3/8″ seam allowance. Repeat for the outer lining piece and the other inner piece.
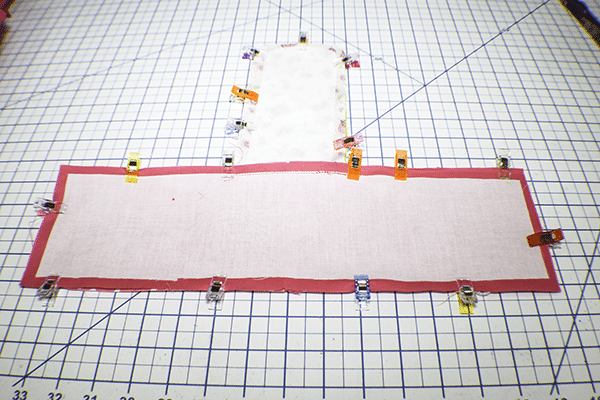
Step 9: Stitch the Two Pieces Together
Place the two pieces right sides together and stitch all the way around leaving an opening in the long pieces just across from the outerpieceys. Use a 3/8″ seam allowance. Clip the outer and inner corners as shown. Turn right sides out. Press.
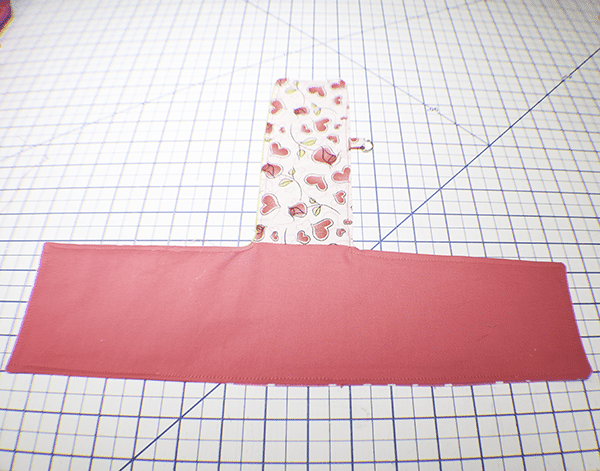
Step 10: Topstitch
Topstitch all the way around the card wallet.
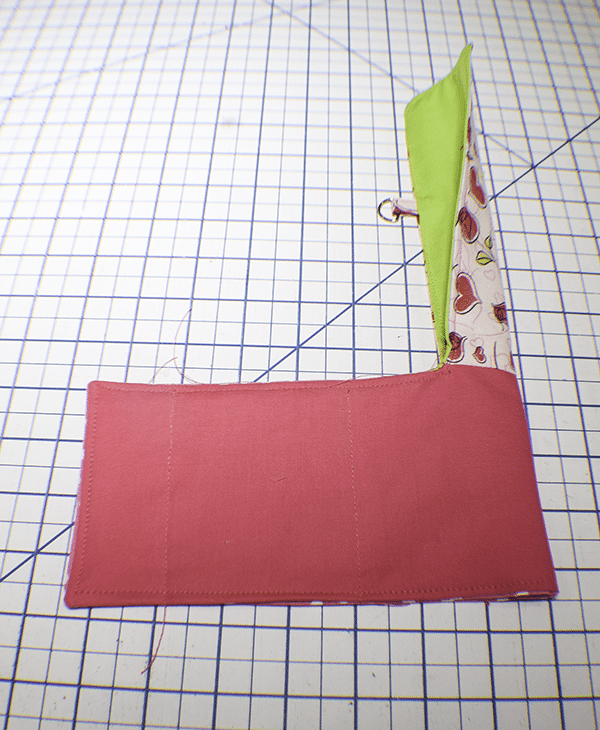
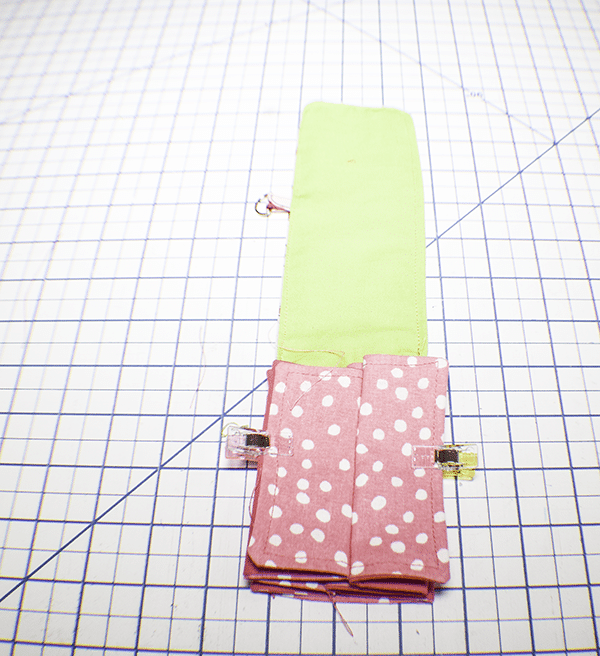
Step 11: Stitch the Pockets
Fold the card wallet in half. Measure 3″ from the folded end and draw a line. Measure another 3″from that line and draw another line. Stitch along those lines. Open the card wallet and press flat. Fold up the bottom toward the outer wallet and press again.. Clip the sides.
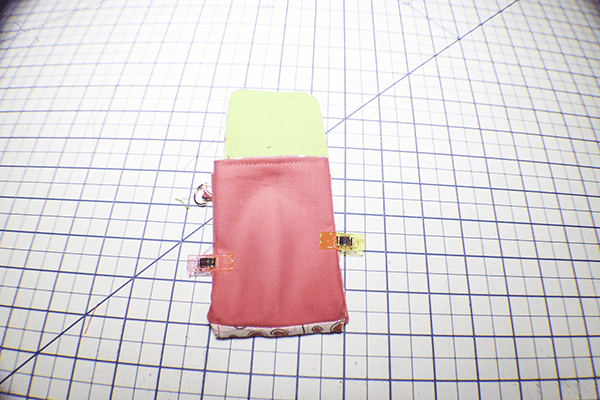
Step 12: Stitch the Sides
Stitch the back inner sides to the outer wallet.
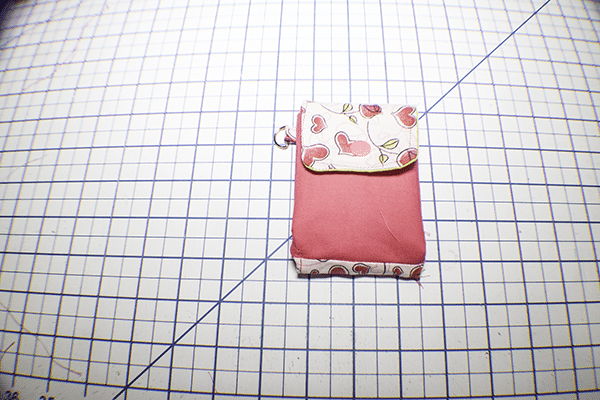
Step 13: Add the Kam Snap
Measure 1/2″ from the curved edge and place one half of the Kam snap. Measure down 3/4″ from the front and place the other half of the Kam snap and you have finished your card wallet.
I hope you enjoyed this card wallet project. If you would like more sewing and crafting projects subscribe to our newsletter and receive access to our free printables library
If you would like video tutorials of some of Sew Very Crafty's most popular posts subscribe to our free YouTube Channel here.