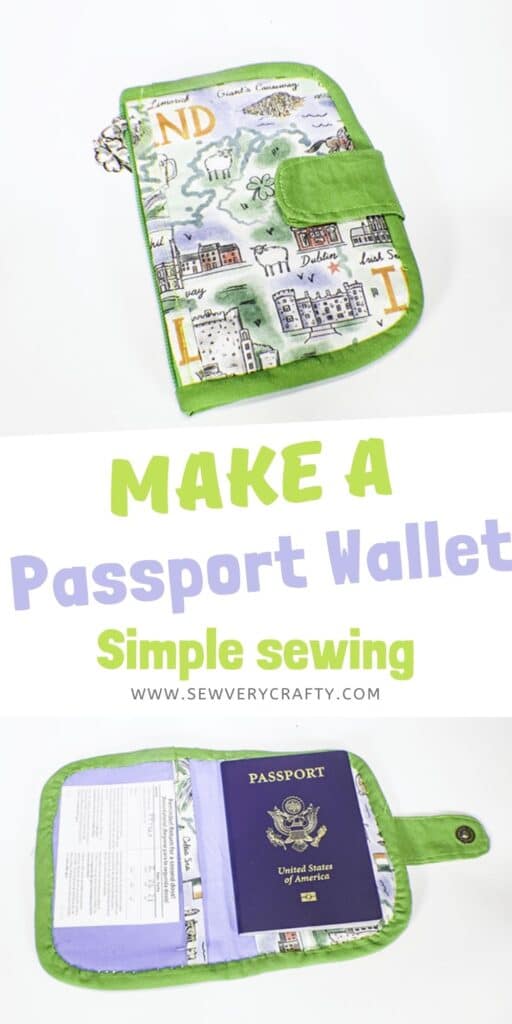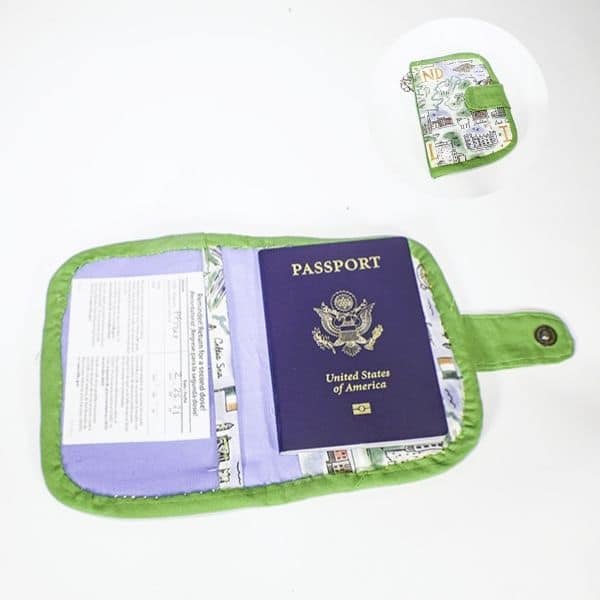
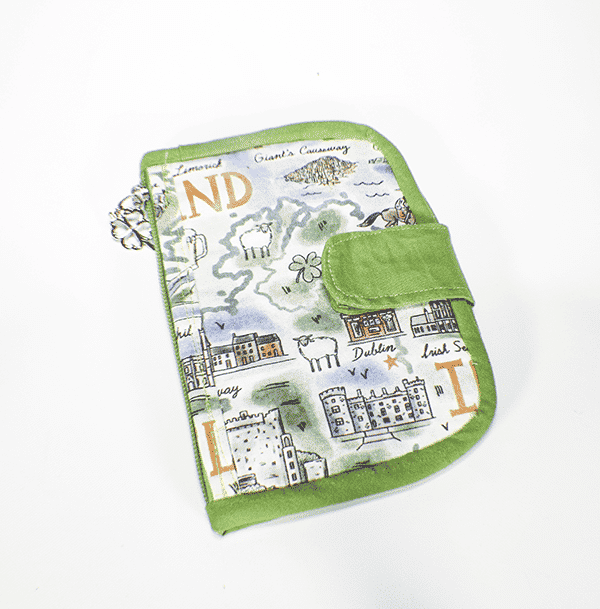
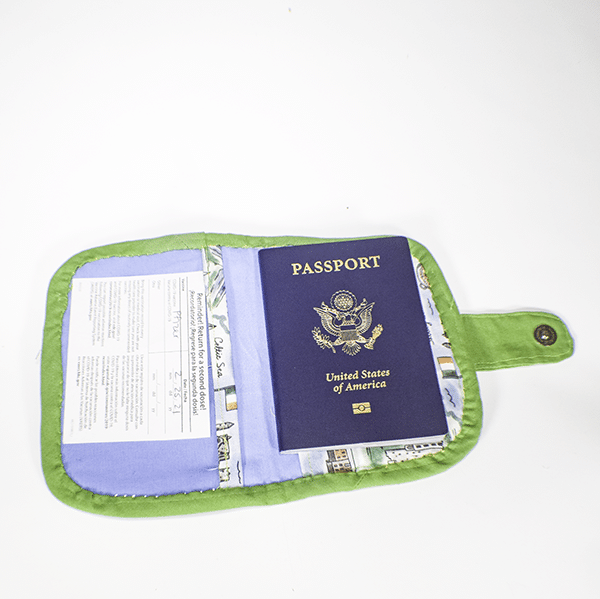
Travel seems to be back. At least I am traveling but proof of vaccination has not gone away. I thought this neat little passport and vaccine card holder was the perfect accompaniment to any international trip. This is a fun little project for the intermediate sewist. It really doesn't take too long to put together once you have two pieces cut out. There is some bias binding in this project so if you are not used to working with it it can be a little fidgety. I have other passport wallet projects that do not use bias if you would like to try them out check out this one.
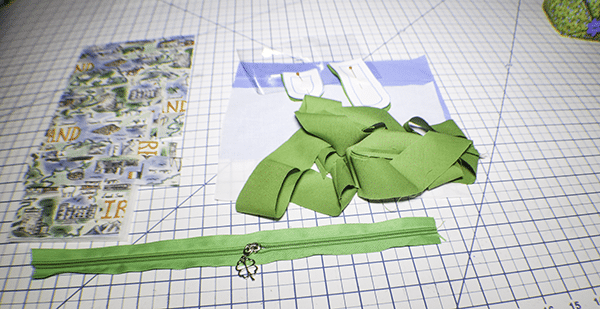
I used my Ireland travel fabric for this project that I purchased at joann's. Of course you can use any fabric you like for yours as long as it is cotton. You can head to Joann's, Fabric.com or online fabricator.net to get exactly what you need for your passport and vaccine card holder. This post contains affiliate links that if you click on them and make a purchase I may receive a small commission at no extra coast to you. As an Amazon Associate I earn from qualifying purchases.
What you will Need: How to Make a Passport and Vaccine Card Holder
- Pattern Pieces for the tabs you can get by clicking on this link
- 1/2 yd outer fabric
- 1/2 yd Lining Fabric
- 1/4 yd accent fabric for Bias Binding and tabs
- 1/4 yd fusible fleece
- 1/8 yd Pellon SF 101
- Scrap of clear vinyl
- Magnetic Snap
- 6 3/8″ Zipper
Step 1: Cut your fabrics
- Outer Fabric
- 4 pieces — 6 3/8″ x 4 1/2″
- 3 pieces — 6 3/8″ x 1 1/2″
- 1 piece — 8 1/4″ x 6 3/8″
- Lining Fabric
- 2 pieces — 9 1/2″ x 6 3/8″
- Accent fabric
- 31 1/2″ of 1 1/2″ wide bias binding
- 2 of each pattern piece
- Clear vinyl
- 4 1/8″ x 6 3/8″
- Fusible Fleece
- 2 Pieces — 6 3/8″ x 4 1/2″
- Pellon SF 101
- 1 Piece — 9 1/2″ x 6 3/8″
- 1 Piece of each pattern piece
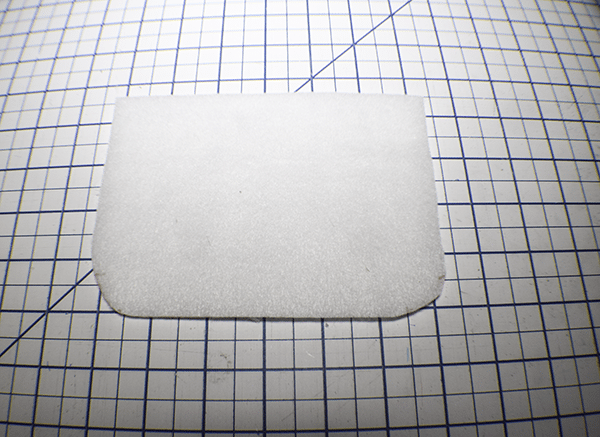
Step 2: Round the Corners
Take the fusible fleece pieces and round the bottom corners of the long edge of each piece slightly. You can measure up from the bottom 3/4″ and along the bottom 3/4″ and make marks. Join those marks to create the appropriate amount of rounding.
Step 3: Fuse the Fleece
Fuse the fleece to the wrong side of two of the outer 6 3/8″ x 4 1/2″ pieces following the manufacturer's instructions and using a hot iron. Round the corners.
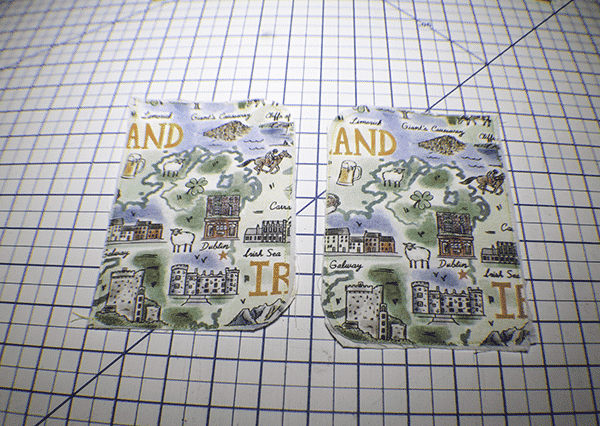
Step 4: Stitch the Outer Pieces
Place the outer pieces wrong sides together with the fleece in the center and stitch so that you have two outer pieces. Round all of the corners.
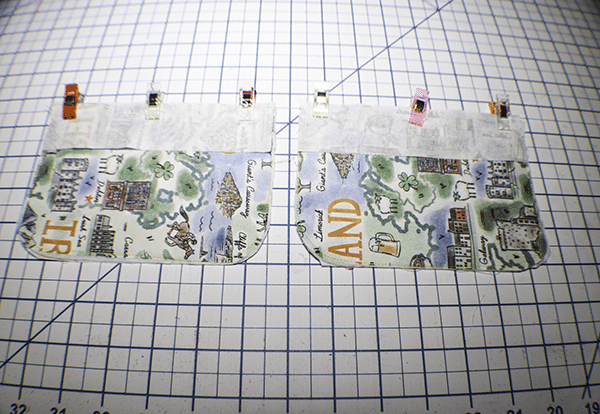
Step 5: Add the Small Outer Pieces
Take two of the 6 3/8″ x 1 1/2″ pieces and place them right sides together with the top raw edges of the two outer pieces you just stitched. Stitch using a 3/8″ seam allowance. Fold the piece over the raw edge and fold under like you would bias binding and stitch to enclose the raw edges.
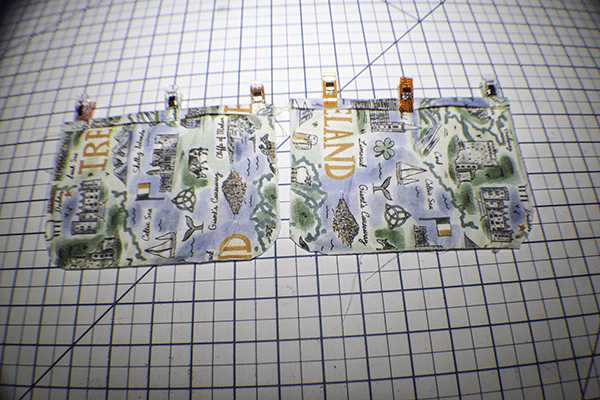
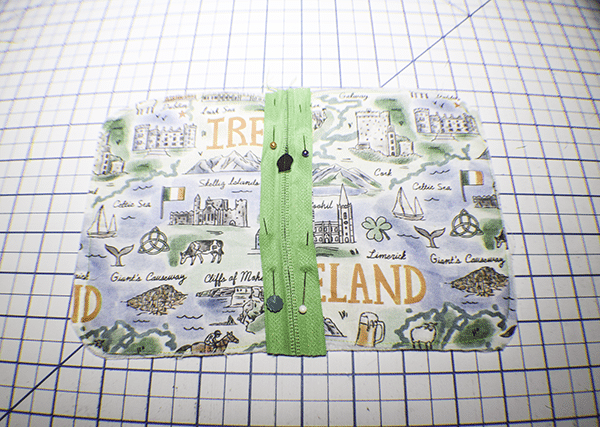
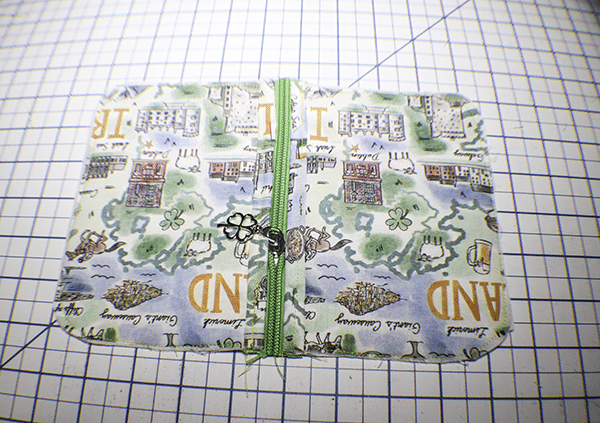
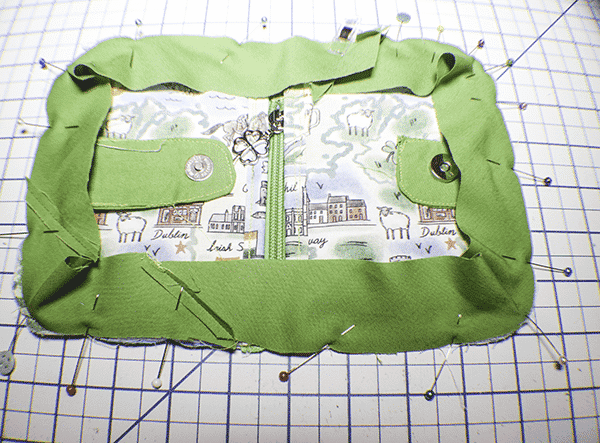
Step 6: Add the Zipper
Place the zipper right sides down onto the binding you just stitched joining the two pieces together and pin. Stitch the zipper in place along all sides.
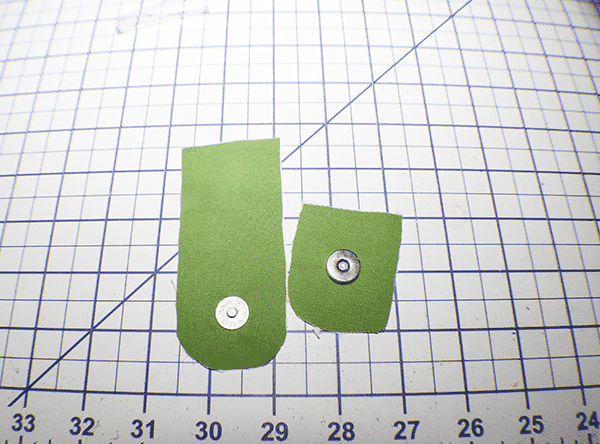
Step 7: Create the Tabs
Using the Pattern pieces fuse the interfacing to one of each piece following the manufacturer's instructions and using a hot iron. Insert one half of the magnetic slap 3/4″ from the rounded edge of the long piece and in the center of the smaller piece. Place the corresponding piece right sides together stitch all the way around using a 3/8″ seam allowance but leaving an opening for turning. Turn the pieces right sides out. Press.
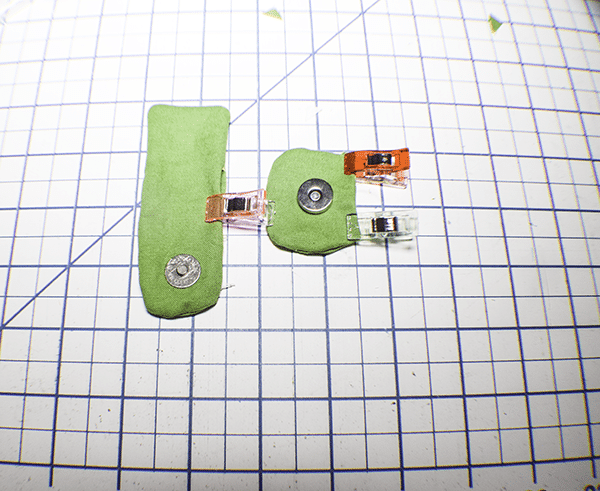
Step 8: Add the Tabs
Open the holder so that the right sides are facing up. On the right side find the center. Measure in 5/8″ and make a mark. Place the smaller tab on the mark. Using a zipper foot topstitch all the way around closing in the opening as you go. On the left side. Find the center. Measure in 3/4″ and place the longer tab.
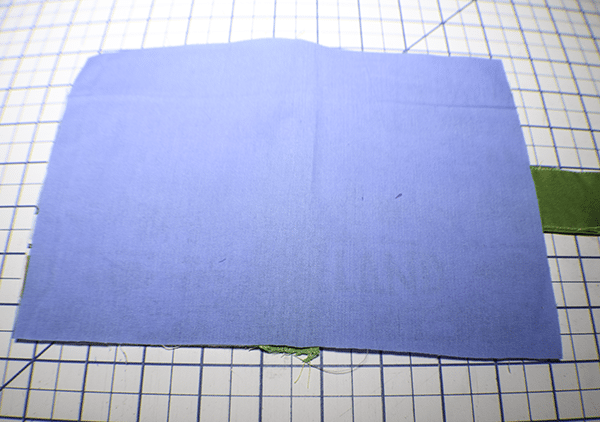
Step 9: Add the Lining
Take one of the lining pieces and place it wrong sides together with the holder and stitch all the way around. round off the corners.
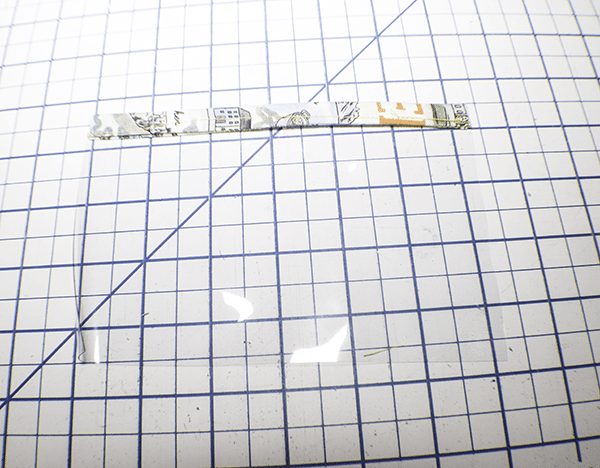
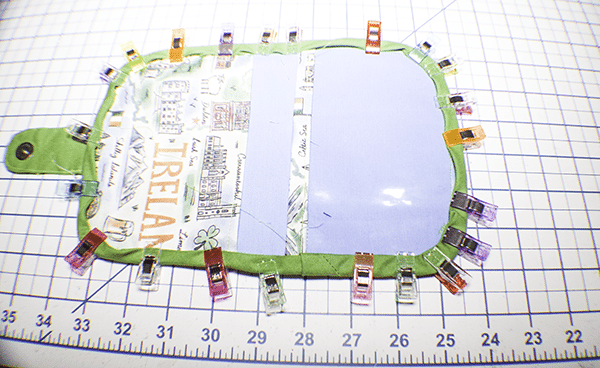
Step 10: Create the Inner Pockets
Place the third 6 3/8″ x 1 1/2″ piece of outer fabric right sides together with the clear vinyl. Stitch it on using a 3/8″ seam allowance. Fold over the raw edge and under and stitch again to secure. Take the Final piece of outer fabric and fold it in half. Topstitch along the folded edge.
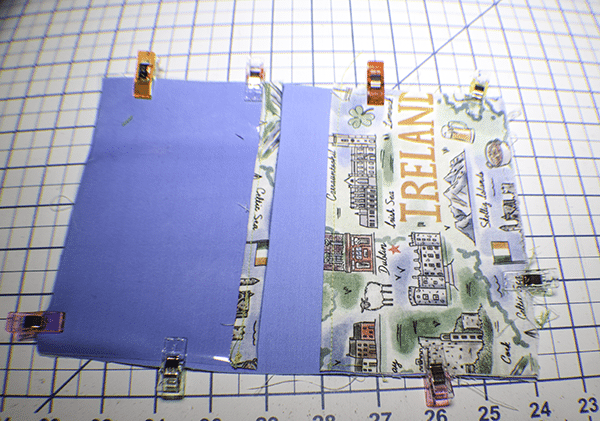
Step 11: Add the Inner Pockets
Take the final piece of lining fabric and fuse the final piece of Pellon SF 101 to the wrong side. Place the vinyl piece on the left side and the pocket piece on the right side. Stitch the pieces together along the sides and bottom. Add the pockets you just created to the inner holder and clip. Stitch all the way around the holder. Round off the corners to match.
Step 12: Add the Bias Binding
You first need to create the bias binding or you can use remade bias binding. if you want to make your own. check out my tutorial on how to make bias binding. Once you have decided which to use add the binding. Fold under the short raw edge. Place the binding right sides together with the outer holder and pin it all the way around the holder. Because the binding is cut on the bias it stretches and should easily go around the holder. Cut off the excess. Stitch around the bias binding to secure it in place.
Once you have stitched the binding around the holder fold it over the raw edge and turn it under. Clip all the way around. Stitch all the way around to secure. You can either machine stitch or hand stitch the binding at this point. Once you have finished stitching your binding you have finished your passport and vaccine card holder.
I hope you enjoyed this passport holder project. If you would like more sewing and crafting projects subscribe to our newsletter and receive access to our free Printables library.
If you would like video tutorials of some of Sew Very Crafty's most popular posts subscribe to our free YouTube channel here.