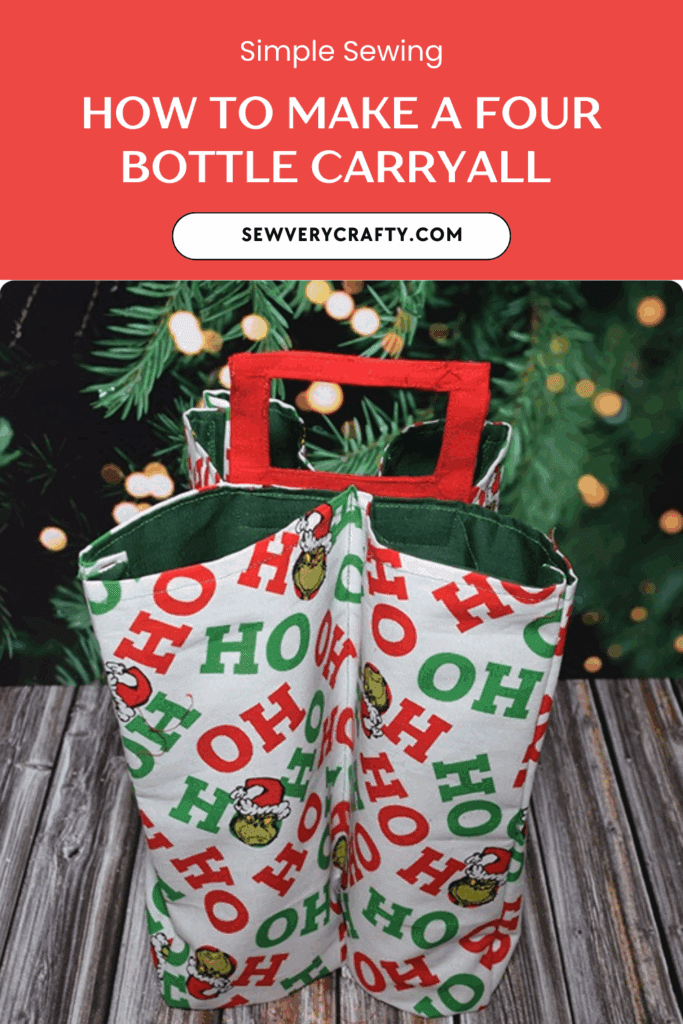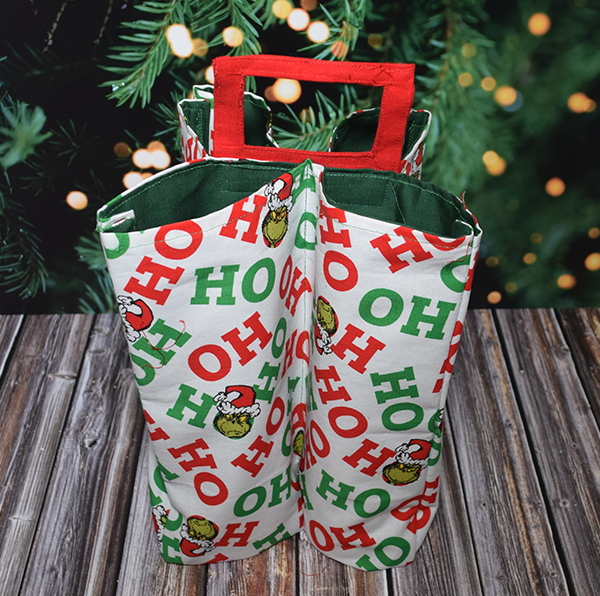
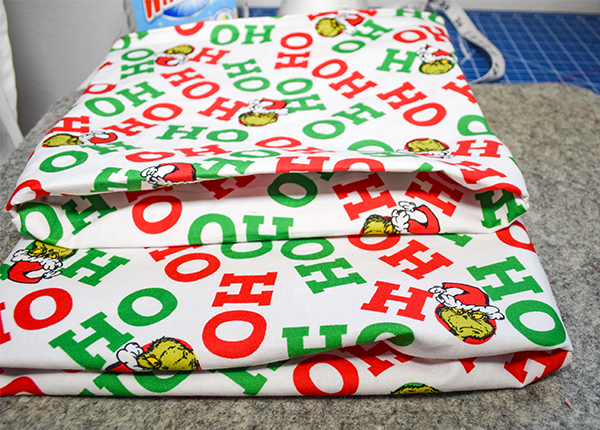
I saw this idea on YouTube but decided to make a few changes to make it perfect. This is a great holiday four bottle carryall to surprise all your friends. I wanted to use Christmas fabric for the upcoming season but any fabric will do to make it truly your own. Some plain cotton fabric is fine but I really wanted some interfacing to make it a bit stronger. I also wanted the handle to the carryall to stronger as well. If you would like more holiday sewing projects head over to my holiday project vault.
Note: This post contains affiliate links that if you click on them and make a purchase I will receive a small commission at no extra cost to you. As an Amazon Associate I earn from qualifying purchases.
What you will Need: How to Make a Four Bottle Carryall
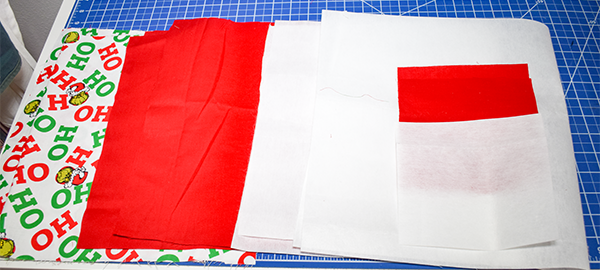
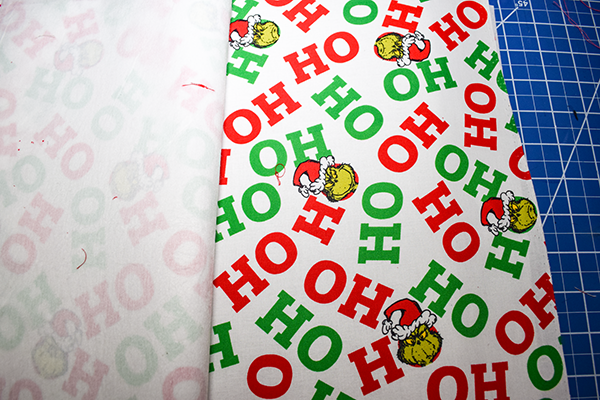
- 1 yd outer fabric
- 1 yd lining fabric
- 1/2 yd handle fabric
- 1/2 yd Pellon 808 interfacing
- Sewing machine
- Standard sewing supplies
Step 1: Cut the Fabrics
- 28″ x 15″ piece of outer fabric x 2, lining x 2 and interfacing x 2
- 5 1/2″ x 4 1/2″ handle fabric x 2 and one interfacing
Step 2: Fuse the Interfacing
Fuse the interfacing to the wrong side of one of the handle pieces and to the wrong side of the two outer fabric pieces using a hot iron and following the manufacturer's instructions.
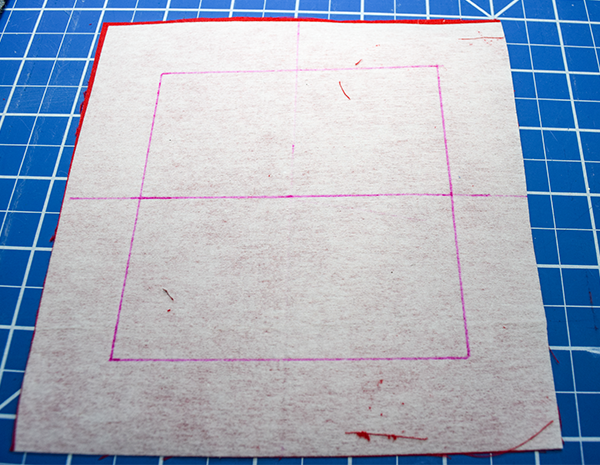
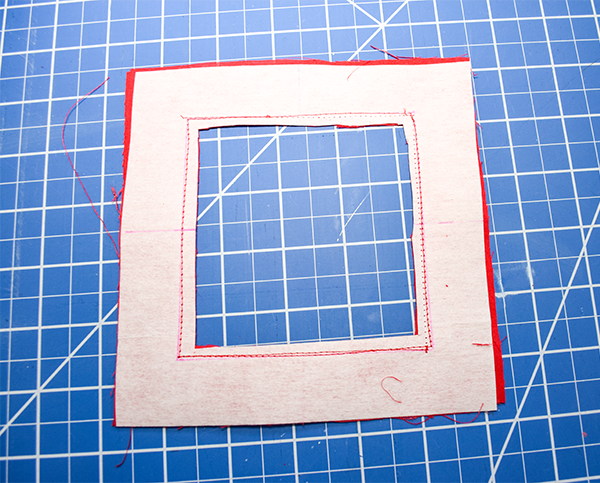
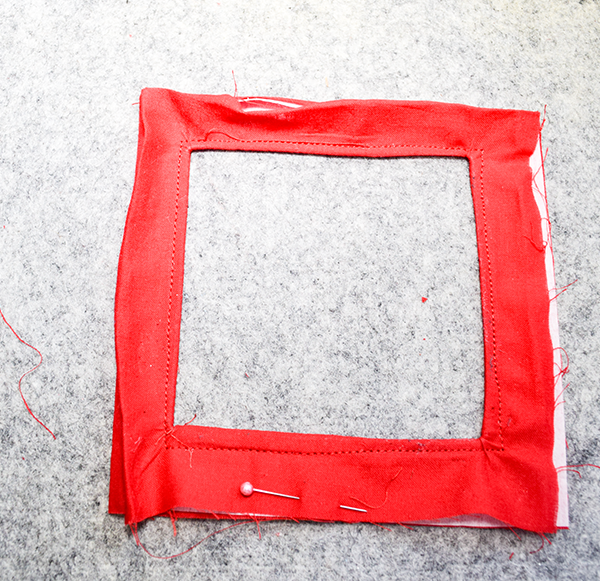
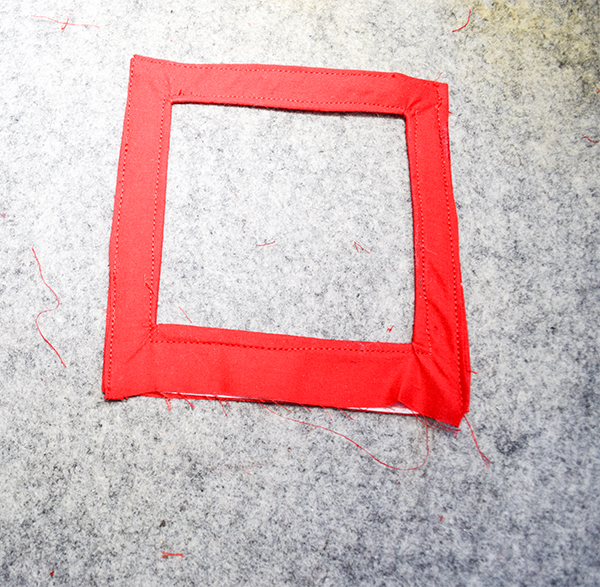
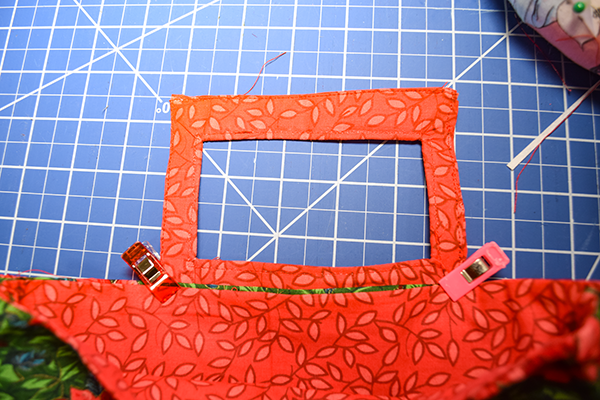
Step 2: Create the Handle
Place the two handle pieces right sides together. Pin or clip. Fold the pieces in half length and widthwise and mark the center. Measure 2″ to each side and the top and bottom and mark. Draw a box that connects the dots. Stitch all the way around the box. Cut out the center of the box without cutting through the stitching. Push one handle piece through the opening so that the interfacing is in the center. Press. Stitch around the opening to secure. Fold under the top and sides of the both handle pieces by 1/4″. Stitch along the folds.
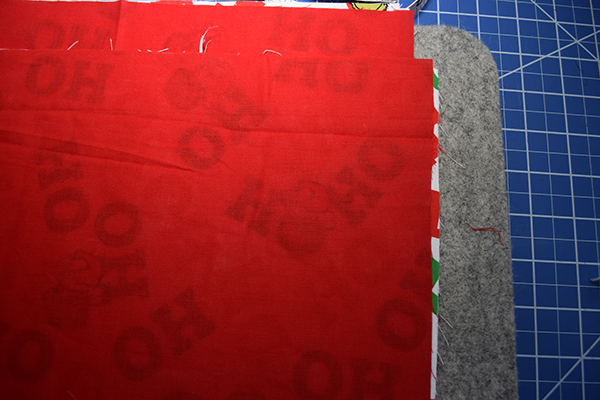
Step 3: Create the Body
Place the outer and lining pieces right sides together. Stitch all the way around using a 1/4″ seam allowance leaving an opening in the bottom for turning. Turn right sides out and press. Fold the piece in half widthwise with right sides together. Rotate the piece and fold up the folded edge by 1 1/2″ and press. Stitch along the side raw edges using a 3/8″ seam allowance. Turn right sides out. Press. Topstitch all the way around making sure to close the opening as you go. Create two of these.
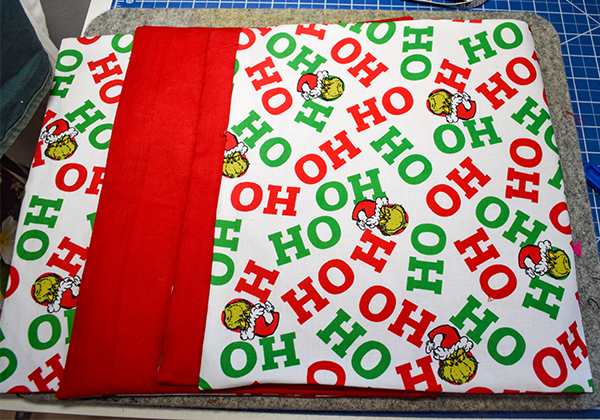
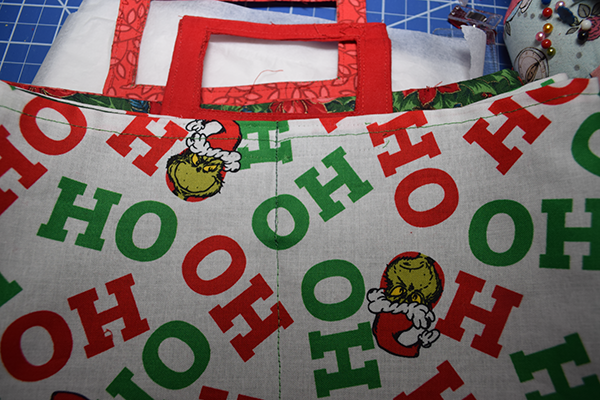
Step 4: Add the Handle
Fold the body pieces right sides together to find the center. Mark the center. Draw a line down the center. Fold the handle right sides together and mark the center. Place the two body pieces on top of each other with the piece with the drawn line facing up. Line up the center of the handle with the center of the body and insert the handle between the two body pieces with the raw edges facing down so that the bodies overlap the bottom of the handle and the centers are aligned. Pin. Stitch the handle to the inner two layers along the top of the body pieces through the two layers using a rectangle.
Step 5: Divide the Bag
Stitch the bodies together down the center line that you previously drew through all layers. You have now finished your four bottle carryall. Insert your bottles and enjoy.
I hope you enjoyed this simple sewing project. If you would like more sewing and crafting projects subscribe to our free newsletter and receive your free handbag eBook.
If you would like video tutorials of some of Sew Very Crafty's most popular posts subscribe to our free YouTube channel here.