What you will Need:
- Large Heart Pattern
- Small and Medium Heart Pattern
- 1 yd black cotton
- 1/2 yd buffalo check
- Scraps of various red and pink patterned and solid fabric
- 1/2 yd fusible web
- Iron
- Sewing machine
Step 1: Cut out Your Fabrics
Cut your fabrics as follows:
- 11 1/2″ x 16 1/2″ black cotton
- 4″ X 8″ black Cotton x 2
- 4″ X 4″ black cotton X 4
- 11 1/2″ x 8″ black buffalo check cotton
- 11 1/2″ x 4″
- 16″ x 4″ Black buffalo check cotton x 2
- Using the pattern pieces cut scraps of various red and pink patterned and solid fabric
- 1/2 yd fusible web
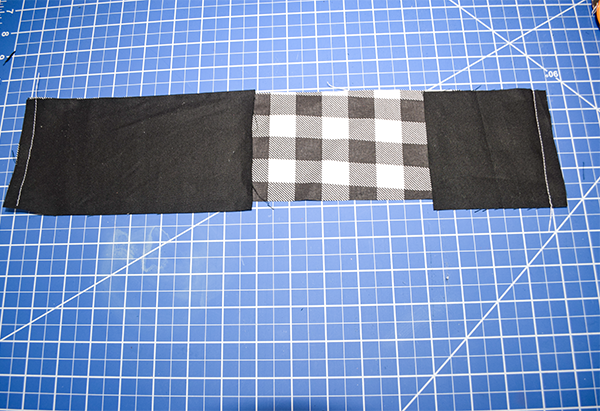
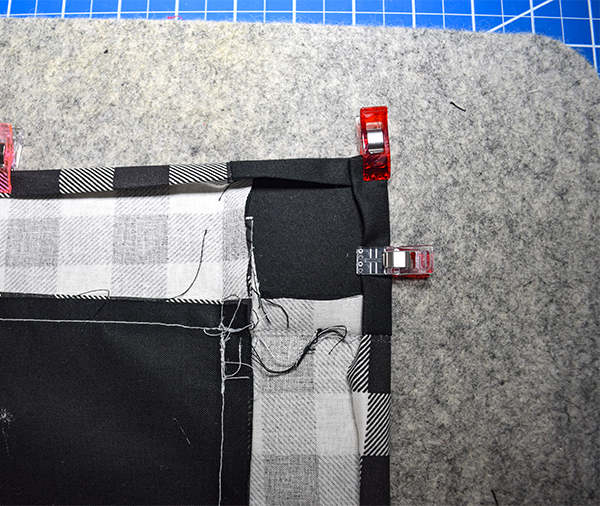
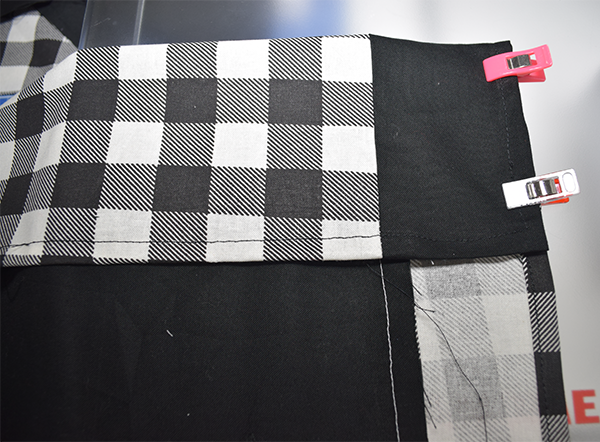
Step 2: Stitch the Side Border
Stitch one of the 4″ x 8″ black cotton squares right sides together with the short end of one of the 16″ x 4″ buffalo check strips using a 1/4″ seam allowance stopping 1/4″ from the end. Stitch the other 4″ x 8″ square to the other 16″ x 4″ piece in the same way. Set aside.
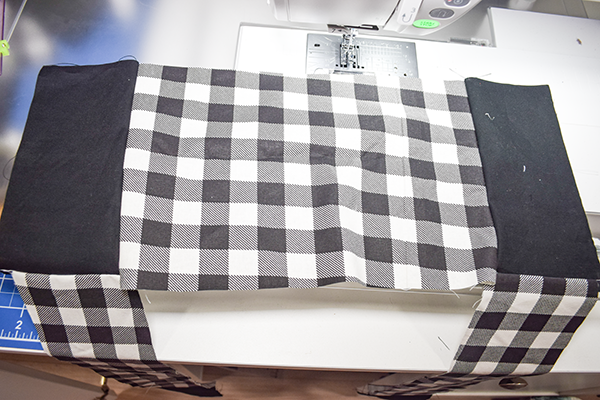
Step 3: Stitch the top border
Place the 11 1/2″ x 8″ buffalo check strip right sides together with one of the 8″ x 4″ black cotton rectangles you just added to the long buffalo check piece. Stitch the other end to the second black and buffalo check strip you just created.
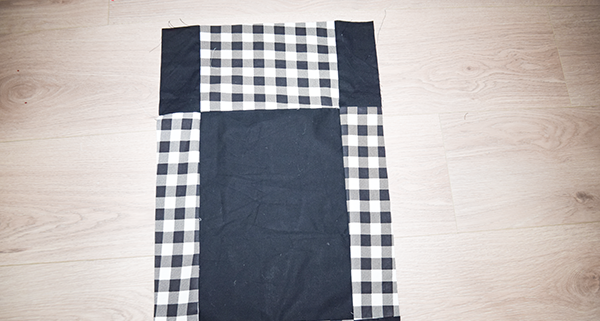
Step 4: Add the Center
Place the 16 1/2″ x 11 1/2″ piece of black right sides together matching the long raw edges. Stitch using a 1/4″ seam allowance stopping 1/4″ from the end. Place the short raw edges with the top part of the border and stitch stopping 1/4″ from the end. Stitch the second long raw edge to the other long side in the same way.
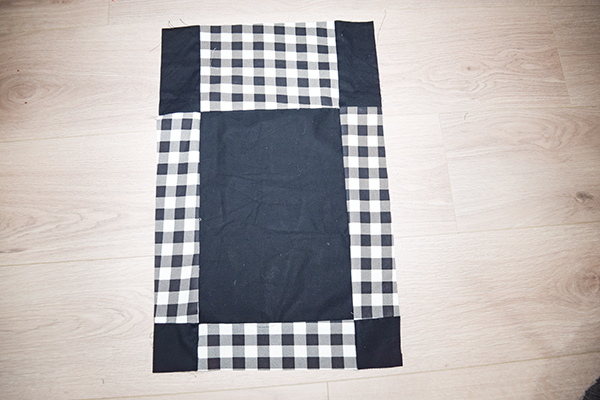
Step 5: Create the Bottom Border
Stitch one of the 4″ x 4″ black cotton squares right sides together with the short end of the 11 1/2″ x 4″ buffalo check strips using a 1/4″ seam allowance. Stitch the other 4″ x 8″ square to the other end. Set aside.

Step 6: Ad the Bottom Border
Place the bottom border right sides together with the bottom of the center of the flag matching the short raw edges. Stitch using a 1/4″ seam allowance.
Step 7: Hem the Flag
Fold all sides under 1/4″ and then another 1/4″. Press and stitch.
Step 8: Create the Casing
Fold the top border over 4″ and press. Stitch widthwise leaving the ends open.
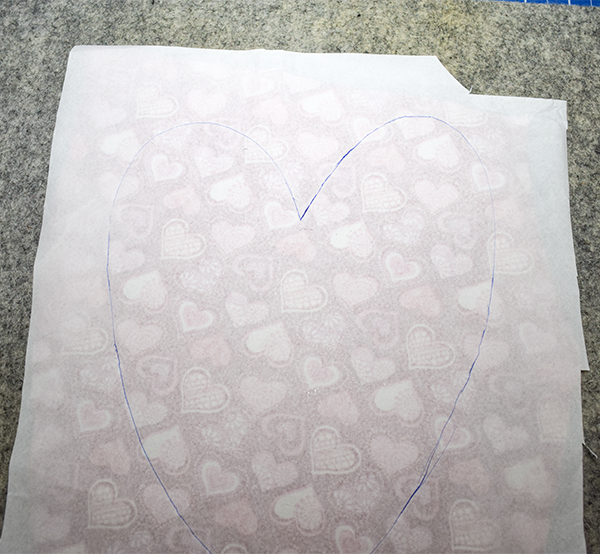
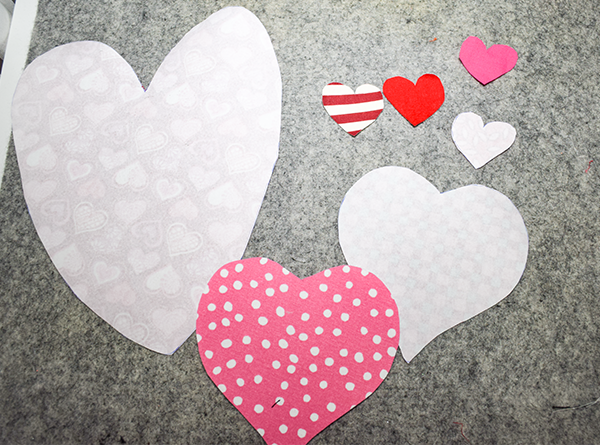
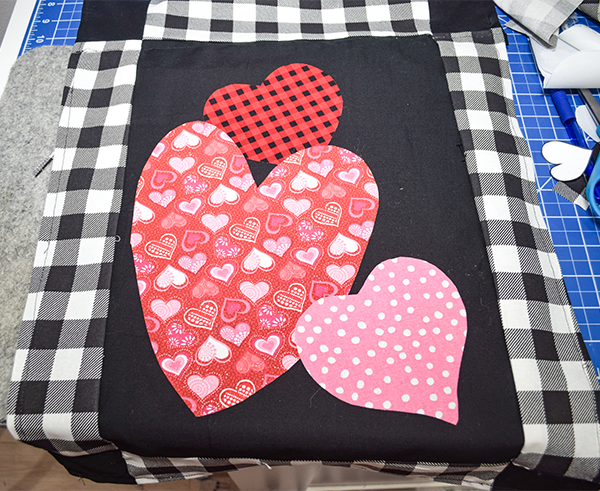
Step 9: create the appliqué
There is one large heart and two medium hearts. There are also five small hearts. Place fusible web onto fabric rectangles large enough to accommodate each heart. Press the fusible web to the fabric pieces with the glue side on the wrong side of the fabric. Draw the outline of each of the hearts onto the paper side of the fusible web. Cut out the hearts.
Step 9: attach the appliqué
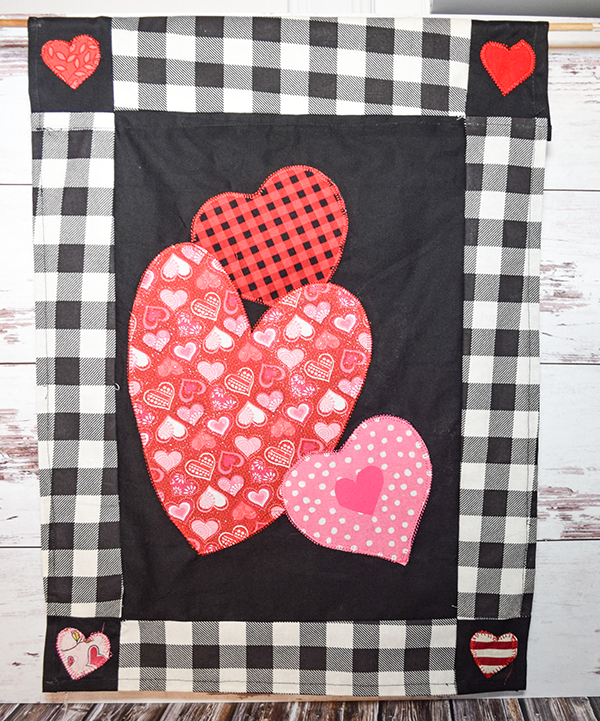
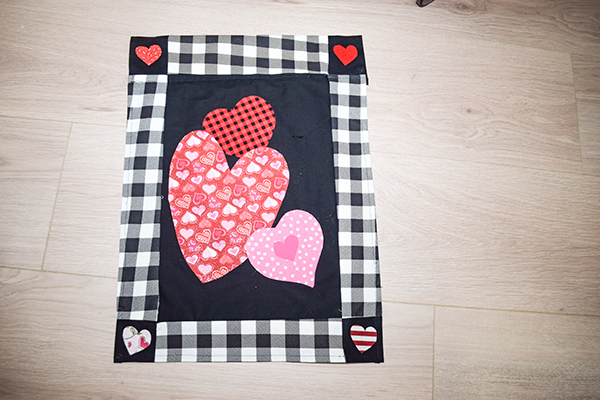
Start by placing the medium heart onto the top center of the black part of the flag. Fuse the heart using a hot iron. Next, fuse the largest of the hearts at an angle slightly overlapping the medium heart. Place the next medium heart on the bottom right of the black part of the flag at an angle and overlapping a bit of the large heart. Fuse a small heart into the center of that heart. Finally, add a small heart to each of the black corners of the flag. Stitch the hearts using blanket stitch, zigzag stitch, or straight stitch. Once the appliqué has been stitched your flag is complete. Hang it in the garden with pride.

I hope you enjoyed this simple appliqué garden flag. If you would like more sewing and crafting projects subscribe to our free newsletter and receive access to our free printable library.
If you would like video tutorials of some of Sew Very Crafty's most popular posts subscribe to our free YouTube channel here.