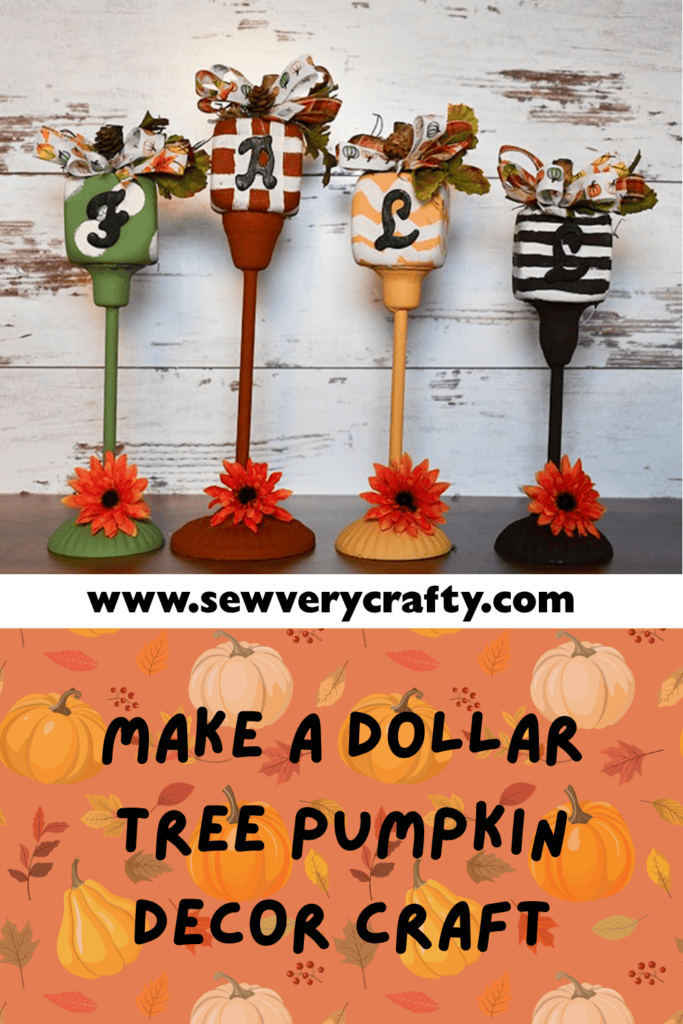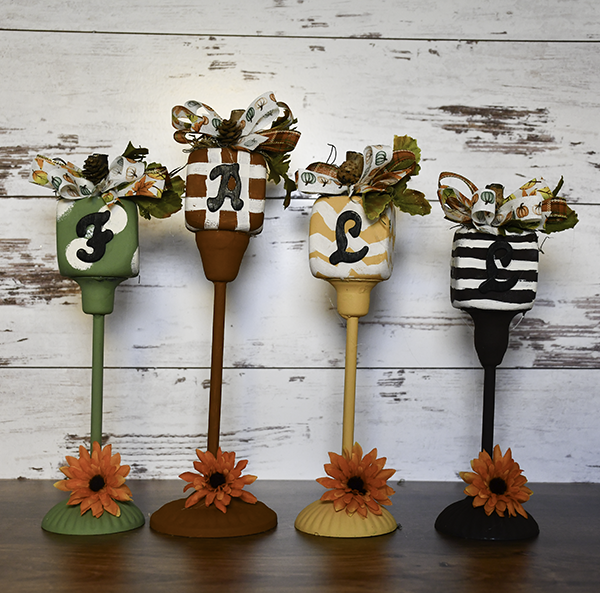
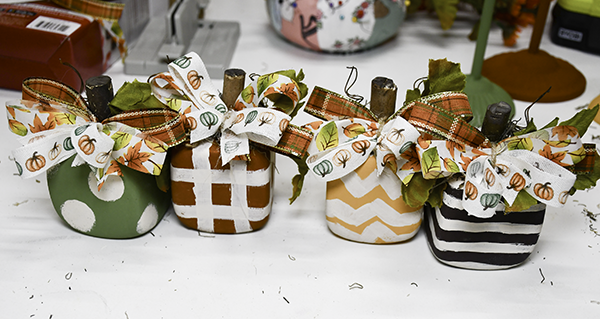
I have had these foam dice forever and could never decide what to do with them. As I looked at them I decided Dollar Tree Pumpkin Home Decor would be a simple Dollar Tree craft that is also kid friendly. I thought these came out really cute and I plan on displaying them in my dining room when we get closer to the holidays. This was one of those projects that I created soon the fly using items I had in my Dollar Tree Stockpile.. I really am trying to pare it down to a manageable level so I am looking at it all and trying to figure what to make with all the pieces. For now I came up with this fun project. I hope you like it. If you would like more Dollar Tree crafts head over to my Dollar Tree Page.

Note: This post contains affiliate links that if you click on them and make a purchase I will receive a small commission at no extra cost to you. As an Amazon Associate I earn from qualifying purchases.
What you will Need: How to Make Dollar Tree Pumpkin Home Decor
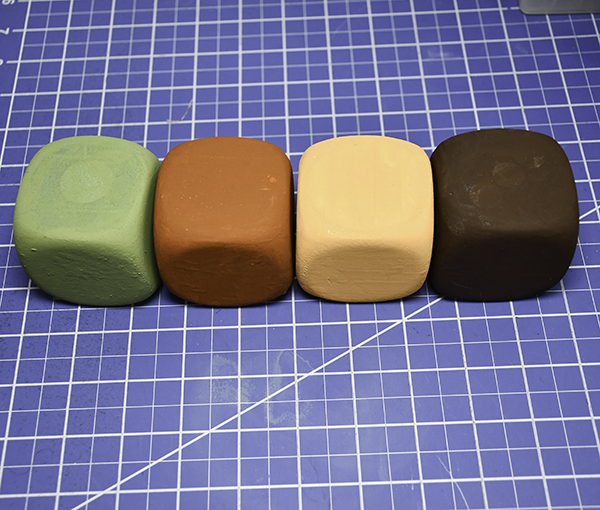
Step 1: Paint the Dice
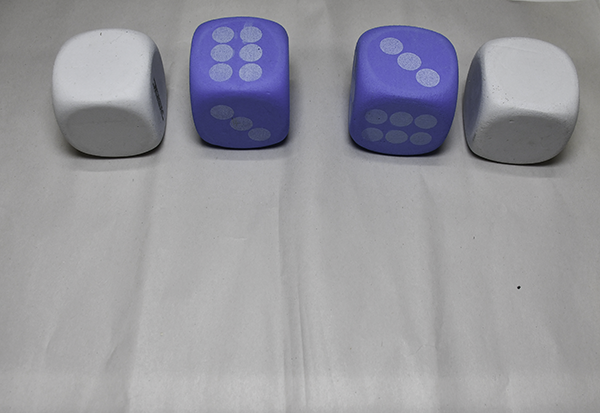
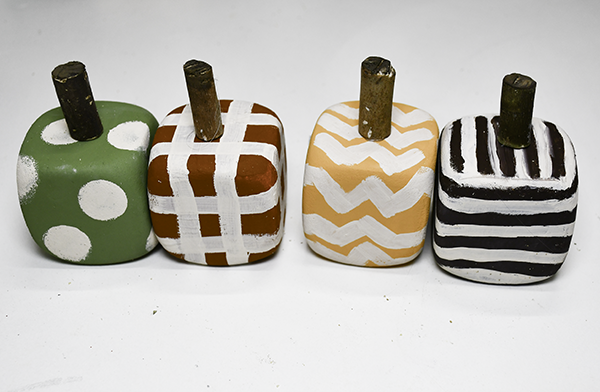
I had two plain white and two blue dice. I used a variety of paints in fall colors to cover my four dice. Because of the markings on the dice I needed several coats to get good coverage. The orange was the most difficult. I painted the orange one with white first, Then, I used orange chalk paint but it was too bright. I let the chalk paint dry then added a color called Mars orange to get the darker color I wanted.
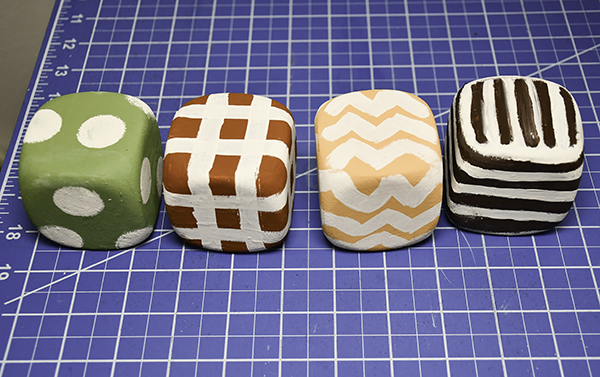
Step 2: Add the Patterns
I made different patterns on each die. To do this I used parchment colored paint. I hand painted dots, plaid, chevron and stripes in order to create a rustic feel. You can tape the patterns to make them symmetrical if you like.
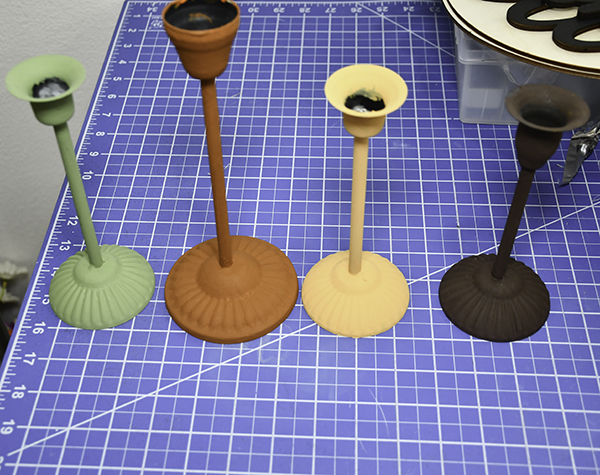
Step 3: PainT the Candle Holders
After mulling over the color I was going to paint the candle holders I decided to paint them the same color as I painted the dice. Again it took several coats but I ultimately got them to resemble the dice.
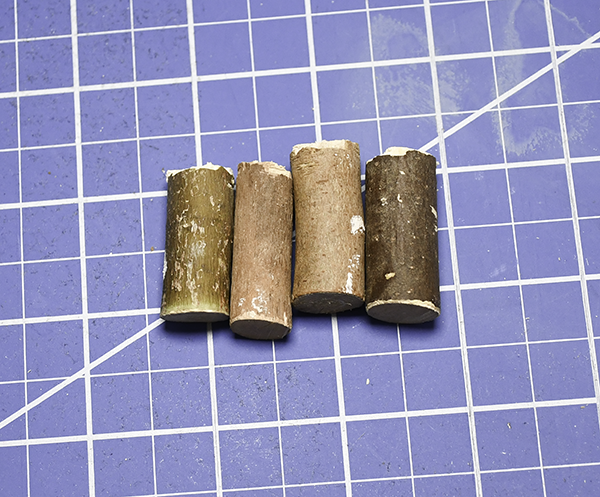
Step 4: Add the Stems
I had these sticks in my stash. They were purchased on Amazon. I decided to use them as stems for my pumpkins since I live in California and there aren't any trees near me that I can just pick up the sticks. The sticks were a little longer than I wanted so I did trim them down. To glue them, use a combination of e6000 and hot glue to attach the sticks to the top of the dice.
Step 5: Attach the wire
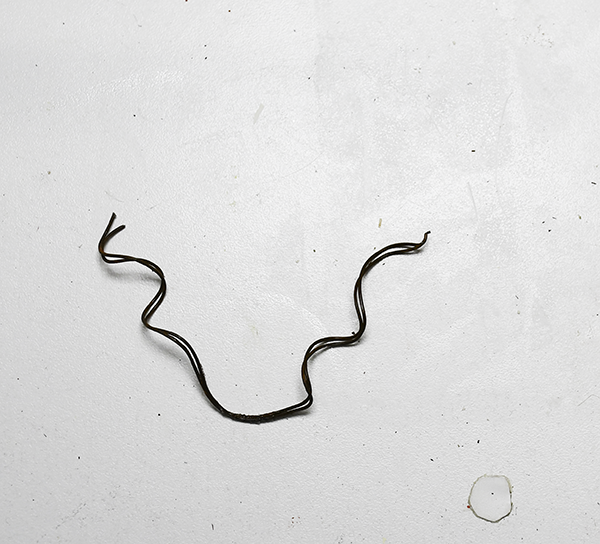
I had some rusted wire in my stash but if you do not you can use any wire you like. You can distress your wire, start by twisting the wire in small curly cues. Rough up the wire with sandpaper and paint it brown. Once the paint is dry add a little Mod Podge to it. While the Mod Podge is still wet, sprinkle some ground cinnamon on it and let it dry completely. Cover the wire with a final coat of Mod Podge. Hot glue the wire to the top of the dice near the stem like tendrils.
Step 6: Add the Spanish Moss
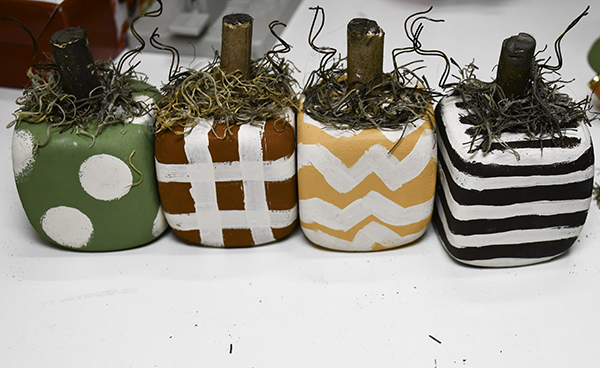
Using your hot glue add a little Spanish moss around the sticks and wire.
Step 7: Add the Leaves
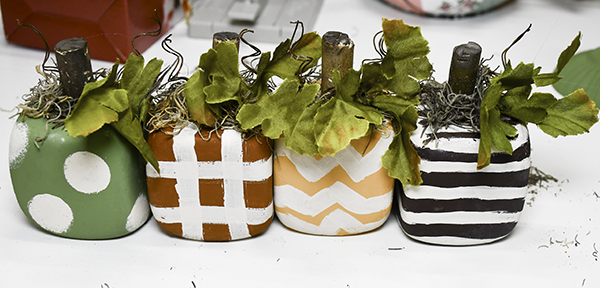
These leaves can be found at Dollar Tree as fall comes upon us. I attached them to the stems.
Step 8: Attach the Ribbon
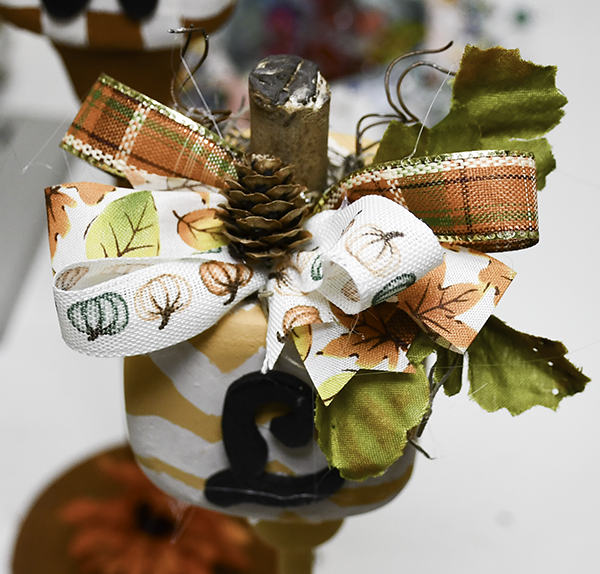
I had some fall themed ribbon in my stash that I obtained from Dollar Tree. I created a small bow for each of the dice. If you struggle with making bows check out the bow making course that I took at Southern Charm Wreaths. Hot glue the bow to the top of the dice.
Step 9: Add the Pinecone
Hot glue a mini pinecone in the center of the bow.
Step 10: Add the Letters
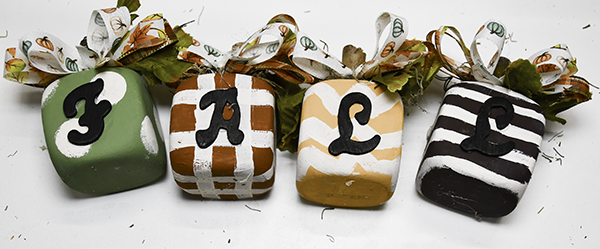
I had some wood letters in my stash. I spelled the word "FALL" and painted each of the letters black. Using e6000 and hot glue attach the letters to the front of each die.
Step 11: Add the Flowers
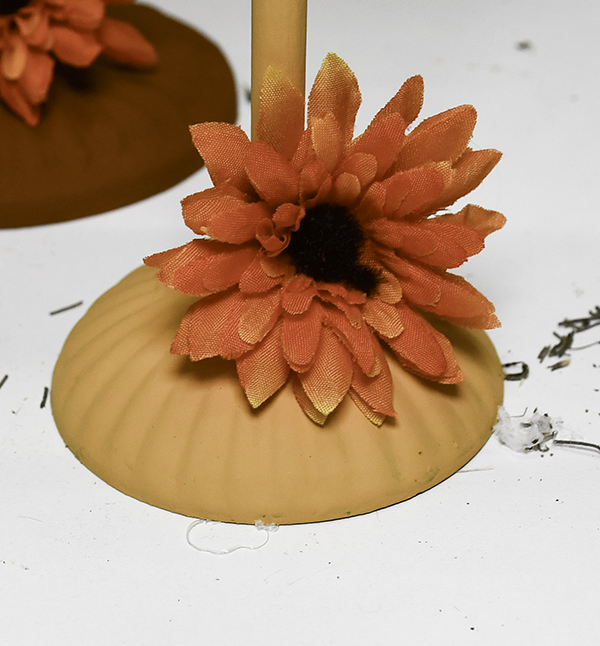
Add the flowers to the bottom of the candle holder.
Step 12: Glue the Dice to the Candle Holder
Once again, using e6000 and hot glue attach the Dice to the candle holders.
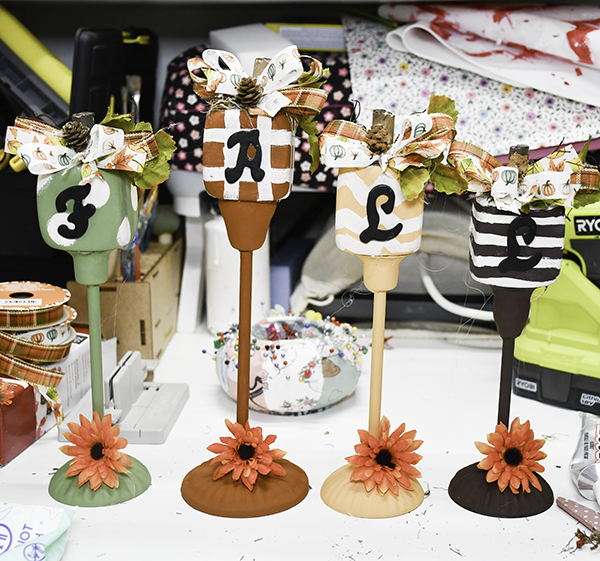
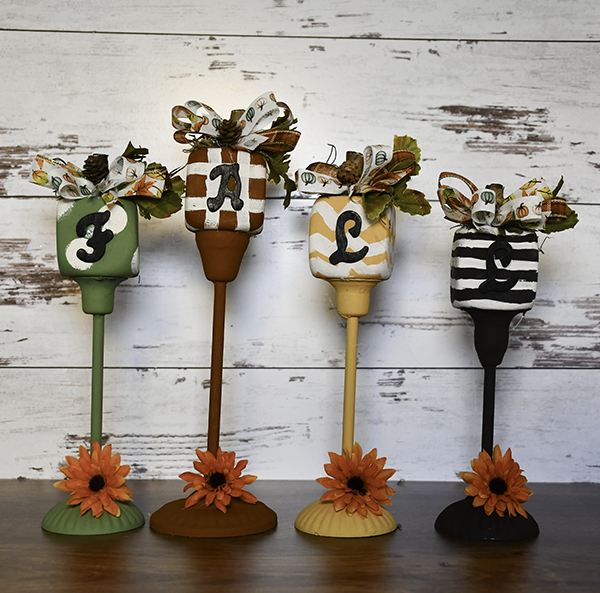
I hope you enjoyed this simple autumn project. For more sewing and crafting projects subscribe to our newsletter f and receive your free Dollar Tree Holiday eBook for many more.
Join our Sew Very Crafty Fans Facebook group
If you want to ask questions and share your projects join our Facebook group here. The community will help to achieve your sewing and crafting dreams.

Subscribe to our Free YouTube Channel!