Make a Cuddly Bunny
I just love cuddly stuffed animals and with Easter on the horizon I thought to make a cuddly bunny that is simple to sew and can be made with my ever popular remnant stash. This bunny requires confident sewing skills to complete. If you take your time and follow the instructions most anyone can put this adorable bunny together. There are a few pattern pieces but the bunny comes together pretty easily. You will need to master a few hand sewing skills for this project but they are not too difficult.
I used a soft denim fabric for my bunny but you could use a soft fleece or wool for yours if you like. I had a remnant in my stash that was large enough to create this project. Many remnants come in one yard cuts and this particular remnant was one of those so I was able to make another project using it as well. I used a floral accent fabric that was also a remnant. If you don't have a remnant stash like mine head over to Hobby Lobby or Fabric.com to find exactly what you need and have it delivered in no time at all. This post contains affiliate links that if you click on them and make a purchase I may receive a small commission at no extra cost to you. This pattern was modified by one shared by Purl Soho.
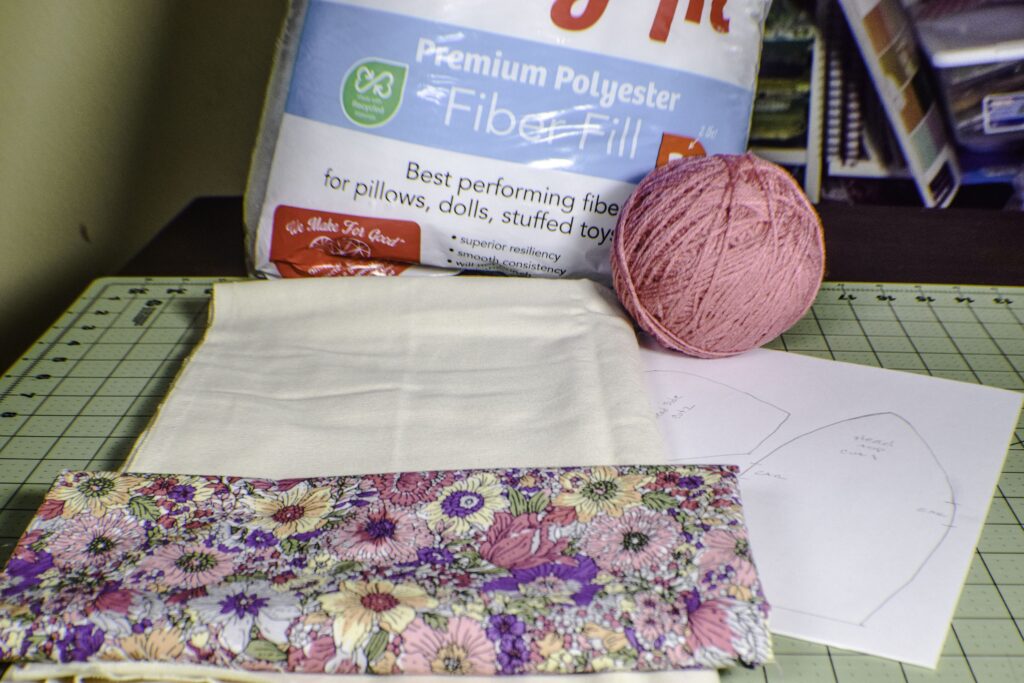
What you will Need:
- Pattern
- 1/2 yd Main body fabric
- 1/4 yd accent fabric
- Poly fiber fill
- Yarn
- Embroidery floss
- Standard sewing supplies
Step 1: Make a Cuddly Bunny
Cut out the pattern pieces from the main body fabric and the accent fabric. Transfer the pattern markings to the fabric using a heat erasable pen like Frixion.
Step 2: Make a Cuddly Bunny
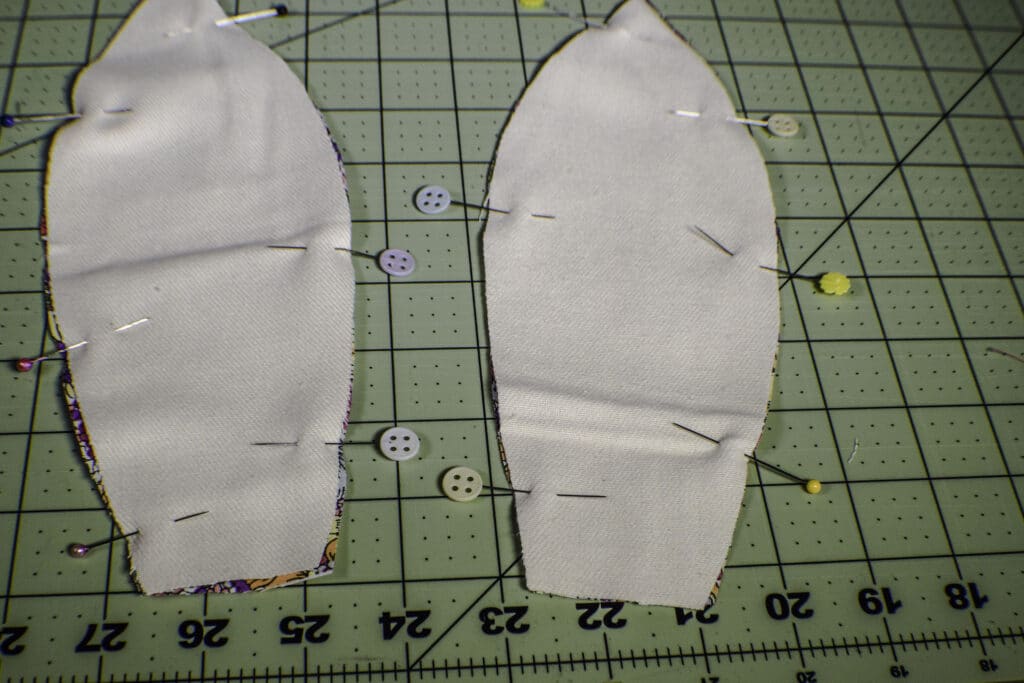
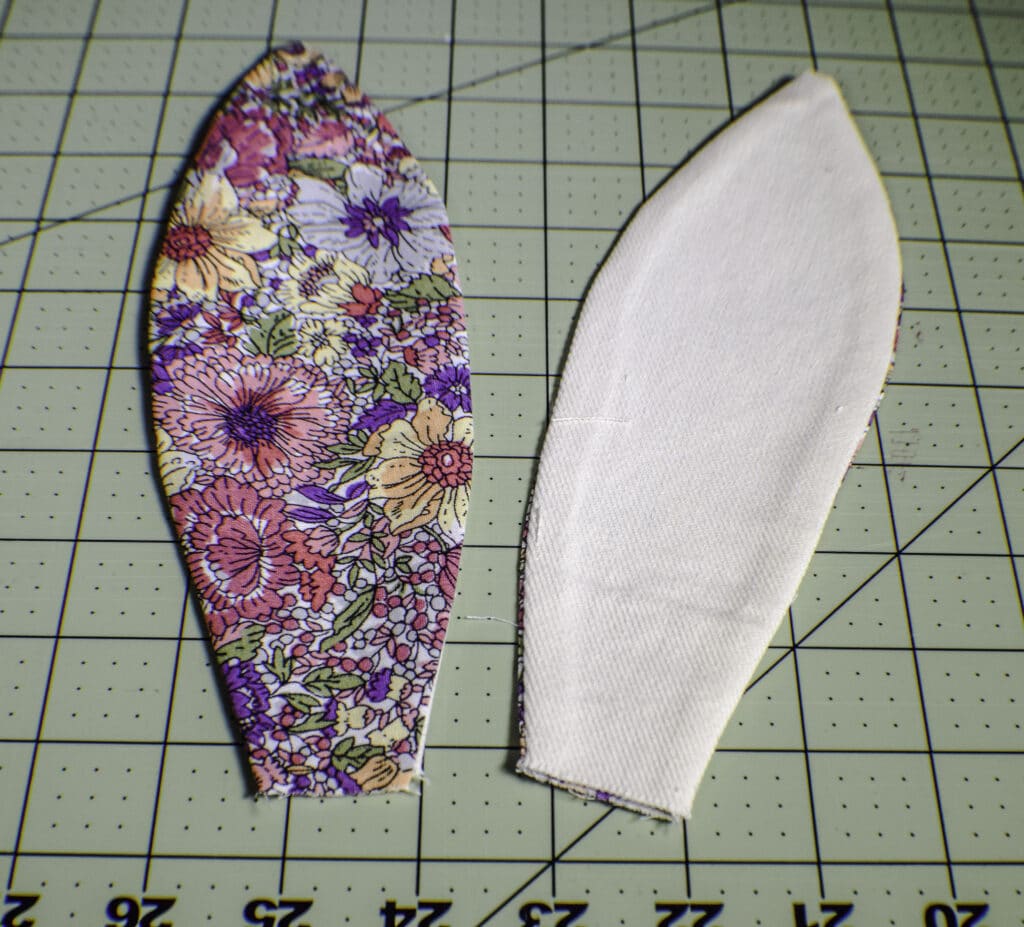
Sew the ears. Take one outer fabric ear and one accent fabric ear piece and place them right sides together. Sew them together using 1/4″ seam allowance leaving the bottom open for turning. Turn the ears right side out. Press. The ears will not be stuffed.
Step 3: Make a Cuddly Bunny
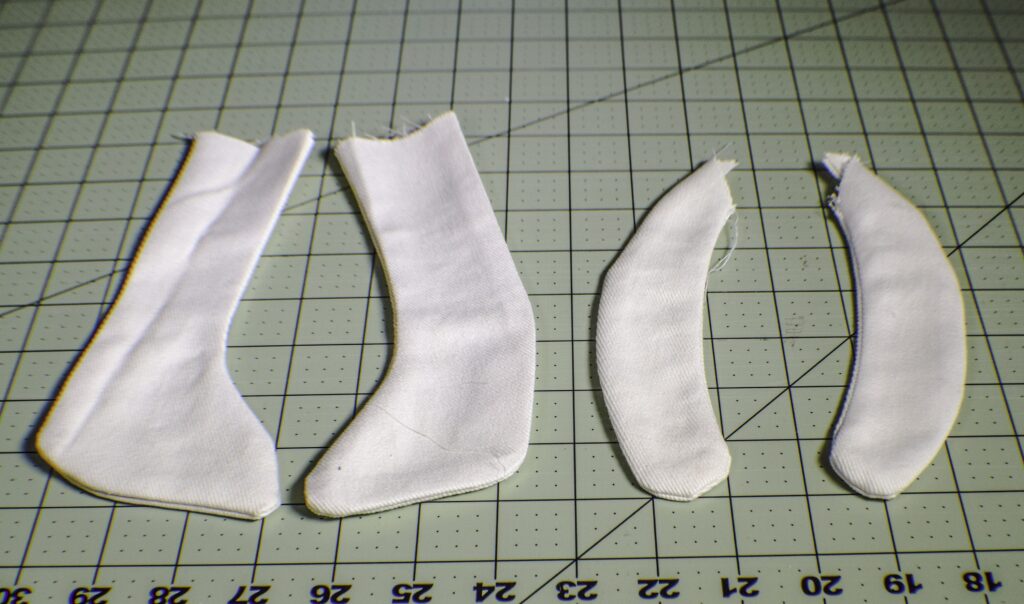
Create the arms and legs. Sew the arms and leg pieces right sides together and sew them leaving the tops of the legs and arms open for turning. You should have two arms and two legs. Press. These will be stuffed.
Step 4: Make a Cuddly Bunny
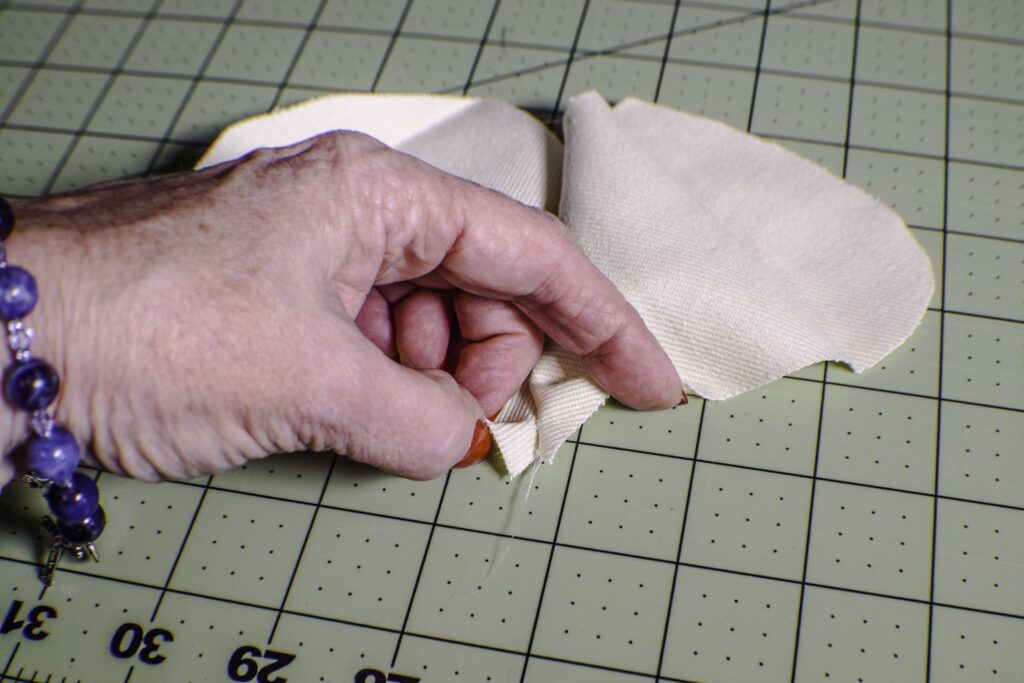
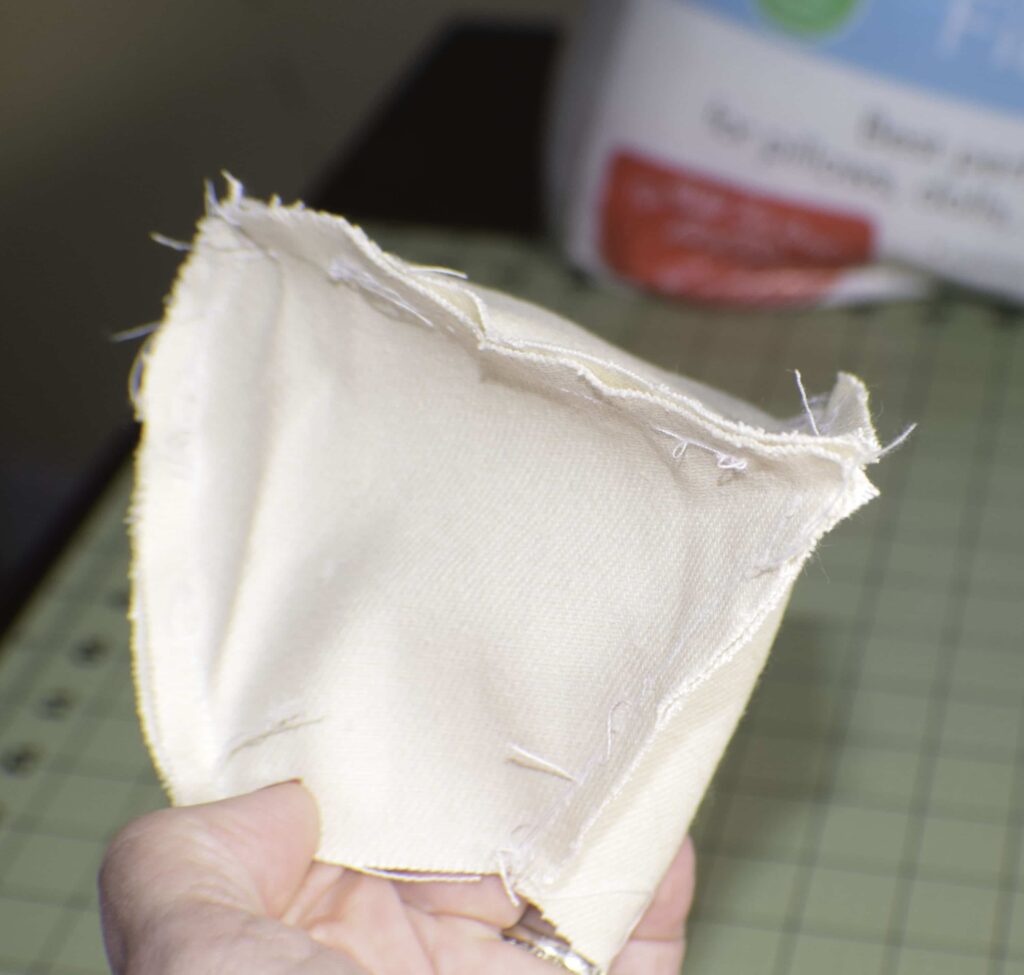
Create the head. You will notice that there is an angled edge to the sides if the head. Sew those two edges right sides together ending 1/2″ from the long point.
Step 5: Make a Cuddly Bunny
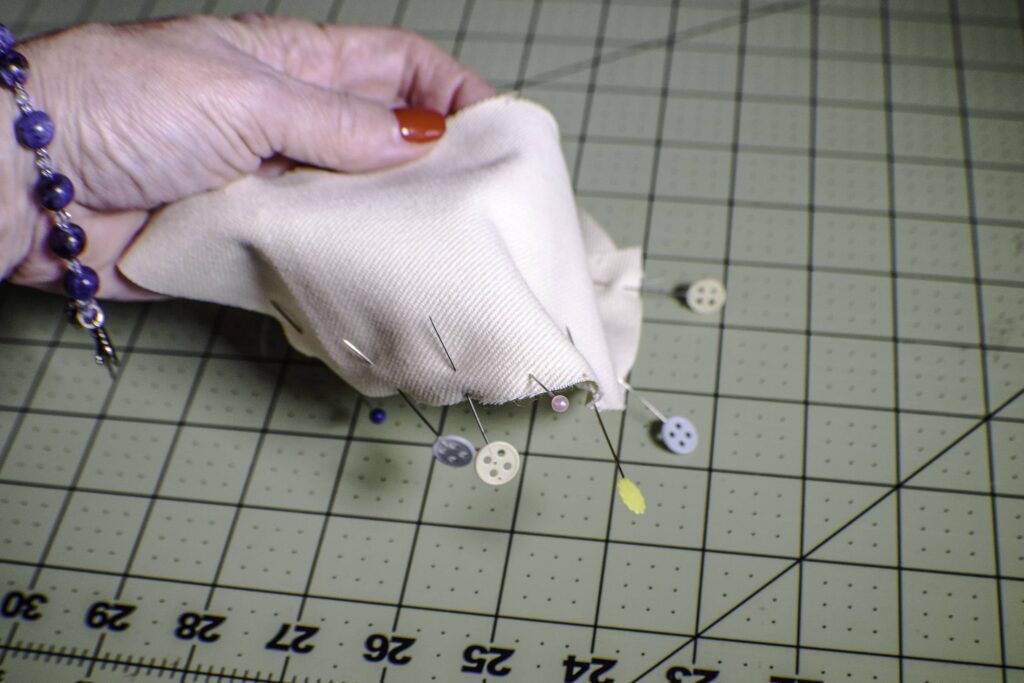
Attach the top head piece. Pin the top head piece to one of the side pieces along the curved edge. Sew from the back of the head to the first ear mark and back stitch. Sew again from the second ear mark to the front of the head stopping about 1/2″ from the end. Repeat for the other side.
Step 6: Make a Cuddly Bunny
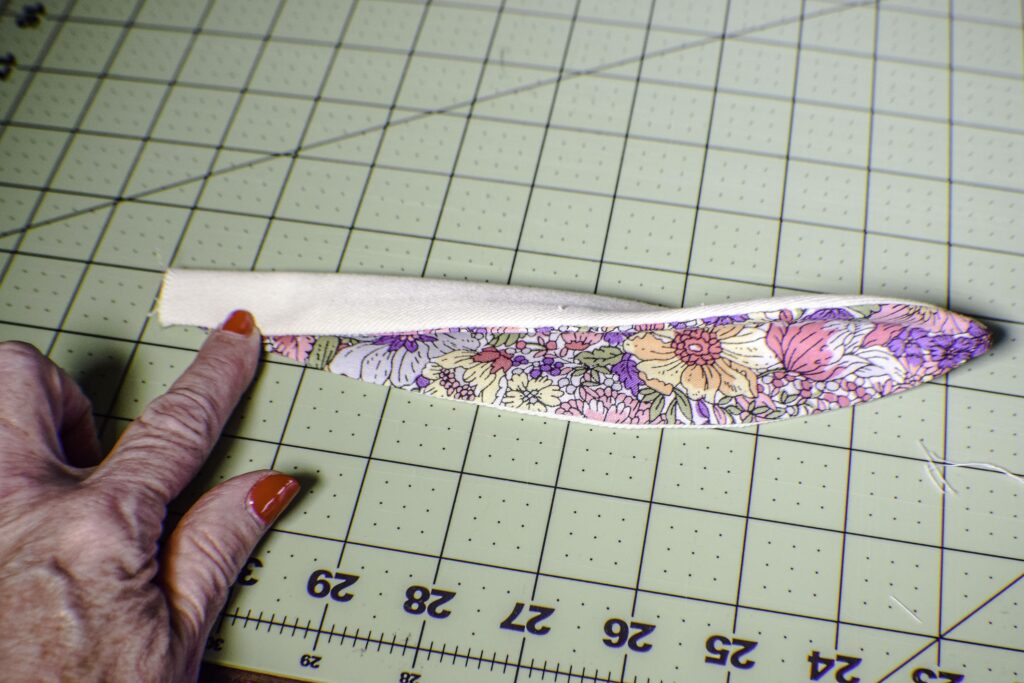
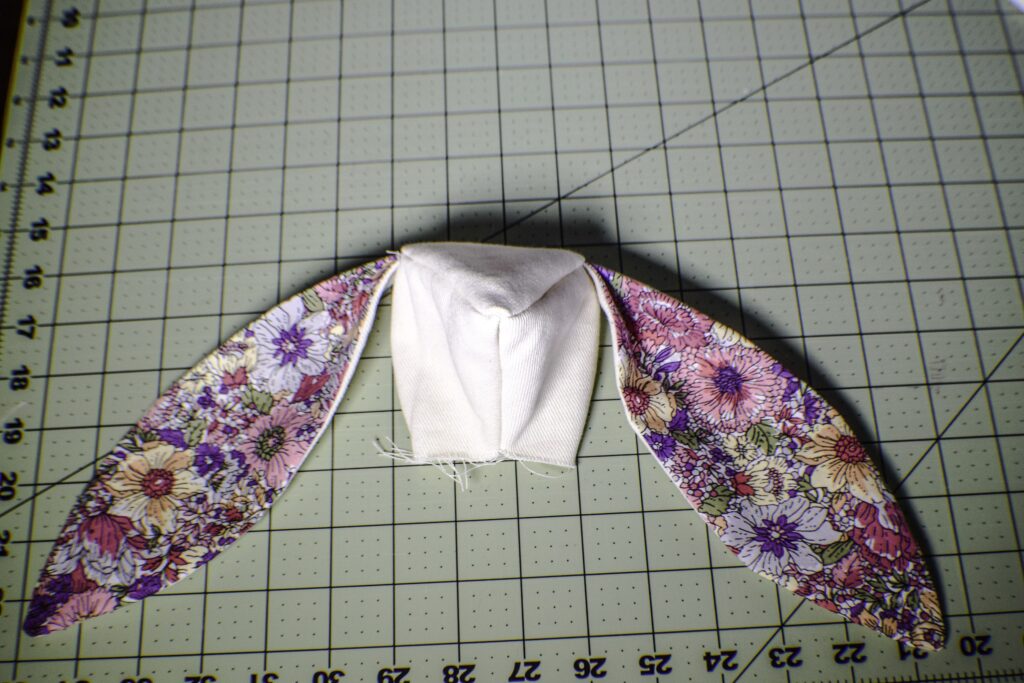
Add the ears. Fold the ears in half lengthwise. Insert the raw edges into the spaces that you left in the head and sew the spaces closed right sides together. Turn the head right side out.
Step 7: Make a Cuddly Bunny
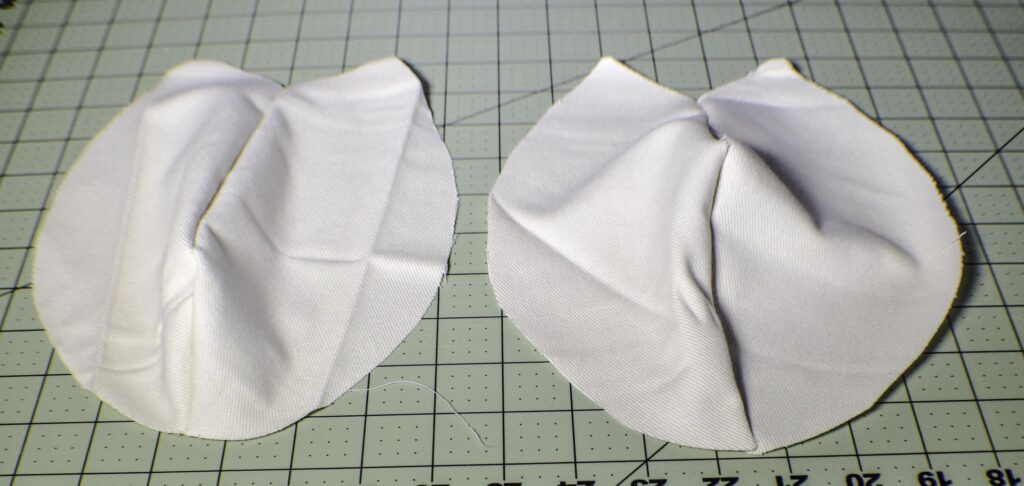
Sew the body. You have four body pieces. Each body piece has a marking for an opening. Pin two of the pieces opening sides together leaving the opening open. Sew leaving the opening open. Take the other two body pieces and pin along the opening side but this time do not leave the opening. This will be the front of the bunny.
Step 8: Make a Cuddly Bunny
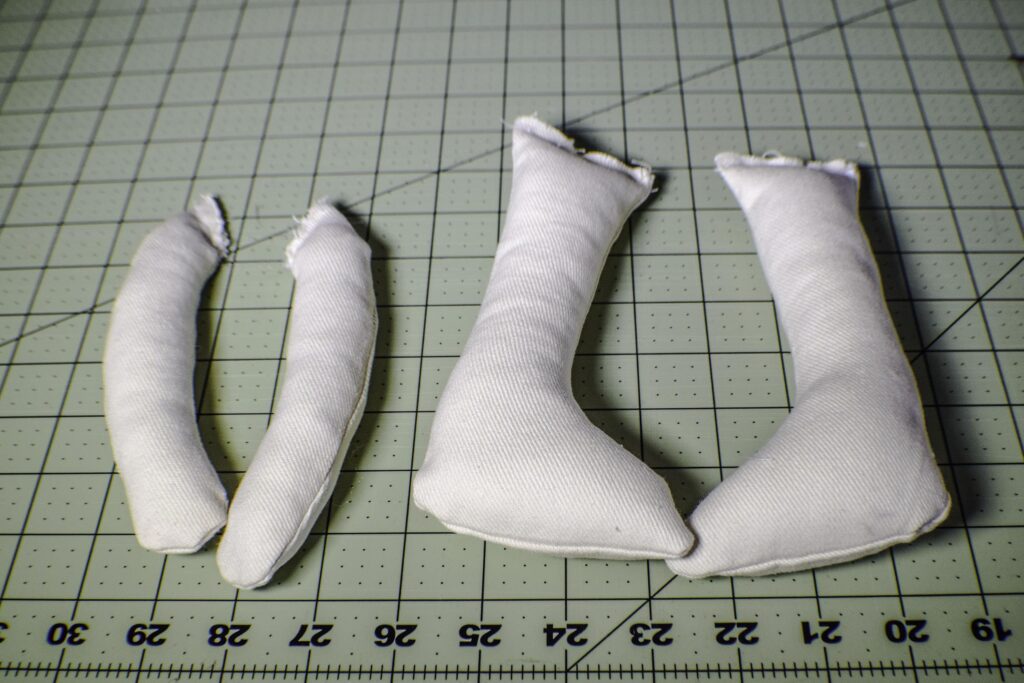
Stuff the arms and the legs. Sew the openings closed using a 1/4″ seam allowance. If you do not want your legs pointing inward like mine did sew the legs closed in the other way so that the seams are facing up and down. This was my mistake.
Step 9: Make a Cuddly Bunny
Sew the body back to the body front leaving the openings for the arms and legs as indicated by the pattern pieces.
Step 10: Make a Cuddly Bunny
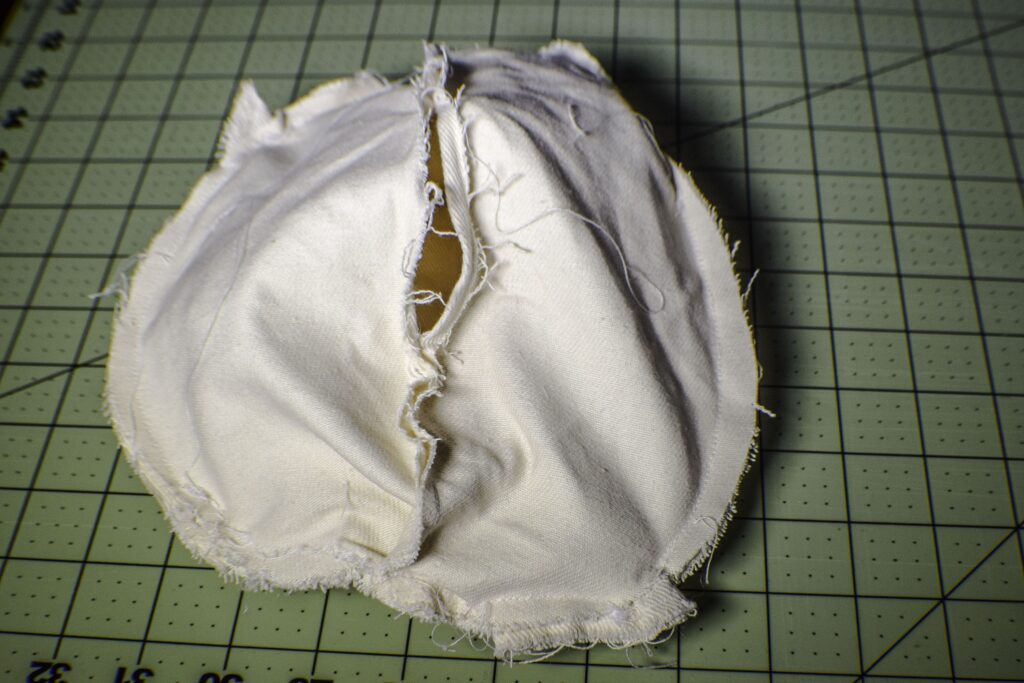
Add the arms and legs to the openings left for that purpose and sew them in place. Make sure that the legs are pointed in the right direction. I have mine pointed inward. Everything will be stuffed inside the body.
Step 11: Make a Cuddly Bunny
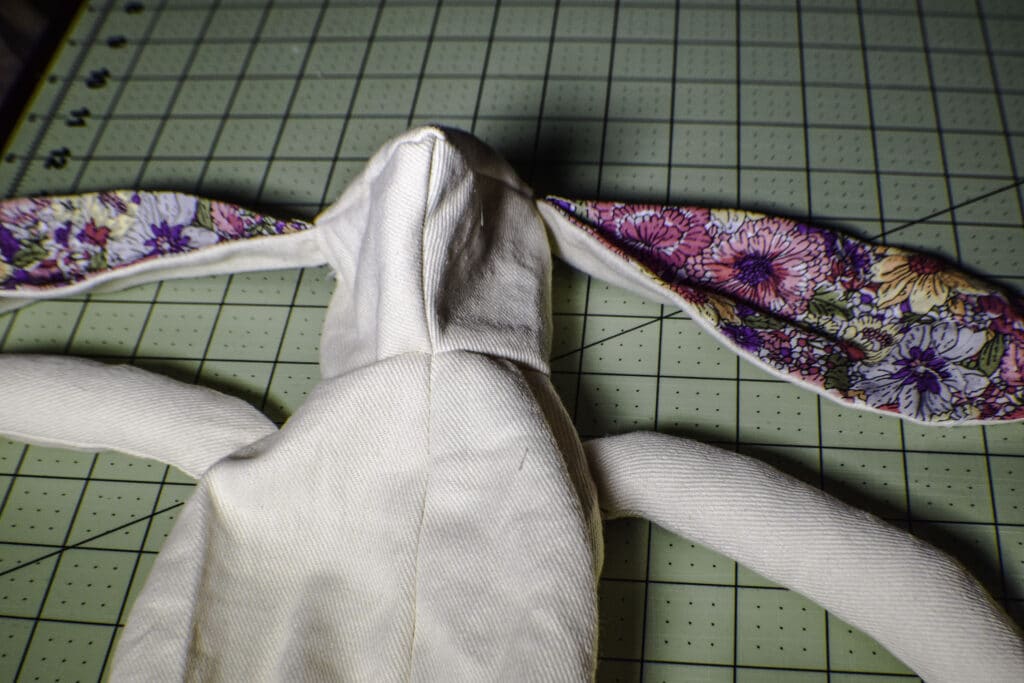
Make sure the body is wrong sides out with the arms and legs folded inside. Insert the head into the body with the ears inside the body. Line up the front seam of the head with the front seam of the body and pin right sides together. Pin the rest of the head to the body. Hand sew the head to the body. I used a back stitch to sew mine to make it more secure. Turn the bunny right side out through the opening in the back of the bunny.
If you are unfamiliar with Back Stitch check out this video.
Step 12: Make a Cuddly Bunny
Stuff the body and the face. Close the opening using ladder stitch.
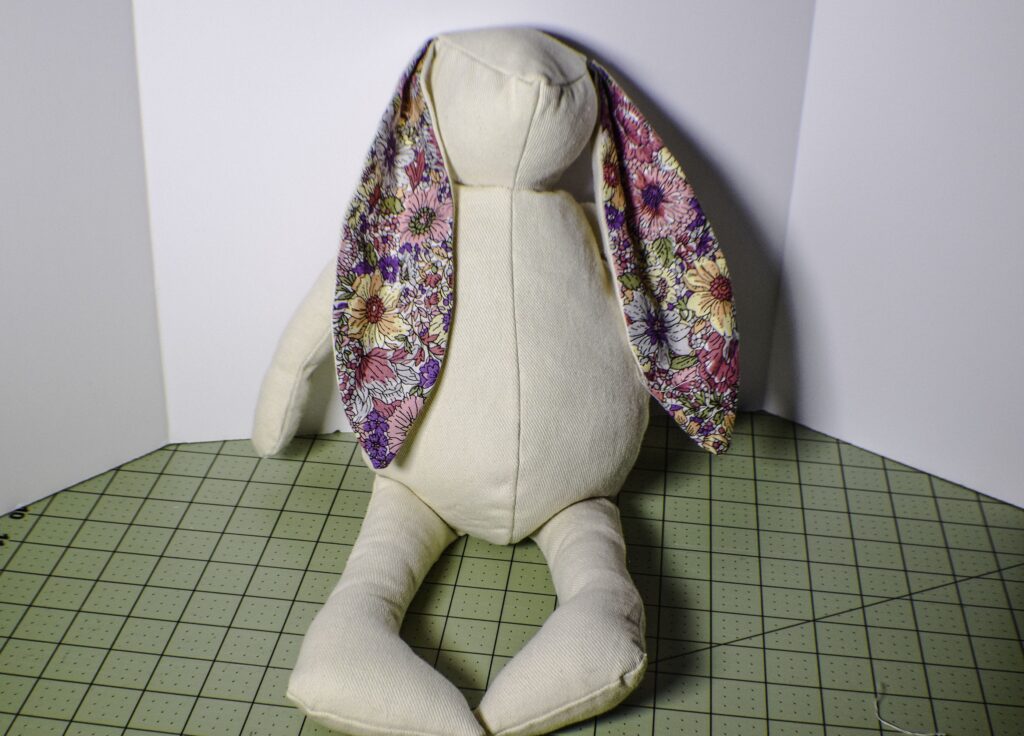
If you are unfamiliar with ladder stitch check out this video.
Step 13: Make a Cuddly Bunny
Create the Face. I used embroidery floss for my face. I used french knots for the eyes and satin stitch for the nose.
If you are unfamiliar with these stitches take a look at these videos to learn how to create these stitches.
https://www.youtube.com/watch?v=pjI5yo656U4//
Step 14: Make a Cuddly Bunny
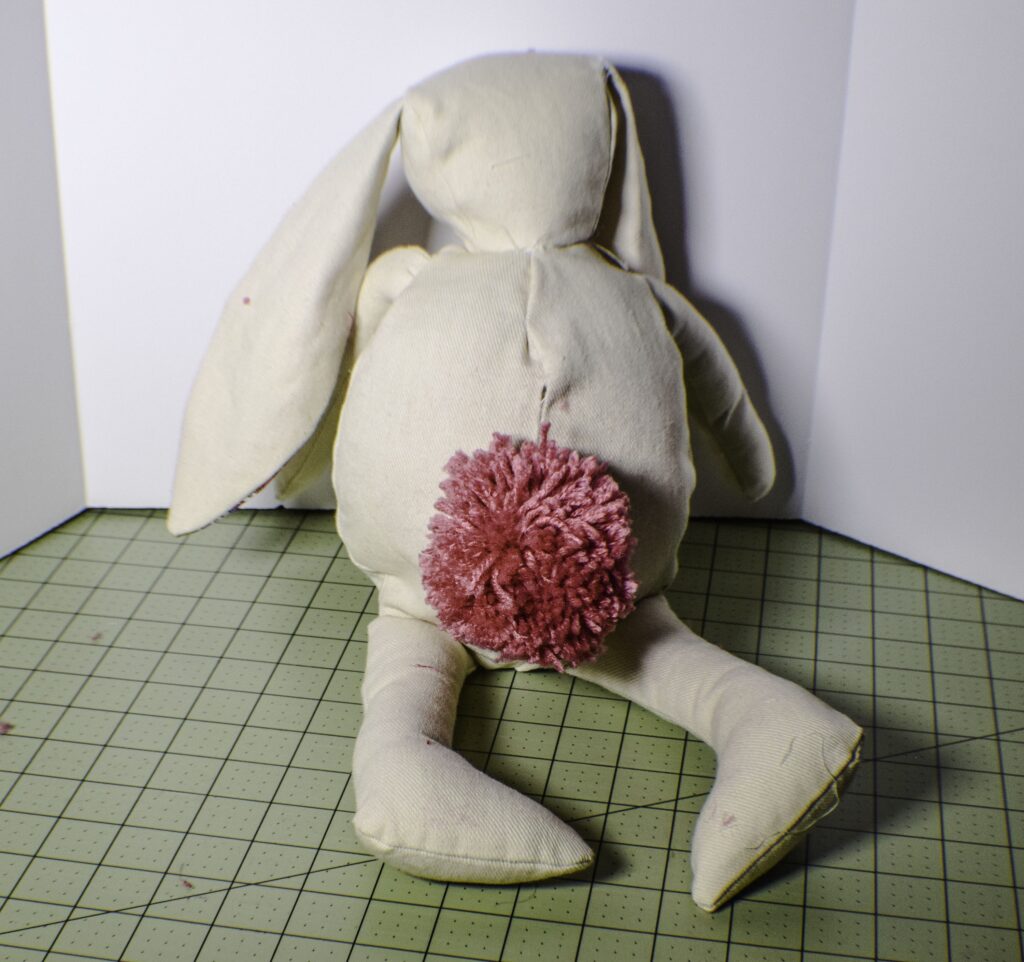
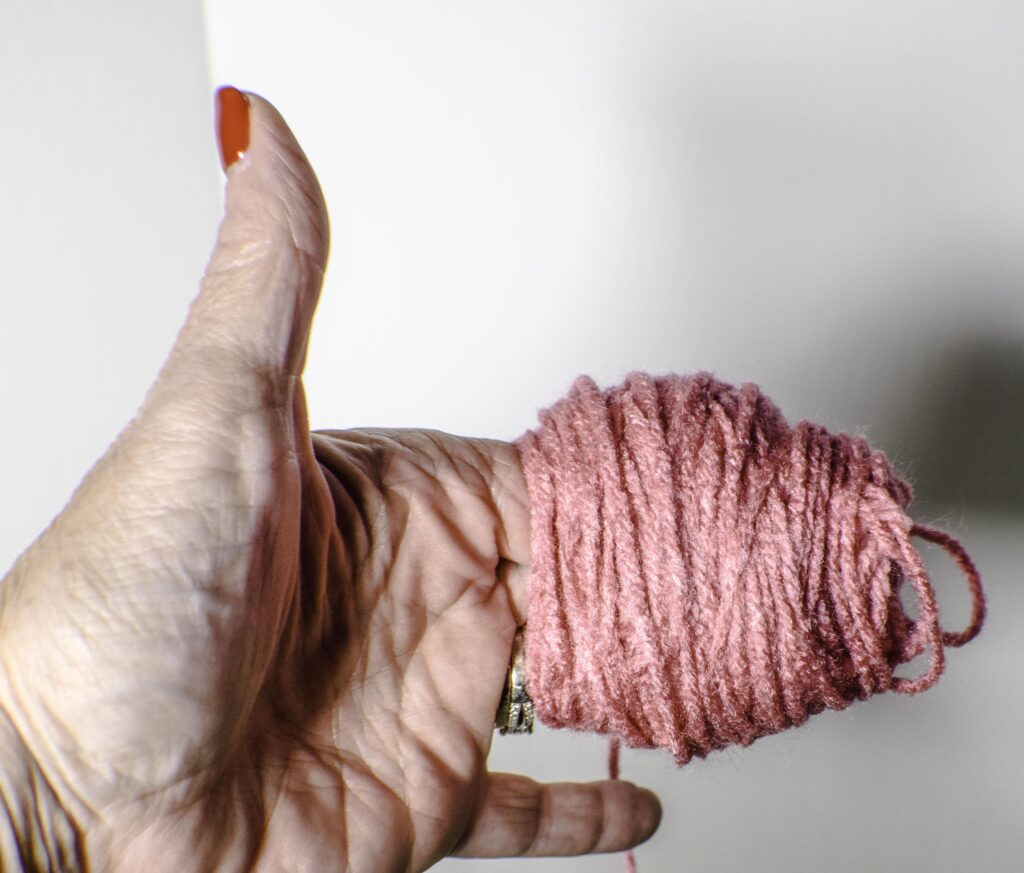
Add the tail. I chose to add a pom pom tail. You can use a pom pom maker or do it by hand. I chose to do it by hand. Simply wrap your hand with yarn about 150 times. The number of fingers you use will determine the size of the pom pom. I used three but two would be perfectly suitable for this project.
Step 15: Make a Cuddly Bunny
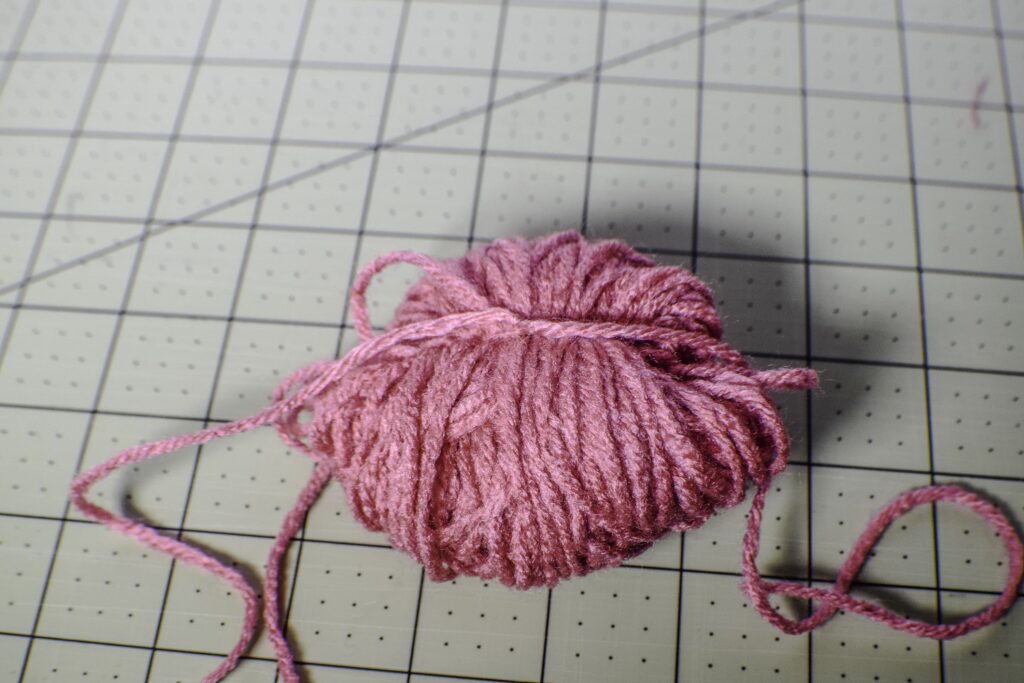
Once you have finished wrapping the yarn slide it off your hand and tie it with a knot.
Step 16: Make a Cuddly Bunny
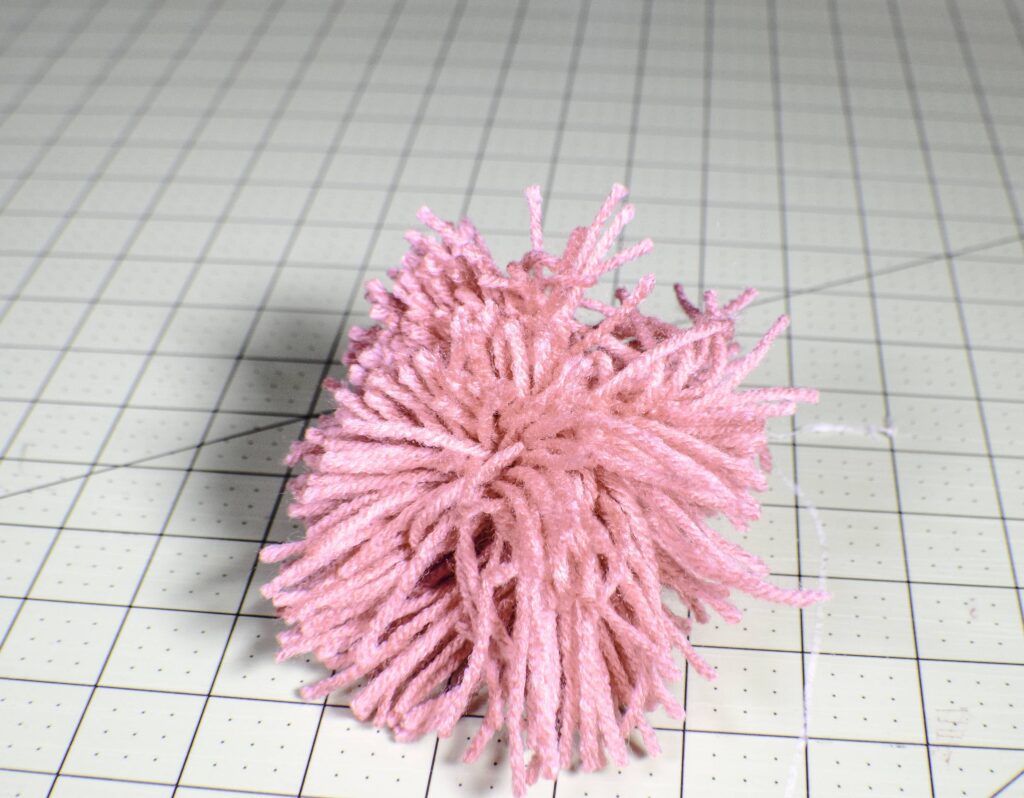
Cut the loops so they spring up and make the pom pom. Trim the yarn to make a nice round pom pom.
Step 17: Make a Cuddly Bunny
Sew the pom pom to your bunny and you have completed your cuddly bunny.
