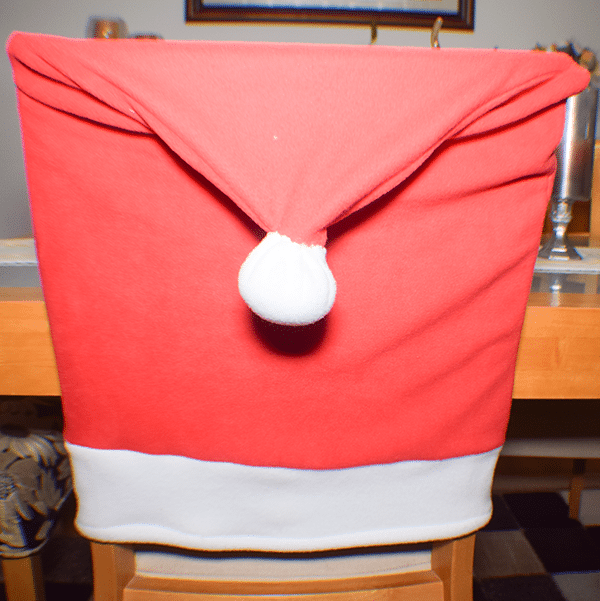
I just love this simple to make Santa chair back cover. It is a fun little project to make to spruce u your dining room this Christmas season. I love living life in full color and this is the perfect way to do it. The red and white of these chair back covers really bring the Christmas spirit into dinner this holiday season. This is a simple beginner sewing project that can be stitched up in no time. If you would like an everyday chair back cover check out this one.
I used anti pill fleece that I purchased at JOANN Fabric & Craft Stores![]() for my project. You could head to Amazon Fabrics or
for my project. You could head to Amazon Fabrics or
What you will Need: How to Make a Santa Chair Back Cover
- I yd Red Anti Pill Fleece
- 1/8 yd white Anti pill Fleece
- Handful of polyester fiberfil
- Sewing machine
- Standard sewing supplies.
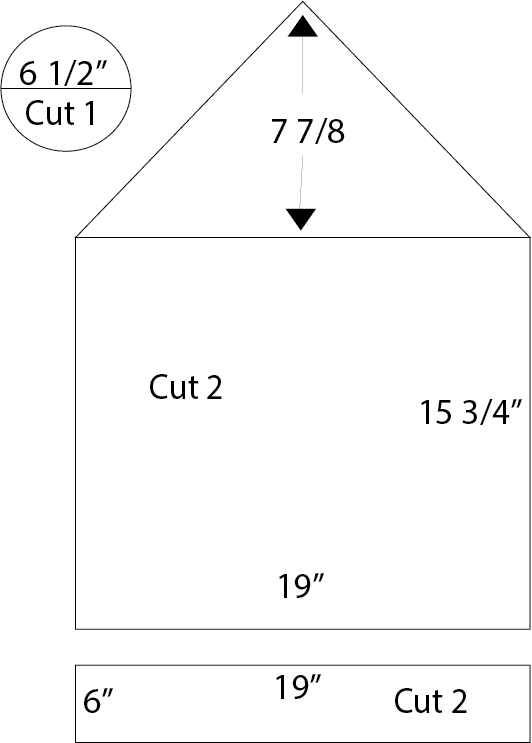
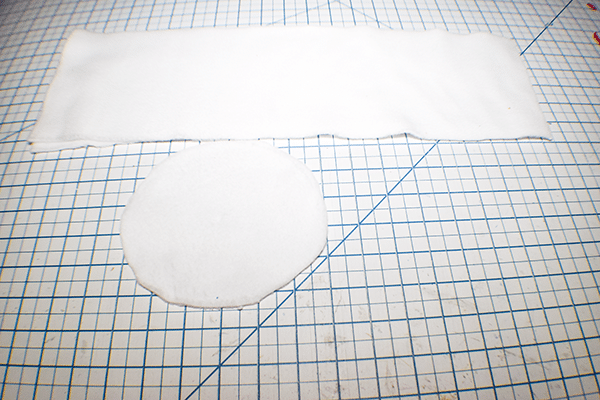
Step 1: Cut out your Fabrics
Cut out your fabrics according to the diagram below. The circle and small rectangle should be white and the main piece should be red. Cut the main fabric as one piece.

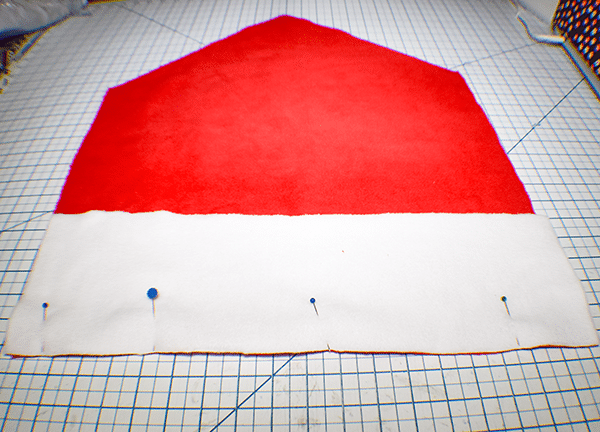
Step 2: Add the White Trim
Place the white trim right sides together with the bottom of the main red piece and stitch it together using a 3/8″ seam allowance. Repeat for the other two pieces.
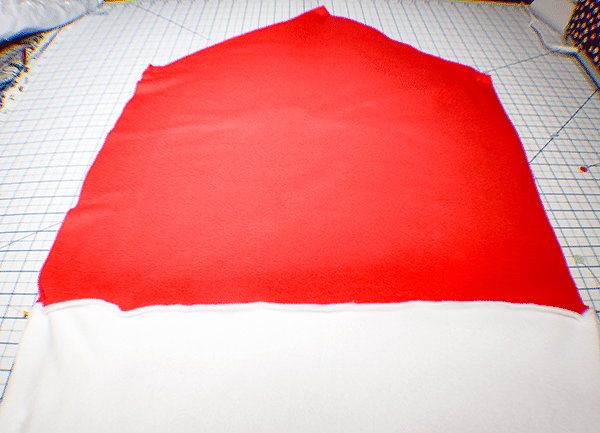
Step 3: Stitch the Santa Hat Together
Place the two pieces right sides together and stitch the sides and top together using a 3/8″ seam allowance. Leave the bottom open. Make sure to match the white trim.
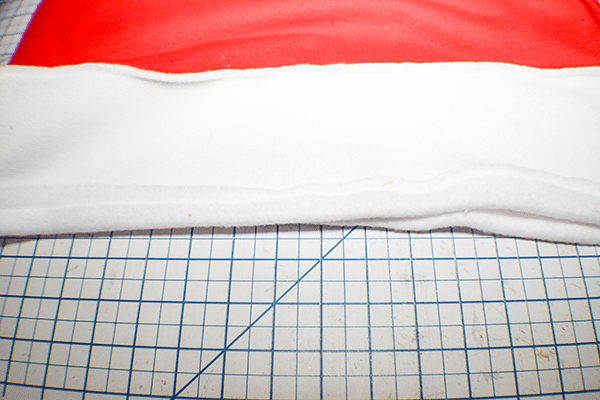
Step 4: Hem the Bottom
Fold under the bottom about 1/2″ and hem all the way around. There is no need to fold under as fleece does not fray.
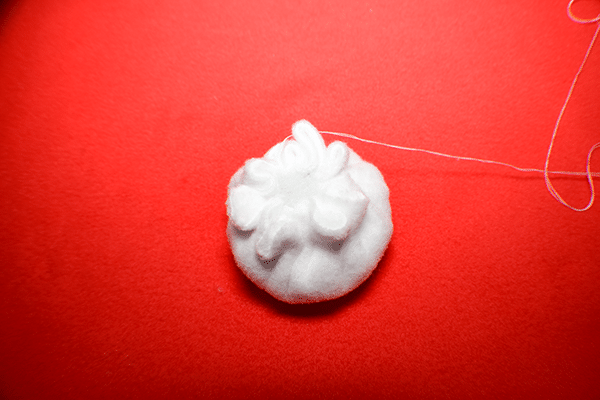
Step 5: Create the Pom Pom
Take the Circle and baste all the way around about 3/8″ inside the edge. Place the fiberfil inside and pul the thread taught around it so it creates a pom pom.
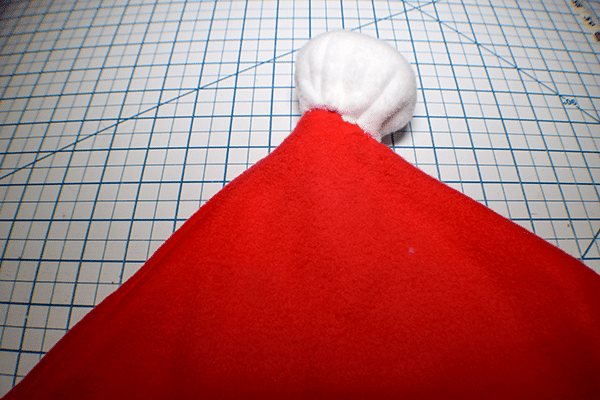
Step 6: Add the Pom Pom
Insert the point of the chair cover into the pom pom and hand stitch it to the chair cover. Once you have added the pom pom place it on your chair and fold the top down so the pom pom is hanging down. You have now finished your Santa chair back cover.
I hope you enjoyed this simple Christmas project. If you would like more sewing and crafting projects subscribe to our newsletter and receive access to our free Printables library.
If you would ike video tutorials of some of Sew Very Crafty's most popular posts subscribe to our free YouTube channel here.