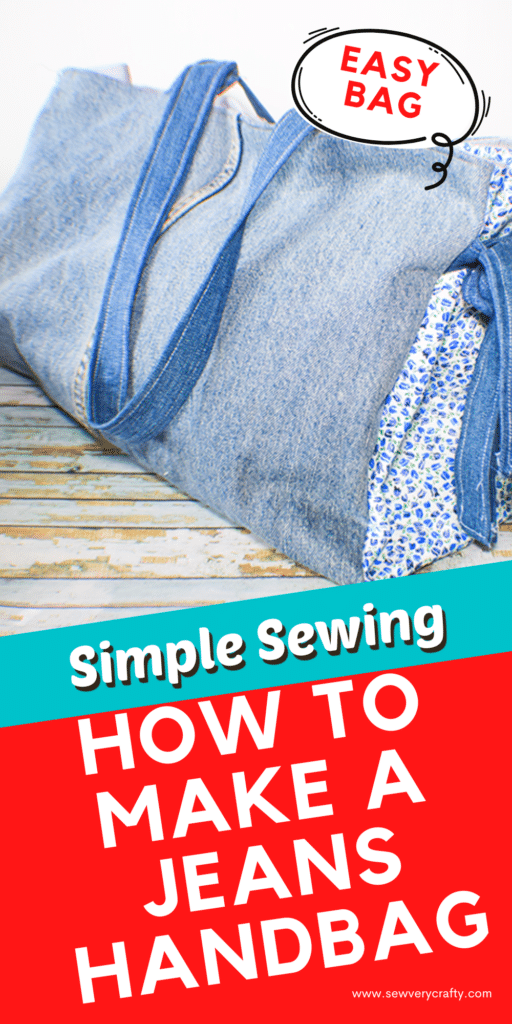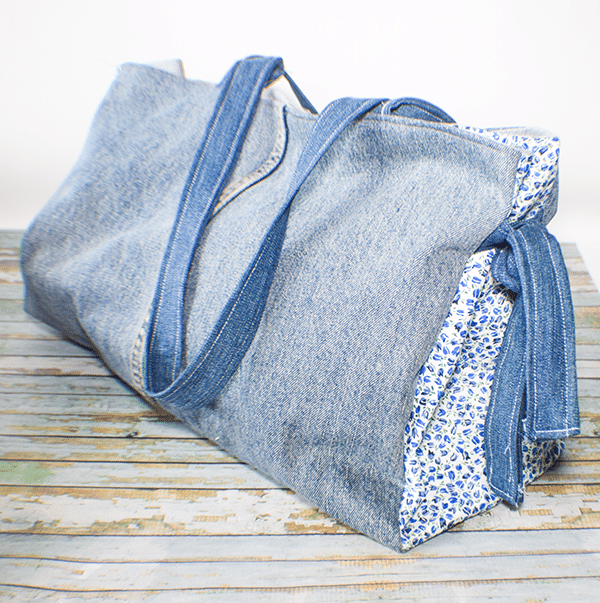
I wanted to do another handbag project and I came across this one on Sew Easy on YouTube and decided to share it with you. This tutorial on how to make a side tie handbag using jeans is a replica of the video but you do not need to use jeans if you don't want to. Just follow the measurements and you should be fine with any woven fabric. Of course if you would like any other handbag projects check out these.
I used an old pair of jeans for this project and a lining of Kona cotton with side panels of quilting cotton. The Kona cotton and quilting cotton were purchased at JOANN Fabric & Craft Stores![]() but you could go to Amazon Fabrics or
but you could go to Amazon Fabrics or
What you will Need: How to Make a Side Tie Handbag using Jeans
- Old pair of jeans or 1 yd of woven fabric
- 1/2 yd quilting cotton for side panels
- 1 yd lining fabric
- 1 yd pellon 808 interfacing
- 1 magnetic snap
Step 1: Cut your Fabrics
Jeans or chosen woven fabric:
- 2 pieces that measure 16 1/2″ W x 15 1/4″ L
- 2 pieces that measure 23″ x 3″ for the carrying straps
- 4 pieces that measure 12″ x 4″ for the ties
Lining Fabric
- 2 pieces that measure 16 1/2″ W x 15 1/4″ L
- 1 piece that measures 11 1/2″ x 8 1/4″
Panel Fabric:
- 2 Pieces that measure 7 1/2″ W x 12″ H
Interfacing
- 2 pieces that measure 16 1/2″ W x 15 1/4″ L
- 2 Pieces that measure 7 1/2″ W x 12″ H
- Squares that measure 2 1/5″ x 2 1/2″ as support for the magnetic snaps
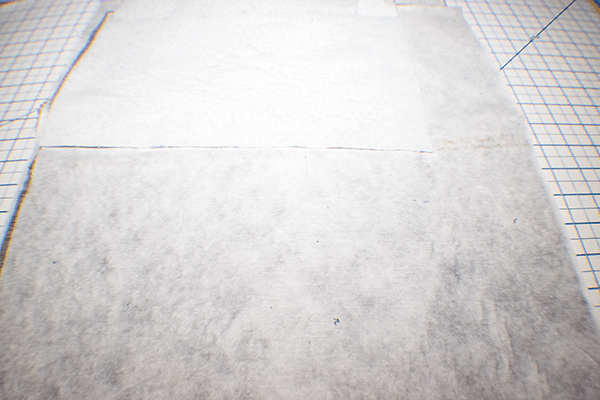
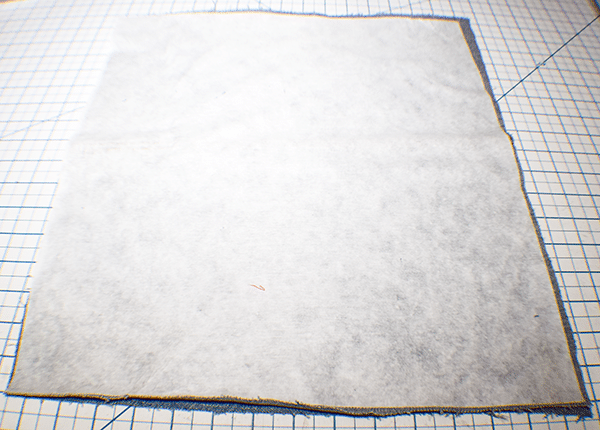
Step 2: Fuse the Interfacing
Fuse the interfacing to all of the outer pieces with the exception of the two 2 1/2″ squares. Save those for later.
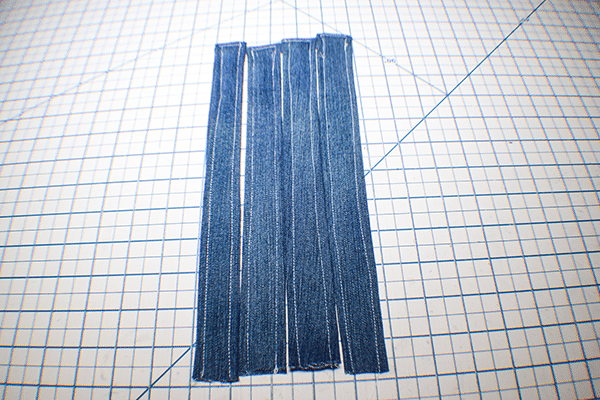
Step 3: Create the Ties
Fold one short end the wrong side and press. Then fold the long raw edges to the center and press. Fold in half and press again. Topstitch along both sides. Do this for all four ties.
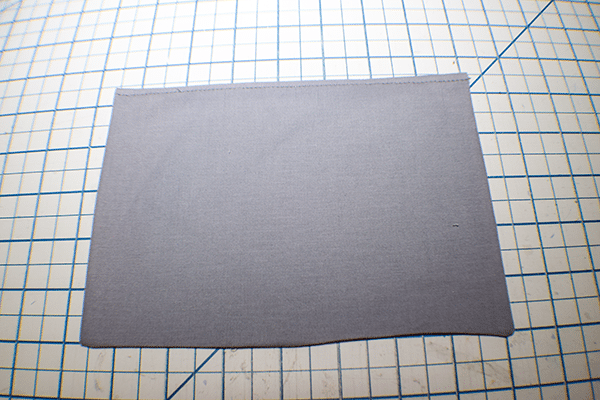
Step 4: Stitch the Main Handbag
Place the two main pieces right sides together and stitch one long edge together using a 1/4″ seam allowance. Press the seams open.
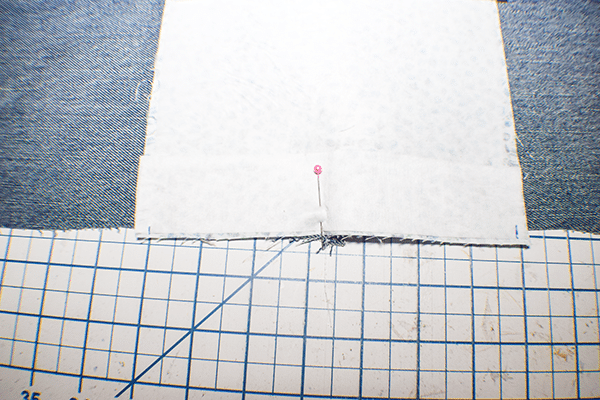
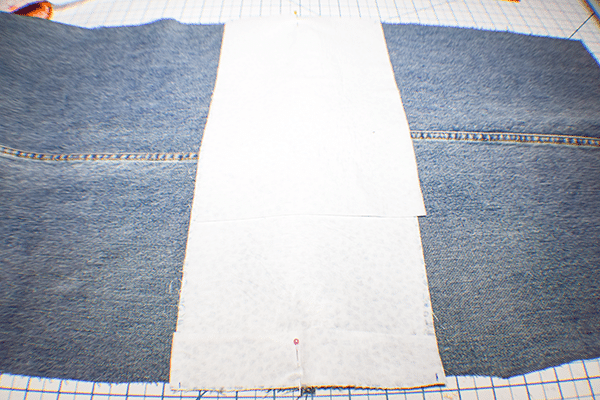
Step 5: Add the Side Panels
Find the center of the short side of one of the side panels and place it right sides together on one side of the seam you just stitched. Place a mark 1/4″ in from each side. Stitch the panel to the main bag using a 1/4″ seam allowance starting and ending at the 1/4″ marks. Repeat for the other side. Snip the seam allowance of the main bag piece where you started stitching.
Step 6: Add the Ties
Measure down from the top of the handbag 2 1/2″ and place a tie piece in each side matching the raw edges. Repeat for the bottom. Stitch to secure.
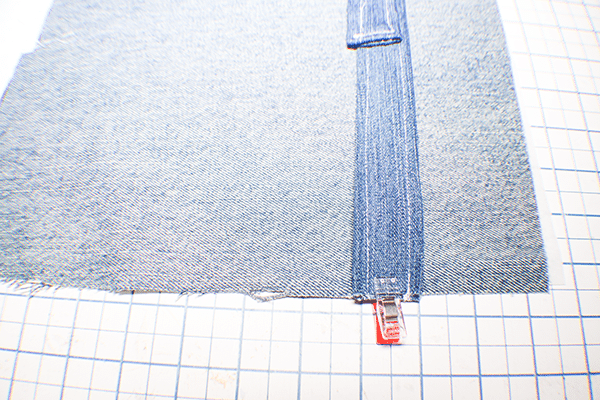
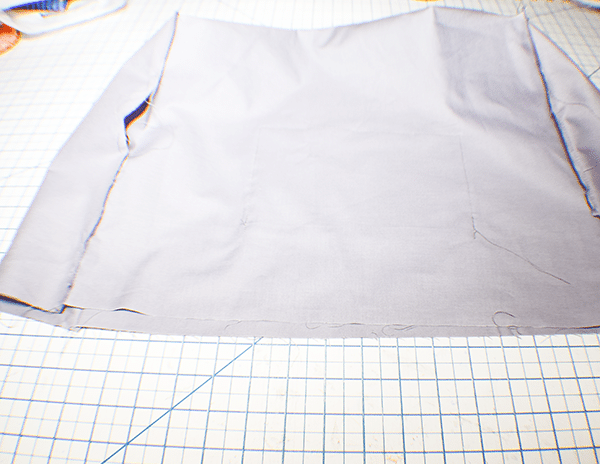
Step 7: Stitch the Panels
Fold up the panels to create the sides of the bags. Stitch all four sides using a 1/4″ seam allowance.
Step 8: Create the Straps
Fold the long raw edges in about 1/4″ and press. Fold in half and stitch along both sides to secure.
Step 9: Add the Straps
Trim off any excess panel fabric. Measure in 4″ from the panel seam on each side and place the strap ends. Stitch the straps to secure.

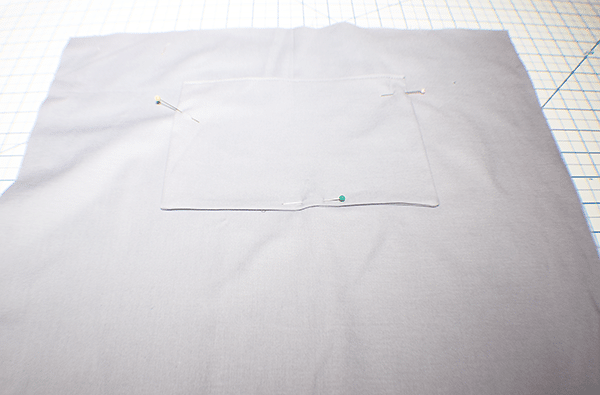
Step 9: Create the Lining Pocket
Take the 8 1/4′ x 11 1/2″ piece and fold it in half. Stitch along the sides and the partially along the top using a 1/4″ seam allowance. Leave an opening at the top for turning. Turn right sides out and press. Stitch along the folded edge.
Step 10: Add the Pocket
Find the center of one of the main lining pieces and the center of the pocket. Measure down 3″ and place the pocket. Stitch along the sides and bottom closing the opening as you go.
Step 11: Create the Lining
Create the lining in the same way you created the outer bag but without the ties and straps. Leave an opening on one of the sides for turning.
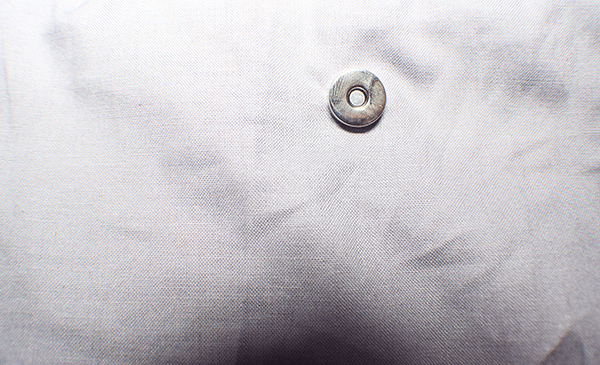
Step 12: Add the Magnetic Snap
Find the center of each side of the handbag. Measure down about 1/4″ and fuse the interfacing squares, one on each side on the wrong side of the lining. Measure down 1 1/2″ from the top of the lining in the center on each side and place each half of the magnetic snap facing the right sides of the lining.
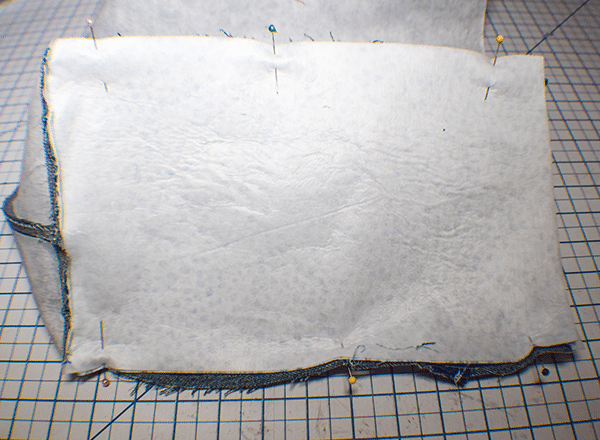
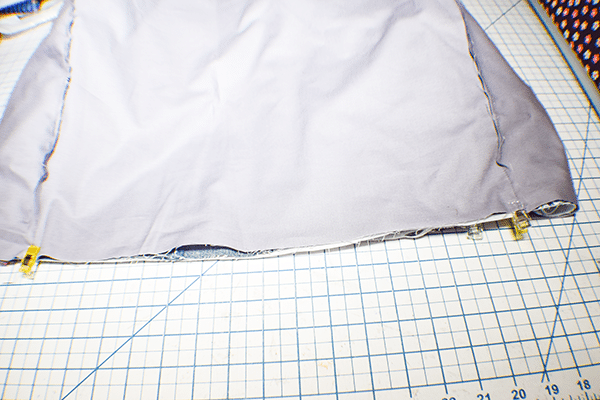
Step 13: Add the Lining to the Outer Bag
Place the outer handbag into the lining bag so that they are right sides together. Match all of the seams. Stitch all the way around the top using a 1/4″ seam allowance.
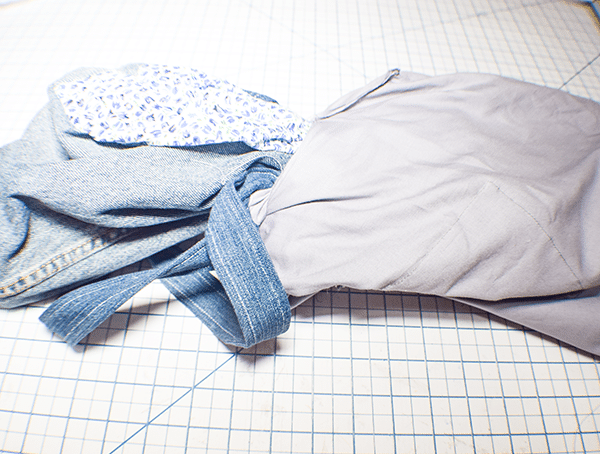
Step 14: Turn Right Sides Out
Turn right sides out through the opening in the lining. Push the lining into the outer bag and press. Topstitch all the way around the top to secure the lining. Close the opening in the lining using ladder stitch or your machine. You have now finished your side tie handbag using jeans.
I hope you enjoyed this simple handbag project. If you would like more sewing handcrafting projects subscribe to our newsletter and get your free eBook of 15 handbag patterns and tutorials taken from the blog.
If you would like video tutorials of some of Sew Very Crafty's most popular posts subscribe to our free YouTube channel here.