

Learn to sew this beginner baby bonnet using the free sewing pattern and sewing tutorial. This is a reversible baby bonnet that can be made using basic sewing skills. I just love this simple project. It is perfect for the baby or toddler in your life. I really like this project because it is reversible and can be made with two fat quarters of fabric. If you would like to check out another of my baby bonnet patterns check out this one.
I used a quarter yard of fabric and some Kona cotton that I purchased at JOANN Fabric & Craft Stores![]() but you could head to
but you could head to
What you will Need: How to Make a Beginner baby Bonnet
- Pattern You can get by clicking on this link
- 1 fat quarter for outer bonnet
- 1 fat quarter for reversible bonnet
- 1/8 yd pellon. SF 101 interfacing for bill
Step 1: Cut out your Fabrics
Using the pattern pieces cut out the pieces as directed and cut a brim pice from the SF 101. In addition cut out two lengths of 1″ fabric to use for the ties of your baby bonnet. I used 16″ x 1″ lengths if fabric for my straps.
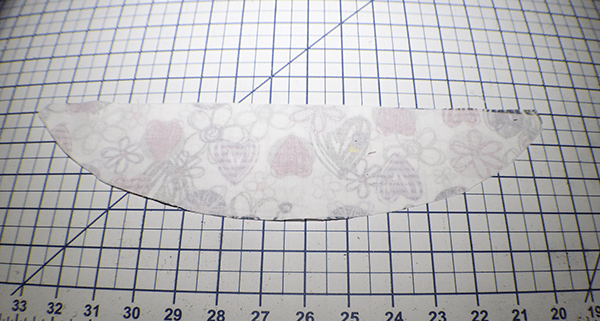
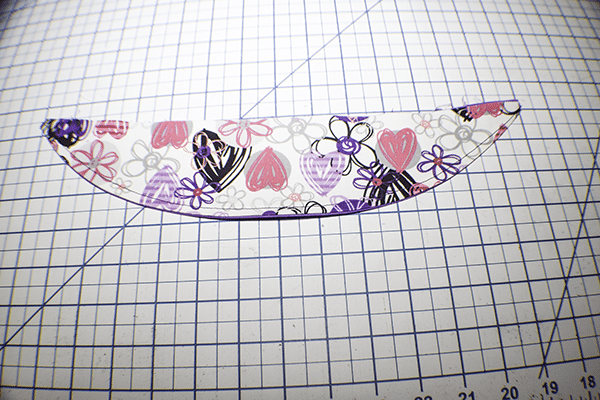
Step 2: Create Brim
Fuse the Pellon SF 101 to the wrong side of the outer fabric of your bonnet brim. Place the brim pieces right sides together and stitch along the curved edge using a 3/8″ seam allowance. Turn right sides out and press. Top stitch along the curve edge.

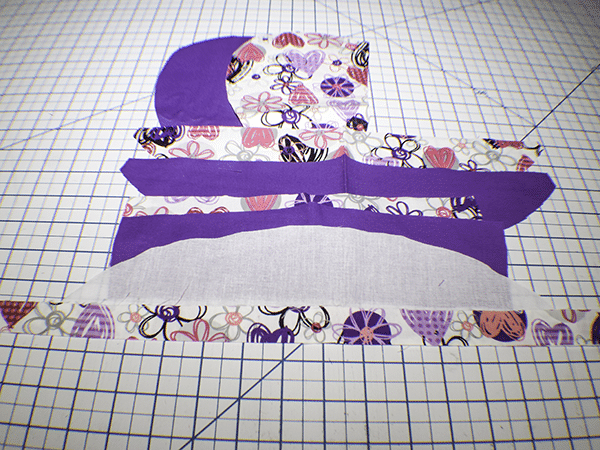
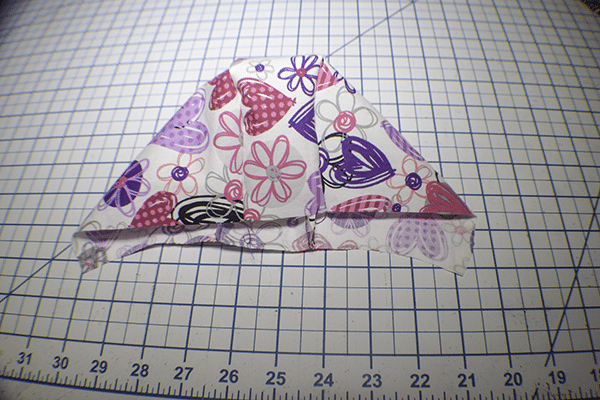
Step 3: Create the Outer Bonnet
Take one side of the outer bonnet and the rectangular piece and pin them right sides together on the curved edge. Stitch using a 3/8″ seam allowance. Repeat for the other side of the bonnet. Trim the seam allowance.
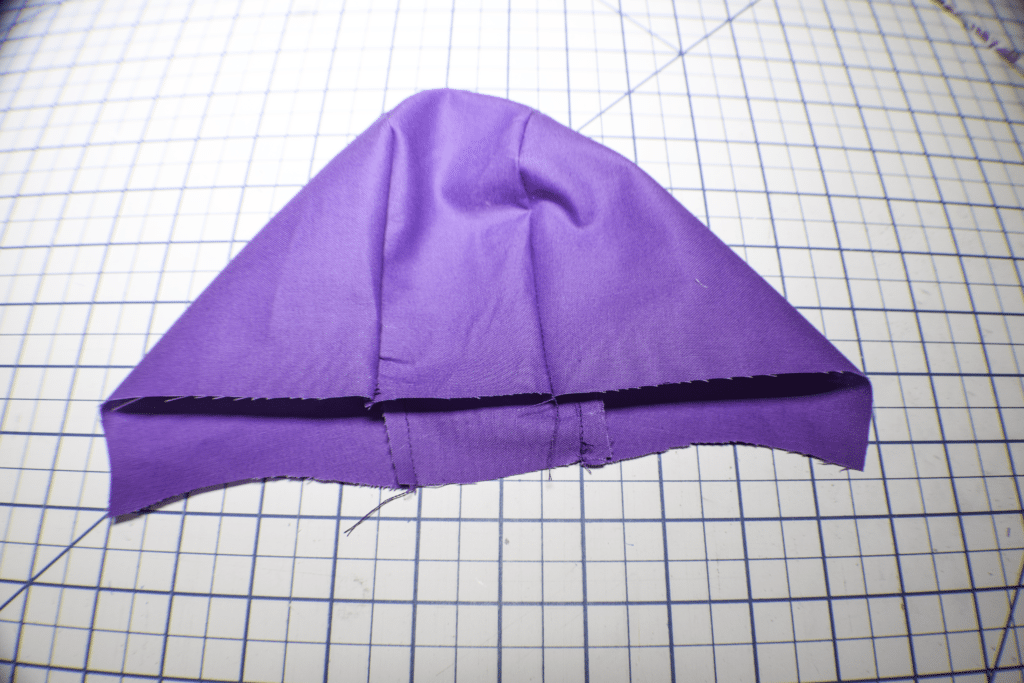
Step 4: Create the Lining Bonnet
Create he lining bonnet the same way you created the outer bonnet.
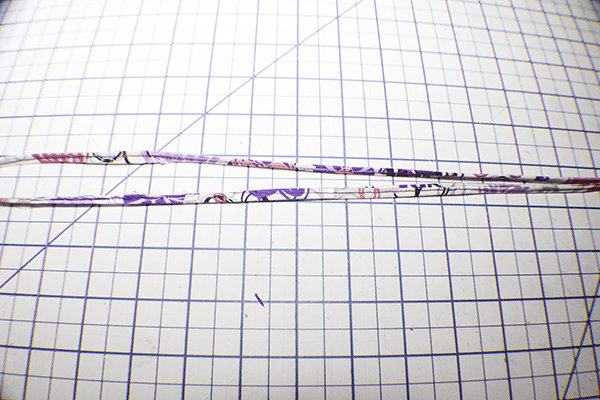
Step 5: Create the Ties
Take the two long fabric pieces and fold the long edges to the center and press. Fold in half lengthwise to enclose the raw edges. Fold under one short end to enclose those raw edges. Stitch down the middle securing the entire tie.
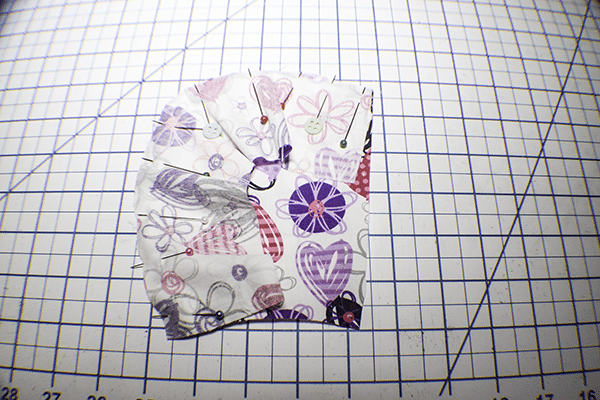
Step 6: Add the Brim
Center the brim to the front of the outer bonnet right sides together. Baste the brim to the outer bonnet.
Step 7: Add the Ties
Place the raw edge end of the ties on the each front corner of the baby bonnet right sides together and stitch.

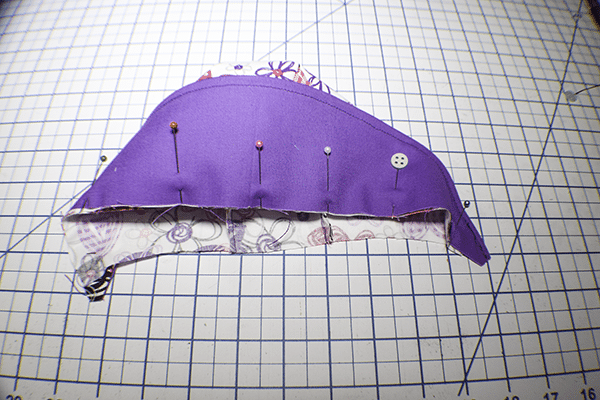
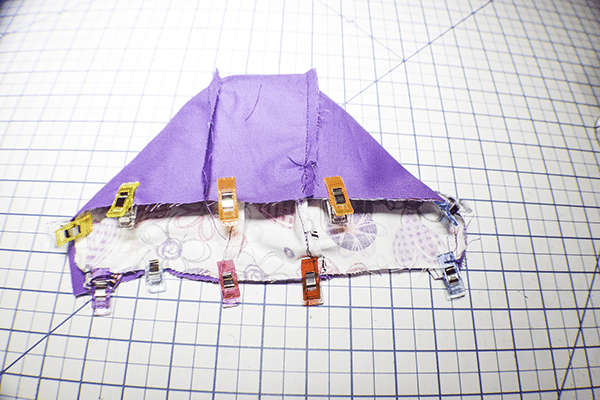
Step 8: Add the Lining Bonnet
Place the lining bonnet over the outer bonnet so that they are right sides together and matching the seams. Make sure the ties are in between the outer and lining bonnets. Stitch all the way around the bonnet leaving an opening in the back for turning.
Step 9: Turn Right Sides Out
Turn the bonnet right sides out through the opening you left in the back. Press. Close the opening using ladder stitch. You have now finished your beginner baby bonnet.

I hope you enjoyed this baby bonnet project. if you would like more sewing and crafting projects subscribe to our newsletter and receive access to our free Printables Library.
If you would like video tutorials of some of Sew very Crafty's most popular posts subscribe to our free YouTube channel here.

Does the pattern include the seam allowance?
Yes it does.