

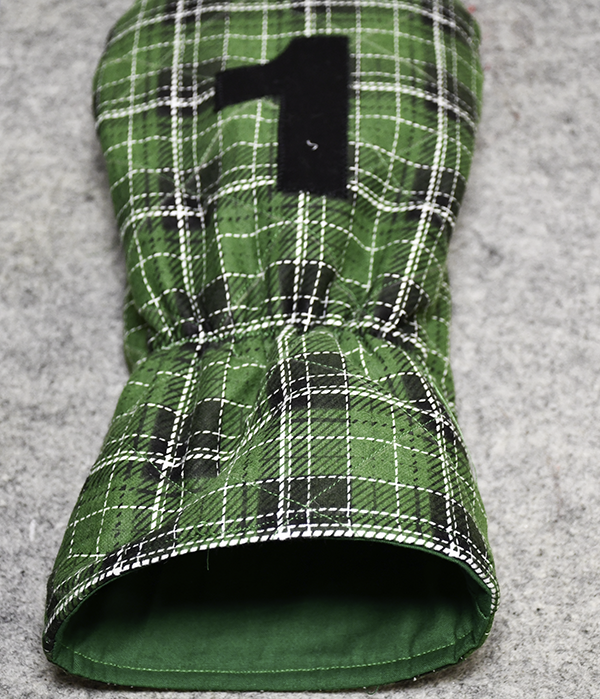
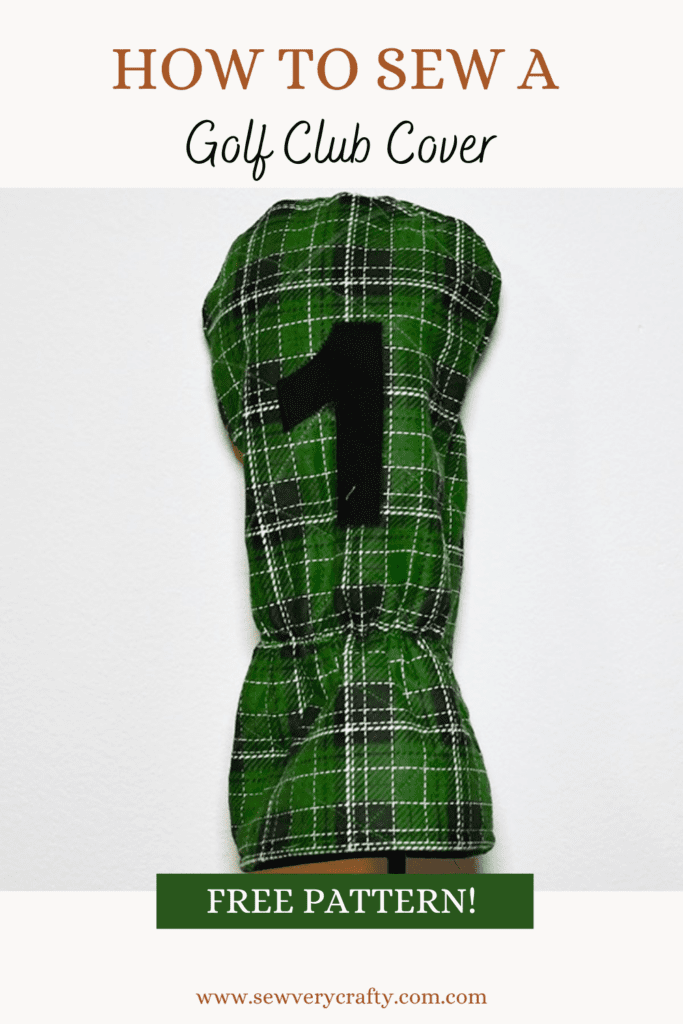
I thought this would make a great gift but I could not find a free pattern so I decided to create my own golf club driver cover. This is a very easy sewing project to make and is perfect for gift giving anytime of year. You can add the club size, monogram it if you like or add any design if you have a Cricut or an embroidery machine. I was amazed at just how easy this project was to create. Of course, there are many sizes of drivers. I made my cover for the size 1. I have provided patterns for sizes 3 and 5 as well.
Note: This post contains affiliate links that if you click on them and make a purchase I will receive a small commission at no extra cost to you. As an Amazon Associate I earn from qualifying purchases.
What you will Need: How to Sew a Quilted Golf Club Driver Cover
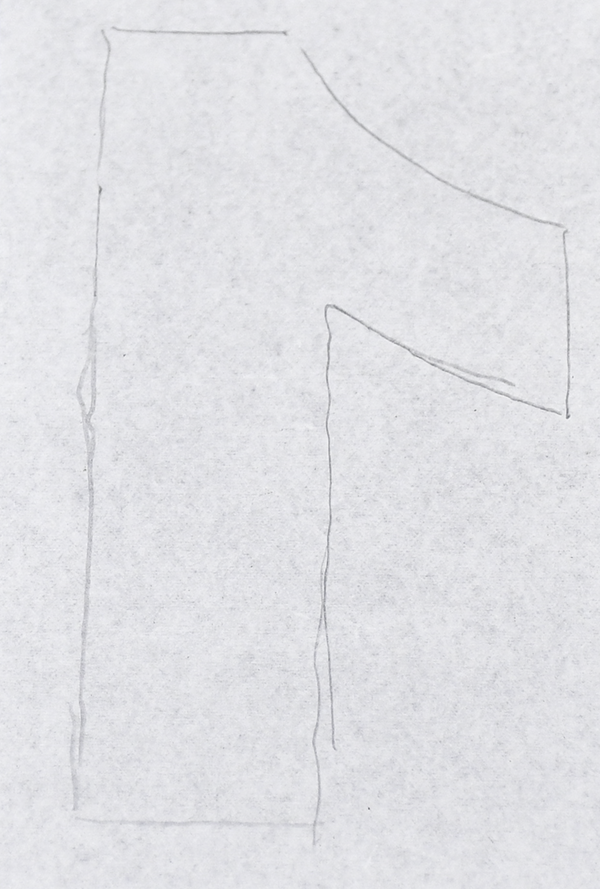
- Pattern you can get by clicking on this link
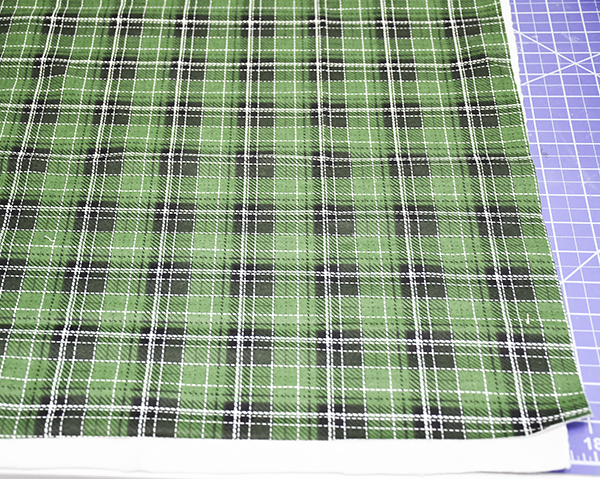
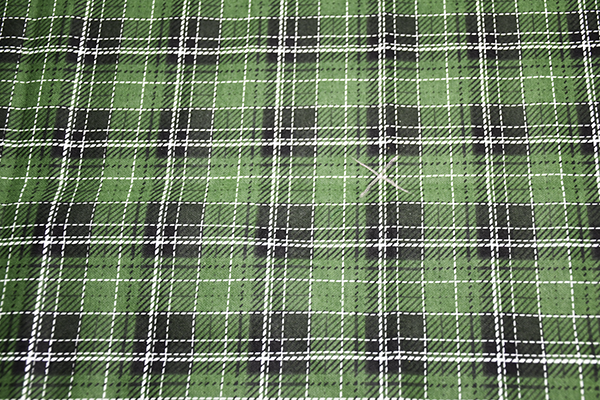
- 18″ x 20″ Cotton Fabric for the outer and lining fabrics
- Scrap of fabric for the embellishment
- Scrap of Wonder Under
- 18″ x 20″ Quilt batting
- 4″ long of 1/2″ elastic
- Sewing machine
- Standard sewing supplies
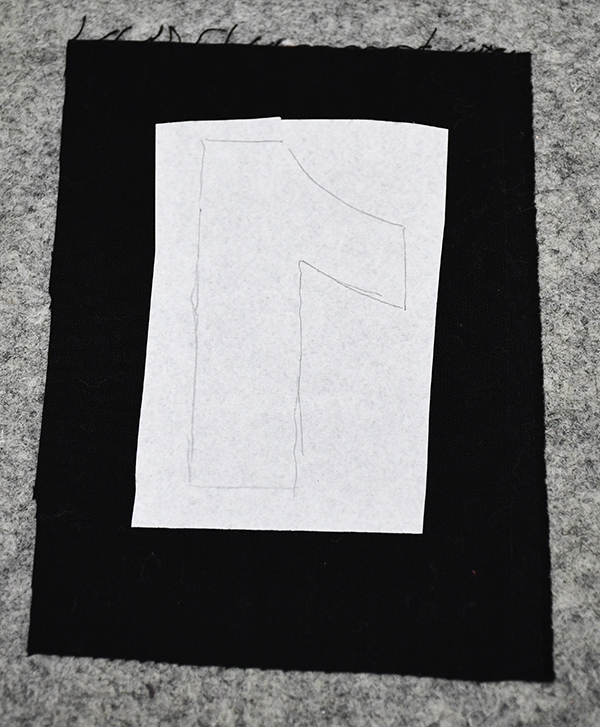
Step 1: Cut out the Fabrics
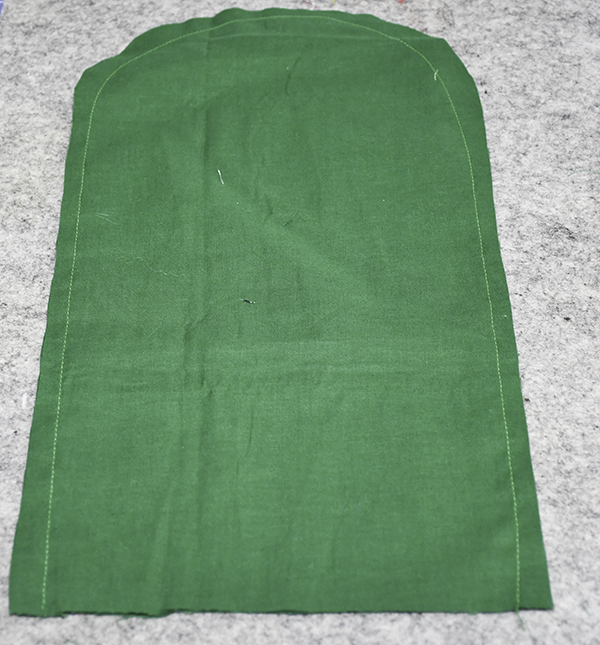
Start by cutting an outer, lining and batting rectangle that measures 18″ x 20″.
Step 2: Layer the outer fabric and the batting
Layer the outer fabric and the batting with right sides facing up.
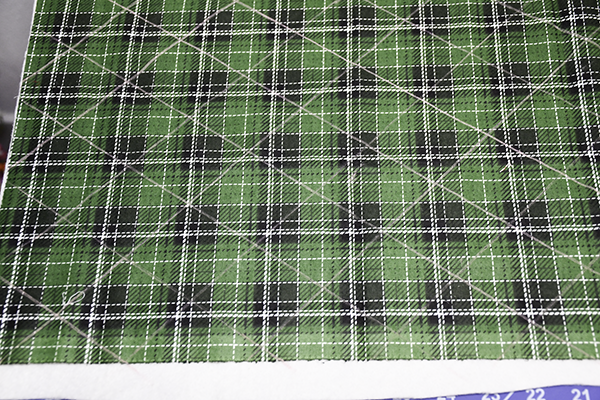
Step 3: Quilt the outer fabric
Start by drawing diagonal lines onto the outer fabric using an erasable pen or tailors chalk. Find the center of the fabric and place a mark. Draw a giant X in the center to begin drawing your quilting lines. Draw lines on both sides of each line that measure__”. Stitch the lines through the outer fabric and the quilt batting.
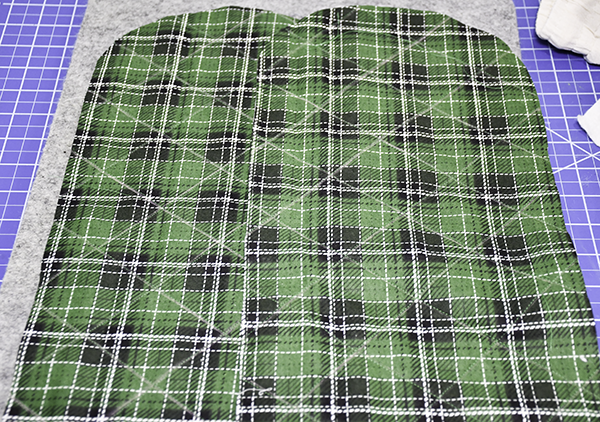
Step 4: Cut out the Club covers
Using the pattern cut two from the outer fabric that you just quilted and two from the lining fabric.
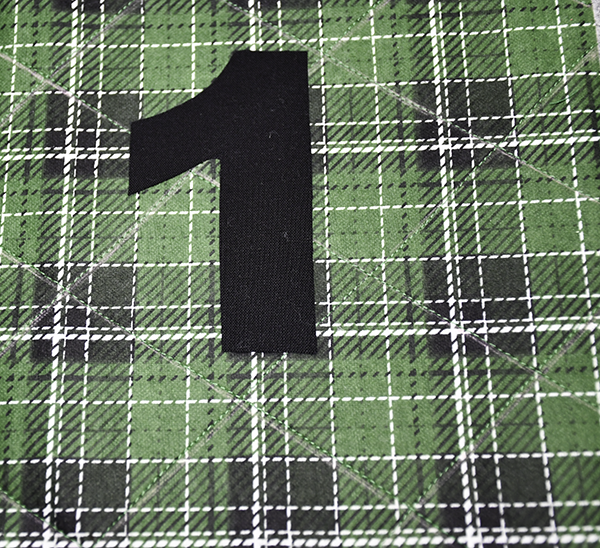
Step 5: Add the Embellishment
I decided to add the club number on my cover. Flip the number to the other side so it looks backward. Trace the number onto the paper side of the Wonder Under. Fuse the wonder under to a scrap piece of fabric. I chose black. Cut out the number. Fuse the number to one of the outer pieces using a hot iron and pressing onto the paper side with the glue side down. Once it has cooled remove the paper leaving the number. Zig Zag stitch around the number to secure.

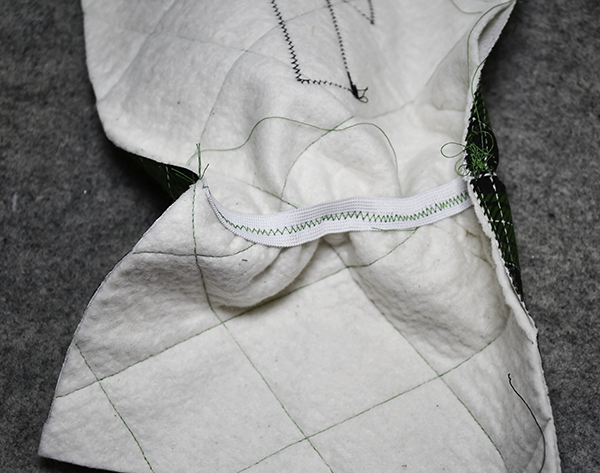
Step 6: Add the Elastic
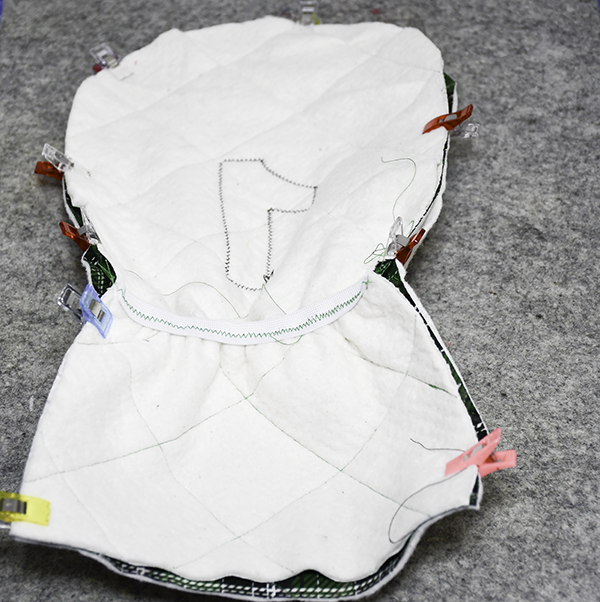
Place one end of the elastic onto the wrong side of the outer piece and stitch on the elastic line marked on the pattern. Stretch the elastic to the opposite side and stitch. Zig Zag stitch across the elastic to secure.
Step 7: Stitch the Outer and Lining Covers
Place the quilted outer pieces right sides together and stitch all the way around using a 1/2″ seam allowance and keeping the bottom open. Stitch the lining cover the same way but leave an opening on the side as well as the bottom.
Step 8: Join the outer and lining
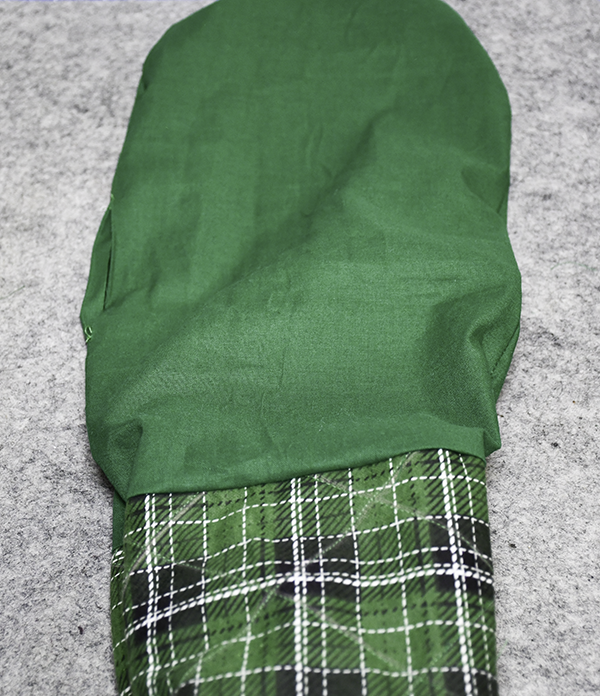
Place the outer piece inside the lining piece so that they are right sides together. Stitch all the way around the bottom opening to join the pieces. Turn right sides out through the opening you left in the side of the lining.


Step 5: Finish the Club Cover
Close the opening either with your machine or by hand using ladder stitch. Push the lining into the outer cover and press. Topstitch around the bottom opening to secure. I also placed a few hand stitches at the top of the cover to prevent the lining from falling down. Once that is finished so are you.

I hope you enjoyed this simple sewing project. For more sewing and crafting projects subscribe to our free newsletter and receive access to our free printable library.
Subscribe to our Free YouTube Channel!

I just found my next Father’s Day gift! I can’t wait to make this!
Good luck. Such a simple project. I hope you enjoy it.
Great idea! Now I can see cool colored golf club covers.
Thanks. Good luck making it.