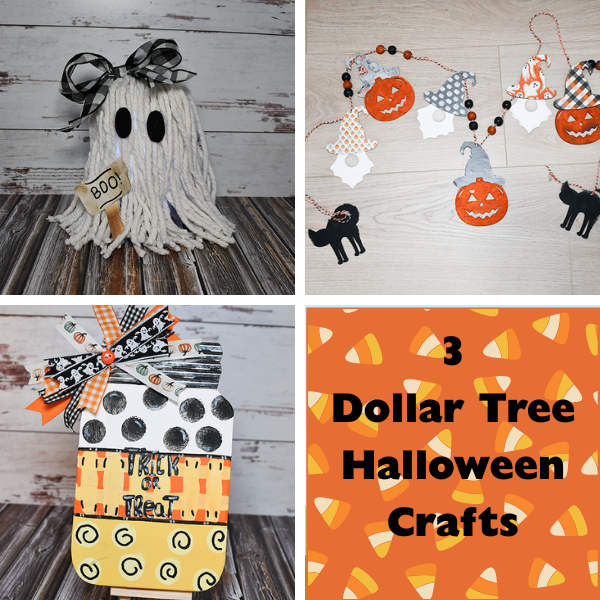
Dollar Tree is starting to get Halloween and Harvest crafting supplies in stock. I looked around and decided to make 3 Dollar Tree halloween projects that any beginner crafter can make to get the spooky season ready to go. Each of these projects uses Dollar tree basic seasonal craft supplies and some non seasonal items that come together beautifully to decorate for the season. I hope you enjoy these spooky favorites. For more Dollar Tree crafts head over to my Dollar Tree page. For holiday sewing and crafting projects check out my Holiday project vault.

Note: This post contains affiliate links that if you click on them and make a purchase I will receive a small commission at no extra cost to you. As an Amazon Associate I earn from qualifying purchases.
Halloween Garland
What you will Need: How to Make a Halloween Garland
- 3 Wood Jack-O-Lantern Cut-Outs
- 3 Wood Ghost Cut-Outs
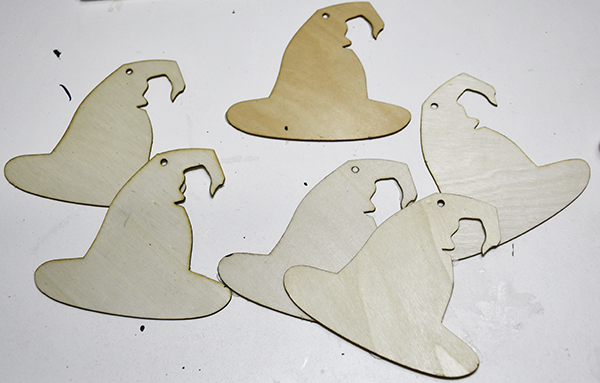
- 6 Wood Witch Hat Cut-Outs
- 2 Wood Cat Cut-Outs
- 3 Wood Half Rounds
- Halloween Themed Paper
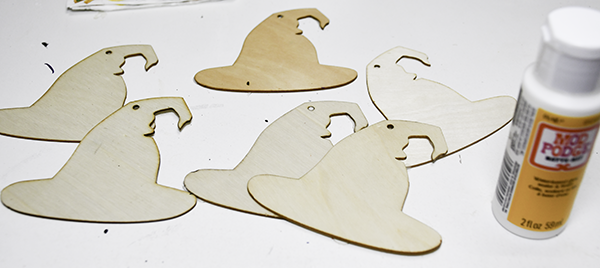
- Mod Podge
- Bakers Twine
- Orange Chalk Paint
- White Chalk Paint
- Silver Paint
- Black Distress Oxide
- Orange Distress Oxide
Step 1: Add the Mod Podge
Cover one side of the witch hats with Mod Podge and let dry. Repeat for the other side.
Step 2: Add the Paper
I used six different papers from my Halloween pad of paper and cut squares the size of the hats. Place the paper on one side of each hat. Lay a piece of parchment paper on top and iron with a hot irion to fuse the paper to the wood. Cut off the excess using a craft knife. Remove any remaining paper with a gator sander. Repeat for the other side. Finally, add another coat of Mod Podge on top of the paper.
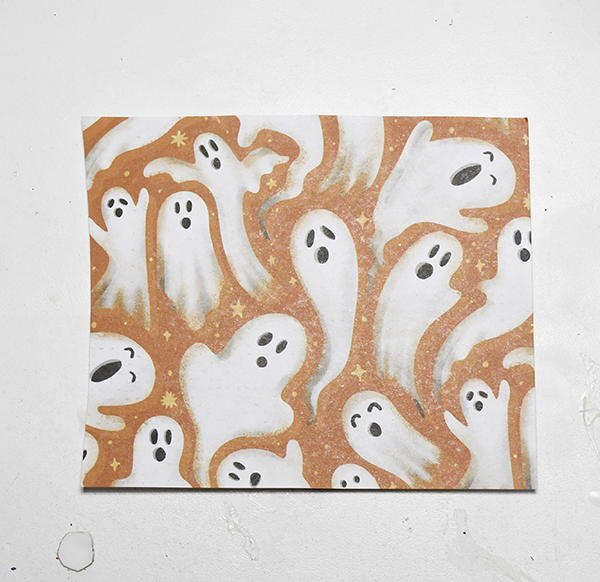
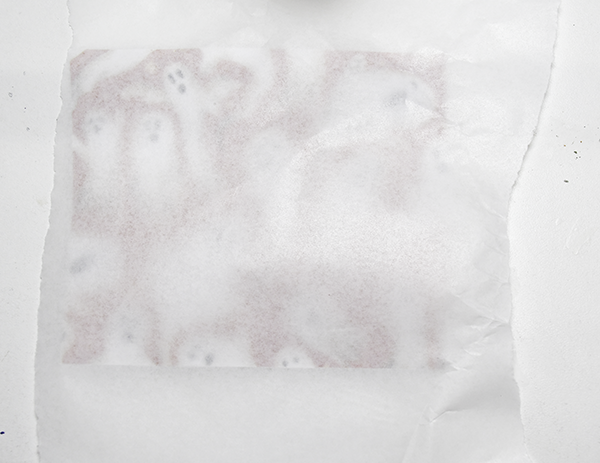
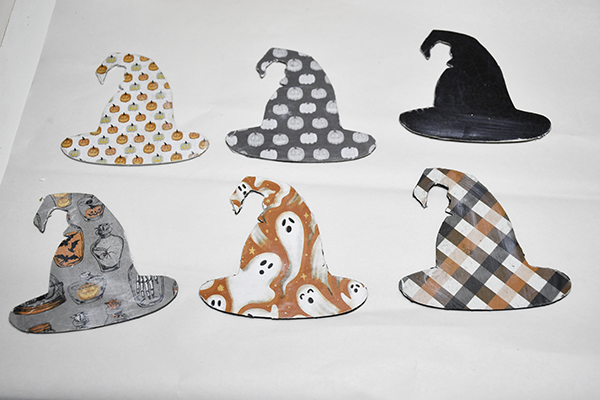
Step 3: Paint the Edges
Using a paint pen, paint the raw edges of each hat a color that matches your paper.
Step 4: Paint the Remaining Pieces
Paint the cats black on both sides. Once the paint has dried highlight the cat using silver paint. To do this, highlight the edges of the cat using silver paint on a very dry brush. This dry brush technique will give you more control and a lighter result adding just a few highlights.
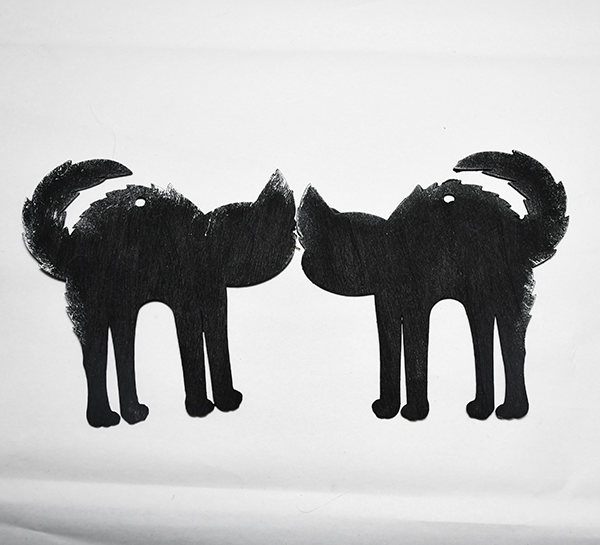
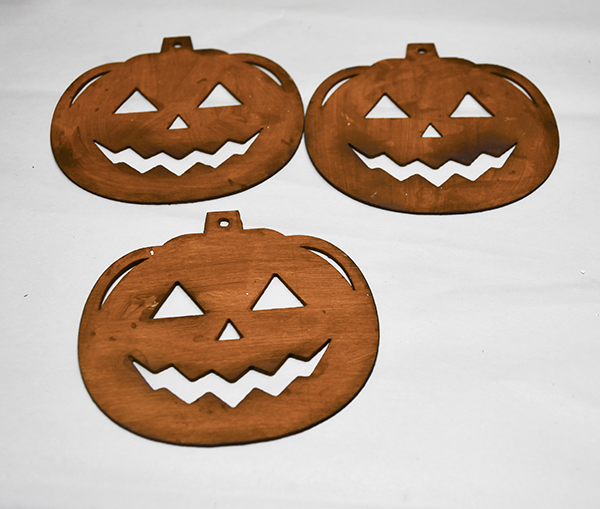
Paint the Jack-O-Lanterns a dark orange on both sides and let dry, Highlight the pieces with black distress oxide or a very dry brush with black paint
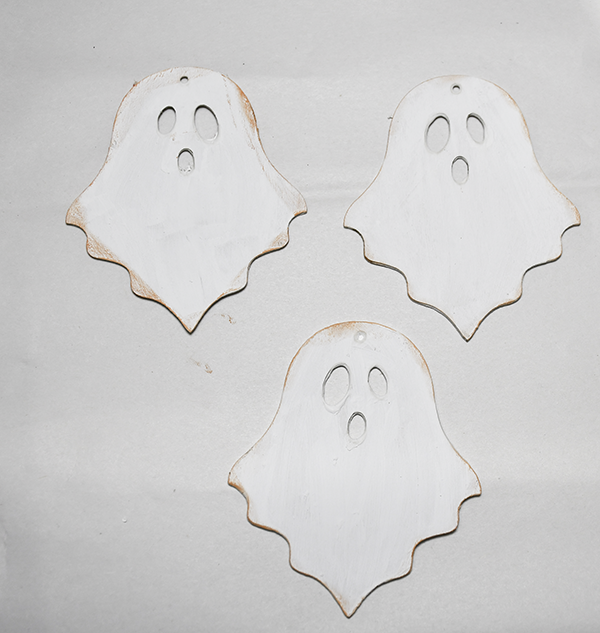
Paint the ghosts white. Highlight the ghost with orange distress oxide or a dry orange brush. Then add a bit of silver with a dry brush.
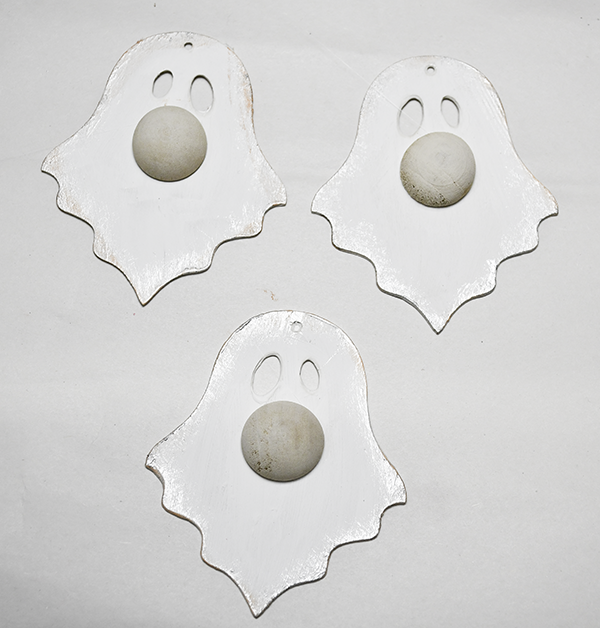
Using a pay while and some parchment colored paint cover the half rounds. These will be the noses..
Step 5: Glue the Noses
Place some hot glue onto the flat side of the half rounds and attach the half rounds to the ghosts where the mouth is to create the nose.
Step 6: Add the Hats
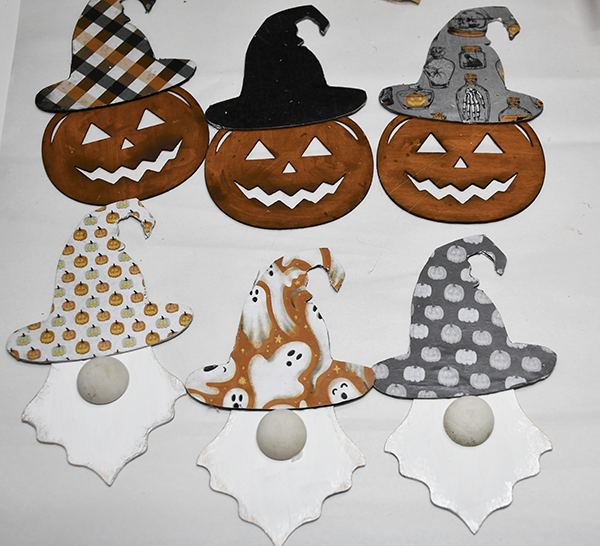
Add hot glue and wood glue to the bottom part of the hats and attach them to the Jack-O-Lanterns and the ghosts.
Step 7: Add the Twine and Beads
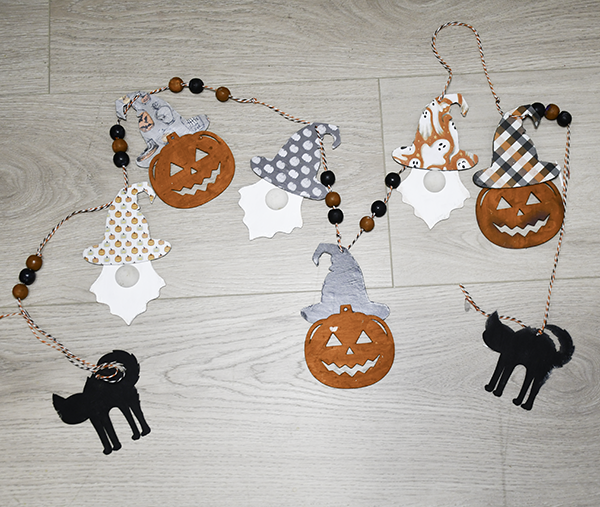
Take some orange and white and black and white baker’s twine and wrap them around each other. String the twine through the holes in the wood cut-outs adding beads as you move along. Start with a cat then add a Jack-O-Lantern and then a Ghost and repeat finishing with a cat.
Mop Head Ghost
What you will Need: Mop Head Ghost
- 1 Glass Vase
- Battery Operated String Lights
- Mop head
- Black Felt
- Ribbon
- Stones
- Hot Glue
- Scrap of cardstock
- Craft stick
- Walnut stain distress oxide
Step 1: Add the Stones
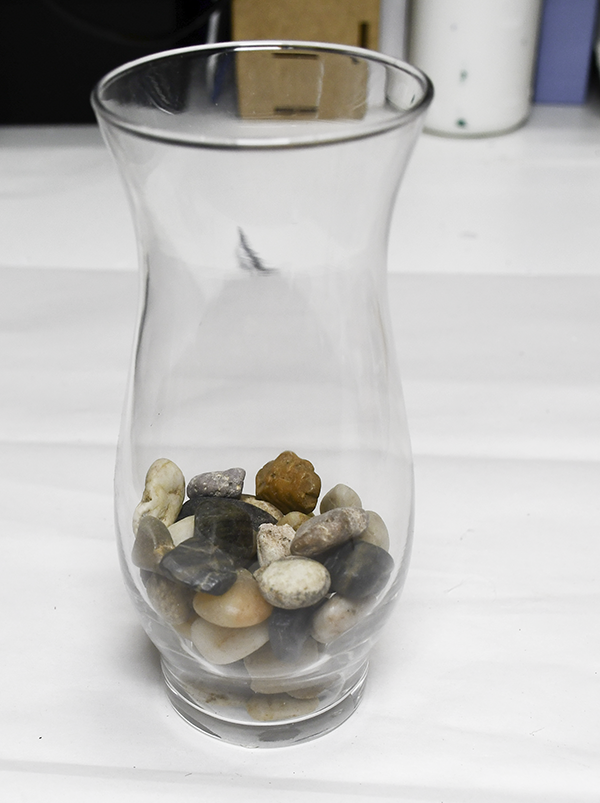
Place a bag of Dollar Tree Stones into the bottom of the vase to prevent it from tipping over.
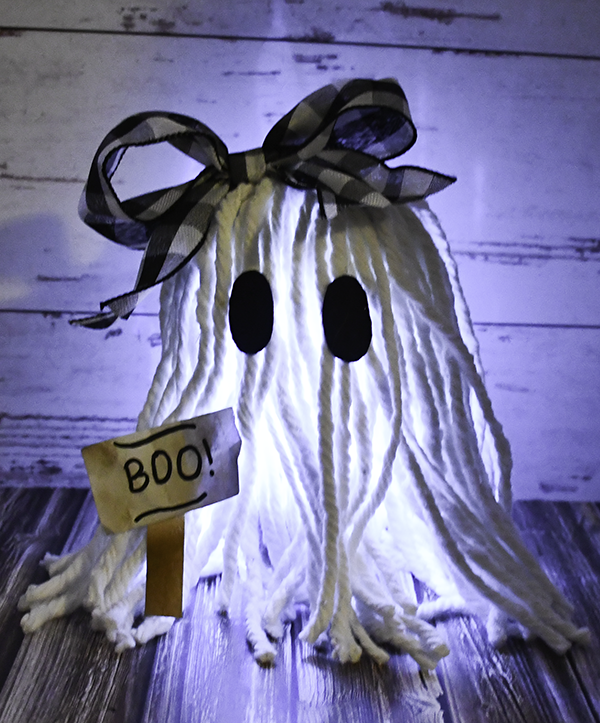
Step 2: Add the Lights
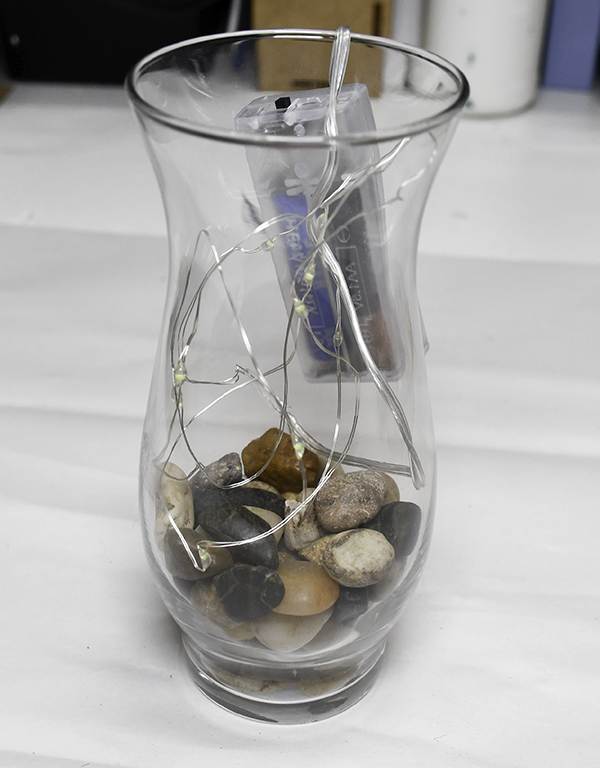
Insert the string light into the vase so that the battery pack is on the outside of the vase. Add some hot glue to the wire at the rim with the battery pack on the outside
Step 3: Prepare the Mop Head
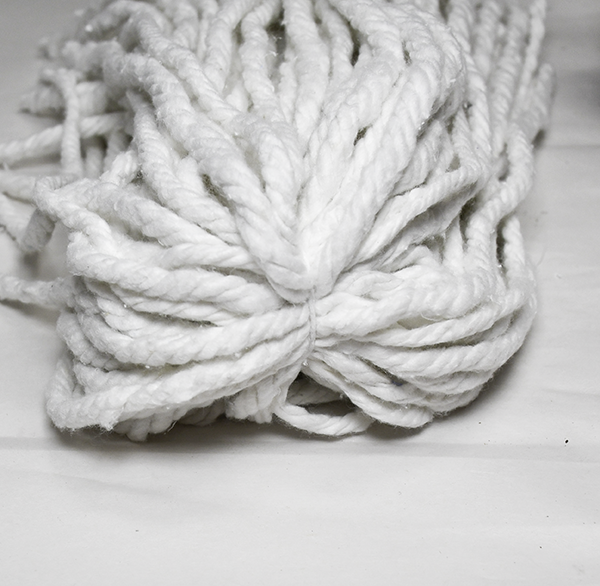
Remove the black top from the Mop Head. Tie the strands in the middle. Place the Mop head on top of the vase and trim the strings to the length that you want.
Step 4: Glue the Mop Head
Place some hot glue onto the rim of the vase. Place the mop head onto the top of the vase.
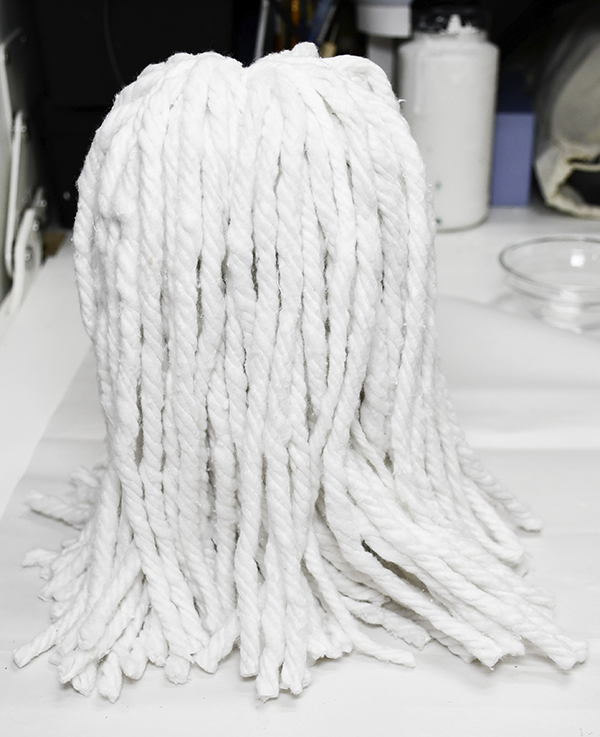
Step 5: Embellish the Ghost
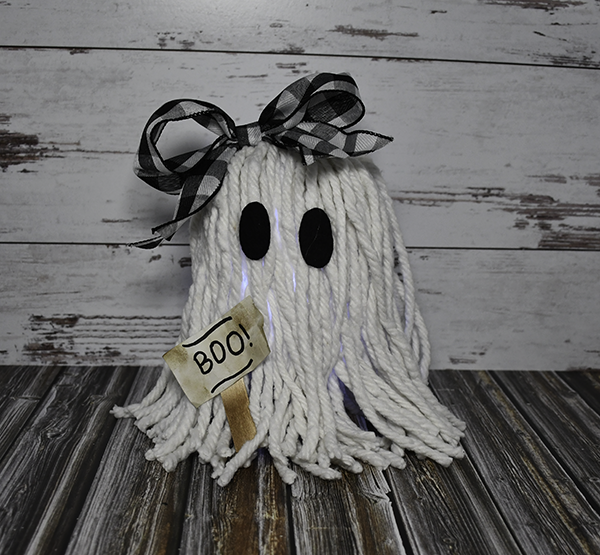
Cut two ovals from the black felt. Hot glue them to the front of the ghost to create eyes. Cut the Cardstock to the4 size that you like to create a small sign. Write the word Boo on it. Cut the craft stick to the size that you want and glue the cardstock to the top. Glue the piece to the bottom of the ghost.
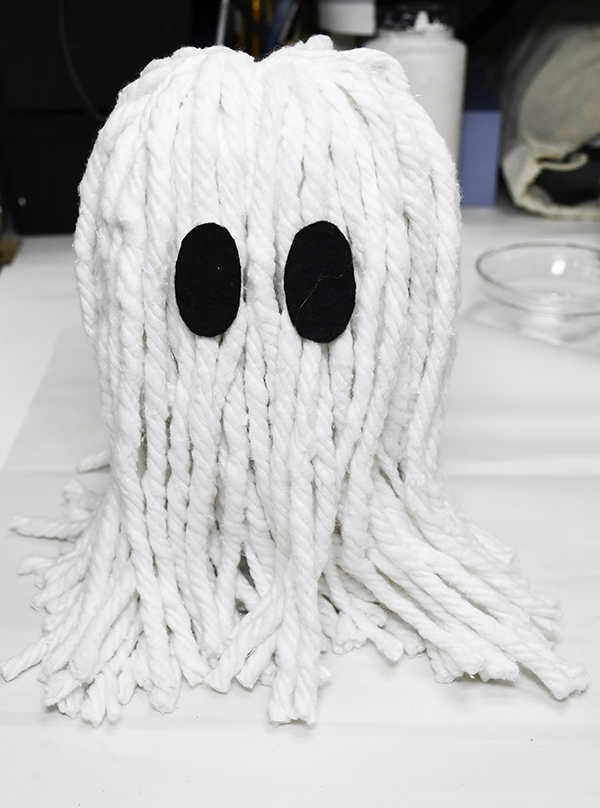
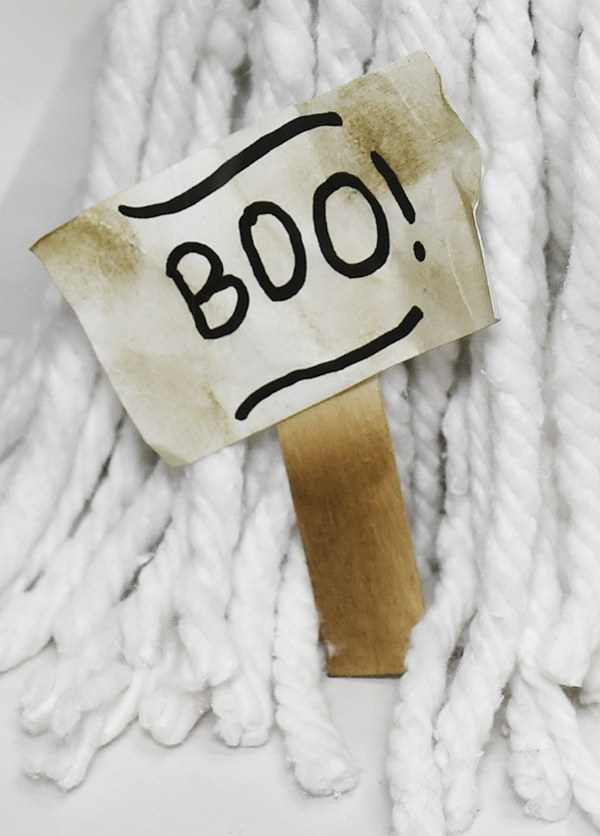
Step 6: Create and Add the Bow
Create a bow using the Ribbon of your choice. Make sure the ribbon has wired edges so that it will stand up straight. Hot glue the bow to the top of the ghost.
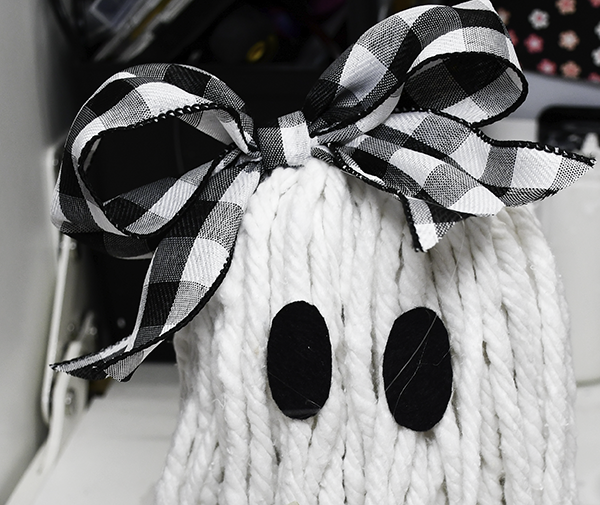
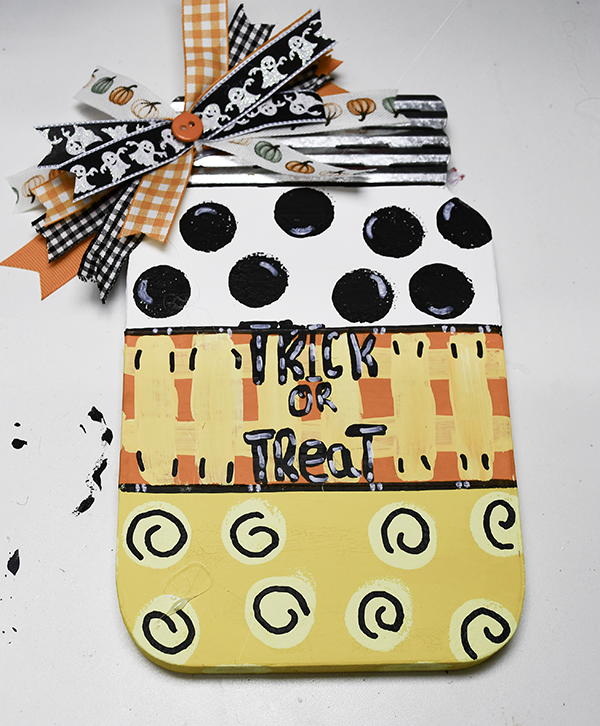
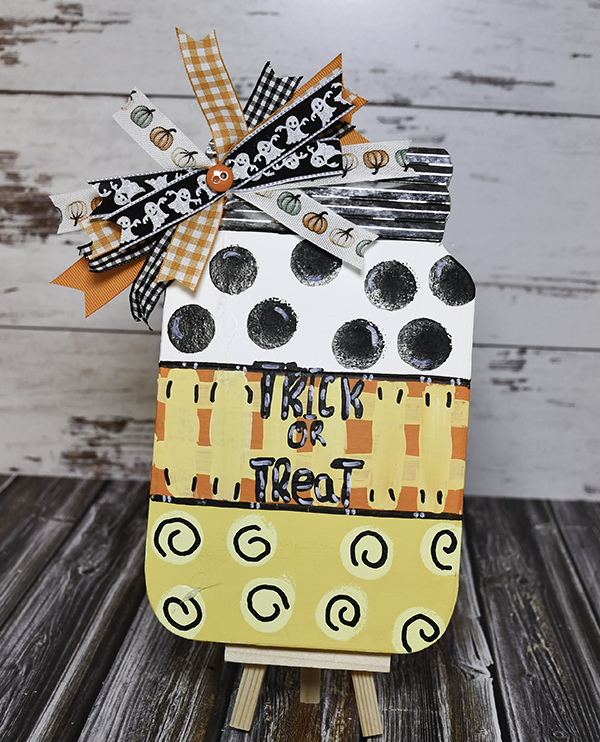
Candy Corn Shelf sitter
What you will need: Candy Corn Shelf Sitter
- 1 Dollar Tree Mason Jar Cut-Out
- Sand paper
- Masking tape
- Orange chalk paint
- Yellow Chalk Paint
- white chalk paint
- Paint pens
- Ribbon
Step 1: Sand the Mason Jar Cut-Out
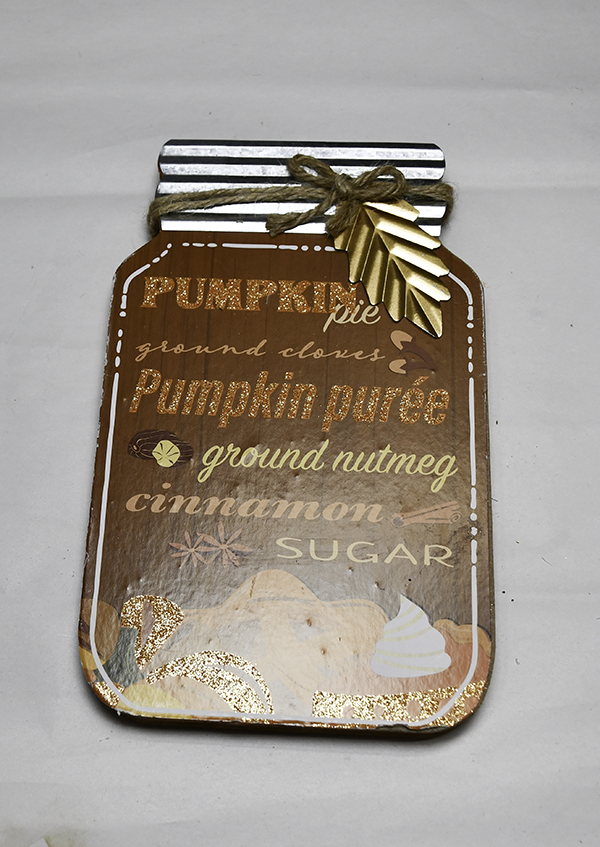
the Mason Jar cut-out I had needed to be sanded to remove the glitter and to make the surface ready for painting.
Step 2: Tape the Mason Jar
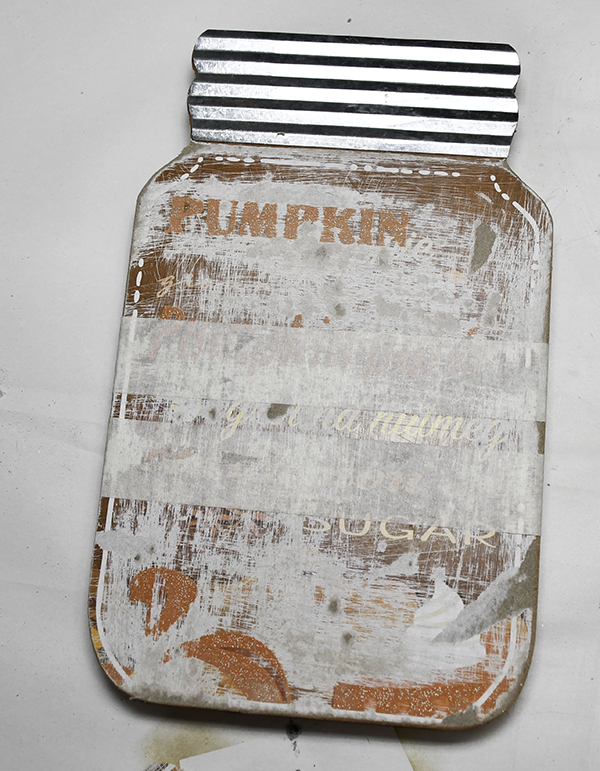
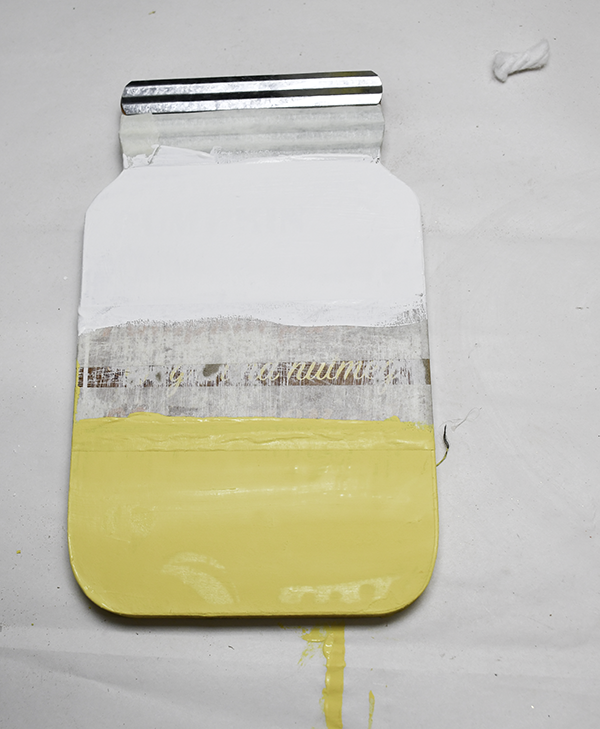
Divide the mason jar into thirds leaving the metal at the top. Place masking tape above the bottom third and below the top third so that you can paint the bottom and top thirds together.
Step 3: Paint the Mason Jar
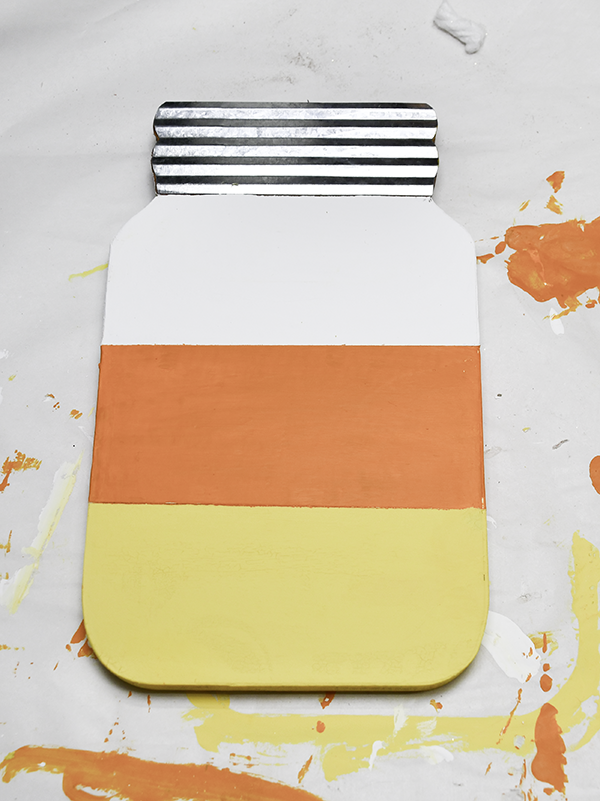
Paint the bottom third yellow and the top third white. Let dry completely or use a heating tool. Once the paint has dried remove the tape. Place tape on the top and bottom third that you just painted so that you can paint the middle orange.
Step 4: Embellish
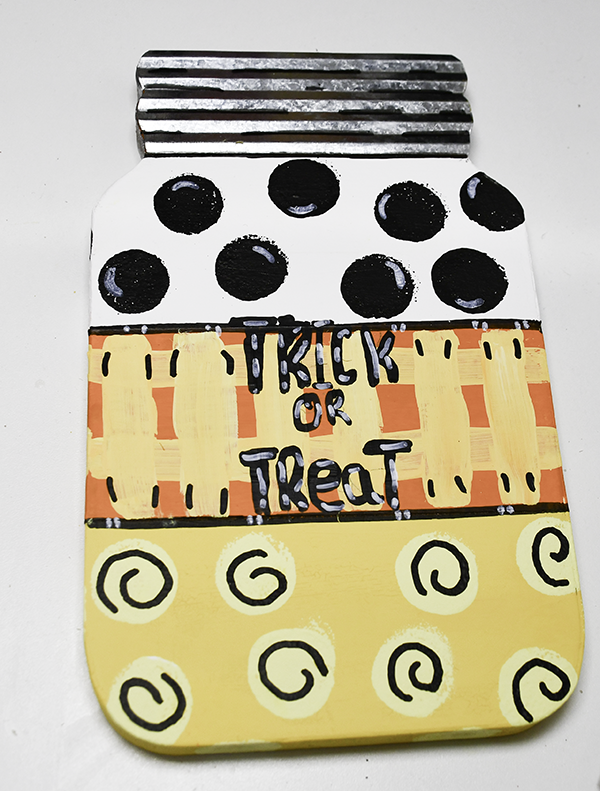
Hand draw black lines to separate the colors. I used acrylic paint pens. Add circles and swirls to each color. Once you have completed the circles and swirls and they have dried, write the words “Trick or Treat on the front go the jar. Create a small bow and hot glue it to the top left of the jar.
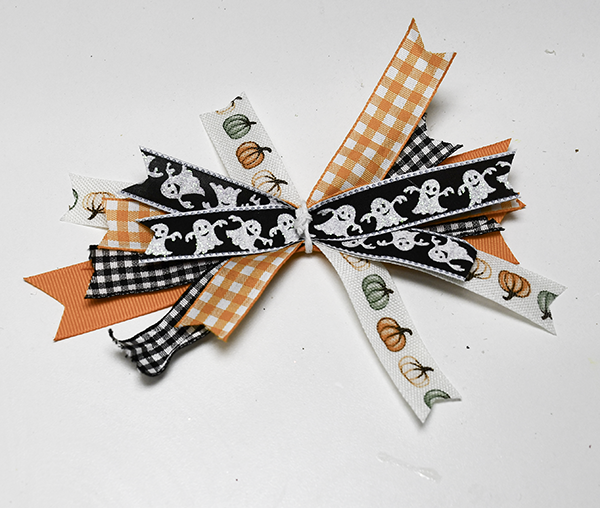
I hope you enjoyed these simple Halloween crafts. For more sewing and crafting projects subscribe to our free newsletter and receive your free Holiday Dollar Tree eBook,
Guide to Cricut Maker 3
This is a Beginner’s Guide to Cricut Maker 3. An ebook all about Cricut Maker 3, its accessories and Cricut Design Space. Perfect for the beginner so let’s Cricut now!
Subscribe to our Free YouTube Channel!