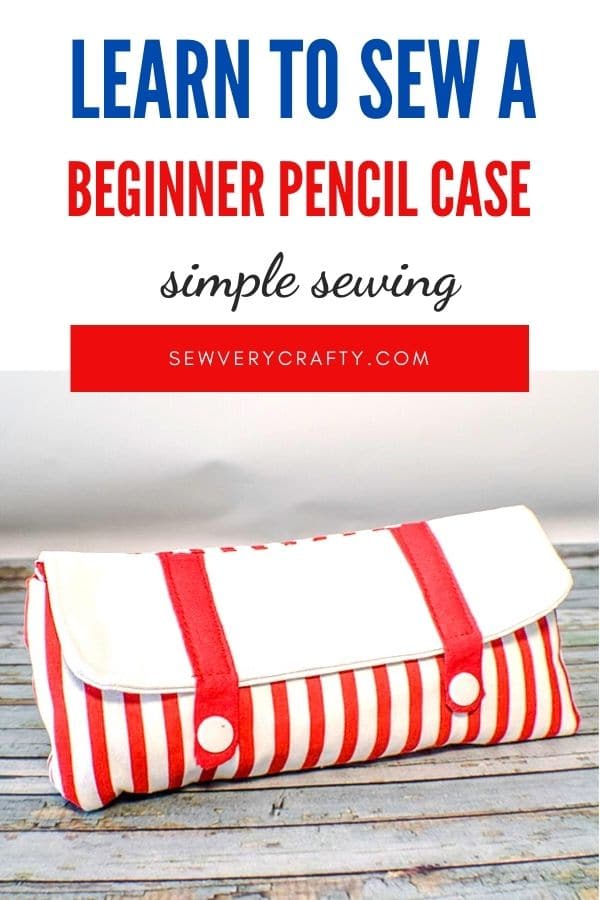
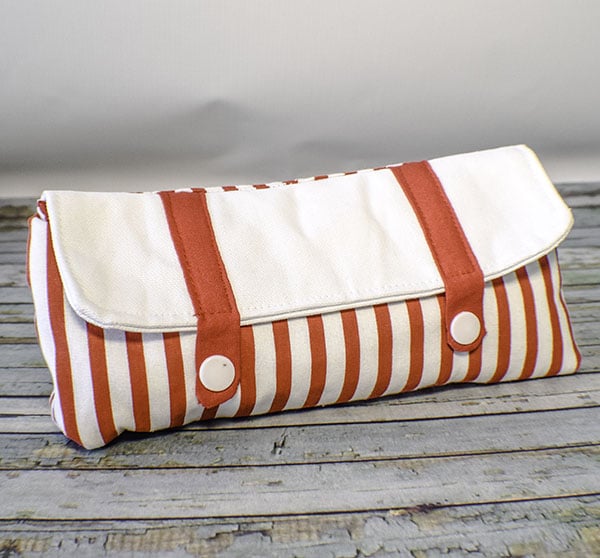
How to Make a Beginner Pencil Case

I love pens and pencils and by extension pencil cases. I found this terrific pattern on Sewing Times on YouTube and had to share it with you. This beginner pencil case is just too cute not to make. It is a fun and functional beginner sewing project that anyone with basic sewing skills can make in no time at all. I love the red and white stripes used in this project. It is so fun. Of course you could sue any colors you like but I found these colors particularly fun and bold.
The red and white stripe was given to me so I don;'t know where it came from but the red and white are scraps of Kona cotton and the red and white polka dot that I used in the lining I had on hand from JOANN Fabric & Craft Stores![]() as a remnant. As always you could head to Hobby Lobby, Fabric.com or to Onlinefabricstore.net to get exactly what you want for your particular project. This post contains affiliate links that if you click on them I will receive a small commission at no extra cost to you. As an Amazon Associate I earn from qualifying purchases.
as a remnant. As always you could head to Hobby Lobby, Fabric.com or to Onlinefabricstore.net to get exactly what you want for your particular project. This post contains affiliate links that if you click on them I will receive a small commission at no extra cost to you. As an Amazon Associate I earn from qualifying purchases.
What you will Need: How to Make a Beginner Pencil Case
- Pattern you can get by clicking on this link
- 1/4 yd exterior fabric and lining fabric — I used red and white stripe and red and white polka dot
- Contrasting scrap of fabric for top of case — I used white
- Coordinating scrap of fabric for snaps — I used red
- 2 Kam Snaps — I used white
- 1/4 yd fusible fleece like TP971F
- Standard Sewing Supplies
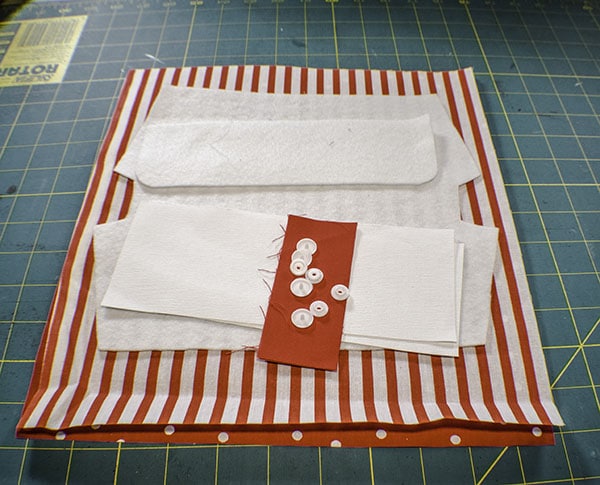
Step 1: Cut Your Fabrics
Using the pattern piece cut the fusible fleece. Cut one piece each of the outer fabric and lining fabric that measure 10 3/8″ x 9 3/8″. Cut two contrasting pieces that measure 8 3/4″ x 3 1/8″ and finally measure tow coordinating fabric pieces that measure 1 3/4″ x 4″. Measure another piece of fleece 8″ x 2 3/8″.
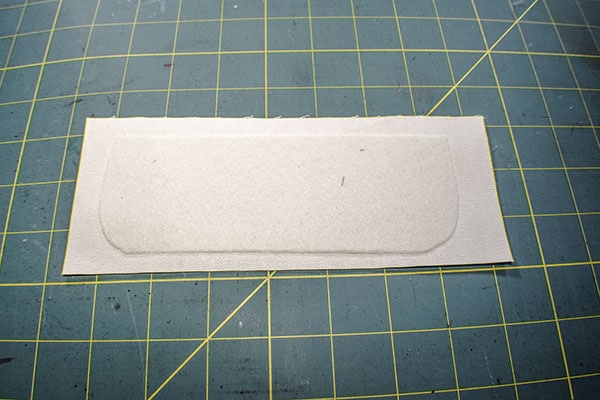
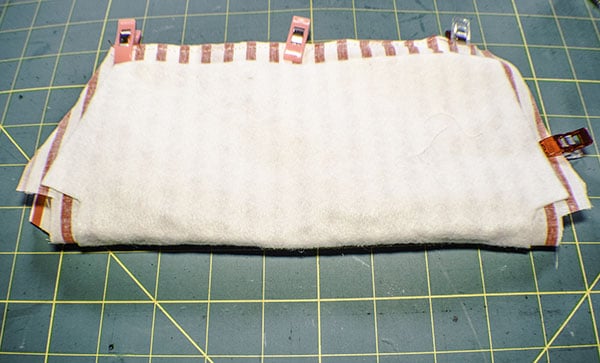
Step 2: Fuse the Fleece
Fuse the fleece to the wrong side of the outer fabric piece so that it is centered following the manufacturer's instructions. Round the corners of the 8″ x 2 3/8″ piece of fleece and fuse it to the wrong side of one of the contrasting pieces.
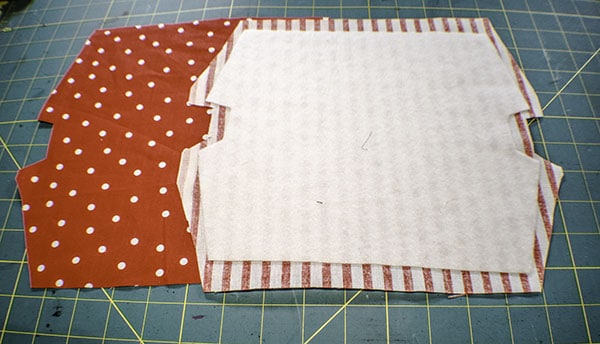
Step 3: Cut the outer and lining pieces
Place the outer piece on top of the lining piece right sides together. Trim the pieces around the fleece allowing for a 3/8″ seam allowance as shown.
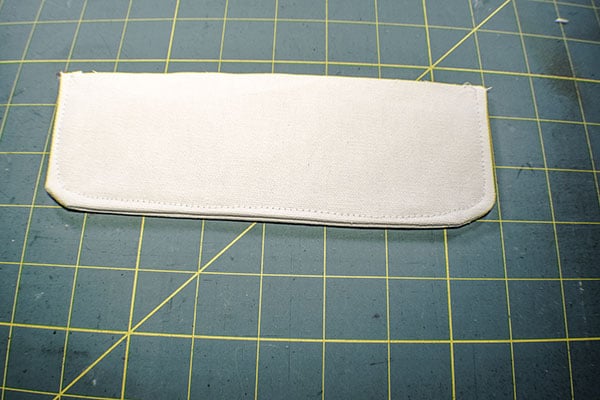
Step 4: create the top
Place the two contrasting pieces right sides together. Stitch along the edge of the fleece. Trim the fabric to match the rounded corners. Notch the corners. Turn right sides out and press. Top stitch around the sides and bottom.
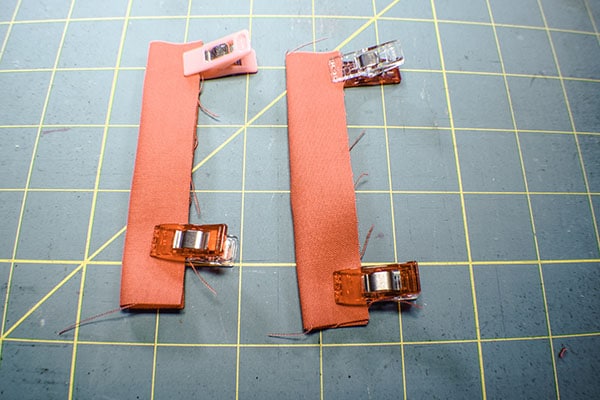
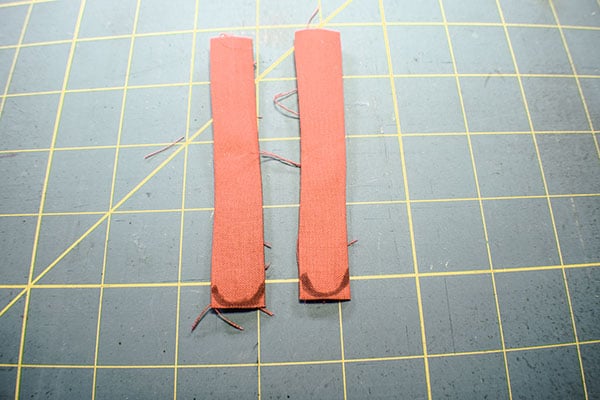
Step 5: Create the straps
Take the coordinating fabric pieces. Fold them in half lengthwise and stitch using a 1/4″ seam allowance. Press the seam open so that it is in the center of the strip. On the bottom of each strip mark a curve and stitch using a 1/4″ seam allowance. Slightly trim the curve. Turn right sides out. Press.
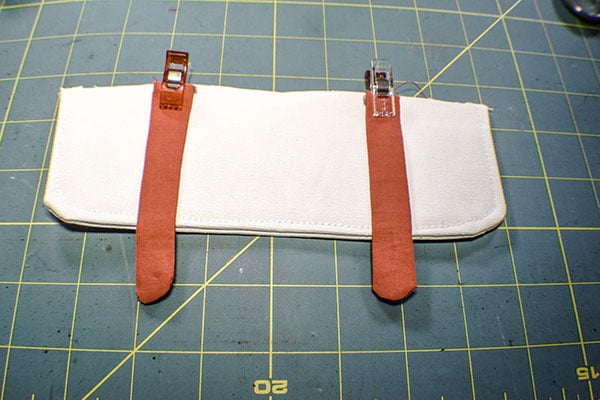
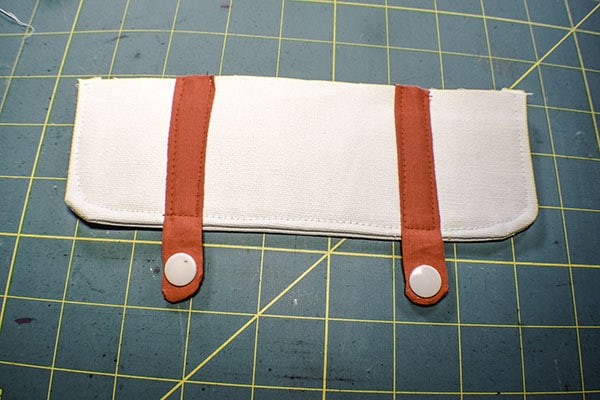
Step 6: Add the Straps
Find the center of the top you just made. Measure 3 3/8″ on each side of the center and mark. Place the straps on these marks, Stitch them to the top down both sides and along the bottom. **** Sewing Tip: Because these are contrasting fabrics use a different color in the bobbin then on the top of your machine. In my case I used red on top and white in the bobbin so that the red would not show up on the other side of my top. ***** Add one half of the Kam Snap at the bottom of each of the strips. If you are not sure how to insert the Kam Snaps check out this video.

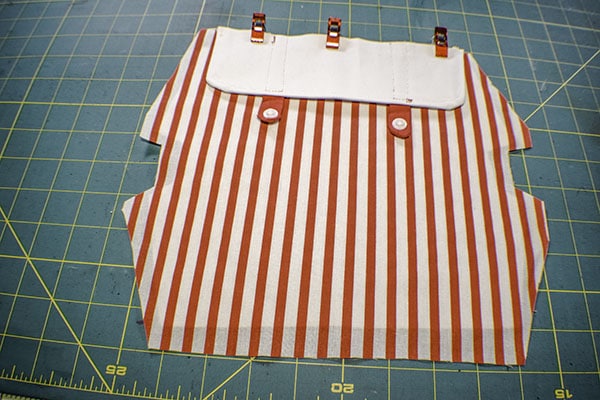
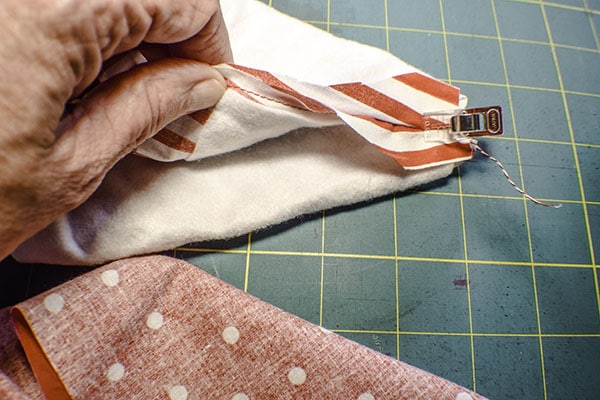
Step 7: Add the top to the Body and create the body
Find the center of the outer fabric piece and the center of the top and mark them. Place the top right sides together with the top of the outer bag and clip. Stitch using a 1/4″ seam allowance. Fold the bottom of the outer bag to meet the top so that the body is right sides together. Stitch along both sides using a 3/8″ seam allowance. Repeat for the lining piece as well.
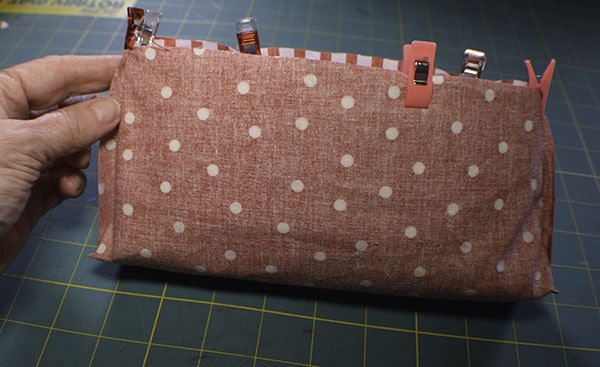
Step 8: Box the Corners
You will notice that there is a hole in bottom of the outer bag and the lining bag. To box the corners pinch the bottom with the sides and clip. Repeat for both outer corner and both lining corners. Stitch along the corners using a 3/8″ seam allowance. Trim the seam allowance.
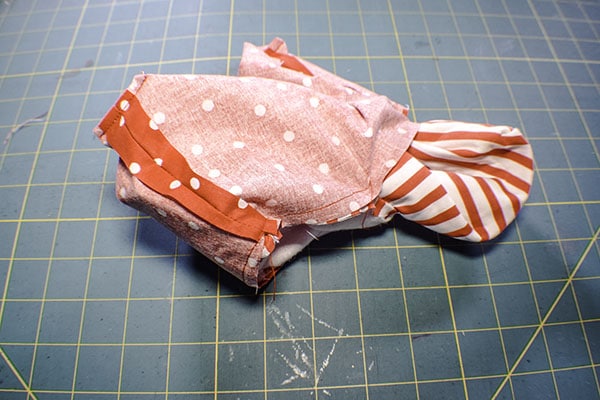
Step 9: Finish the Beginner Pencil Case
Turn the outer bag right sides out. Place it inside the lining bag so that they are right sides together and the top is inside the bag. Match the seams. Stitch around the top of the bag leaving an opening at the front of the bag for turning. Turn the bag right sides out through the opening. Push the lining into the bag and press. Top stitch all the way around the pencil case making sure that you do not catch the top but you close the opening in the front. Add the other half of the Kam Snaps. The best way to do this is by folding the top down and marking where the first snaps land. Once you have inserted the snaps you have finished your Beginner pencil case.

I hope you enjoyed this project. If you would like more sewing and crafting projects sign up for our newsletter and receive your free eBook of 15 handbag patterns and tutorials taken from the blog
If you would like video tutorials of some of Sew Very Crafty's most popular posts subscribe to our free YouTube channel here.