How to make a Dollar Tree Mop Head Gnome

As you know, I love Dollar Tree crafts. Especially around the holidays. This Dollar tree mop head gnome is no different. This is an easy no sew gnome project that is fun for Christmas decorating. You could even make a fall or halloween gnome if you like. I wanted a Christmas gnome this year. Of Course I used all things Dollar tree for this project which made it super inexpensive to make. This is a really fun gnome project but if you would like an autumn sock gnome project check out my post here. If you want other Dollar Tree crafts check out my page here.
What you will Need: How to Make a Dollar Tree Mop Head Gnome
- Mop Head
- Tall Glass Vase
- Pattern for hat
- Jingle Bell
- Table tennis ball for nose
- Piece of floral wire
- Fat quarter of fabric
- Hot Glue

Step 1: Hot Glue the Mop Head
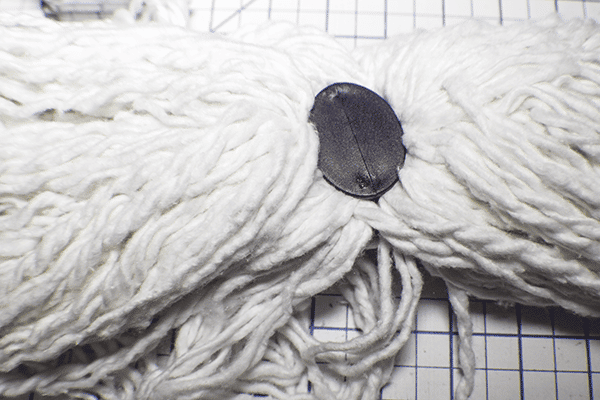
The mop head has a flat side and a side for the mop handle to go into. Glue the flat side to the bottom of a tall glass Dollar Tree vase.


Step 2: Untwist the Mop Strands (Optional)
This step is optional. If you want thinner strands for your gnome beard untwist the mop strands. I chose to do this for my mop head gnome for a fluffier look. Warning: it is a bit of a tedious process.
Step 3: Create the Gnome Hat
Print out the pattern and tape pieces A and B together. Discard the circle. Place the straight edge of the pattern on the fold of your fabric and cut out the pattern. Hem the bottom edge. Hot glue a piece of floral wire to one of the raw edges. Measure to fit the hat onto the mop head. Fold under one of the raw edges and hot glue the hat together.


Step 4: Hot Glue the Nose
I used a table tennis ball that I painted red to act as the nose of my gnome. Hot glue the nose to the gnome.

Step 5: Embellish the Gnome Hat
I added a jingle bell to my hat as an embellishment and to finish off my Dollar Tree mop head gnome.


I hope you enjoyed this simple Dollar Tree craft. If you would like more sewing and crafting projects subscribe to our newsletter and receive access to our free printables library.
If you would like video tutorials of some of Sew very crafty’s most popular posts subscribe to our free YouTube channel here.


