
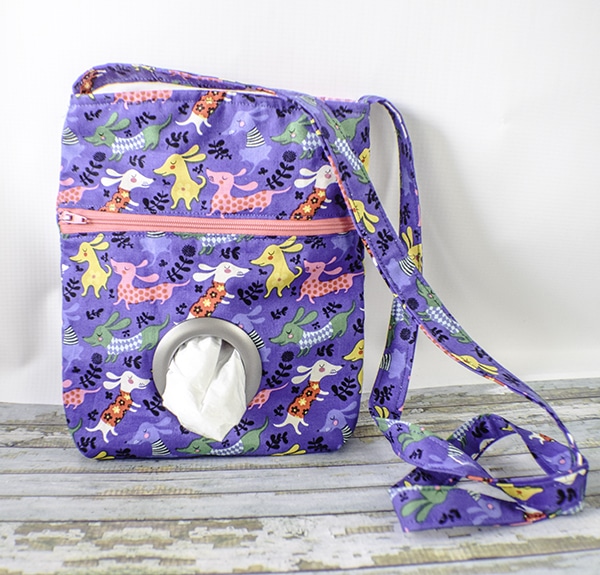
How to Make a Dog Walking Bag
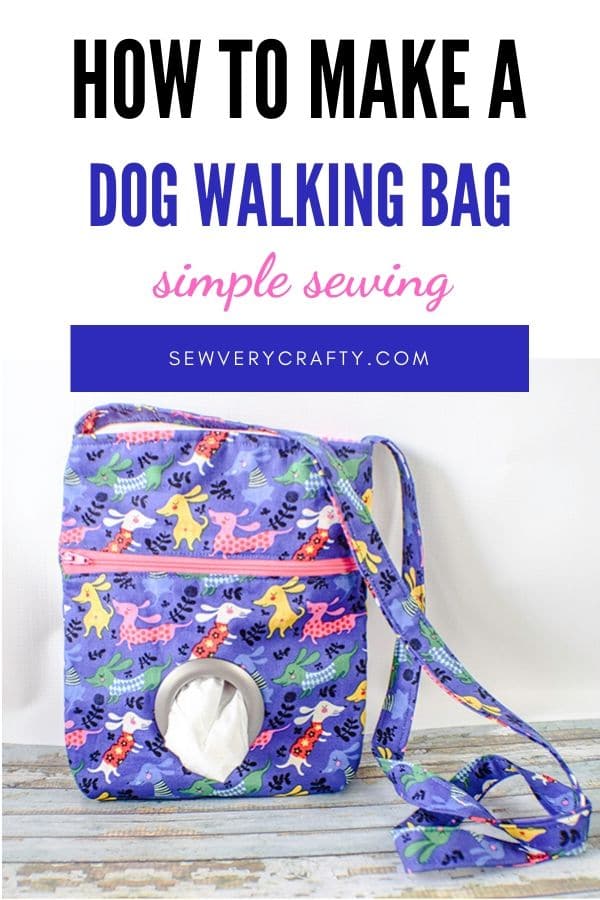
This dog walking bag is the perfect bag to take along when you are walking your dog. It has room for your essentials and for those pickup bags that you need along the way. This bag keeps those bags handy. There is space for your phone and ID as you take Fido for a walk or to the dog park. This is a simple bag making project that can be made by just about anyone even though there is a zipper in the front. I modified my Bumalong bag to create this bag and it is perfect for walking the dog so lets give it a try.
I used an adorable dachshund fabric that I ordered from a small fabric shop called Fabric Frenzy in Wimberley Texas that I discovered through a distant blogging friend of mine but you could head to JOANN Fabric & Craft Stores![]() , Hobby Lobby, or Fabric.com to get exactly what you need for your dog walking bag. This post contains affiliate links that if you click on them I and make a purchase may receive a small commission at no extra cost to you. As an Amazon Associate I earn from qualifying purchases.
, Hobby Lobby, or Fabric.com to get exactly what you need for your dog walking bag. This post contains affiliate links that if you click on them I and make a purchase may receive a small commission at no extra cost to you. As an Amazon Associate I earn from qualifying purchases.
If you would like a video of this project head over to YouTube and check out my step-by-step video on how to make this terrific little bag. While you are there subscribe to my free YouTube channel.

What you will Need: How to Make a Dog Walking Bag
- 1/2 Yd outer Fabric and lining fabric
- 1/2 yd SF101 Interfacing
- 9 ” zipper or longer
- 1 magnetic snap
- Scrap of Peltex
- 1 Large curtain grommet
- Standard Sewing Supplies

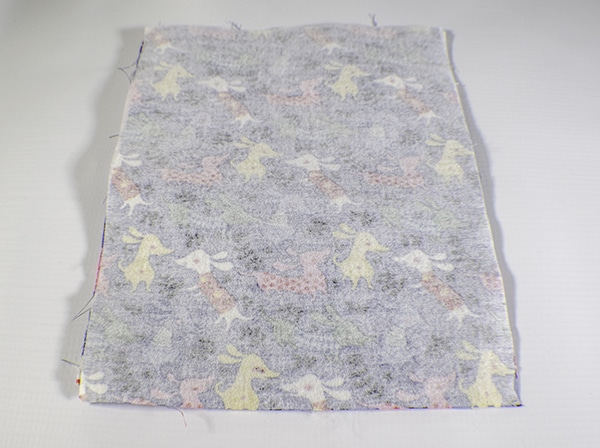
Step 1: Cut your Fabrics
Cut three 10″ x 8″ pieces of exterior fabric, three 10″ x 8″ pieces of lining fabric and one 10″ x 8″ piece of interfacing. Cut one 3″ x WOF (Width of Fabric) piece of exterior fabric. Fuse the interfacing to all three of the exterior pieces. Measure 3 1/2″ down from the top of the short edge of one of the exterior pieces and lining pieces and cut across to make two pieces.

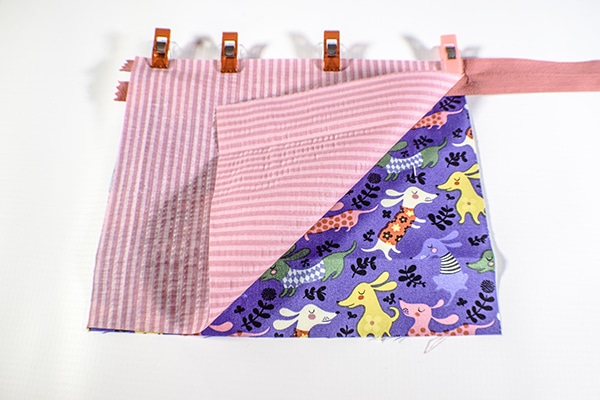
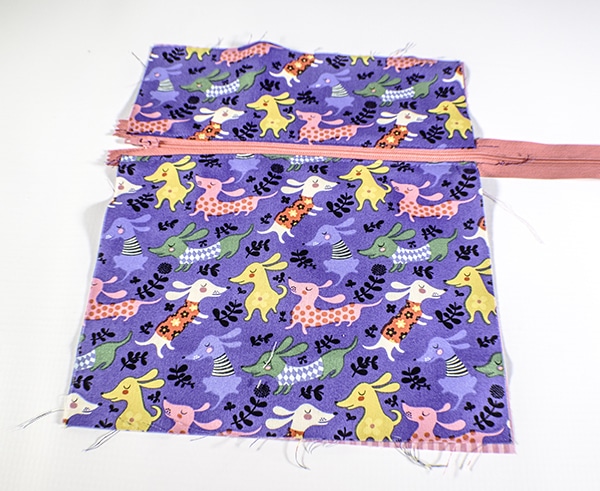
Step 2: Add the zipper
Place the longer of the two pieces right side up on your table. Lay the zipper on the edge of the fabric right side down. Lay the corresponding lining piece right side down on the zipper to make a zipper sandwich. Sew the zipper to the fabric using a zipper foot. Fold back the fabric to reveal the zipper and press. Top stitch along the zipper for a more professional look. Repeat with the other side of the zipper using the smaller pieces of fabric. If you are using directional fabric make sure your fabrics are facing the right direction.
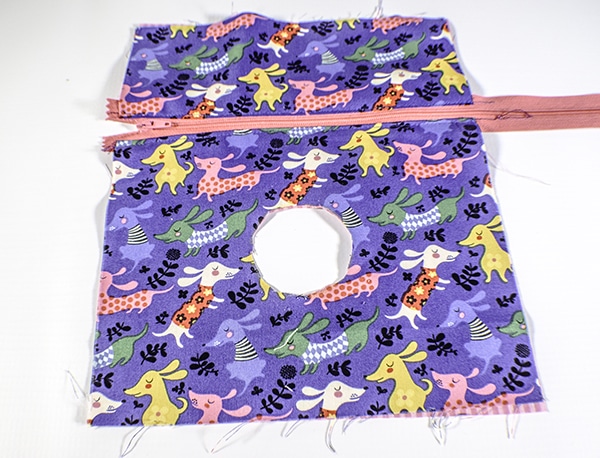
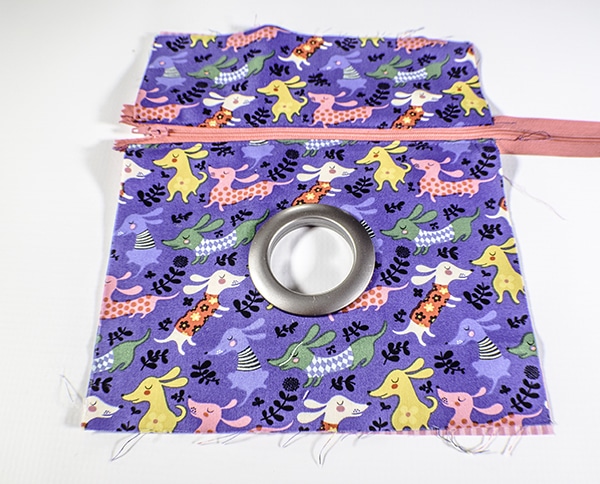
Step 3: Add the Grommet
In the center of the bottom portion of the bag add the curtain grommet following the manufacturers instructions. You will use the template provided to draw a circle in the center of the outer bag through both layers. Cut out the circle so that there is a hole in the bag. The grommet will snap into the hole protecting the raw edges.
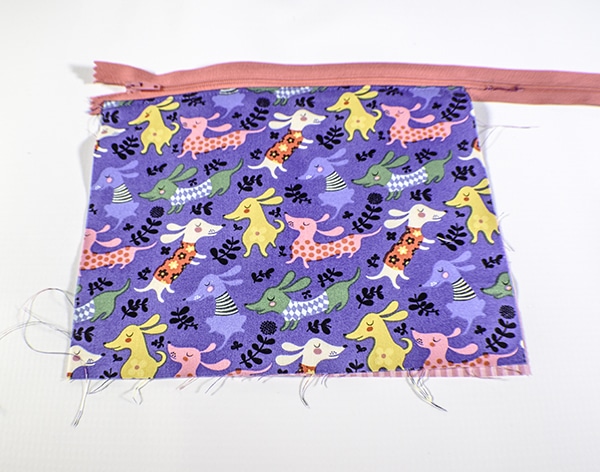
Step 4: Create the Outer Bag
Take another piece of the exterior fabric and place it so that the right side is facing the wrong side of the piece you just placed the zipper. You could also use a lining piece if you like because this will serve as the lining for your zippered pocket. Next, place the other exterior piece right sides together with the zippered piece. You should have three layers of fabric. Trim all the pieces to the same length. Sew all three pieces together around the two long sides and the bottom short side using a 1/4″ seam allowance.

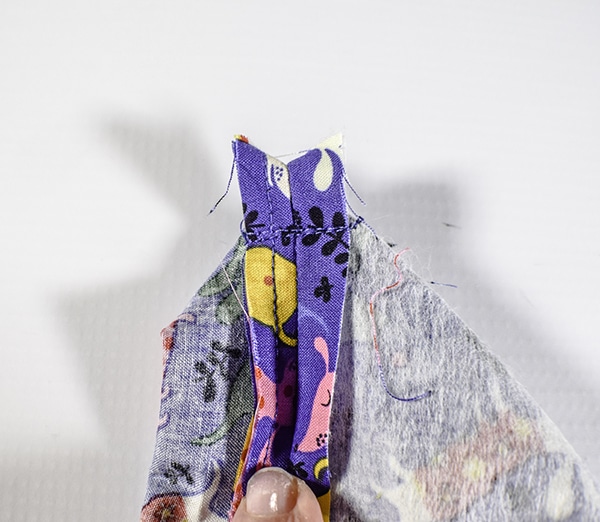
Step 5: Box the Corners
Take the bottom seam and match it with the side seam to create a little triangle at the bottom. Measure down about 1/2″ and stitch to create the box. Turn the pouch so that two right sides are facing out including the zippered side. This is the outer bag with the zippered pouch and opening for the pickup bags.
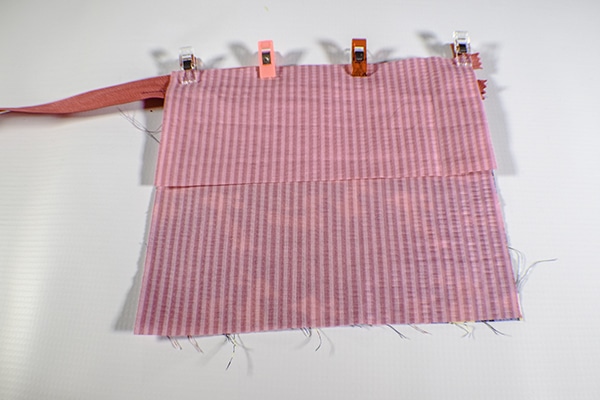
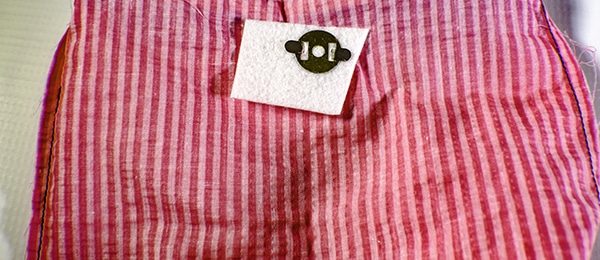
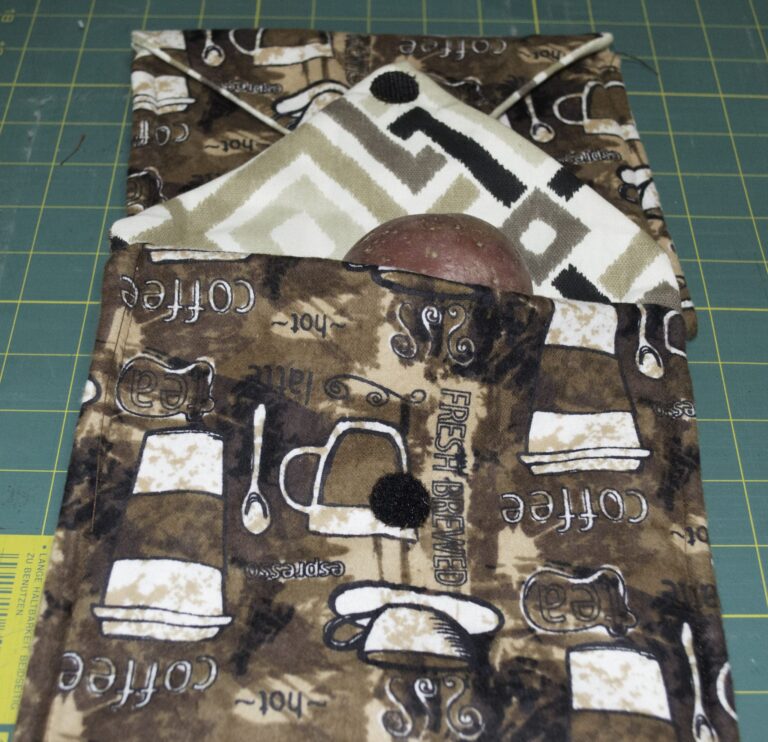
Step 6: Add the magnetic snaps
Take to two lining pieces and fuse a piece of Peltex or other heavyweight interfacing onto the wrong side of the lining where you want your snap to be. I use the Peltex to shore up the fabric so that the magnetic snap will be stronger and last longer. Insert the magnetic snap by simply taking the backing pieces where the two slits are and mark them. Cut the slits using a seam ripper then insert the snap and the backing piece and fold over the prongs. I measured 1 1/4″ down from the top and center for my snap. Then sew the long sides and the bottom leaving an opening for turning.

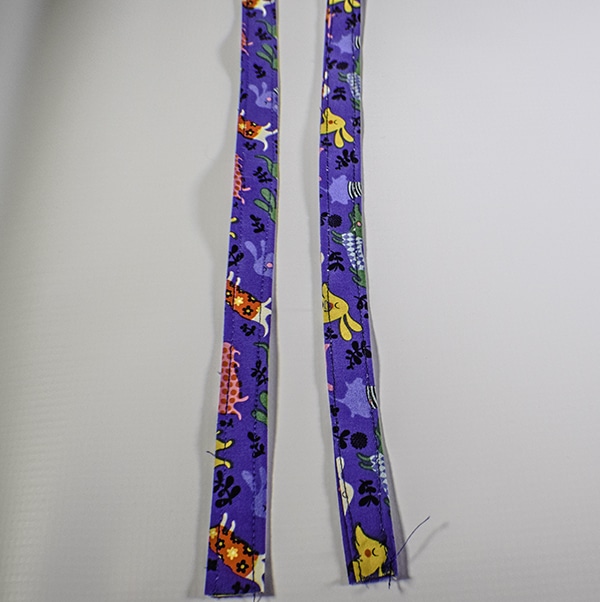
Step 7: sew the strap
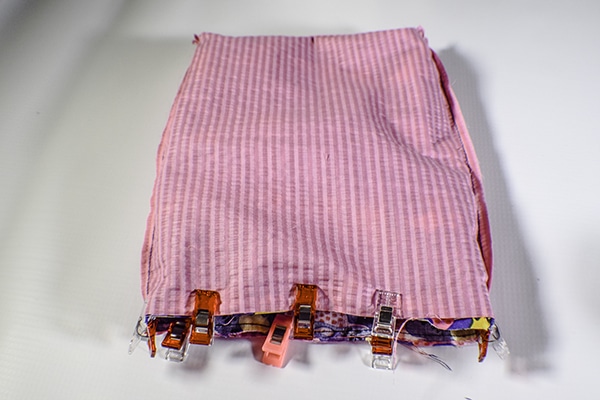
Next, make the strap. Take the 3″ x WOF strip and fold it in half long ways and press. Open it up then fold each side to the center and press then fold again to make a nice strong strap. Top stitch along both long edges for a finished edge. Attach the ends of the strap to the exterior pouch right sides together at the side seams and pin. Insert the right side of the outer bag into the right side of the lining bag pushing the strap between the two layers. Stitch around the top edge of the bag.
Step 8: Finish the bag
Push the exterior bag and strap through the gap you left in the lining. You will then have one long bag that is half outer fabric and half lining fabric. Sew the opening closed using ladder stitch then push the lining into the outer bag. You will now have the right sides of the outer bag facing you with the strap on the outside and the right sides of the lining fabric and the magnetic snaps facing inside the bag. Press. Top stitch around the top of the outside of the bag for a finished look and you have completed this Dog Walking Bag tutorial.
I hope you enjoyed this simple bag project. If you would like more sewing and crafting projects sign up for our newsletter and receive your free eBook of 15 handbag patterns and tutorials.
If you would like video tutorials from Sew Very Crafty Subscribe to our Free YouTube Channel Here.

Thank you for the post and video tutorial. They were very well done. I finshed my first bag today and am excited to make more as gifts.
You are so welcome.
Hi .. just read your blog … you say to measure 3-1/2” from the top but in your you tube video, you measured 2-1/2” from the top … which dimension is the correct one … thanks.
It should be 3 1/2″.
I’m unclear on how to box the corners. I didn’t see it in the video
You simple match the bottom seam and the side seam together and form a triangle stitch across the triangle and the corners are boxed. Sorry of it wasn’t in the video.