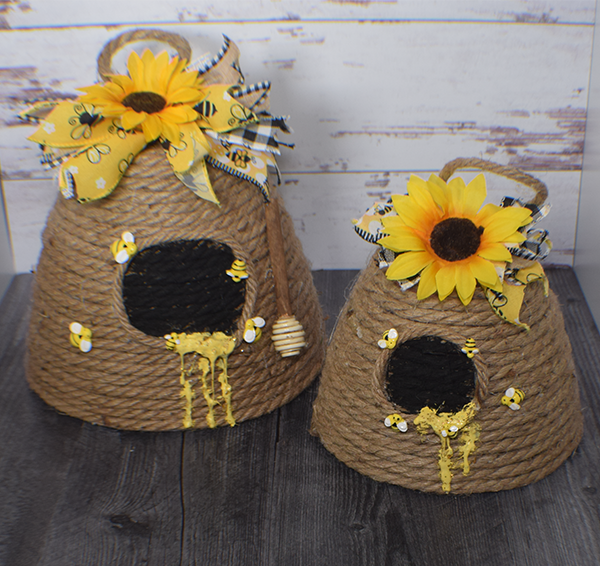
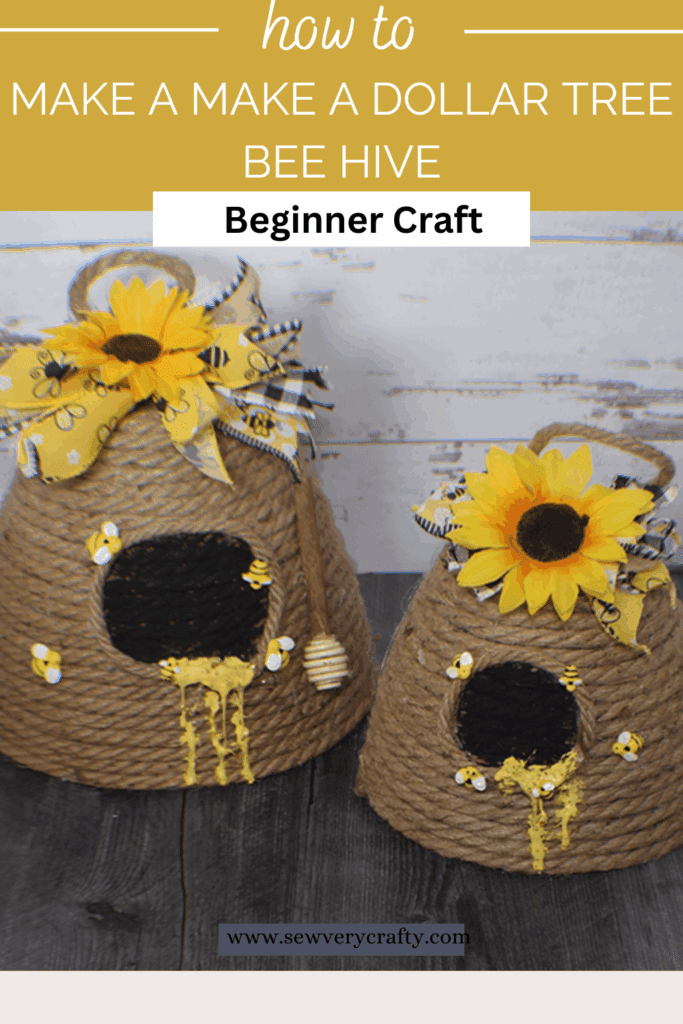
Spring is in the air so it is time for another Dollar Tree project. This Dollar Tree Bee Hive Home Decor is so simple and fun that it will brighten up any home this spring. While most everything came from Dollar Tree there a few surprises from elsewhere to really highlight the bee theme. I really hope that you enjoy this project but if you want more Dollar Tree projects head over to our Dollar Tree page.
Note: This post contains affiliate links that if you click on them and make a purchase I will receive a small commission at no extra cost to you. As an Amazon Associate I earn from qualifying purchases.
What you will Need
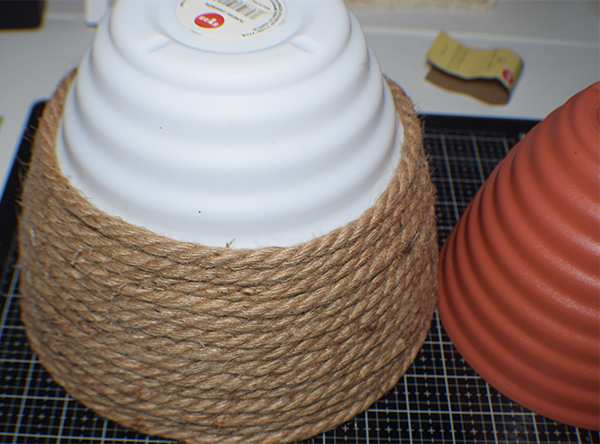
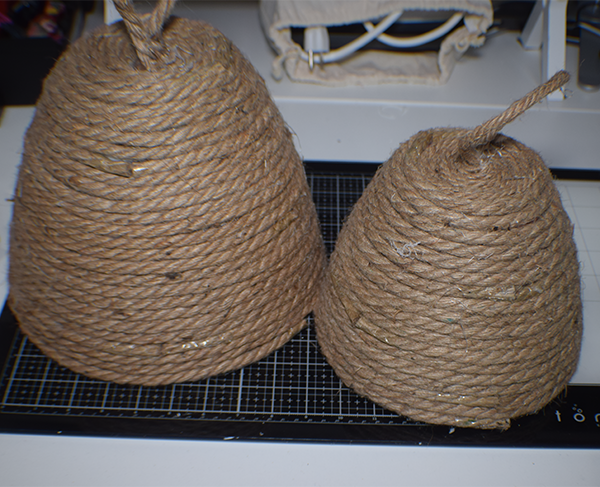
Step 1: Add the Rope
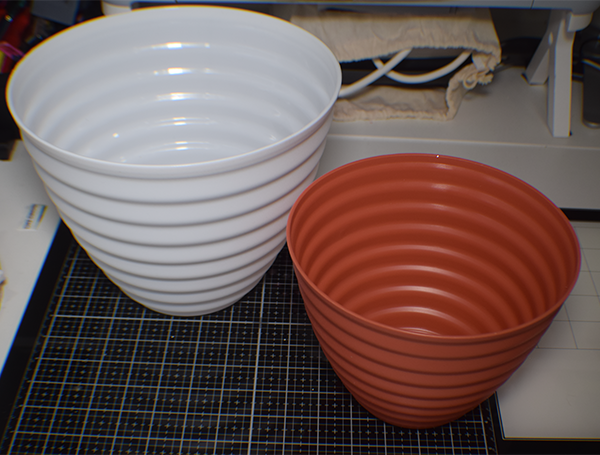
Starting at the bottom of the pot, hot glue the rope all the way around and up to the top. Once you reach the top create a loop for the handle and hot glue to finish. Place a circle of rope in the center of one side to act as the opening to the bee hive. The size of the hole will be determined by the size of the pot. I used two sizes of pots for my project.

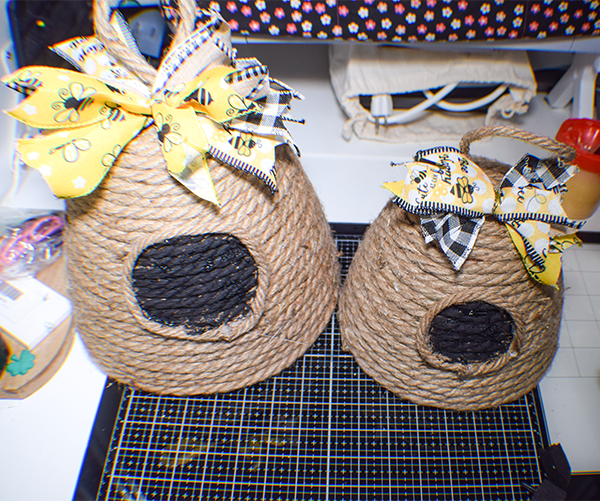
Step 2: Paint the Hole of the Bee Hive
Using the black chalk paint color the inside of the circle to act as the hole of the beehive.
Step 3: Create the Honey Dipper
I used buttons to create my honey dipper. Use a few different sizes and hot glue them together with the larger buttons in the center. Once you have glued the buttons remove the handle from the sponge paint brush and hot glue it to one end of the stack of buttons to create the dipper. I added some brown wax to the handle a bit for some contrast.

Step 4: Create the Bow
I used my Bowdabra to create my bow. If you have difficulty making bows I reccommend taking the bow making class by Southern Charm Wreaths. For my bow I used bee themed ribbon in black, yellow and white strips. Once you have created the bow hot glue it to the top of the hive in front of the handle.
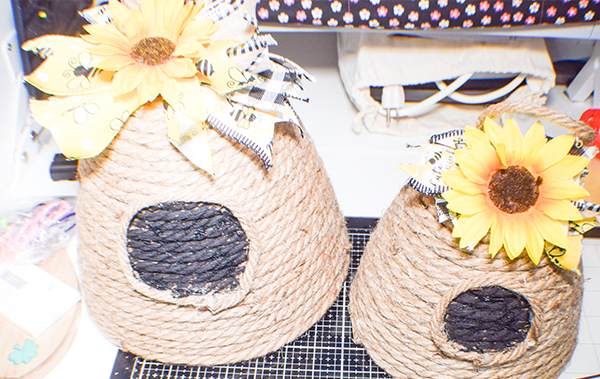
Step 5: Add the Flower
I used a large sunflower that I hot glued on top of the ribbon.
Step 6: Add the Honey
I placed some hot glue onto he front of the beehive and allowed it to drip down. Once it has dried paint it yellow to resemble honey. I added a little glitter paint for an accent.
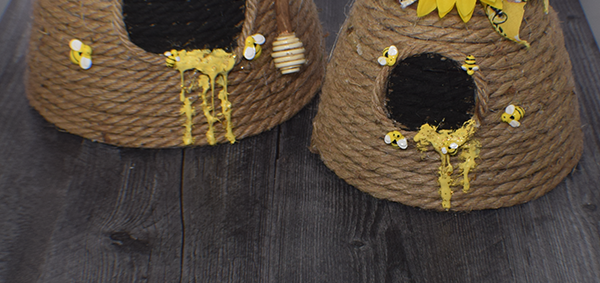
Step 7: Add the Bees and Honey Dipper
I purchased some small bees from Amazon to add them to my project. A few bees were glued to the hives. Once they were added I hot glued the honey dipper to the side of the large hive. Once that was finished so was the project. I hope you enjoy yours. Thanks for trying it out.
I hope you enjoyed this project. If you would like more sewing and crafting projects subscribe to our free newsletter and receive your free Holiday Dollar Tree eBook.
If you would like video tutorials of some of Sew Very Crafty's most popular posts subscribe to our free YouTube channel here.
Join our Sew Very Crafty Fans Facebook group
If you want to ask questions and share your projects join our Facebook group here. The community will help to achieve your sewing and crafting dreams.