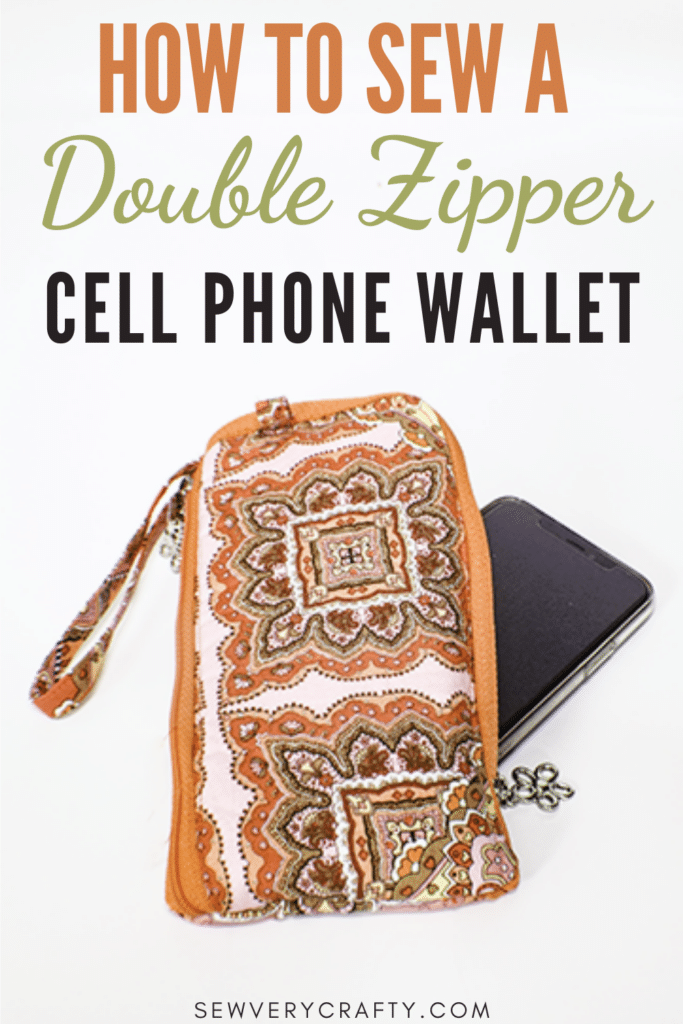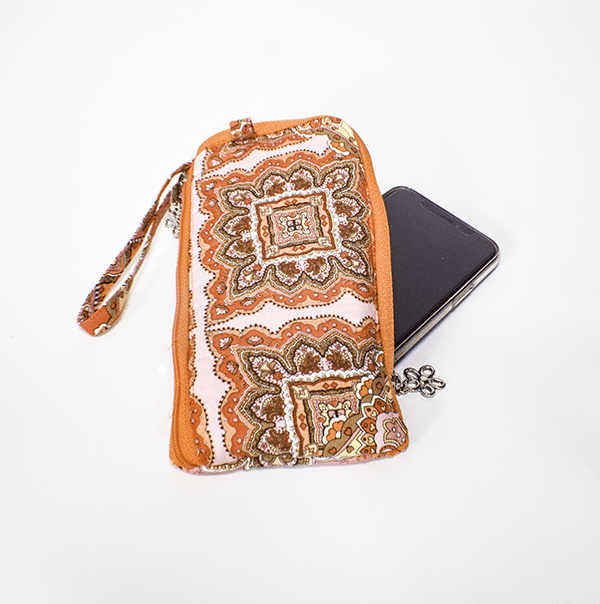
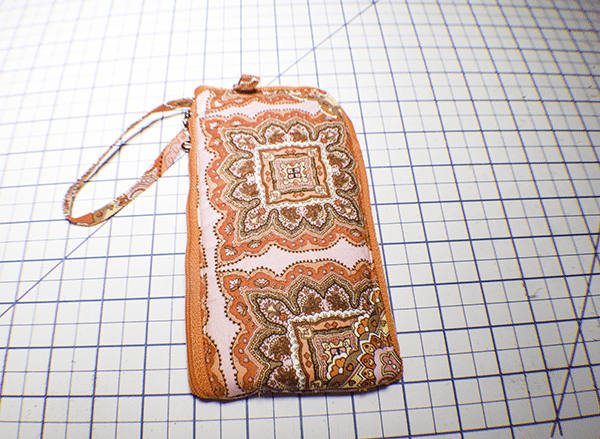
Need to take your phone and some ID and cash on the run? This cell phone wallet with pocket provides everything you need for take your phone on the go. This is a simple sewing project that a strong beginner or intermediate sewist can make. It has a zipper pocket for an ID and some cash and a zipper pouch for your phone. Not only that it doesn't take long to put together and it is padded. So let's get started.
I used fabrics from my stash that I purchased from JOANN Fabric & Craft Stores![]() but you could head to
but you could head to
What you will Need: How to Make a Cellphone Wallet with Pocket
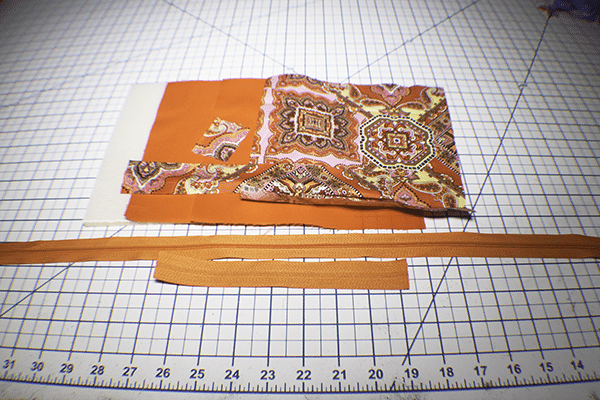
- 1/4 yd outer fabric
- 1/2 yd lining fabric
- 1/4 yd fusible foam
- 1 8″ continuous zipper with slider
- 1 26″ continuous zipper with slider
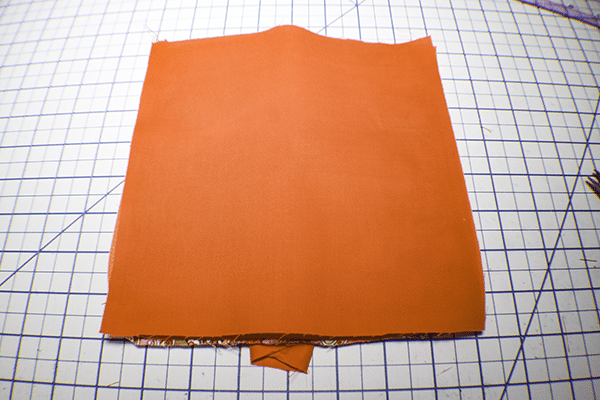
Step 1: Cut your Fabrics
Cut one outer fabric, 2 lining pieces and one fusible foam piece that measures 8″ x 8″. Cut one outer piece that measures 1.5″ x 10″ for the strap and two pieces that measure 2″ x 1 1/2″ for the zipper tab. One lining piece that measures 1 1/2″ x 4 1/2″ for the binding.
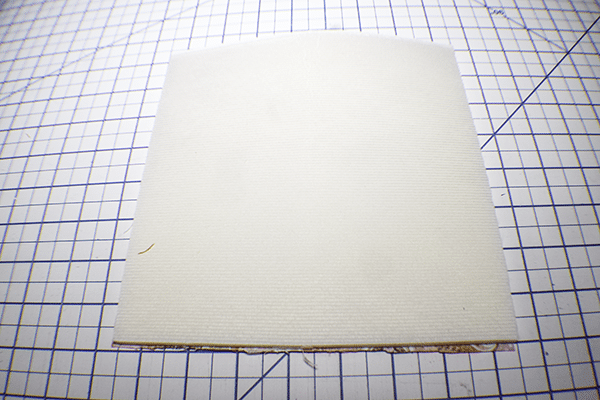
Step 2: Fuse the Foam
Fuse the foam to the outer fabric piece.
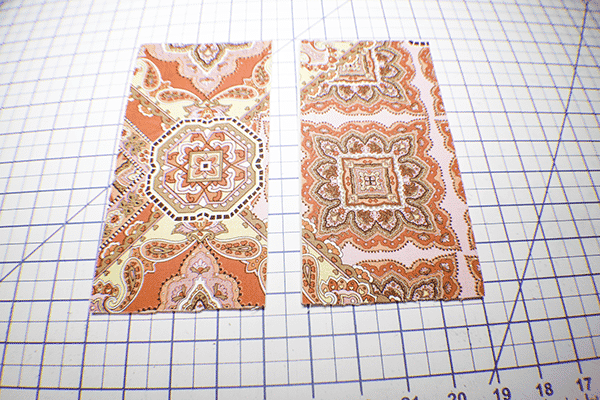
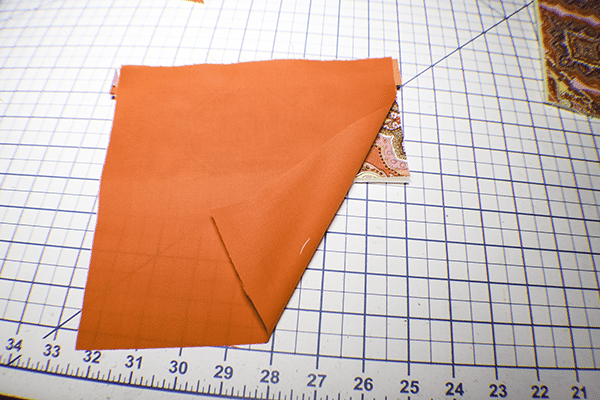
Step 3: Cut the Outer Fabric
Fold the outer fabric piece in half. Mark the center and cut the piece in half.
Step 4: Add the Zipper Tab
Place the zipper tab right sides together with one end of the 8″ zipper. The tab will be wider than the zipper. Stitch across the tabs using 1 1/4″ seam allowance. Fold the tab to the back side and fold there raw edge under. Stitch again . To secure. Trim off the excess.

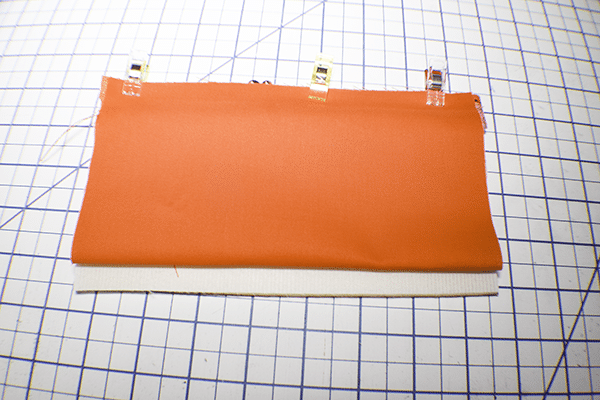
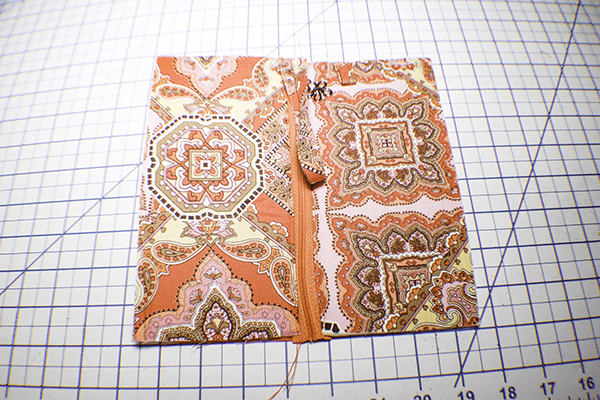
Step 5: Add the 8″ Zipper
Place the 8″ zipper right sides together with one of the outer pieces. Place one of the lining piece right sides down on the zipper creating a zipper sandwich. Pin or clip. Stitch the zipper through all layers. Turn right sides out and topstitch.
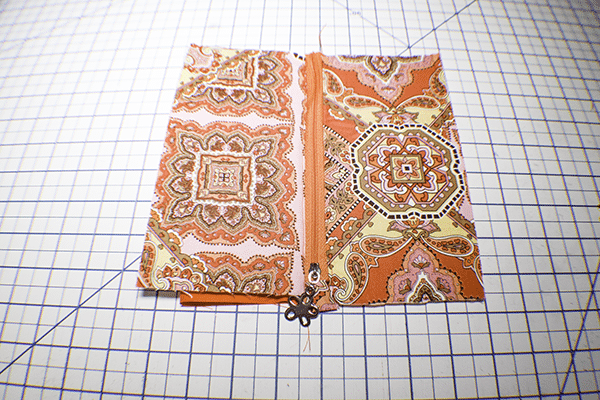
Step 6: Add the other Outer Piece
Fold the lining up to meet the top of the zipper. Stitch to the top of the zipper. Place the other outer piece right sides up on your work space. Place the zipper right sides down on the outer piece and stitch through all layers. Open right sides out and topstitch along the zipper.
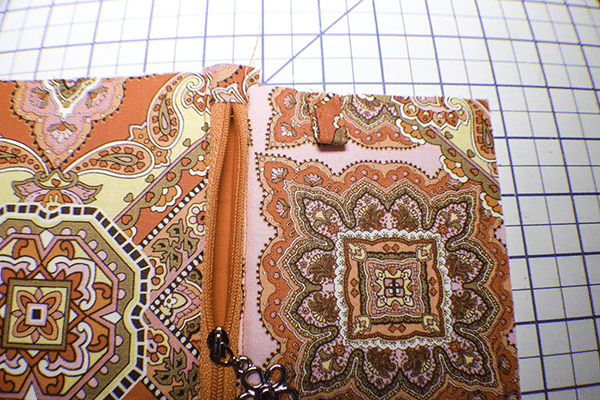
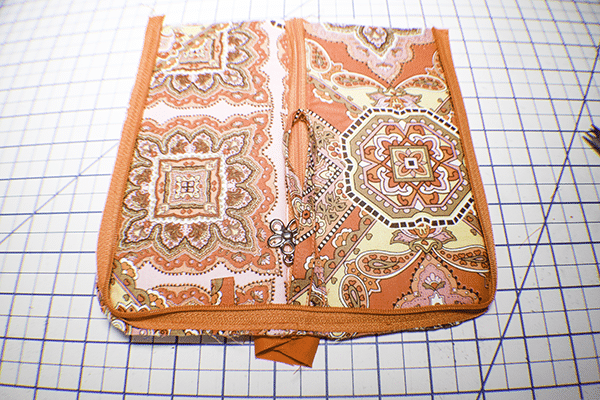
Step 7: Create the Tab
Take the 2″ x 1 1/2″ outer piece and fold the long raw edges to the center. Fold in half to enclose the raw edges and stitch along both long edges to secure.
Step 8: Add the Tab
Fold the tab in half and stitch the tab 1″ below the zipper.
Step 9: Create the Strap
Create the strap in the same way that you created the tab. Fold the strap in half and place it at the end of the zipper where the zipper tabs and stitch.
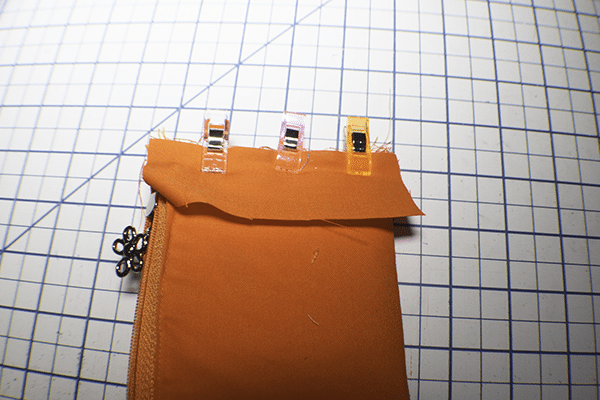
Step 10: Add the Main Zipper
Take the zipper apart so that there is only one side. Place the zipper with the teeth facing in on the right side of the pouch you have created. Start at the top short end and stitch the zipper to the outer pouch rounding the corners as you go. Trim the corners so that they match the zipper. Clip the curves.
Step 11: Add the Lining
Place the final lining piece right sides together with the outer piece creating zipper sandwich. Stitch the lining to the zipper through all layers. Trim the corners and clip the curves. Turn right sides out. Topstitch all the way around. Add the zipper pull and cut off any excess zipper tape.
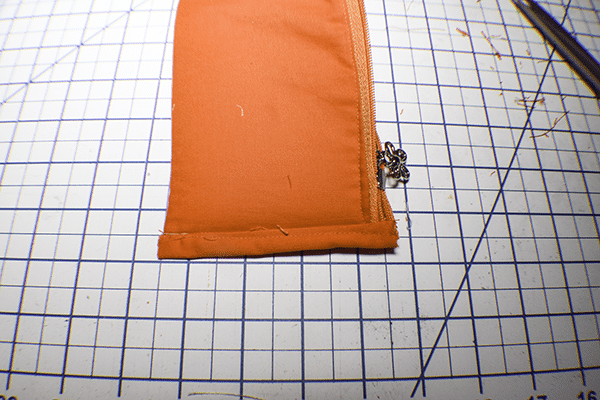
Step 12: Stitch the Bottom
Turn the bag wrong sides out. Stitch the bottom using a 1/4″ seam allowance. Place the binding right sides together and fold the short edges to the other side. Stitch. Fold to the other side and fold under the raw edge and stitch again. You have now finished your cell phone wallet with pocket.
I hope you enjoyed this cell phone wallet project. If you would like more sewing and crafting projects subscribe to our newsletter and receive your free eBook of 15 handbag patterns and tutorials taken from the blog
If you would like video tutorials of some of Sew Very Crafty's most popular posts subscribe to our free YouTube channel here.