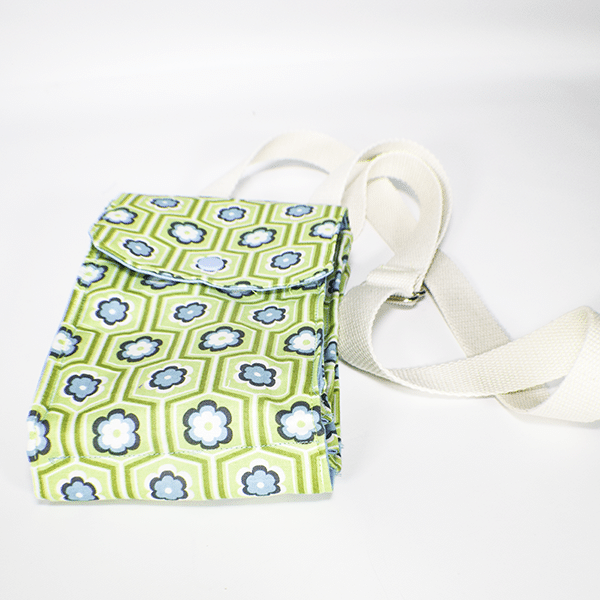
This cross body bag is a terrific bag making project for the beginner to intermediate bag maker. It is fun and functional. This cross body bag has three pockets with a zipper pocket to store all of your necessities. This is a small bag that is great for every day. You could make it an evening bag with the right fabrics. I really think that this a great bag to step up your bag making skills. If you would like other handbag projects check out my mini cross body bag or my larger cross body bag.
I used cotton fabrics that I purchased at JOANN Fabric & Craft Stores![]() for this project but you could head to
for this project but you could head to
What you will Need: How to Make a Simple Cross Body Bag
- 1/2 yd outer fabric
- 1/2 yd lining fabric
- 1/4 yd fusible fleece
- 1/4 yd Pellon SF 101
- Kam Snap
- 1 Tri Glide
- 2 D rings
- 47″ Strapping
- 2″ strapping for tabs
- 4 3/8″ Zipper
Step 1: Cut your Fabrics
- Outer fabric 16 1/2″ x 5 1/2″
- Outer fabric 5 1/2″ x 5 1/2″
- Outer fabric 4 3/4″ x 7 1/8″ — 2 pieces for the sides
- Lining fabric 21 1/4″ x 5 1/2″
- Lining fabric 15 3/8″ x 5 1/8″ — 2 pieces
- Lining fabric 4 3/4″ x 7 1/8″ — 2 pieces for the sides
- Lining fabric 1″ x 1 1/2″ — 2 pieces for zipper tabs
- Pocket fabric 7 7/8″ x 5 1/8″ — 2 pieces
- Fusible Fleece 20 1/2″ x 4 1/2″
- Pellon SF 101 4 3/8″ x 14 1/2″ — 2 pieces
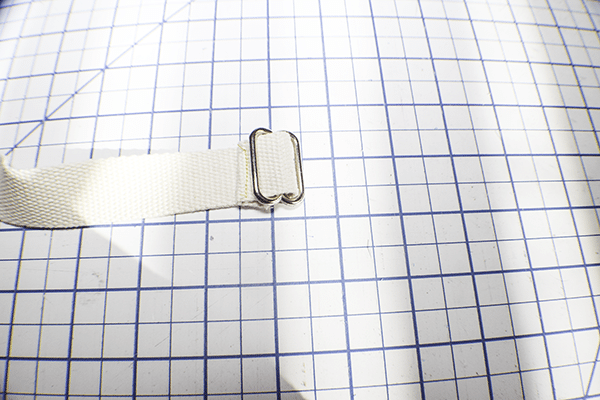
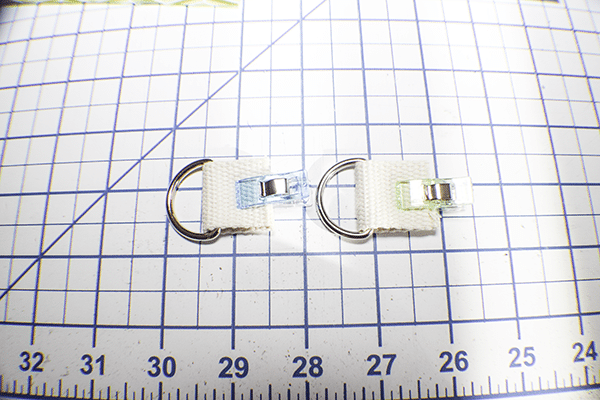
Step 2: Prepare the Strapping
Take the two smaller pieces of strapping and wrap them around the two D-rings. Clip and set aside. Place one end of the long piece of strapping through the triglide. Fold over the raw edge so that the end slider back and forth over the center of the triglide. Set aside
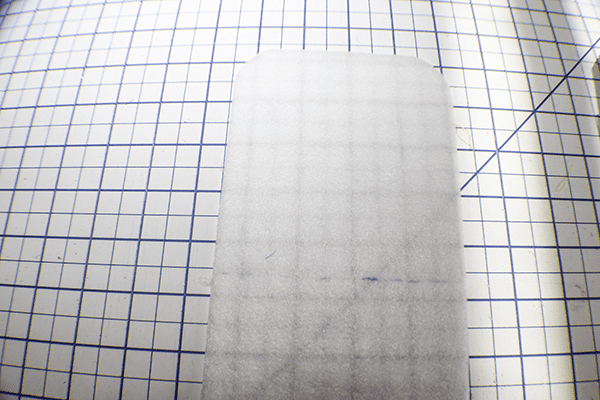
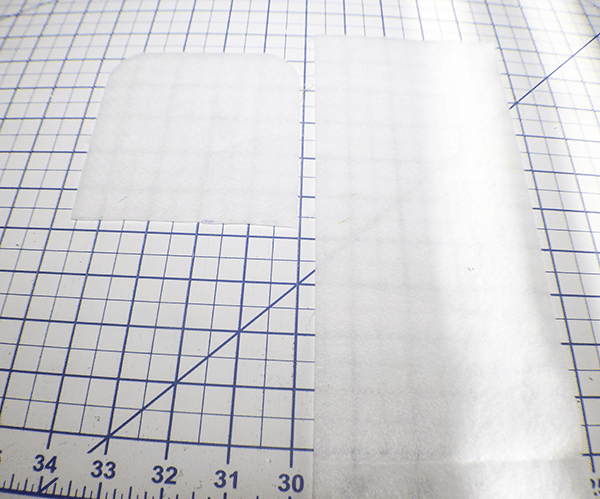
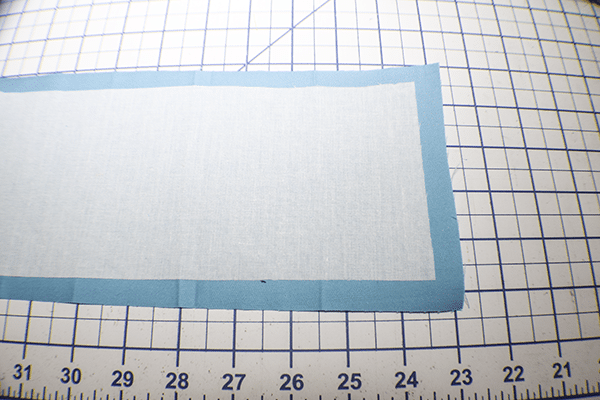
Step 3: Prepare the Fleece
Slightly round the corners of one short end of the fusible fleece. Measure down from the rounded end 4 3/4″ and draw a line. Cut across the line separating the top from eh bottom as shown.
Step 4: Fuse the Fleece
Fuse the fleece following the manufacturer's instructions to the outer long and short pieces.
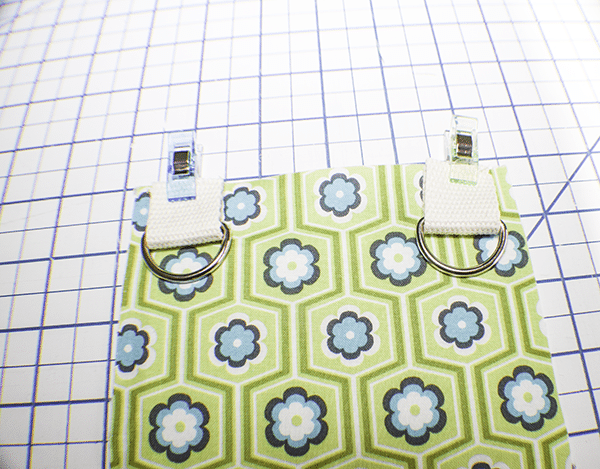
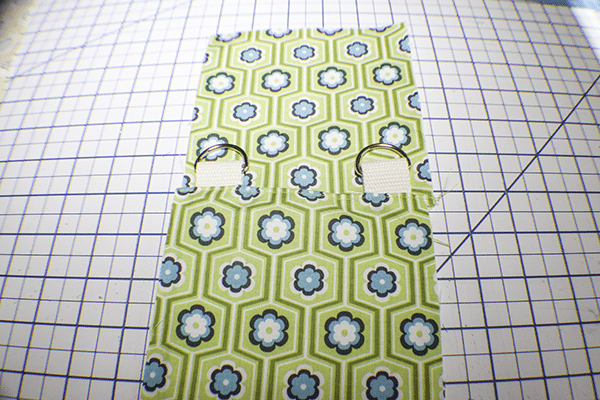
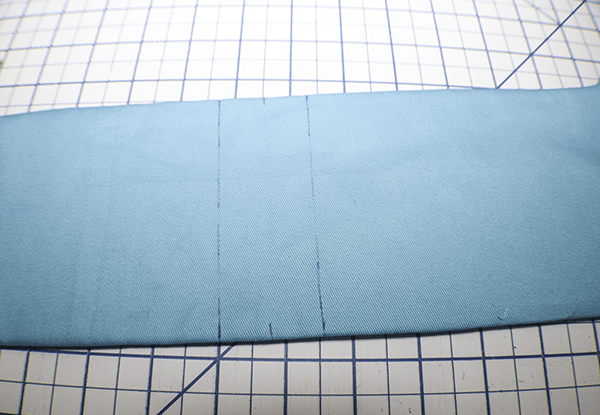
Step 5: Add the Strap Tabs
Measure 3/4″ from each side of the long outer piece and make a mark. Place the the tabs and D-rings on each mark and stitch to securer.
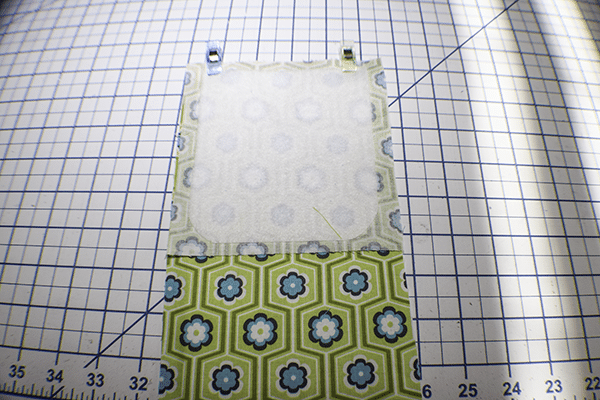
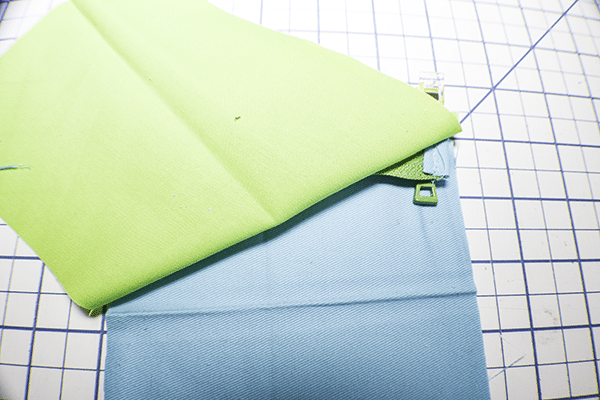
Step 6: Add the Small Outer Piece
Place the small outer piece right sides together with the long outer piece sandwiching the tabs and D-rings. Stitch together using a 3/8″ seam allowance. Topstitch along the seam on the long piece side.
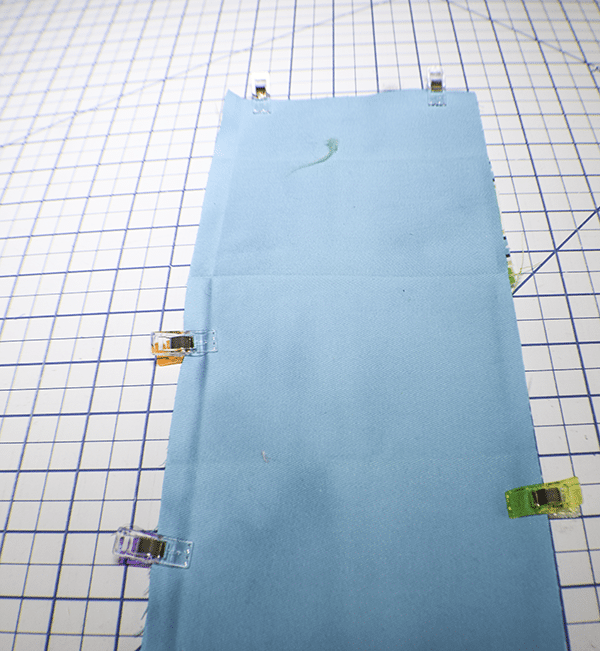
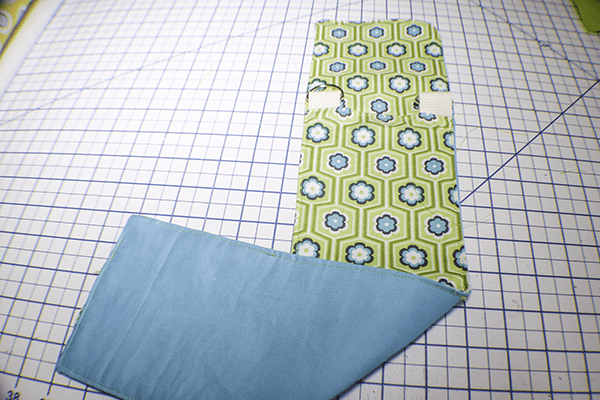
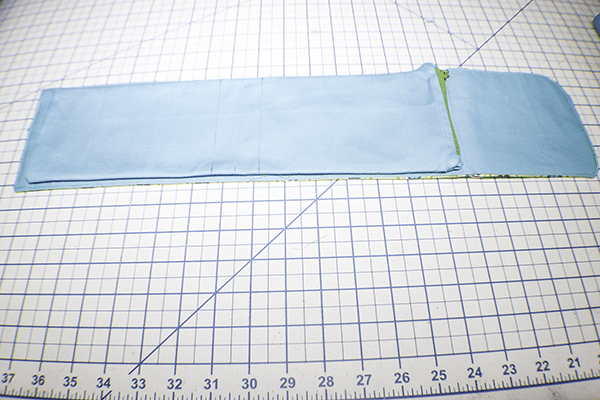
Step 7: Stitch Lining to Outer Piece
Place the long outer piece and the long lining piece right sides together and stitch using a 3/8″ seam allowance but leaving an opening on the bottom for turning. Clip the corners and trim the seam allowances. turn right sides out and press. Topstitch all the way around the piece enclosing the opening as you go.
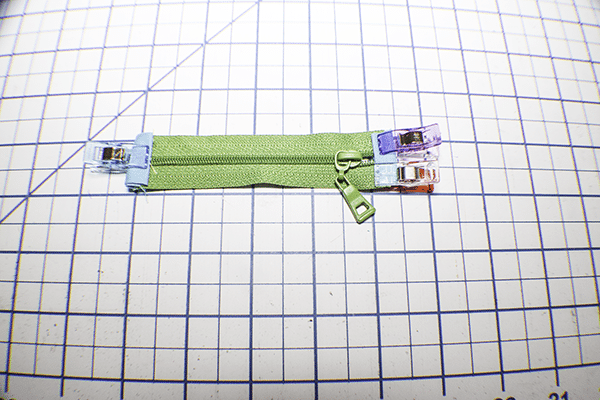
Step 8: Add the Zipper Tabs
Fold the short raw edges of the tab pieces to the center and press. Fold the tab around the ends of the zipper and stitch.
Step 9: Add the Zipper
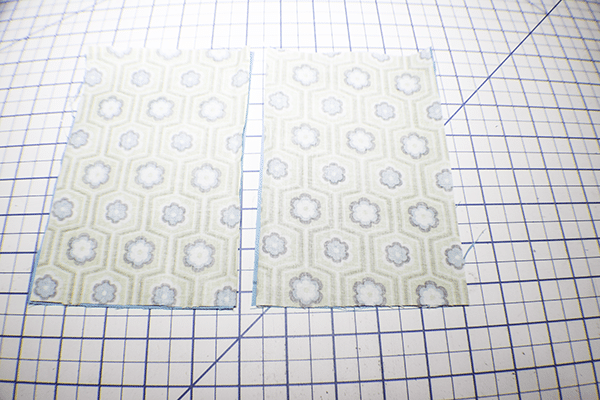
Take the two long lining pieces and fuse the Pellon SF 101 onto the wrong side of each. Find the center of the short end of each piece and make a mark. Find the center of the zipper and make a mark. Place the lining piece right sides up on your work surface. Lay the zipper right sides down on the lining piece matching the center marks. Place one of the pocket pieces right sides down on the zipper creating a zipper sandwich. Stitch through all layers. Repeat with the other side of the zipper and the remaining lining and pocket pieces. Topstitch on both sides of the zipper.

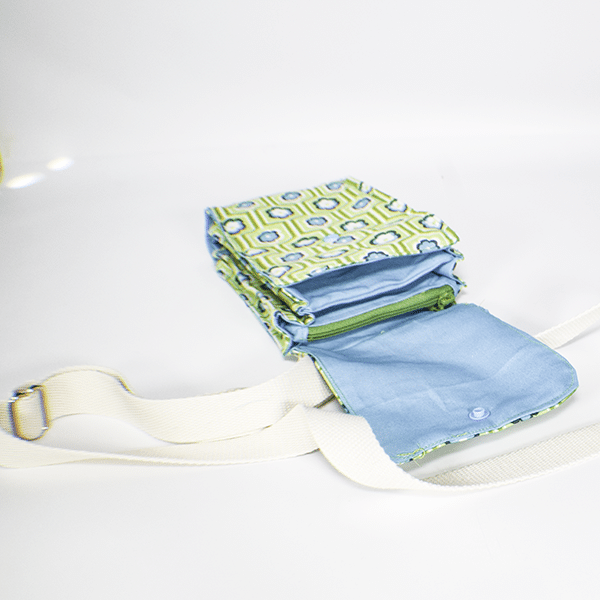
Step 10: Create the Zipper Pocket
Open the zipper pieces so that the lining pieces are right sides together and the pocket pieces are right sides together. Open the zipper. Stitch all the way around the zipper pocket leaving the bottom of the pocket pieces open. Turn right sides out. Stuff the pocket piece into the lining pocket and press. Stitch along the bottom.
Step 11: Add the Zipper Pocket to the Main Outer Bag
Take the zipper pocket and find the center. Measure 3/4″ on each side of the center and make marks on both sides. Draw lines across the center at these marks. Take the long outer piece with the lining facing right sides up and measure 3/8″ from the bottom and make a mark. From there measure up 6 7/8″ and make a mark then measure 3/4″ and another 6 7/8″. Place the zipper pocket in the center matching the marks. Stitch across the two lines you previously drew.
Step 12: Create the Sides
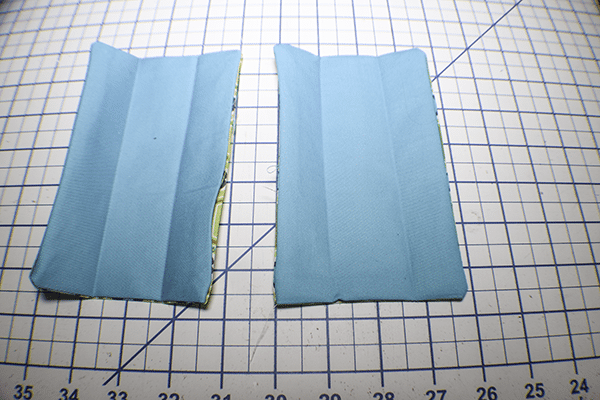
Place the outer and lining side pieces right sides together. Stitch all the way around leaving an opening on the side of each piece for turning. Clip the corners and trim the seam allowances. Turn right sides out and press. Measure in from each side 1 1/8″ and make a mark on each piece on the top and bottom. Fold along the marks and press.
Step 13: Add the Sides
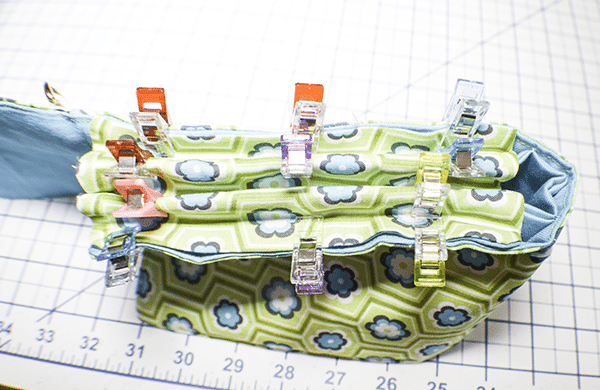
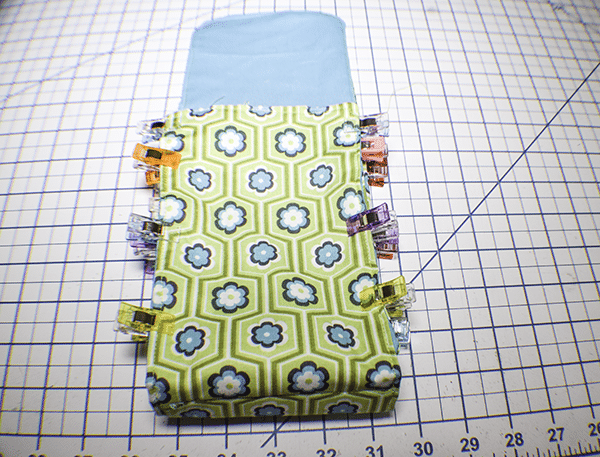
Take one side piece and place it on the zipper pocket along the crease you just created and clip. Place the other crease along the the other pocket piece and clip. Fold up the main outer bag to meet the edge of the side and clip. repeat for the other side of the outer bag. Repeat the entire process for the other side piece. Stitch along all eight seams to secure the sides to the bag.
Step 14: Add the Kam Snap
Add the Kam Snap to the outer flap and to the front of the bag.

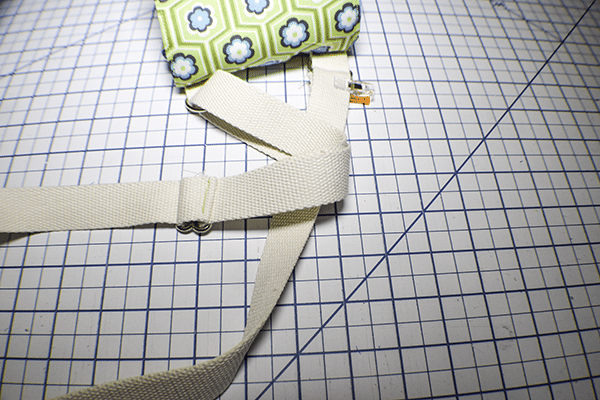
Step 15: Add the Long Strapping
Feed the long strapping through one of the D-Rings. Feed it through the triglide and through the other D-ring. Fold the end under and stitch to secure. You have now finished your cross body bag.
I hope you enjoyed this cross body bag. If you would like more sewing and crafting tutorials sign up for our newsletter and receive your free eBook of 15 handbag patterns and tutorials taken from the blog.
If you would like video tutorials of some of sew Very Crafty's most popular posts subscribe to our free YouTube channel here.