
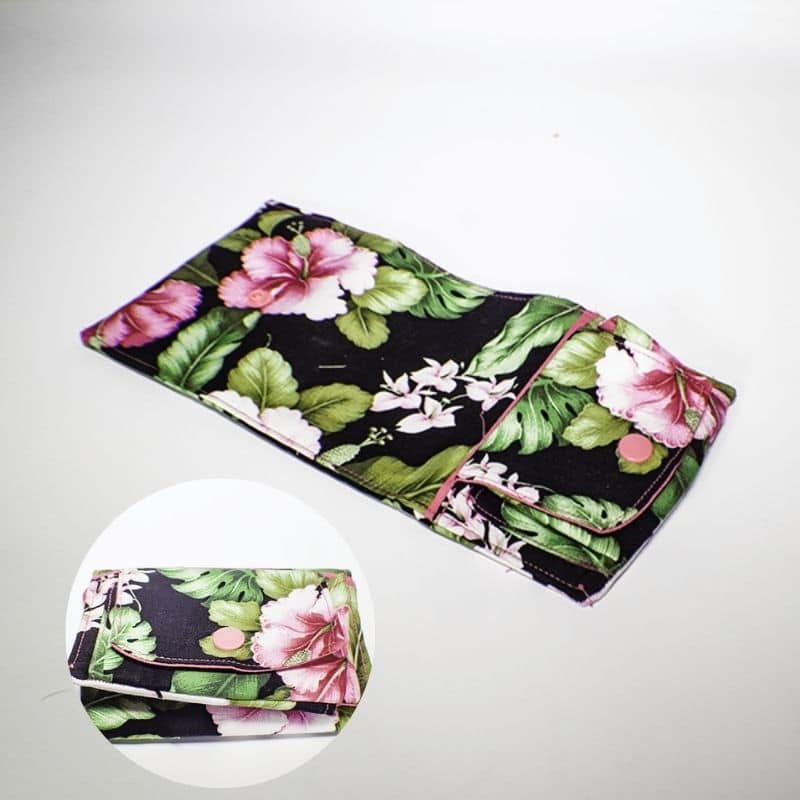
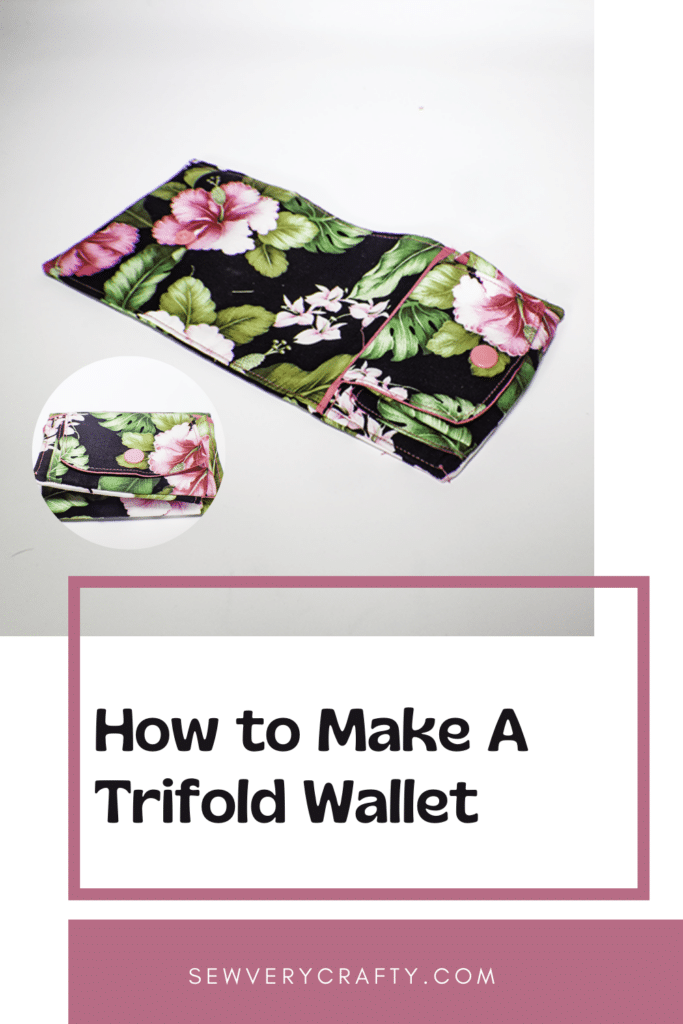
As many of you who follow Sew Very Crafty know, I love to make wallets and handbags. This trifold wallet is no different. This trifold wallet has spaces for everything you need in a compact style. There is room for money, credit cards, and coins in a small package. I just love this wallet. it is a fun sewing project that is functional too. This is an intermediate sewing project although a strong beginner could give it a try. For a beginner wallet project check out my bifold wallet tutorial.
I used quilting cotton for my wallet along with interfacing and Kam Snaps. The fabrics were purchased at JOANN Fabric & Craft Stores![]() but you could order online from fabric.com or onlinefabricstrore.net to get exactly what you need for your trifold wallet. This post contains affiliate links that if you click on them and make a purchase I may receive a small commission at no extra cost to your. As an Amazon Associate I earn from qualifying purchases.
but you could order online from fabric.com or onlinefabricstrore.net to get exactly what you need for your trifold wallet. This post contains affiliate links that if you click on them and make a purchase I may receive a small commission at no extra cost to your. As an Amazon Associate I earn from qualifying purchases.
What you will Need: How to Make a Trifold Wallet
- 1/2 yd outer fabric
- 1/2 yd lining fabric
- 1/4 yd Pellon SF101
- 2 Kam Snaps
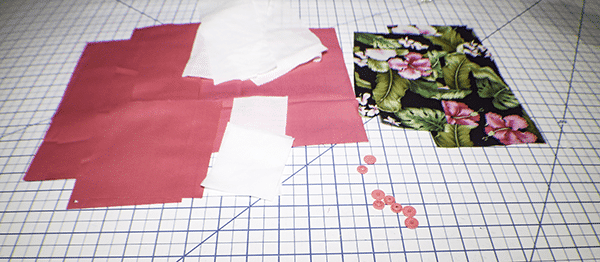
Step 1: Cut Your Fabrics
- Outer Fabric: 7 1/2″ x 5 3/8″, 3 3/8 x 5 3/8″, 10 1/8″ x 4 3/4″, 4 1/4″ x 3 1/8″, 6 1/4″ x 3″
- Lining Fabric: 10 1/8″ x 5 3/8″, 10 1/8″ x 4 3/4″, 9 5/8″ x 13 1/8″, 4 1/4″ x 3 1/8″, 6 1/4″ x 3″, 5 3/8″ x 4 3/4″, 24 5/8″ x 13 1/8″
- Pellon SF 101: 9 3/8″ x 4 5/8″, 9 3/8″ x 4″, 8 7/8″ x 3 3/8″, 8 78″ x 3″, 3 1/2″ x 2 3/8″ (2 Pieces), 5 1/2″ x 2 1/4″
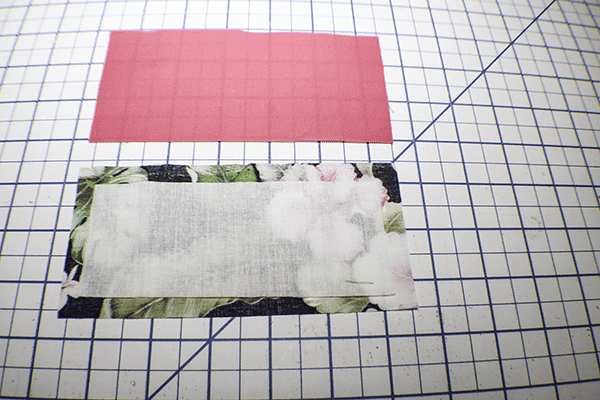
Step 2: Create the Coin Purse Bottom
Take the 6 1/4″ x 3″ outer and lining pieces and place them on your work surface. Fuse the 5 1/2″ x 2 1/4″ piece of interfacing to the wrong side of the outer piece. Place the pieces right sides together and stitch along the sides and one long edge using a 3/8″ seam allowance. Clip the corners and turn right sides out and press. Top stitch along the long seam. Set aside.
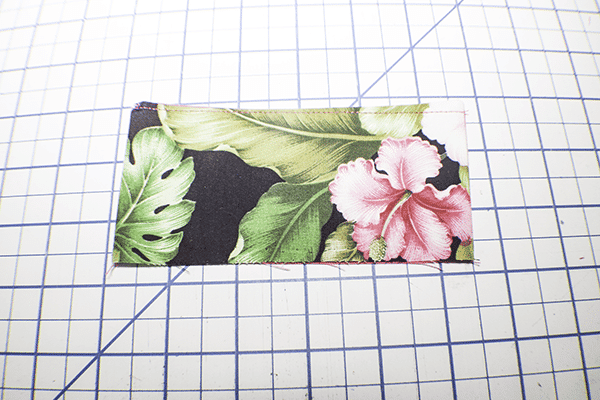
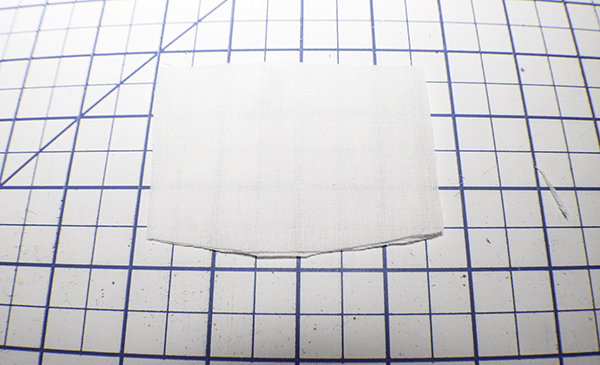
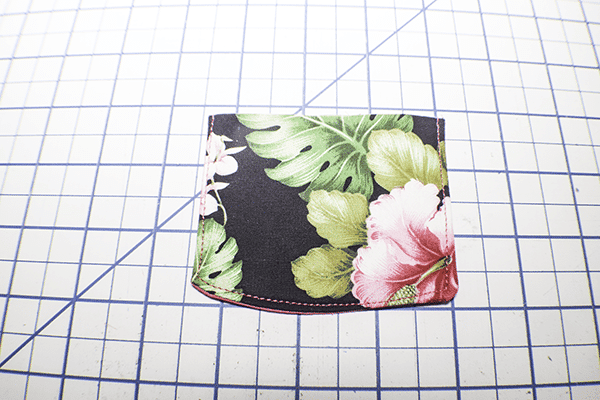
Step 2: Create the Coin Purse Top
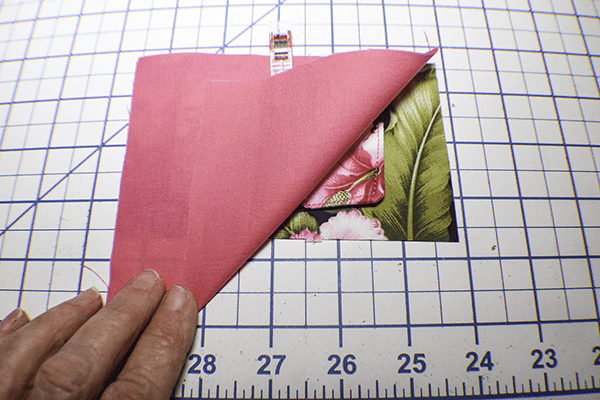
Take the 4 1/4″ x 3 1/8″ outer and lining pieces and place them on your work surface. Then take the interfacing pieces that measure 3 1/2″ x 2 3/8″ and round the corners to create the front of the coin purse top. Fuse the interfacing to each outer and lining piece. Place right sides together and stitch using a 3/8″ seam allowance along the sides and the rounded bottom. Trim the seams and turn right sides out and press. Topstitch around the sides and bottom.

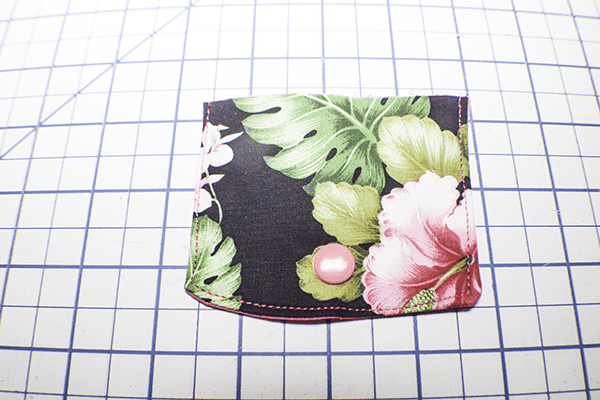
Step 3: Insert the Coin Purse Kam Snaps
Find the center of the top of the coin purse and measure up 5/8″ from the curved edge and place the first half of the Kam Snap so that the closure is facing the lining side. Take the bottom of the coin purse and measure up 1 1/4″ from the seam in the center and place the second half of the Kam snap with the closure facing the outer fabric. If you are unfamiliar with how to install Kam snaps check out my video.

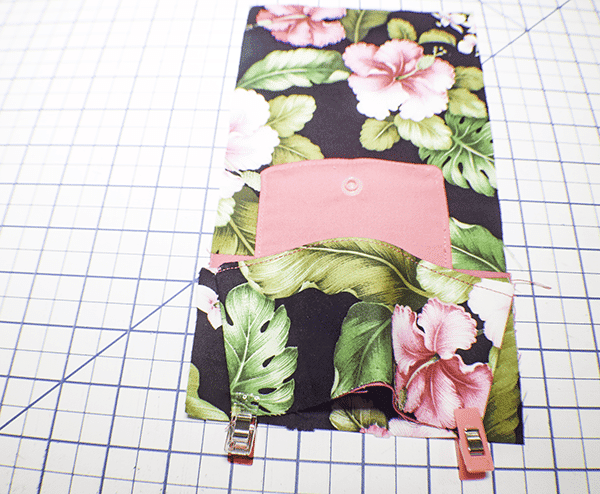
Step 4: Add the Coin Purse Top
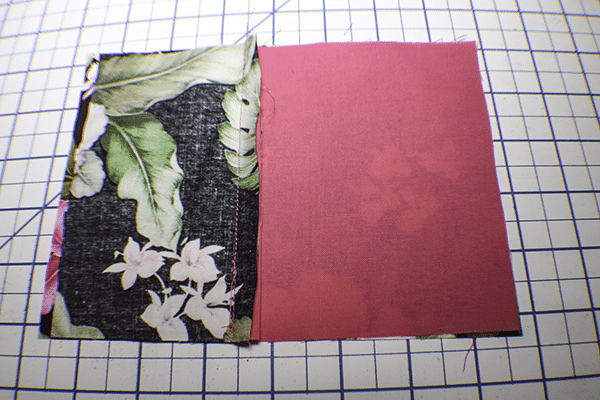
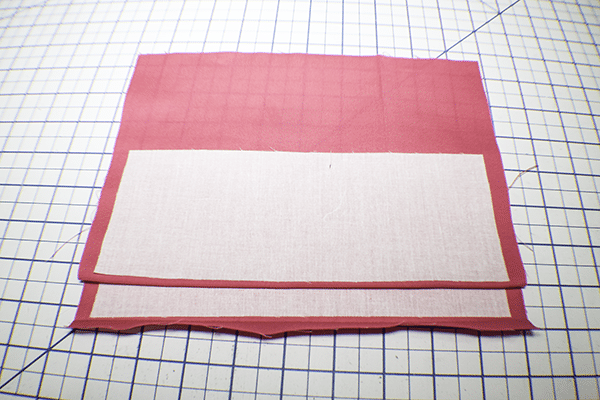
Take the following pieces and place them on. your work surface. Take the 7 1/2″ x 5 3/8″ outer piece, the 3 3/8″ x 5 3/8″ outer and the 5 3/8″ x 4 3/4″ lining piece along with the top of your coin purse. Place the coin purse top in the center of the 3 3/8″ x 5 3/8″ outer piece in the center with the button side of the coin purse top facing up. Lay the lining piece right sides down on the coin purse top and clip or pin. Stitch along the top using a 3/8″ seam allowance.
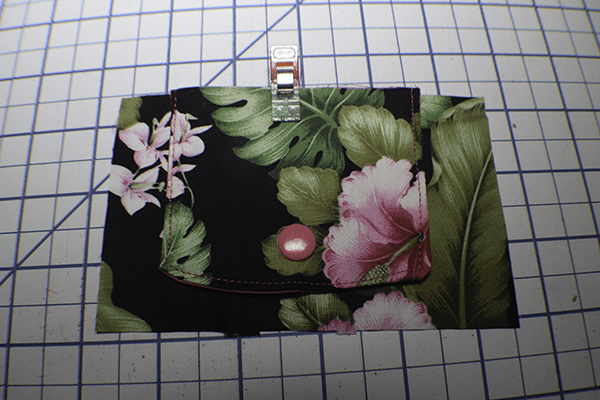
Place the entire piece right sides together on the larger outer piece and stitch where the lining meets the outer piece. Fold the coin purse top so that it meets the larger outer piece and the lining is underneath the coin purse top. This creates a pocket. Fuse a piece of interfacing that measures 9 3/8″ x 4 5/8″ onto the wrong side of the whole piece.
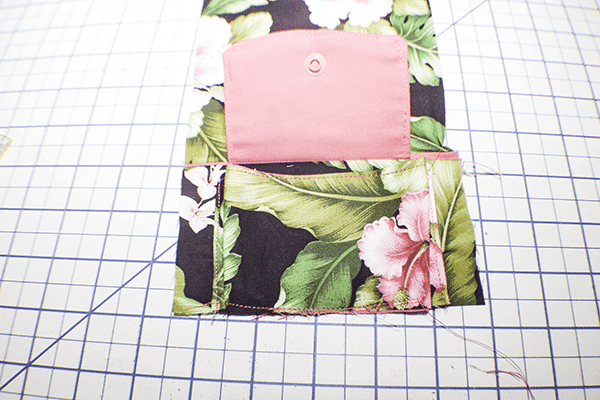
Step 5: Add the Coin Purse Bottom
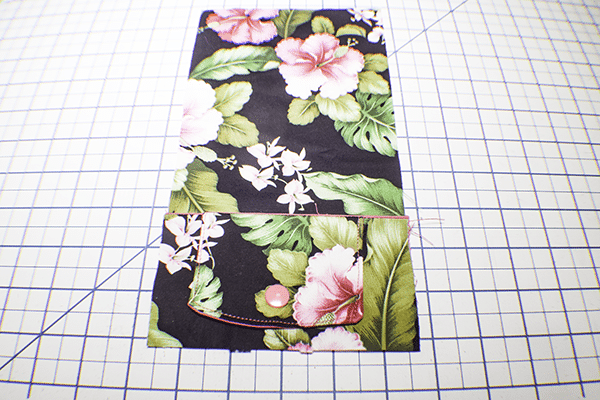
Measure in from the side of the piece you just created 3/4″ on both sides at the bottom where the coin purse top is and make a mark. Place the coin purse bottom on the marks matching the raw edges. You will notice that the coin purse bottom is wider than the marks. this is correct. Topstitch down both sides. Flatten the coin purse bottom to create pleats on both sides. Topstitch along the bottom to secure. Topstitch the top of the coin purse top up to where the coin purse starts on both sides.
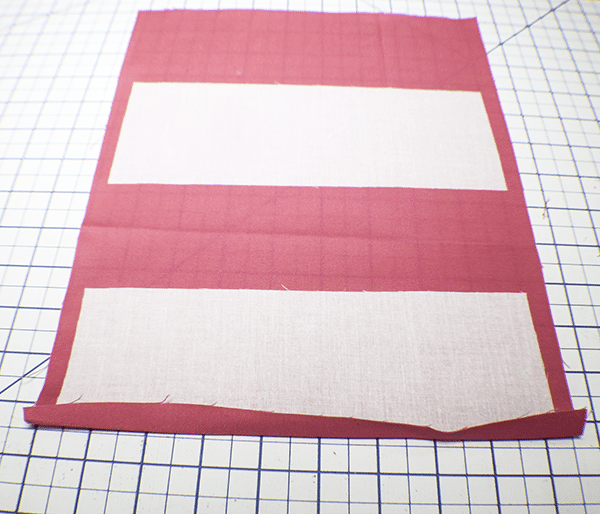
Step 6: Create the Credit Card Pockets
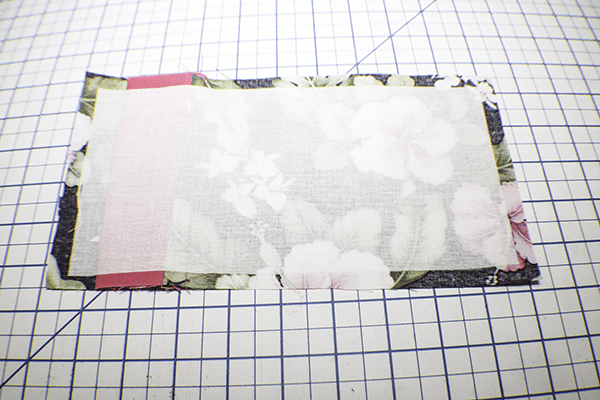
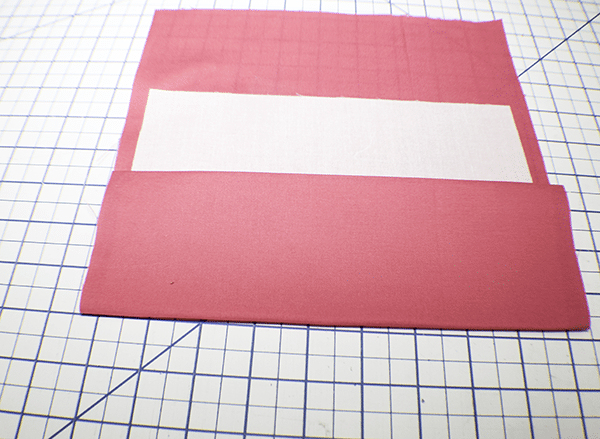
Take the large 9 5/8″ x 13 1/8″ lining piece and set it on your work space. Measure down 3 1/4″ from the top and make a mark. Place the 8 7/8″ x 3″ piece of interfacing underneath the marks you just made and fuse. Measure up 3 5/8″ from the other end and make a mark. Place the 8 7/8″ x 3 3/8″ piece of interfacing below the mark and fuse. Fold the end over the interfacing and press. Fold the 3″ interfacing over and press. Top stitch along the folded edge. Turn the piece around and over. Fold the piece so that the interfacing pieces meet. Turn over again and fold the remaining fabric over. Press. Stitch along both sides using a 3/8″ seam allowance. Turn right sides out and topstitch.
Step 7: Add the Credit Card Pockets
Take the 10 1/8″ x 5 3/8″ lining piece and place int on your work station. Place the pocket pieces you just created so that there is 5/8″ from the bottom and sides. Topstitch the pocket pieces to the lining piece by stitching underneath the pockets on the raw edge. Topstitch around the pockets through all layers.

Step 8: Create the Compartments
Measure 3 1/4″ from the left edge and make a mark. From there measure 1/2″ and make another mark. From there measure 2 3/8″ and make another mark. Mark another 1/2″ and finally another 2 3/8″. Stitch lines where you made the marks to create compartments.
Step 9: Create the Money Pocket
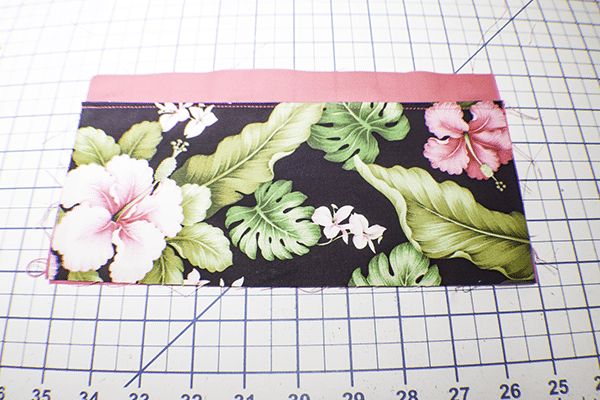
Take the 10 1/8″ x 4 3/4″ outer and lining pieces and the interfacing piece that measures 9 3/8″ x 4″ and place them on your work surface. Fuse the interfacing to the outer fabric piece. Place the outer and lining pieces right sides together and stitch along one long edge using a 3/8″ seam allowance. Open and press. Topstitch along the seam. Place it on the credit card pockets and topstitch around the sides and bottom.
Step 10: Add the Second Kam Snap Half
Take the piece that you placed the coin pocket and place it on your work surface. Measure up 2 1/4″ from the bottom and mark the location for the Kam snap. Add half of the Kam Snap to the Mark with the closure on the outer fabric.
Step 11: Place the Wallet Pieces Together
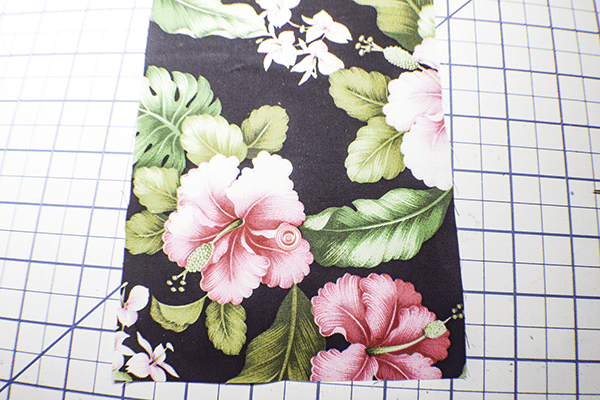
Place the two wallet pieces right sides together. Stitch all the way around the wallet using a 3/8″ seam allowance but leaving an opening near the top by the coin purse for turning. Clip the corners and turn the wallet right sides out.

Step 12: Add the Final Half of the Kam Snap
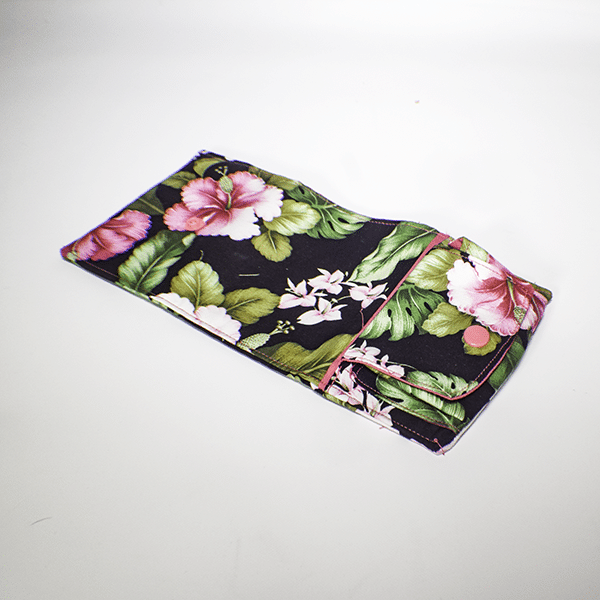
Fold the wallet in thirds and measure for the final half of the ham Snap. Add the Kam Snap with the closure on the outer fabric.

Step 13: Finish the Wallet
Top stitch along both long sides of the wallet enclosing the opening as you go. Fill the wallet and close it top. you are now finished with your trifold wallet.
I hope you enjoyed this trifold wallet project. If you would like more sewing and crafting projects subscribe to our newsletter and receive access to your free eBook of 15 handbag patterns and tutorials taken from the blog.
If you would like video tutorials off some of Sew Very Crafty's most popular posts subscribe to our free YouTube Channel here.


Where in the direction does it say to cut 24 inch piece if fabric, for the card pocket?
I do not know wh I did nt add it but I have added it now. So sorry for the inconvenience.
I am having trouble with Step 6 where you create the credit card pockets. on the trifold wallet. I look at the pictures and read the instructions but for some reason, my brain is not making sense of it. would you happen to have a video of this project
I do not have a video of this project. I do have a video of another project that is similar. If you have specific questions let me know and I will try to answer them. https://youtu.be/GcvJ6m1rHNc
it is with the 24 5/8″ x 13 1/8″ lining piece. I am not sure how to flip and fold it over. It seems as though it is too large, and my pellon doesn’t fit on my like your pictures, my pellon areas looks smaller than yours. I know that the credit card pieces sews onto it but I can’t see to get mine to look right
Can you send me a picture?
i emailed the picture, not sure if you got it. It won’t let me post the picture here.
Sue, I have not received your email. Can you make sure that you sent it to Diana@sewverycrafty.com?
Diana is a great person to work with. I had an issue on this project. She went above and beyond to help me.. I appreciate her commitment to her product. If you need help with something on her site, contact her. She will be glad to help. Sue
Thank you.