Easy DIY Drawstring Backpack

With summer just around the corner I thought to create a super easy DIY drawstring backpack that is perfect to take on trips, to the beach, or to that dreaded summer class. This is an advanced beginner project if you add the zipper pocket but otherwise any beginner can sew this bag in just a few hours. I purchased this adorable elephant fabric from Fabric.com but you could head over to Hobby Lobby to find exactly what you need to create your own easy drawstring backpack. This post contains affiliate links that if you click on them and make a purchase I may receive a small commission at no extra cost to you.
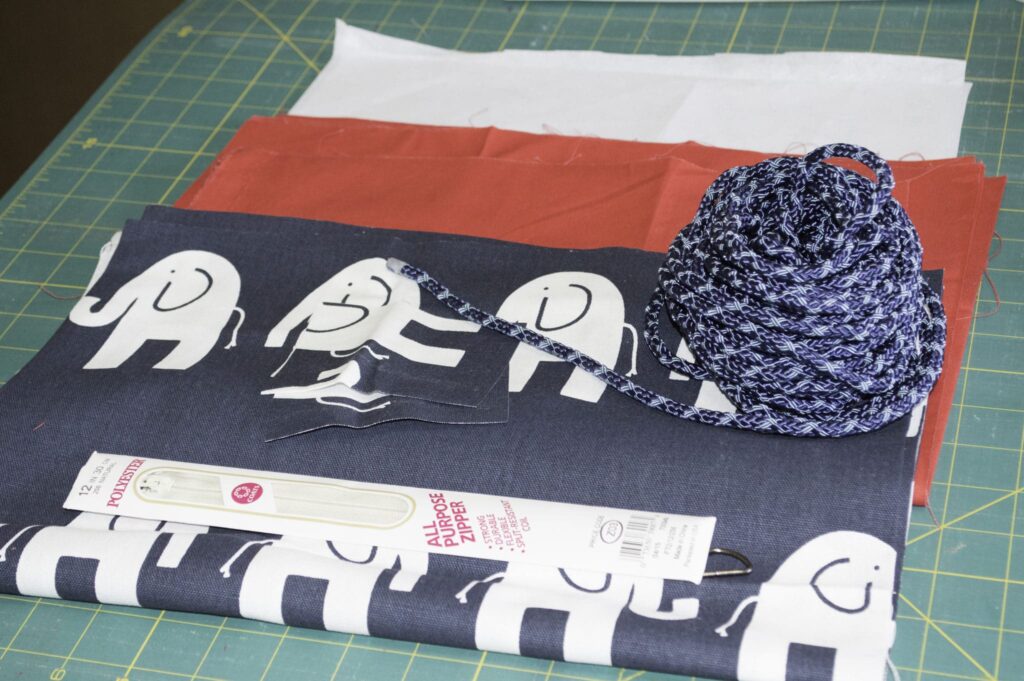
What you will Need:
- 3/4 yd exterior fabric
- 3/4 yd lining fabric
- 1 yd fusible interfacing (Optional)
- 1 12″ zipper (Optional)
- 2 3/4″ D-Rings
- 4 yds of cording
Step 1: Easy DIY Drawstring Backpack
Cut two 15″ x 20″ exterior pieces and two 15″ x 20″ interior pieces, two 3″ x 4″ exterior pieces for tabs and one 14″ x 18″ piece for the interior zippered pocket if you choose this option.
Step 2: Easy DIY Drawstring Backpack
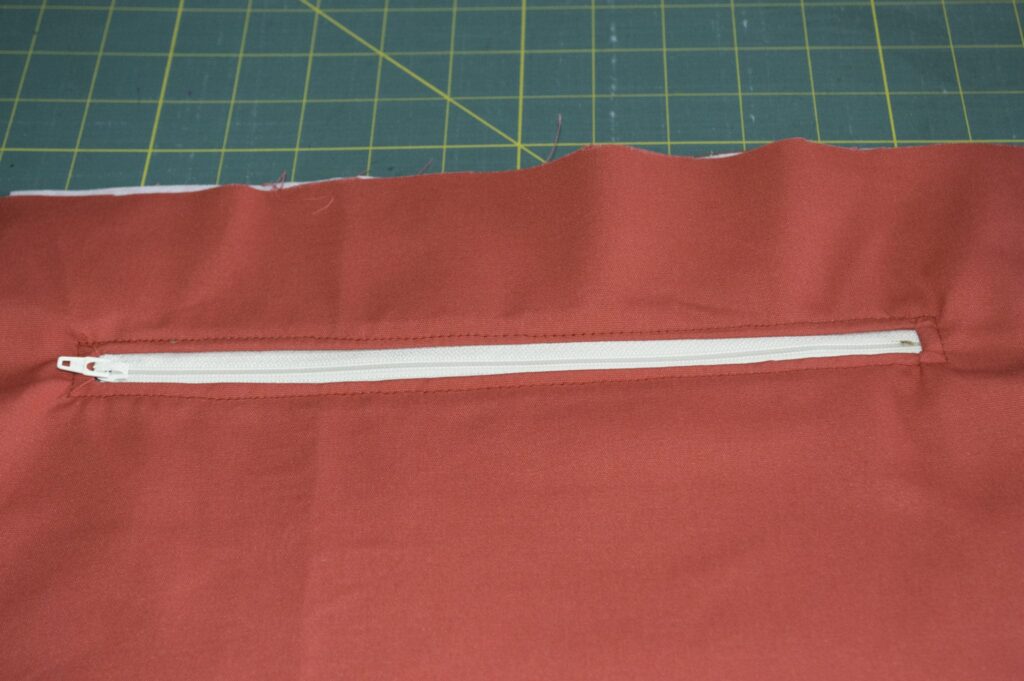
If you choose to add an interior zippered pocket, follow my how to add a zippered pocket tutorial and add the pocket to one of the lining pieces.
Step 3: Easy DIY Drawstring Backpack
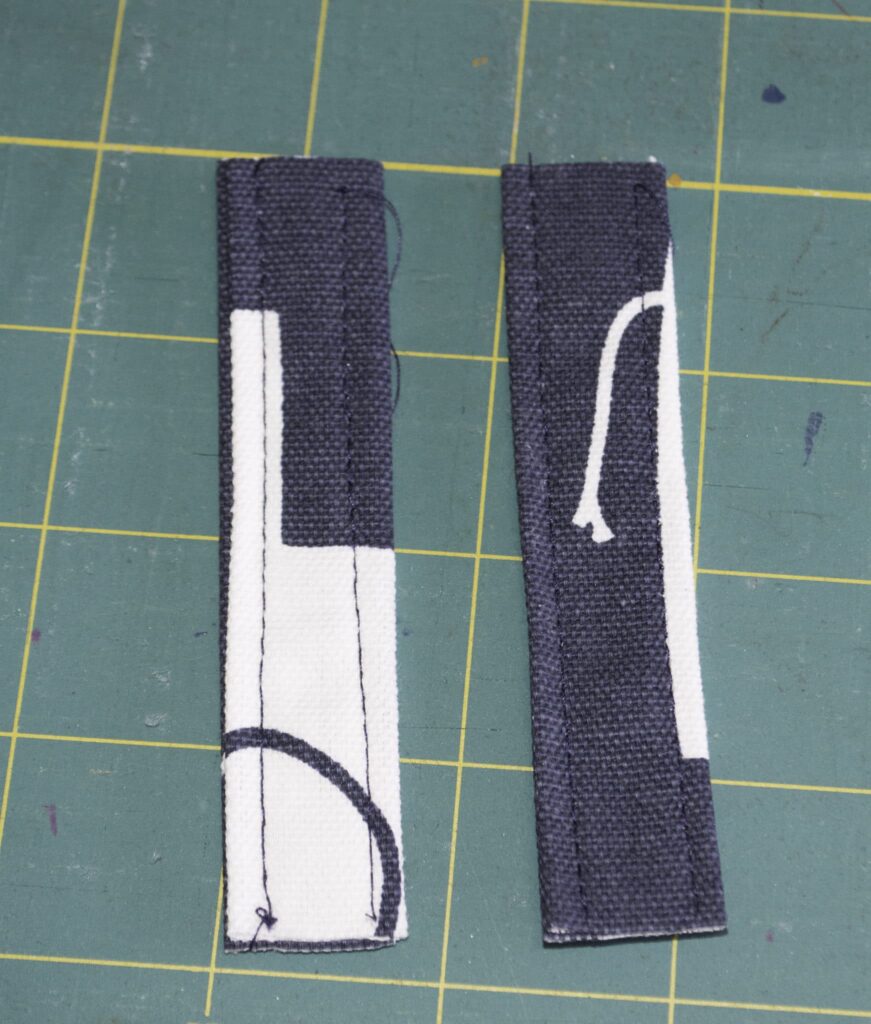
Create the tabs by folding the raw edges toward the middle and then folding them in half again. Sew up both sides of the tabs for a finished look. Add the D-rings and sew along the D-Rings to secure them to the tabs.
Step 4: Easy DIY Drawstring Backpack
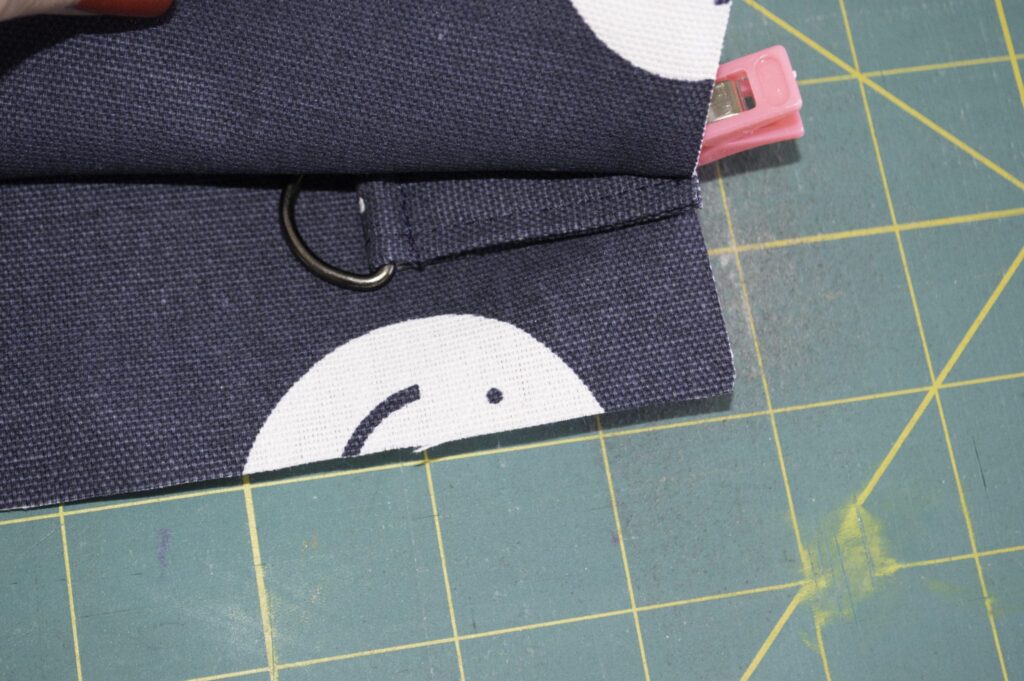
Place the exterior pieces right sides together so that they are even all the way around. Measure down 1″ and make a mark. Measure another inch and place a second mark. Do this to both sides. Finally, measure 1″ from the bottom on each side and clip or baste the tabs to the exterior pieces. I love these wonder clips for my sewing projects. If you would like to purchase your own wonder clips click on the wonder clips link
Step 5: Easy DIY Drawstring Backpack
Sew the two pieces together by sewing down to the first mark and back stitching. Restart sewing on the second mark and sew all the way around to the next mark and back stitch. Restart at the next mark and sew to the end. You should have two 1″ holes in the seams. Open the seams and sew a box around the openings to secure them. Clip the corners. Turn the bag right sides out.

Step 6: Easy DIY Drawstring Backpack
Place the lining pieces together and sew the two pieces all the way around leaving an opening at the bottom for turning the bag.
Step 7: Easy DIY Drawstring Backpack
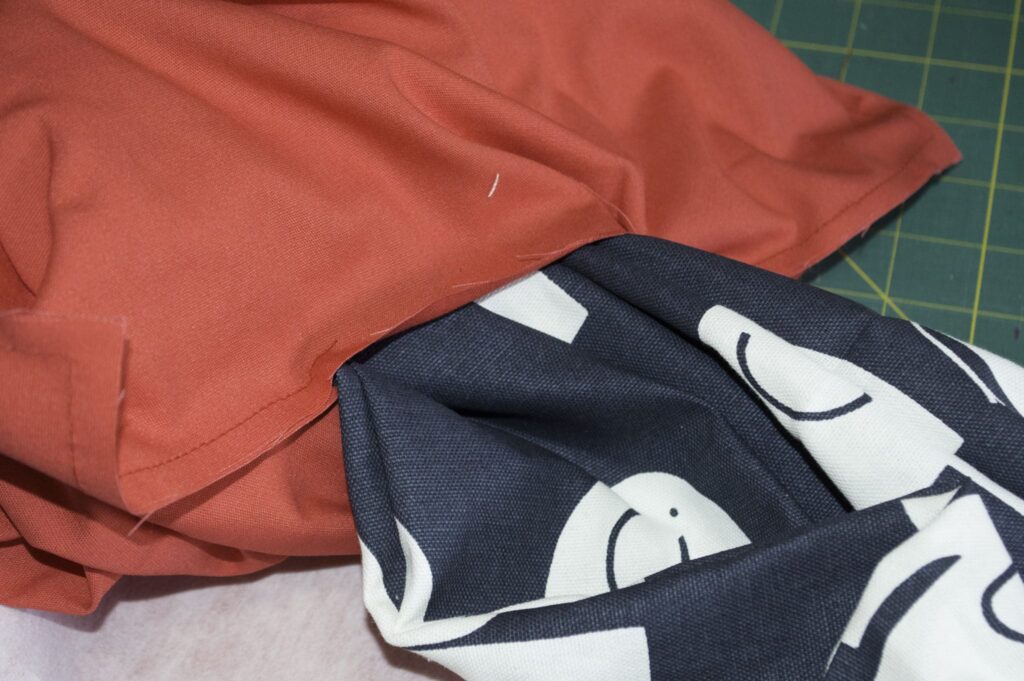
Place the exterior bag inside the interior bag right sides together and matching the side seams. Sew the pieces together at the top using 1/4″ seam allowance. Pull the exterior bag through the opening left in the lining. Push the lining into the exterior bag and press. Top stitch around the top edge.
Step 8: Easy DIY Drawstring Backpack
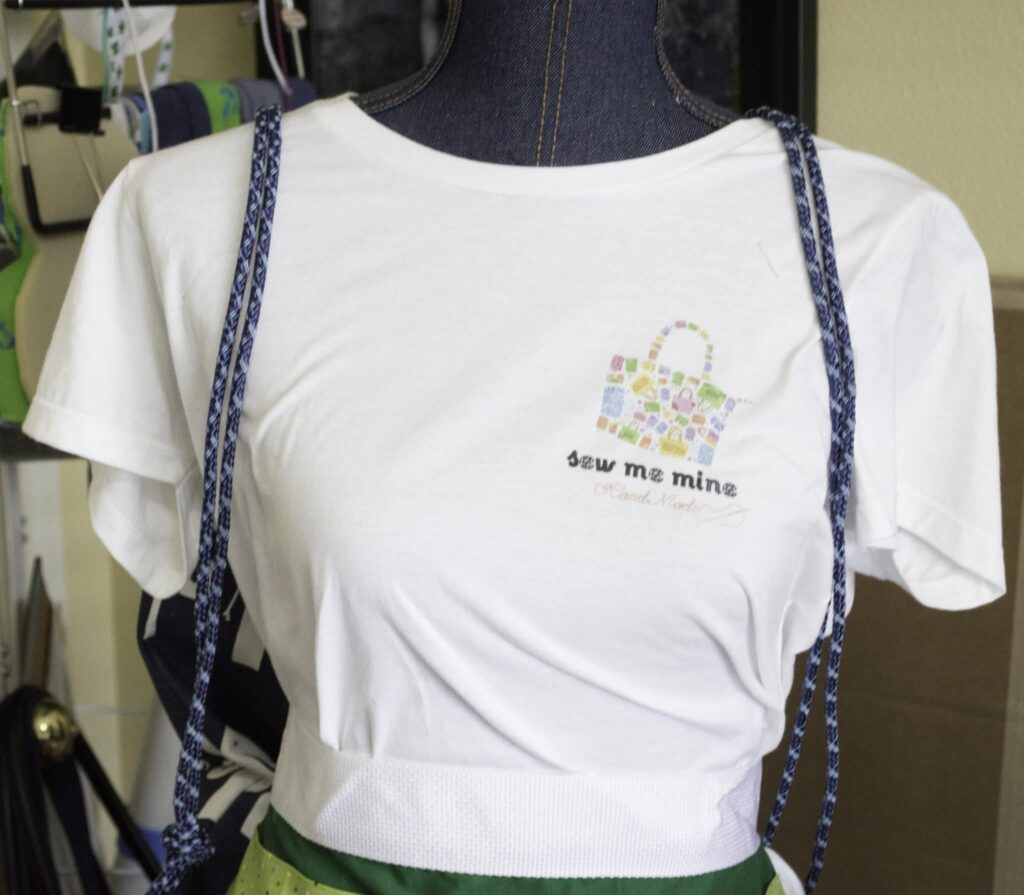
Cut the 4 yards of cording in half. Feed half of the cording through one side of the bag and the other half of the cording through the other side of the bag. Tie the cords in a knot around the D-Rings to secure.
Step 9: Easy DIY Drawstring Backpack
Stitch the opening in the lining closed using ladder stitch and you have finished this super easy DIY drawstring backpack.


