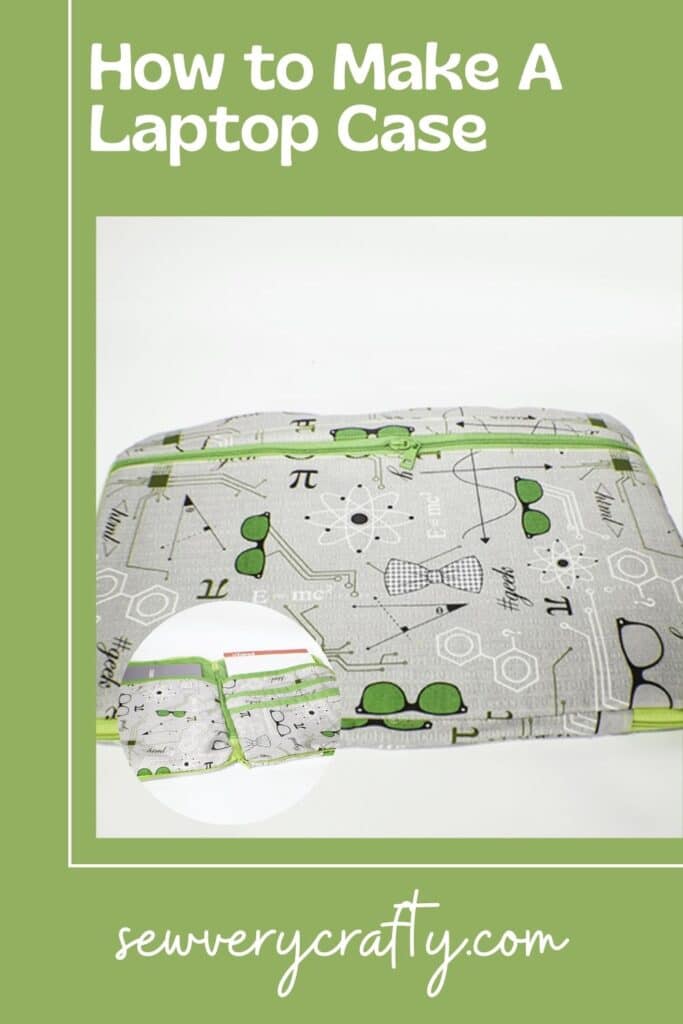
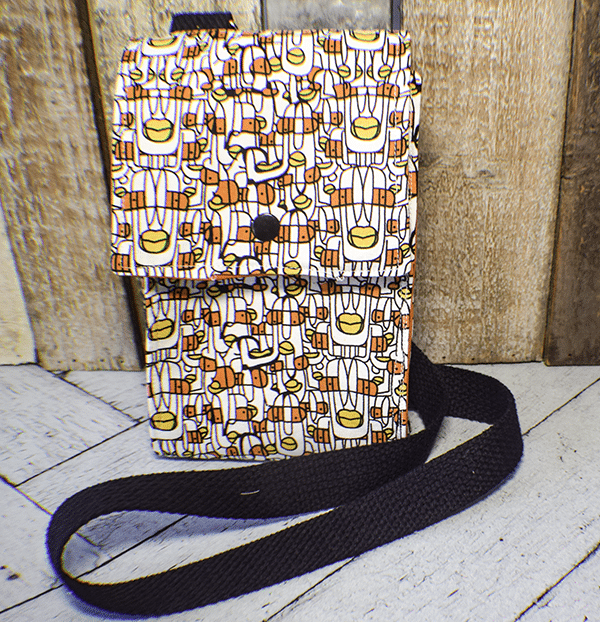
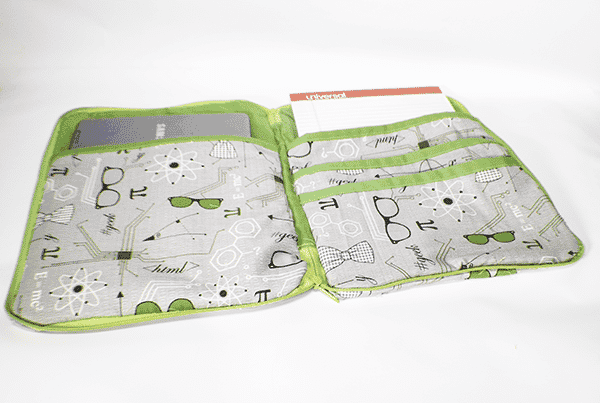
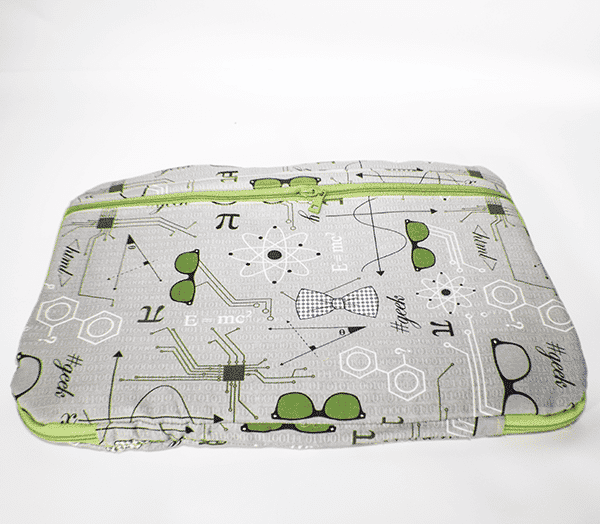
I love making laptop bags. The one's you can buy in the stores are boring and lack personality. This laptop case with pockets is perfect for any 13″ laptop. I got this project from Tendersmile Handmade on YouTube and have included the video at the end of the post. It has extra pockets for papers and notepads and a zipper to keep it all inside. This is an intermediate sewing project that isn't too difficult to put together. It is a fun sewing project that takes a little bit of time but has a terrific result. When you are finished throw it in your backpack or briefcase to carry your laptop anywhere. If you would like other computer case tutorials checkout my padded laptop case tutorial
I used some cotton fabric that I purchased from fabric.com a long time ago. It got lost in my stash. I found it when I finally cleaned everything out a month ago. I thought it was the perfect fabric for this laptop case with pockets. You can purchase some fabric from![]() or
or
What you will Need: How to Make a Laptop Case with pockets
- Outer Fabric 15 3/8″ x 11″ (2 Pieces), 15 3/8″ x 1 1/2″, 15 3/8″ x 8 5/8″, 11″ x 10 1/4″ (2 pieces), 11″ x 7 7/8″, 11″ x 6″, 9 1/2″ x 1 1/8″
- Lining Fabric 15 3/8″ x 11″ (2 Pieces), 15 3/8″ x 8 5/8″, 11″ x 10 1/4″ (2 pieces), 11″ x 7 7/8″, 11″ x 6″, 9 1/2″ x 1 1/8″
- Pellon SF 101 or other woven interfacing 15″ x 10 5/8″ )2 Pieces)
- Pellon 987F or other fusible fleece 15″ x 10 5/8″ (2 Pieces), 10″ x 9″
- 15 3/8″ zipper
- 39 7/8″ zipper
- 47 1/4″ of 2 1/2″ binding
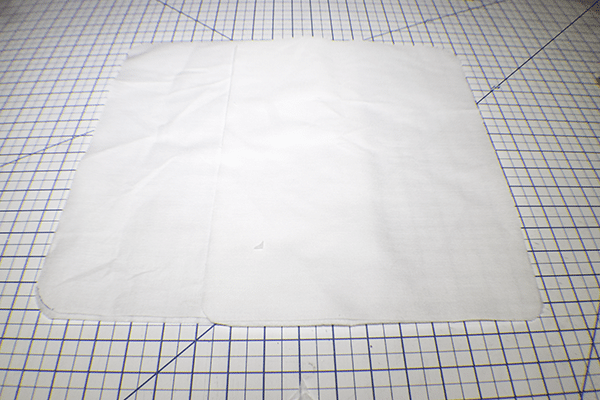
Step 1: Round the Corners
Take the 15″x 10 5/8″ piece of fusible fleece and slightly round all four corners. Do the same for the Pellon SF 101.
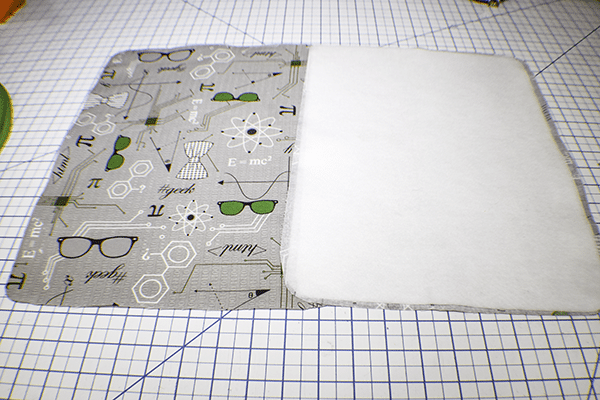
Step 2: Fuse the Interfacing and Round the Corners
Fuse the SF 101 to the corresponding outer fabric pieces. Fuse the fleece on top of the SF 101. Round the corners of the outer fabric leaving the 3/8″ seam allowance. Match up the corresponding lining pieces and round those corners as well.
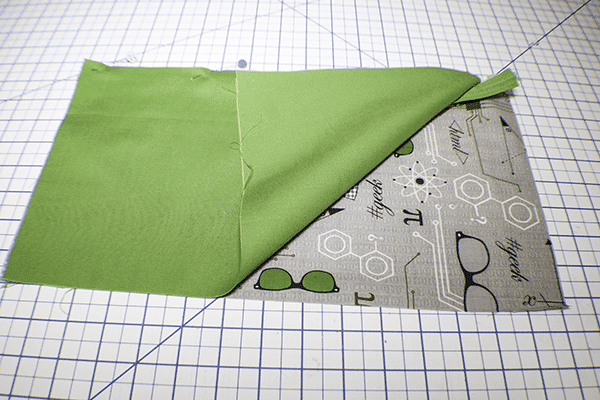
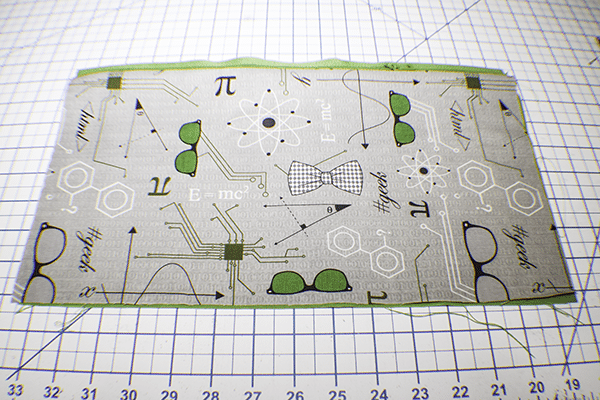
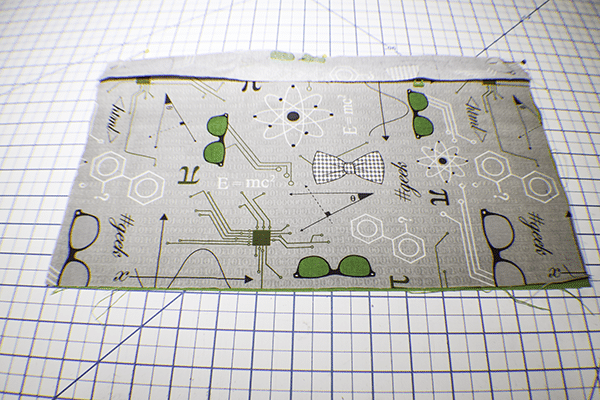
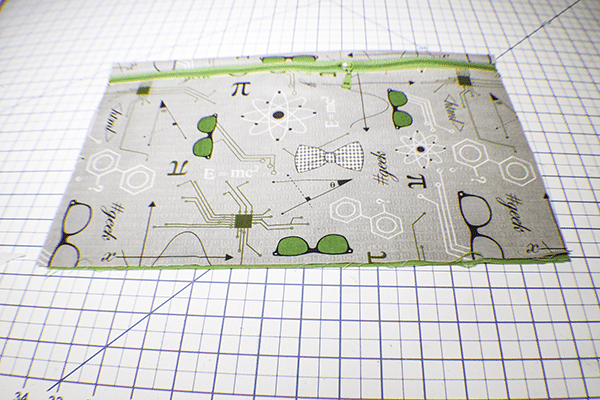
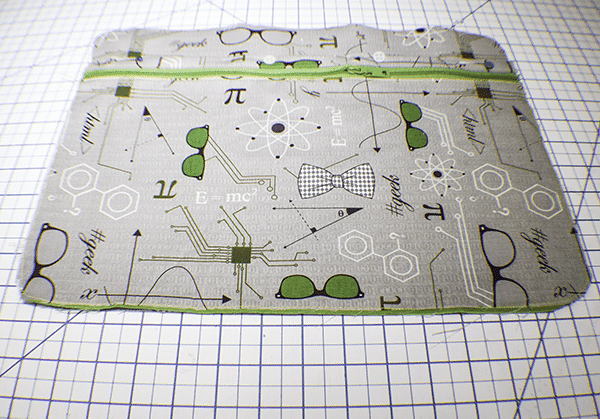
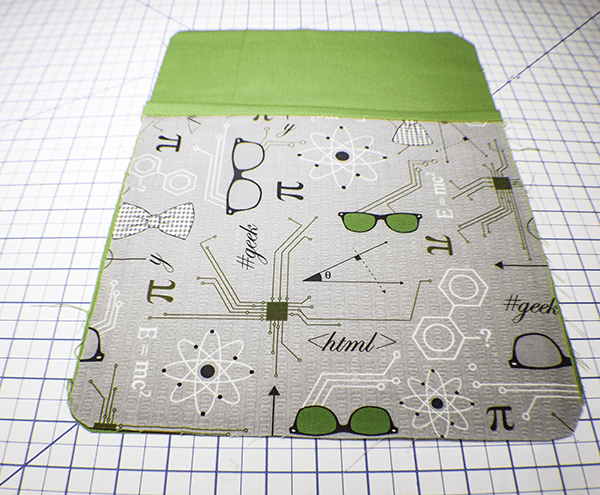
Step 3: Add the Front Zipper
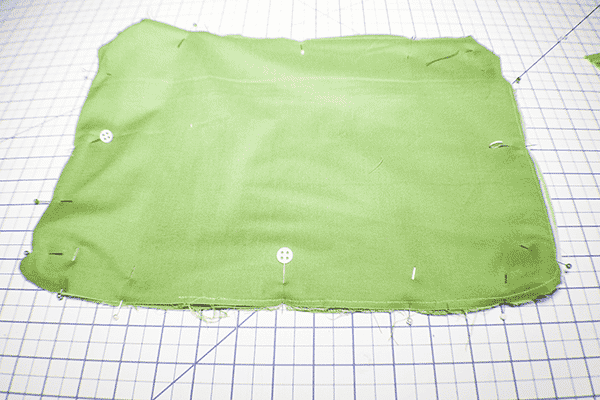
Take the 15 3/8″ x 8 5/8″ piece of outer fabric and place it right sides up on your work surface. Place the 15 3/8″ zipper right sides down on the outer fabric. Lay the corresponding lining piece right sides down on the zipper. Stitch through all three layers. Turn right sides out. Place the 15 3/8″ x 1 1/2″ Right sides down on the other side of the zipper and stitch. Topstitch on both sides of the zipper. Double fold down the top and press. Round the bottom corners and stitch all the way around using a 1/8″ seam allowance. Place the zipper pocket onto one of the main outer pieces and stitch all the way around to secure.
Step 4: Create the Inner Pockets
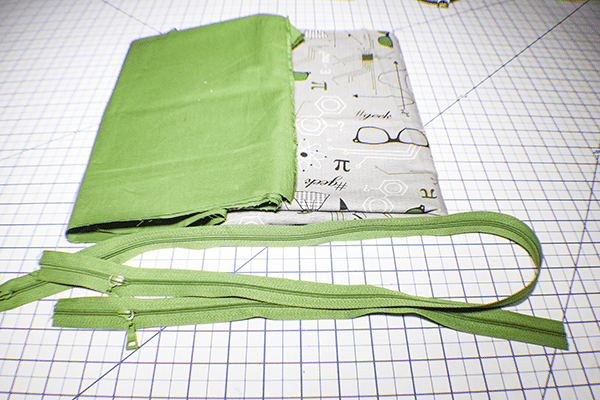
Take the two 11″ x 10 1/4″ pieces of outer fabric and place them right sides up one your work surface. Place the corresponding lining pieces wrong sides together with the outer pieces. Do the same for the 11″ x 7 7/8″ and 11″ x 6″ pieces as well. Place the binding right sides together on the pocket pieces and stitch. Double fold over the raw edges and stitch again to secure.
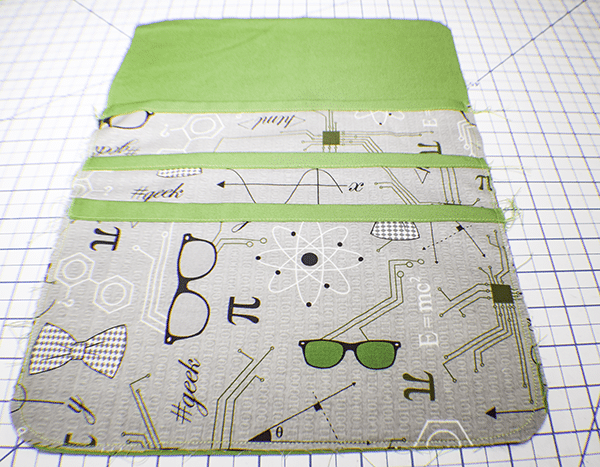
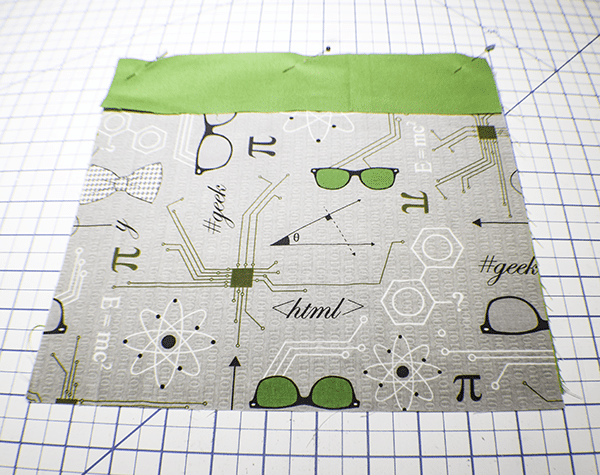
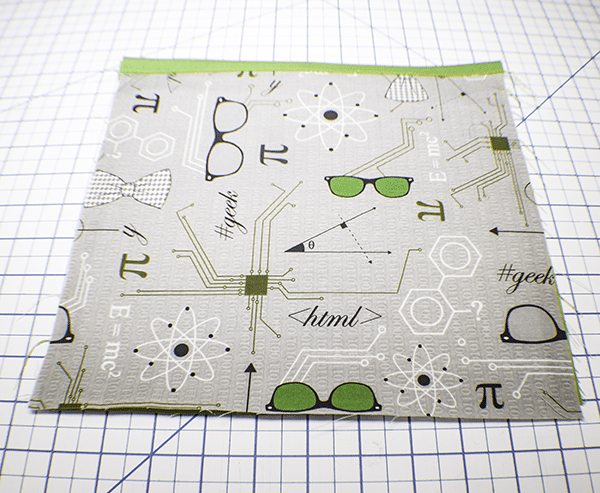
Step 5: Add the Laptop Pocket
Take the laptop pocket and lining and add the binding to the top in the same way you did for the other pockets. Fuse a piece of fleece that measures 10″ x 9″ to the outer piece between the outer piece and the lining. Round the bottom corners. Add to the main lining fabric as shown.
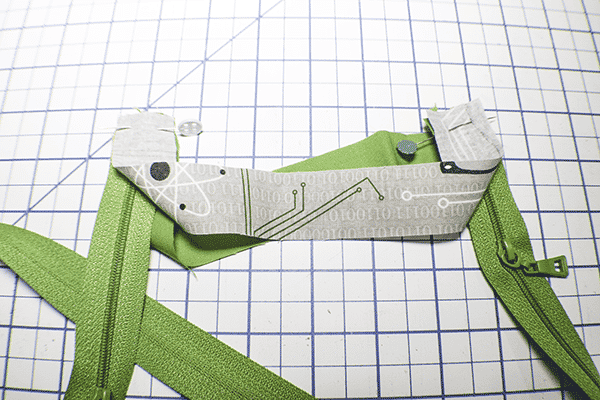
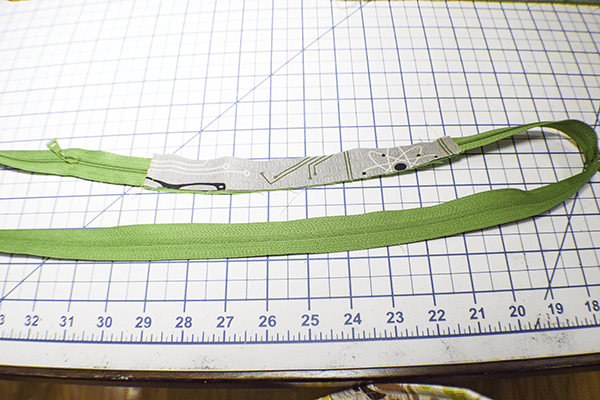
Step 5: Prepare the Main Zipper
Take the large zipper and the 9 1/2″ x 1 1/8″ outer and lining pieces. Place the outer piece right sides top on your work surface. Lay the zipper right sides down and the lining piece right sides down. Stitch across the short ends using a 3/8″ seam allowance. Take the other end of the zipper and do the same thing with the other ends of the lining and outer pieces. Turn right sides out and topstitch along both short ends. Stitch along both sides of the fabric pieces.
Step 6: Add the Main Zipper
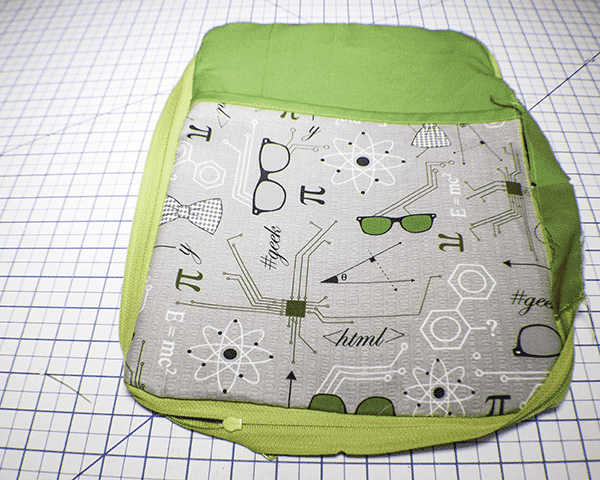
Fold the zipper in half where the fabric is and mark the center on both ends. Refold the zipper so that the centers match and mark the new centers. Take the outer bag piece with the zippered pocket and fold in half. mark the centers. Refold matching the centers and mark the new centers. Place the fabric part of the zipper at the bottom matching the center marking. Pin. Match the rest of the center markings on the zipper to the markings on the bag and pin. You may need to clip the zipper at the corners for a nice fit.
Step 7: Add the Laptop Pocket
Find the center points of the laptop pocket in the same way you did the zipper and the outer bag. Place the laptop pocket that you previously created right sides together on the zipper you just pinned matching the center marking. Repin to include the laptop pocket creating a zipper sandwich. Stitch the fabric layer of the zipper to the outer bag without stitching the laptop pocket. Then stitch the pocket, zipper and outer bag together leaving the space where the fabric piece on the zipper is open. Turn right sides out through the opening you just left.
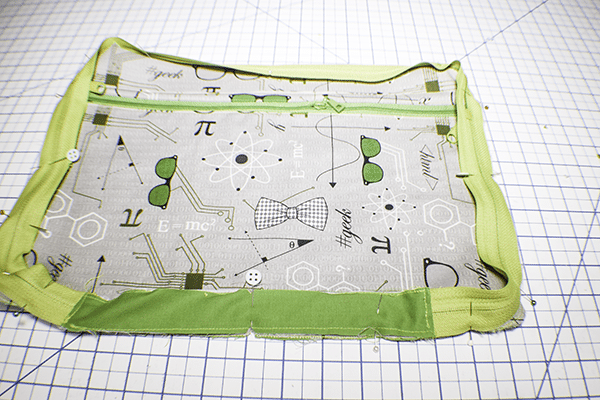
Step 8: Add the other Pockets
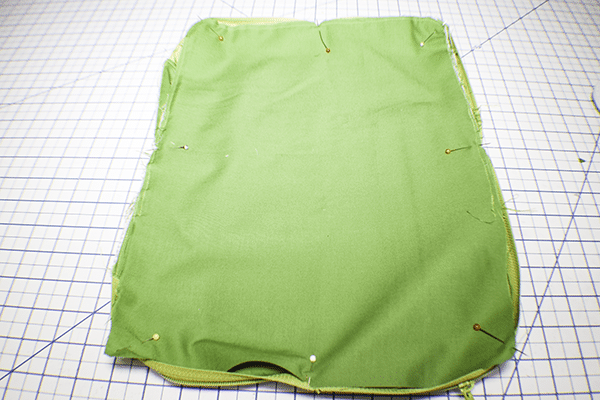
Mark the four centers of the three pocket piece. Place the set of three pockets right sides together with the laptop piece matching the center markings on the zipper. Place the Outer bag piece right sides together with the three pocket piece matching the center points. Stitch the zipper fabric piece first without the outer bag. Stitch around the zipper without stitching over the fabric piece leaving an opening for turning. Turn right sides out. Press.
Step 9: Topstitch Around the Bag
Topstitch all the way around both sides of the bag.
Step 10: Close the Openings
You have left two openings in the laptop bag. Fold under the raw edges and close them using blind stitch. Once you have closed the openings fill up the bag and close the zipper. You are now finished.
I hope you enjoyed this laptop with pockets project today. If you would like more sewing and crafting tutorials subscribe to our newsletter and receive your free eBook of 15 handbag patterns and tutorials taken from the blog.
If you would like video tutorials of some of Sew Very Crafty's most popular posts subscribe to our free YouTube channel here.