How to Make DIY Pacifier Clips
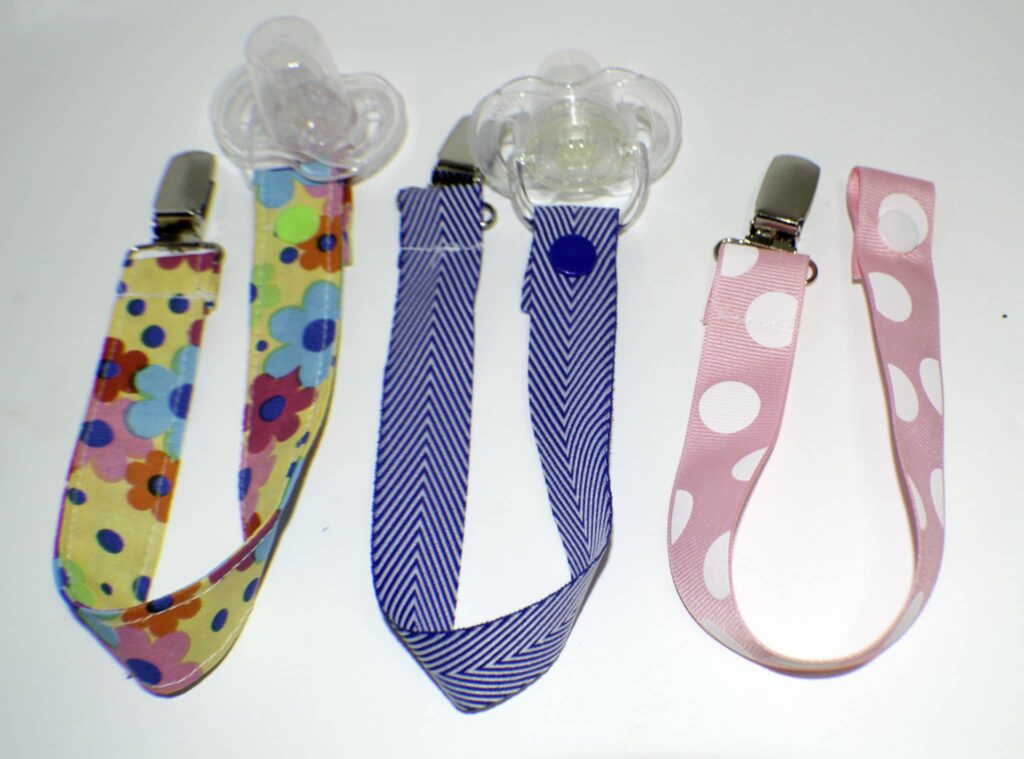
My husband's cousin is going to have a baby next week so I thought I would make these terrific DIY Pacifier Clips for her. I am confident that they will come in handy and they are so easy to make.
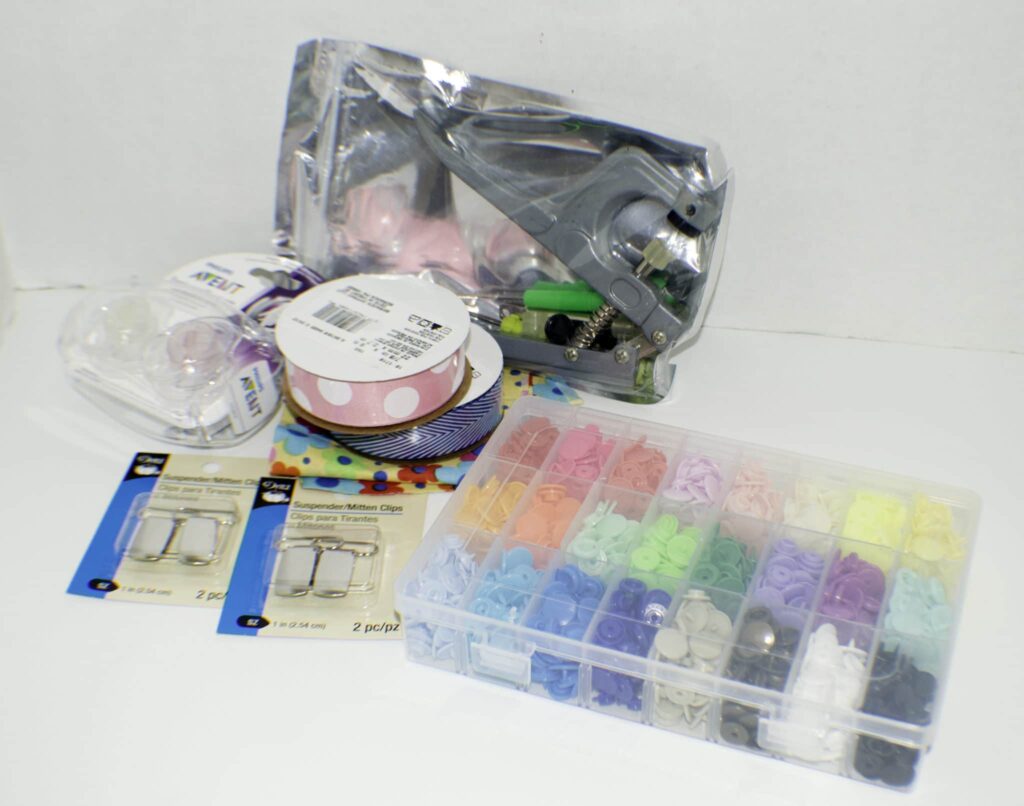
Just ribbon or scrap fabric, some snaps and mitten clips and you are ready to go. Here is my tutorial on How to make DIY pacifier clips. This post contains affiliate links that if you click on them and make a purchase I may receive a small commission at no extra cost to you.
What you will Need:
- Ribbon and/or scrap fabric
- Plastic snaps
- Pacifier Suspender Clips
- Fray Check
- Pacifiers
- Standard Sewing Supplies
Step 1: DIY Pacifier Clips
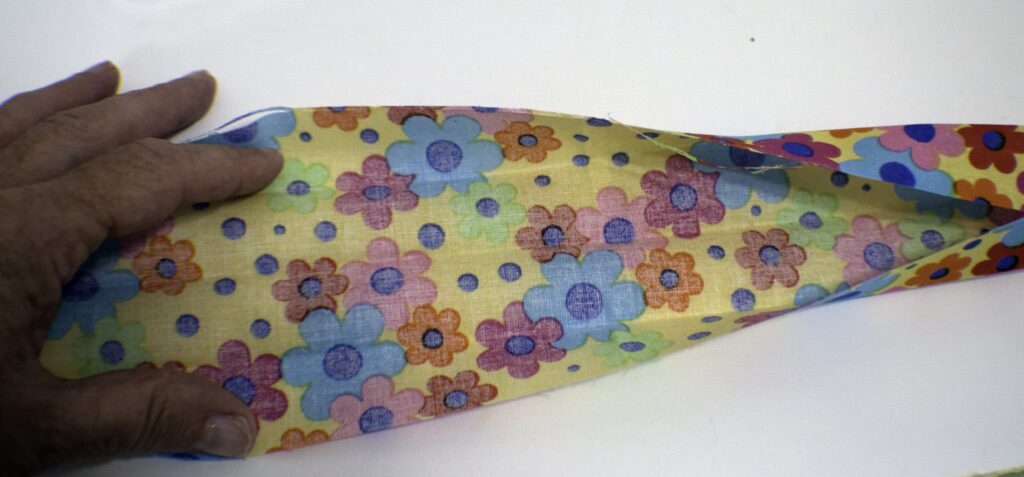
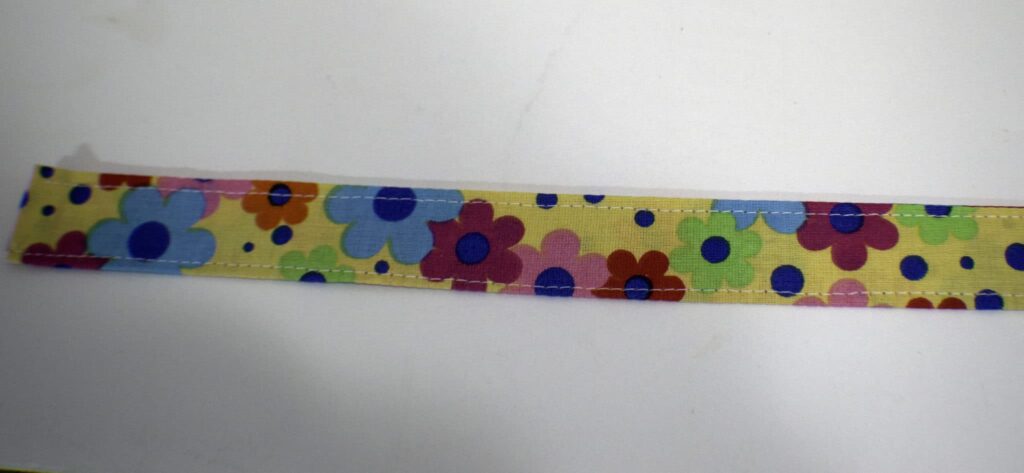
Decide if you are going to use ribbon or fabric. If you choose to use fabric, measure a piece that is 4″ x 14″ and cut. Fold the fabric lengthwise in half and press. Open up the fabric and fold the short ends in 1/4″ and press. Fold in the long raw edges and press. Refold the center so that the raw edges are safely tucked inside. Top stitch down both sides of the strip. The strip should now be 1″ wide and 13 1/2″ long. If you are using ribbon be sure to add fray check to each end to prevent fraying.
Step 2: DIY Pacifier Clips
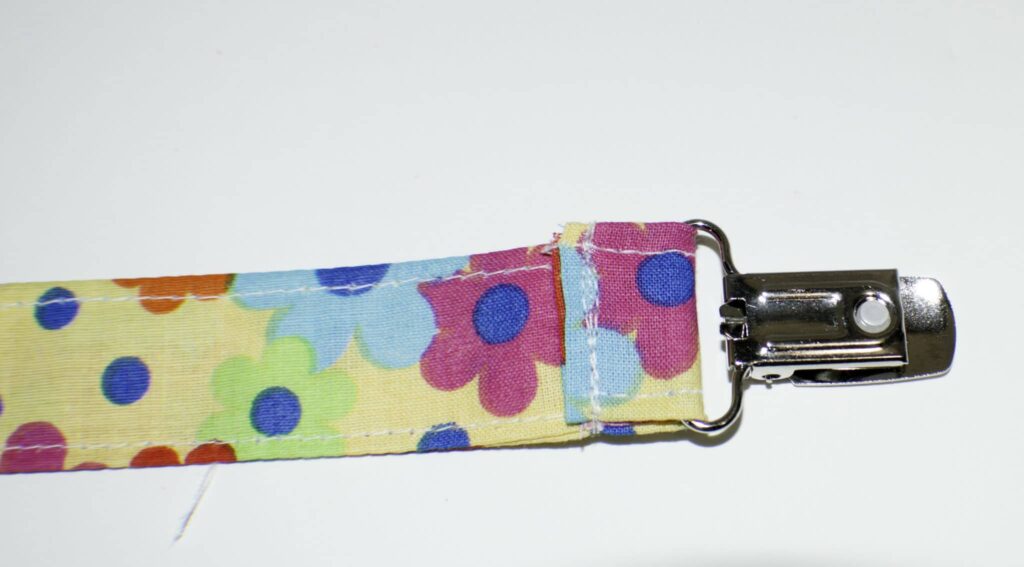
Insert one end of the fabric or ribbon through the shank of the mitten clip and sew across the short end anchoring the clip.
Step 3: DIY Pacifier Clips
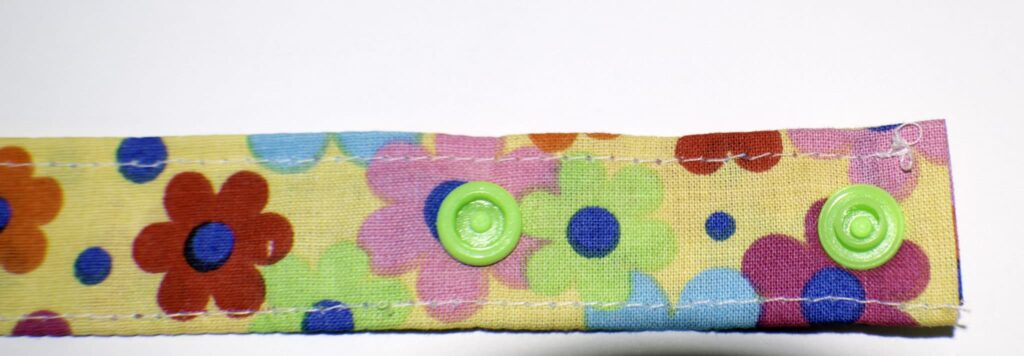
Place the male end of the plastic snap about 1/2″ from the other end of the fabric or ribbon and the female end 2 1/4″ from the end and press the snaps into place using the snap tool.
Step 4: DIY Pacifier Clips
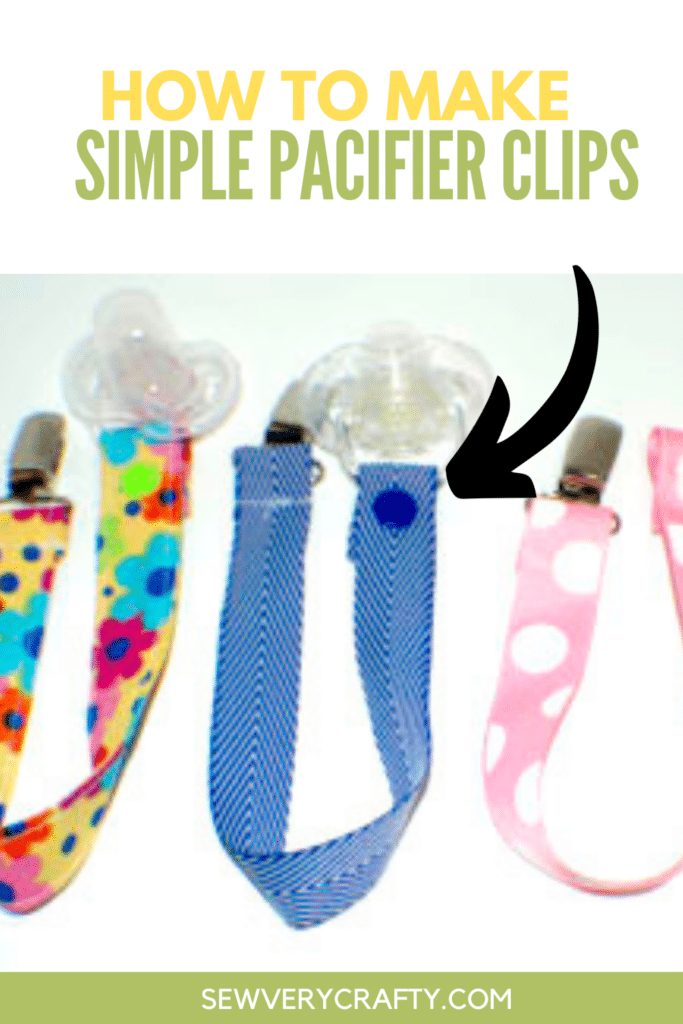
Place the pacifier between the snap pieces and snap together and you have finished your pacifier clips.

I hope you enjoyed this simple pacifier clip project. If you would like more sewing and crafting projects subscribe to our newsletter.




Would’ve like to see how to sew ribbon the on the sewing machine.
I understand. Perhaps I will do a video.