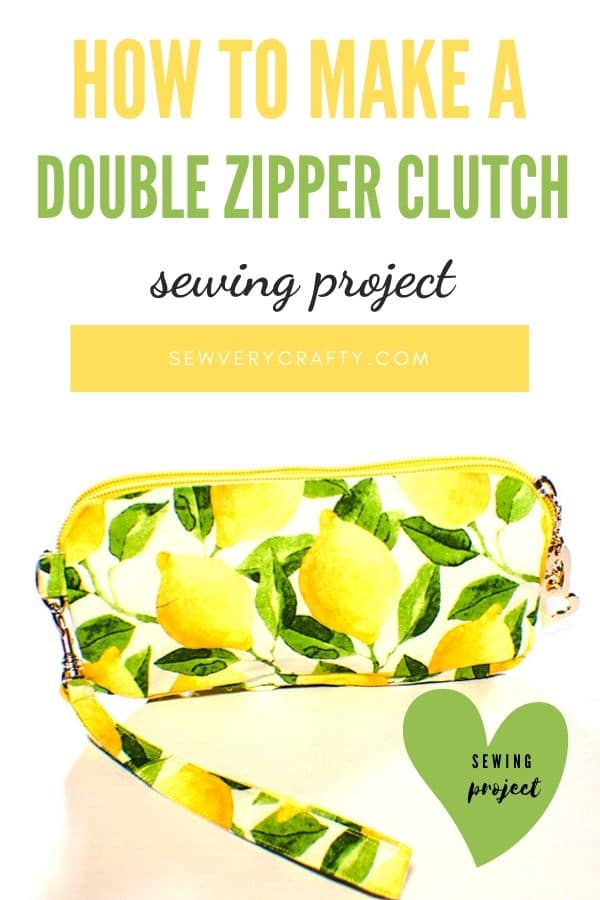
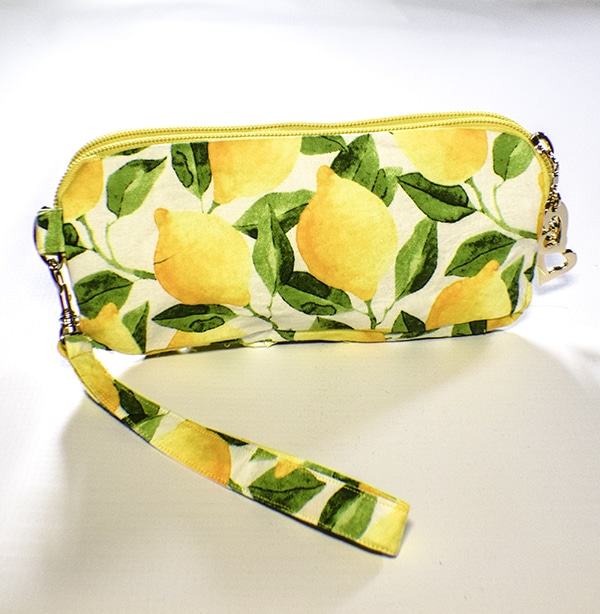
How to Make a Double Zipper Clutch
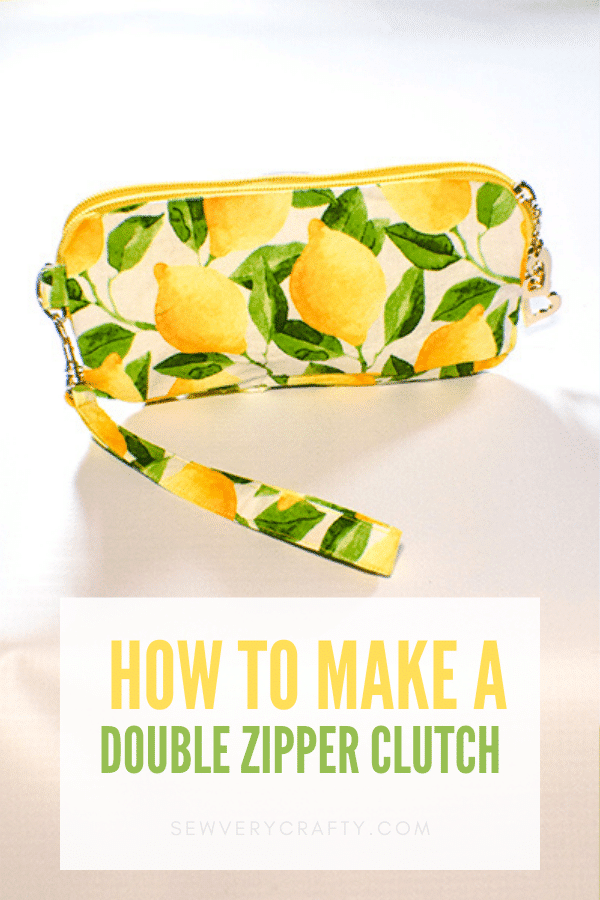
I love making handbags. They are fun and functional and can add pizzazz to an otherwise dull wardrobe. Use fun fabrics to really liven up any handbag project. Today I have chosen this adorable double zipper clutch to make for you. It is a fairly simple sewing project so long as you follow all of the steps. I have provided a step by step tutorial for you to follow to make this terrific double zipper clutch but it does require a bit of patience to complete. It is not a difficult project to make even with the zippers it just requires that you follow all the steps so lets get started.
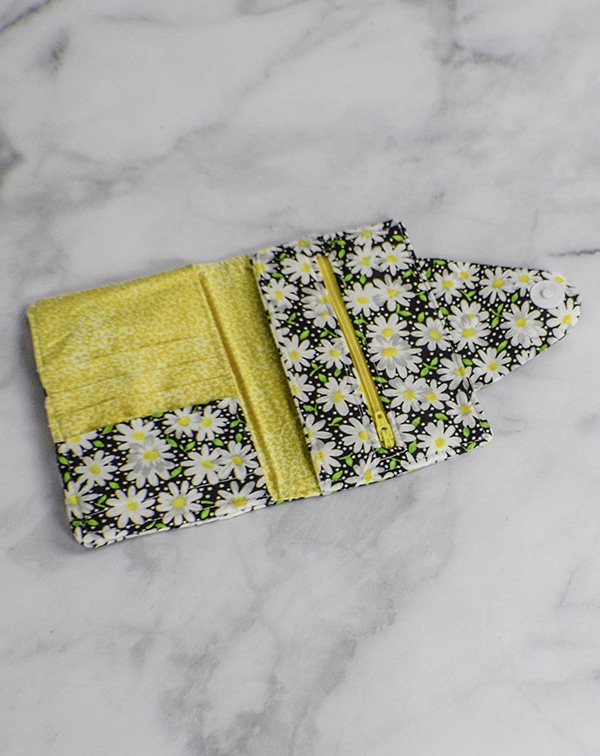
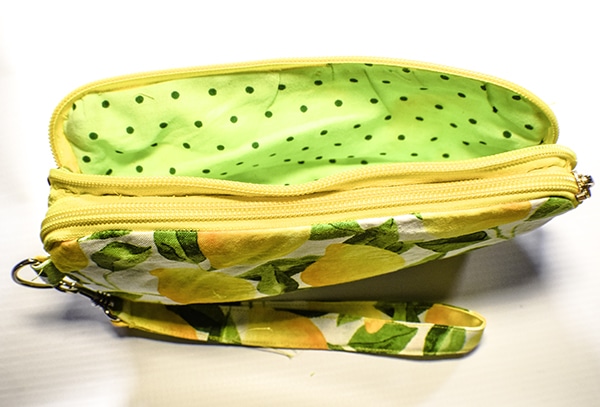
I chose a fun lemon print for my double zipper clutch that I purchased online from JOANN Fabric & Craft Stores![]() and a polka dot remnant that I had on hand for the lining that I also purchased from JOANN Fabric & Craft Stores
and a polka dot remnant that I had on hand for the lining that I also purchased from JOANN Fabric & Craft Stores![]() in order to make this bag fun for the summer months. I love carrying bags that are bright and cheerful. Of course you can use any fabric that you want to create your bag. In fact, you can head to Hobby Lobby or Fabric.com to get the perfect fabric for you if you like. This post contains affiliate links that if you click on them and make a purchase I will receive a small commission at no extra cost to you. As an Amazon Associate i earn from qualifying purchases.
in order to make this bag fun for the summer months. I love carrying bags that are bright and cheerful. Of course you can use any fabric that you want to create your bag. In fact, you can head to Hobby Lobby or Fabric.com to get the perfect fabric for you if you like. This post contains affiliate links that if you click on them and make a purchase I will receive a small commission at no extra cost to you. As an Amazon Associate i earn from qualifying purchases.
What you Will Need: How to Make a Double Zipper Clutch
- Pattern Piece you can get by clicking on this link
- 1/2 yd outer and lining fabric
- 1/2 yd Pellon 808 interfacing
- 2 12″ #5 zippers that you will shorten or continuous zipper
- 1 1/2″ D ring
- 1 1/2″ swivel clip
- Standard sewing supplies
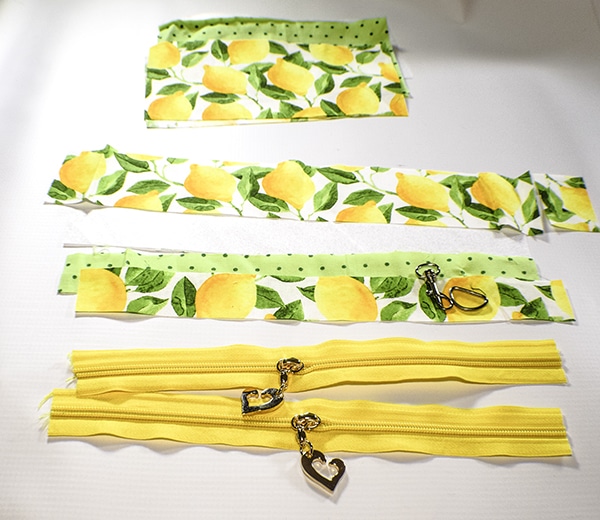
Step 1: Cut your Fabrics
Cut two outer, three interfacing, and four lining pieces that measure 8 1/4″ x 4 3/8″. From the outer, lining and interfacing cut two pieces each that measures 12 1/4″ x 1 3/8″. For the strap cut a piece of outer fabric that measures 13 7/8″ x 2 3/8″. The D-Ring Tab will measure 1 1/2″ x 2 3/8″. You will shorten your zippers to 10 3/4″.
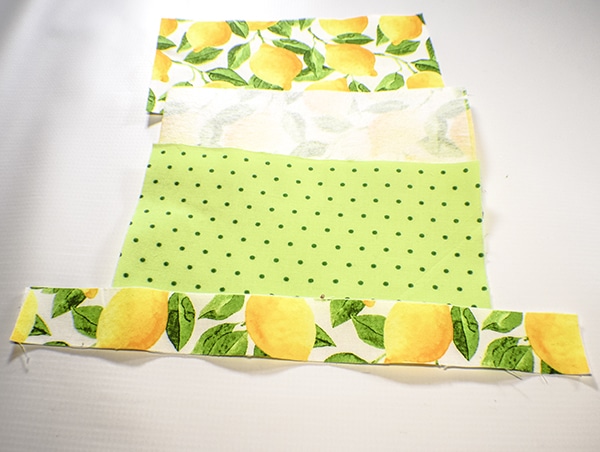
Step 2: Fuse the interfacing
Fuse the interfacing according to the manufacturers instructions to all of the outer fabric pieces and one of the lining pieces that measures 8 1/4″ x 4 3/8″.
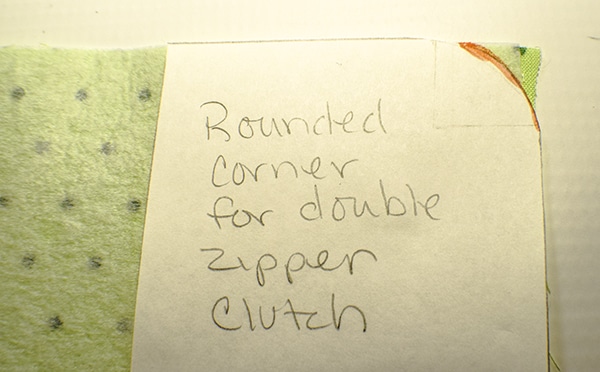
Step 3: Round the corners
Using the pattern piece round all of the corners of each of the 8 1/4″ x 4 3/8″ pieces.
Step 4: Shorten the zipper
I used a #5 continuous zipper for this project. The #5 zipper is a bit wider than the standard zipper you may purchase in your local fabric store so you will likely have to order it online as I did. Depending on where you purchase your zippers you may have to purchase the sliders separately. I have provided a link to a product that provides the sliders with them but if you want a little fancier slider like I used you will have to purchase those separately. I purchased mine here.
Because the zipper is a nylon zipper you can just cut it to the length that you want. If you are using a standard #5 zipper simply cut each end so that the zipper measures 10 3/4″ making sure that the slider is in the center. If you are using a continuous zipper Cut it a a few inches longer than the the final length that you want it to be. Snip off an inch or so of one side of the zipper tape. Open the zipper slightly and insert the slider into the uncut end of the zipper and pull it down until it meets with cut edge and continue to pull until the slider is completely on the zipper. Then cut the zipper to the appropriate length with the slider in the middle. Check out this video to see it in action.

Step 5: Create the Zipper Middle
Take the 12 1/4″ x 1 3/8″ lining piece and place it right sides up on your work surface. Place a zipper wrong sides down on top of the lining and the outer fabric right sides down on the zipper like a zipper sandwich. Repeat for the other zipper. Stitch the ends through all layers using a 3/8″ seam allowance. You will notice that the fabric piece is longer than the zipper which is correct. Turn the zippers right side out and top stitch along the seam lines. Using a zig zag stitch, sew the raw edges of the fabric pieces together on both sides. Repeat for the second zipper
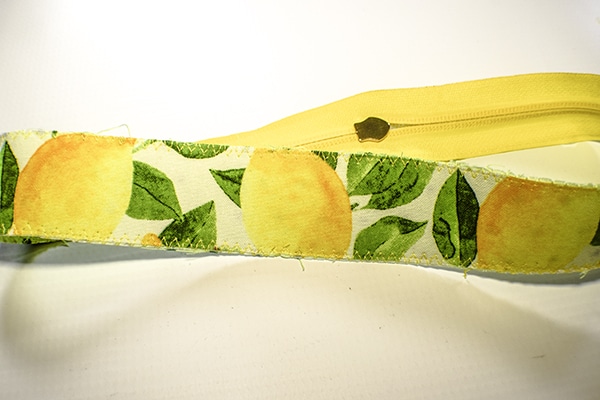
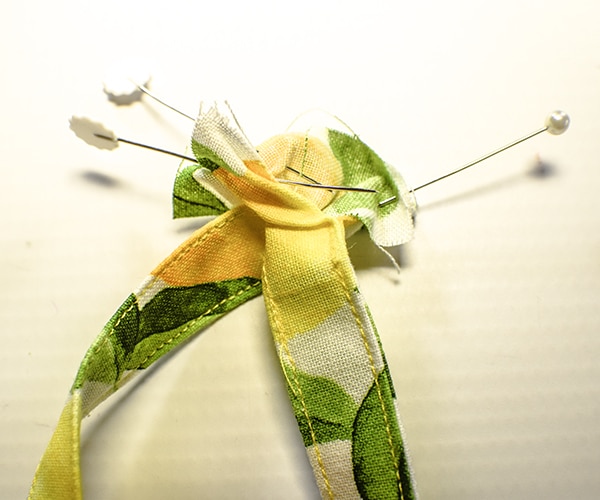
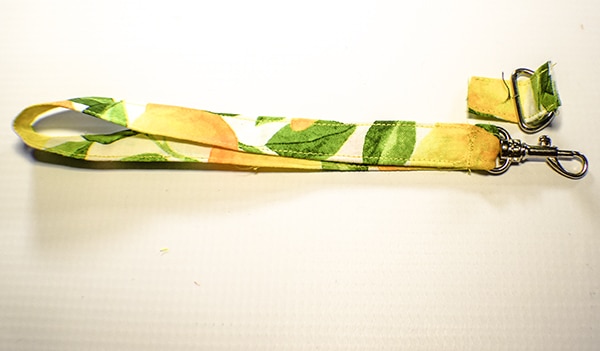
Step 6: Create the Strap and Tab
For both the tab and the strap fold the raw edges to the center lengthwise and press. Fold again so that the raw edges are enclosed and press again. Top stitch the tab on both sides. Top stitch the strap in the same way except start 1″ down from the top and finish 1″ down from the bottom so that the top and bottom are not stitched. Add the swivel clip to the strap. Place the unsewn raw edges right sides together and stitch across the short end using a 3/8″ seam allowance. Close up the strap so that the raw edges are enclosed. Finish top stitching the strap. Top stitch along the swivel clip bar to keep it in place. Wrap the tab around the D-Ring and set aside.
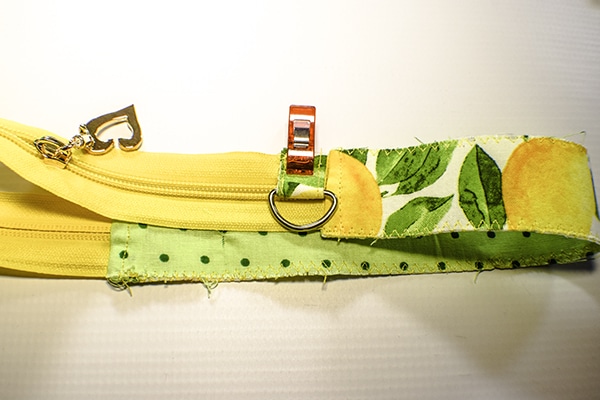
Step 7: Add the Tab to the zipper
Place the tab so that the raw edges of the tab are aligned with the edge of one of the zipper and the D-Ring is facing the teeth of the zipper adjacent to one of the seams you created when you stitched the zipper to the fabric. Stitch the tab to the zipper.
Step 8: Prepare the main pieces
Take one of the main outer interfaced pieces and turn wrong sides up on your work surface. Fold it in half to find the center and mark. From there, measure 3 1/8″ on each side and make another mark. Repeat for the other side. Find the lengthwise center as well by folding in half. Place the second main outer piece underneath the first and clip together. Clip small notches where you made your marks so that you will know where to place the zipper when you install it in upcoming steps. Repeat for all of the lining pieces as well.
Step 9: Prepare the zipper
Find the center of the zipper by folding it in half and clipping a notch on each end. Fold in half the other way and notch each side again. You should have four notches. Repeat for the other zipper. Measure 3 1/8″ from each notch and create another notch. Make shallow clips in the curved areas of the zippers.
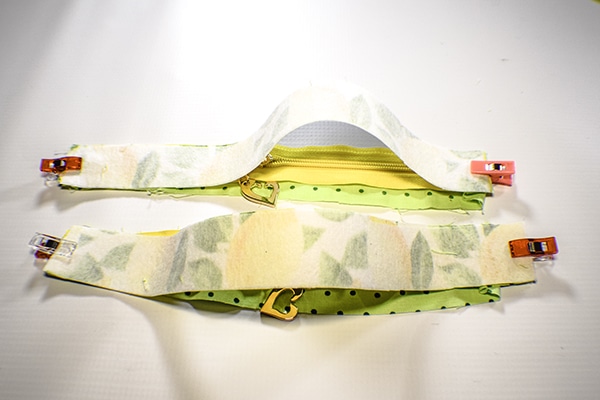
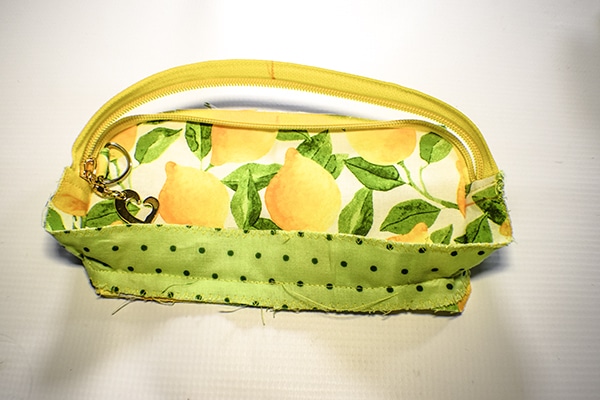
Step 10: Install the zippers
Unzip the zippers. Match the notches and clip a zipper to the main outer piece right sides together. The shallow clips in the zipper will help you to pull the zipper to the rounded corners. Stitch the zipper in place using a zipper foot. Place a lining piece right sides together with the outer piece on the zipper you just sewed matching the notches. Stitch making sure not to catch the other side of the zipper and leaving a 2″ opening on the bottom of the lining for turning. Trim the excess bulk from the corners. Turn right sides out. Hand stitch the opening closed using ladder stitch. Add the interfaced lining piece to the other side of the zipper with the wrong side of the zipper face down on the right side of the lining matching the notches and curves. Stitch using a zipper foot. Repeat this entire process for the second zipper and fabric pieces. You will have two halves of the bag at this point.
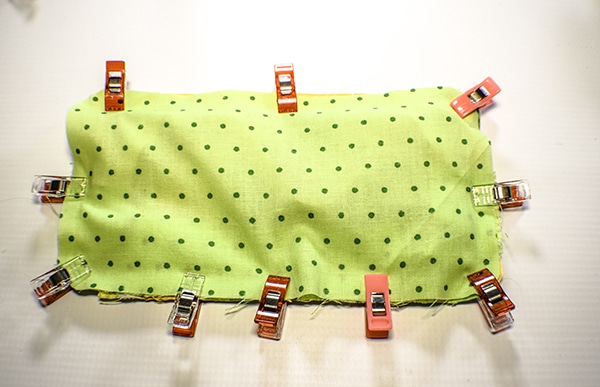
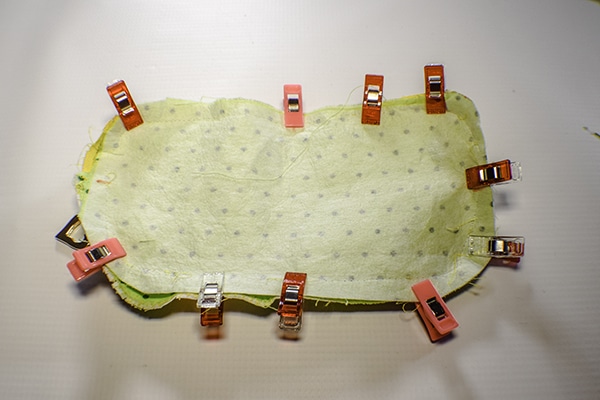
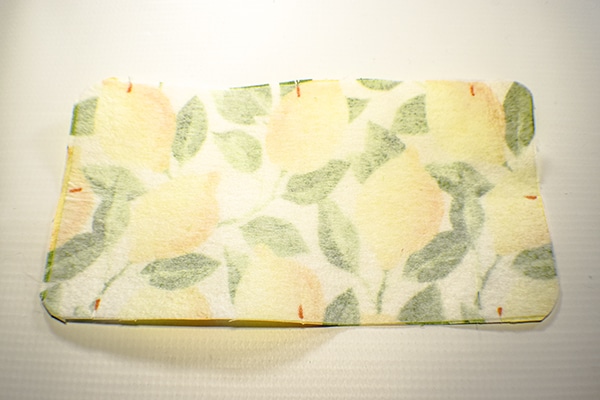
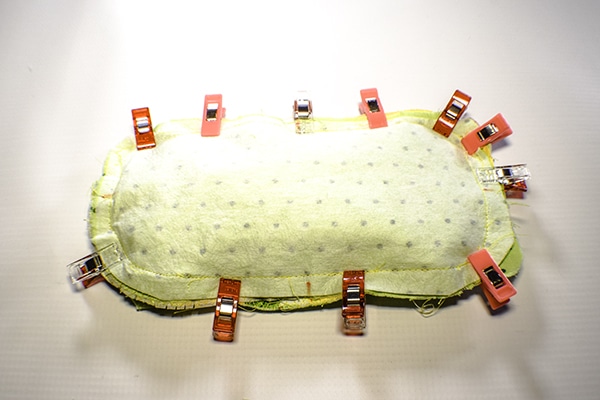
Step 11: Finish the bag
Place the side with interfacing showing on top of the other side right sides together. Place the raw edges together and clip. This will be two zippers together along with raw fabric edges. Match the notches. Stitch all the way around the bag leaving a 2″ opening at the bottom of the bag for turning. Trim off the excess bulk at the corners. Turn the bag right sides out. Stitch the opening closed using ladder stitch. Attach the strap to the D-Ring and you have completed this adorable double zipper clutch.
If you would like to see a video of this project. head over to Sewing Times at YouTube.

I hope you enjoyed this project. If you would like more sewing and crafting projects sign up for our newsletter and receive your free eBook of 15 handbag patterns and tutorials.
If you would like videos of some of Sew Very Crafty's most popular posts subscribe to our free YouTube channel Here.