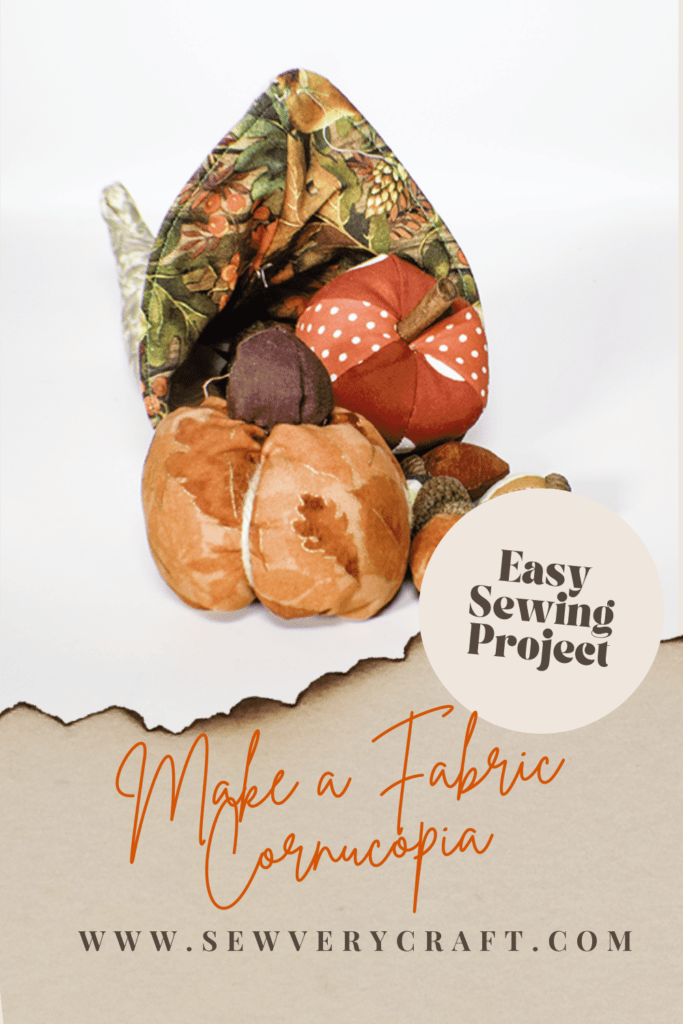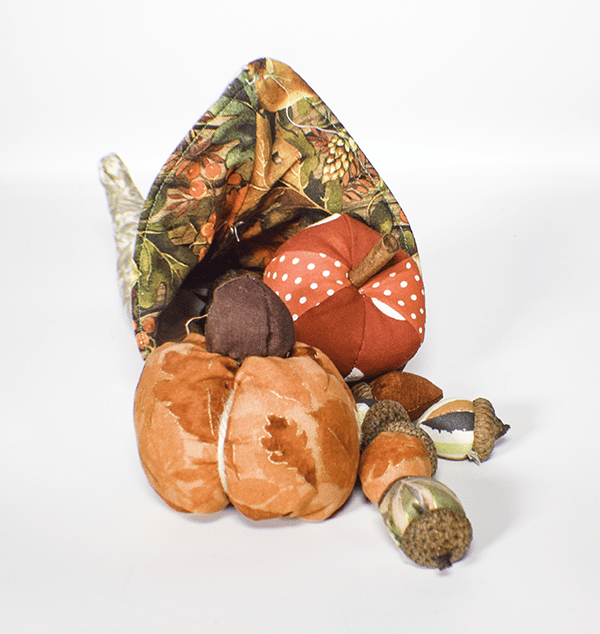
I discovered this project over at Crafty Staci and she was kind enough to allow me to recreate the project here. This is a fun autumn/Thanksgiving project to make as a centerpiece for your Thanksgiving table or just as an autumn decoration. I threw in some fabric pumpkins, apples and nuts to complete the look of this cornucopia. If you have never visited Crafti Staci I urge you to do so. She has tons of sewing and crafting projects that you can try out. If you would more holiday sewing and crafting projects check out my holiday page here.
I used autumn inspired fabrics for my cornucopia that I had in my stash that I am sure were purchased at Joann's but you could head to fabric.com or onlinefabricstore.net to get exactly what you need for your cornucopia project. I used a variety of fabrics for the fruit and nuts in the cornucopia. That were also in my stash. This post contains affiliate links that If you click on them and make a purchase I may receive a small commission at no extra cost to you.
What you will need: How to Make a Fabric Cornucopia
- Pattern you can get by clicking on this link
- 1/4 yd outer fabric, lining fabric and muslin
- 1/4 yd quilt batting
- Scraps of miscellaneous fabrics for contents of cornucopia
- Acorn tops
- Cinnamon Sticks
- Twine for the pumpkins
- Small buttons for the apples
- Polyester fiberfil
- Standard sewing supplies
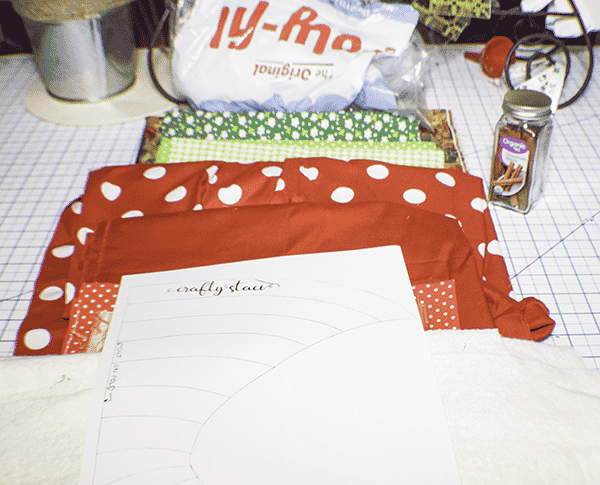
Step 1: Cut out Your Fabrics
Using the pattern piece for the cornucopia cut an outer, lining, batting and muslin piece. This will be all that you need for the cornucopia itself. For the acorns, cut out scraps of fabric and follow my how to make fabric acorns tutorial here. For the fabric pumpkin cut out a rectangle the size you want to make your pumpkin by following my how to make fabric pumpkins tutorial. Finally, to make the apples use a variety of red and green scraps and use the attached pattern that you can get by clicking on this link.
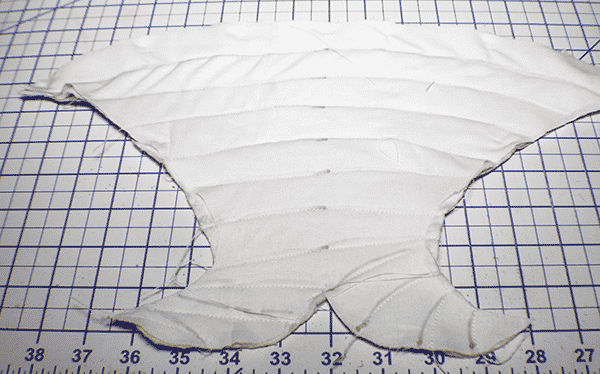
Step 2: Layer and Quilt the Cornucopia
Take the outer, batting and muslin pieces and layer them so that the batting is in the center. Pin the pieces together. Transfer the quilting lines from the pattern to the outer or muslin piece. Stitch along the quilting lines to give the cornucopia some depth and shape.
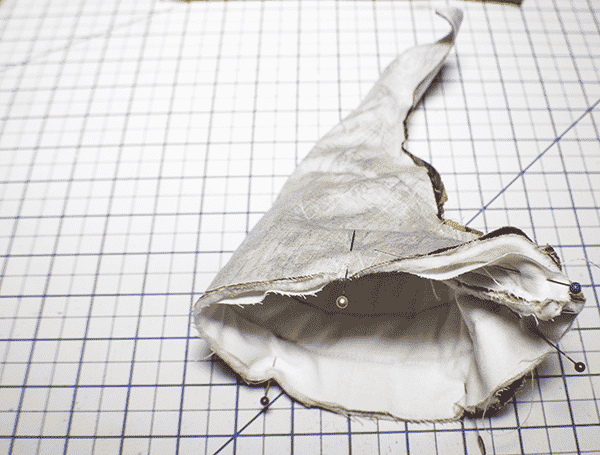
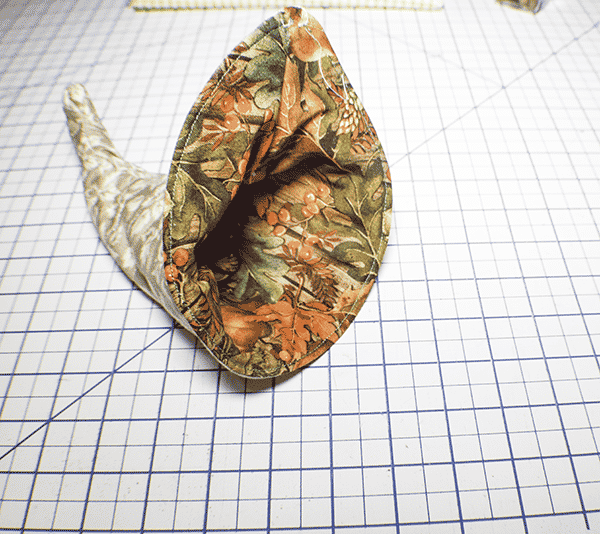
Step 3: Create the Cornucopia
Place the raw edges right sides together and stitch along the side and bottom using a 1/4″ seam allowance. Turn right sides out. Repeat for the lining but leave an opening along the long raw edge for turning. You should have two cornucopia shaped pieces.

Step 4: Add the Lining to the Outer Cornucopia
Place the outer cornucopia right sides together with the lining cornucopia so that the front raw edges are alined and the seams are also alined. Stitch all the way around the front of the cornucopia using a 1/4″ seam allowance.
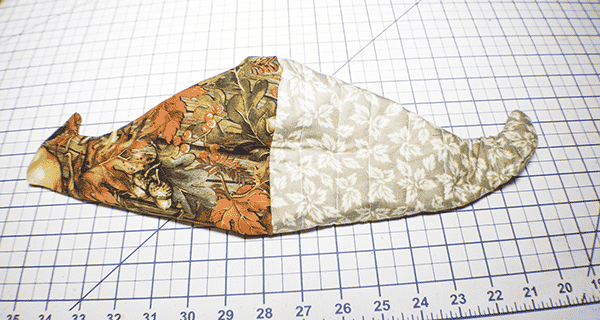
Step 5: Turn Right Sides Out and Topstitch
Turn the the cornucopia right sides out through the opening you left in the lining. Push the lining all the way into the outer cornucopia using a poking tool. Topstitch all the way around the opening to secure the lining.
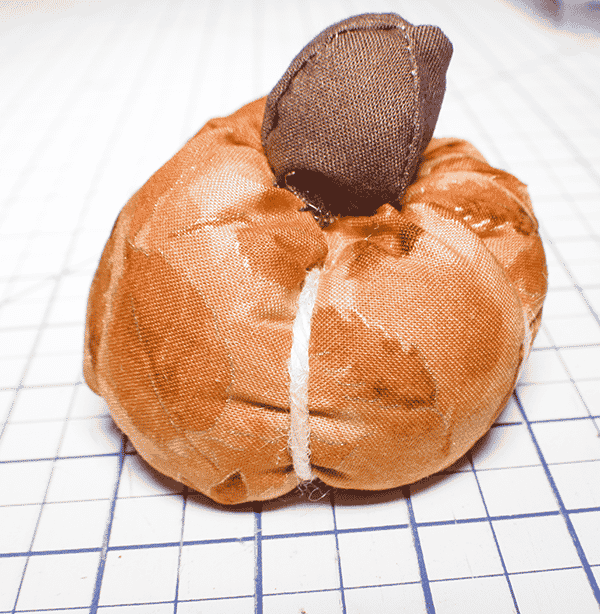
Step 6: Create the Pumpkins
Create the pumpkins following my tutorial. I used a 5″ x 10″ rectangle for this pumpkin.
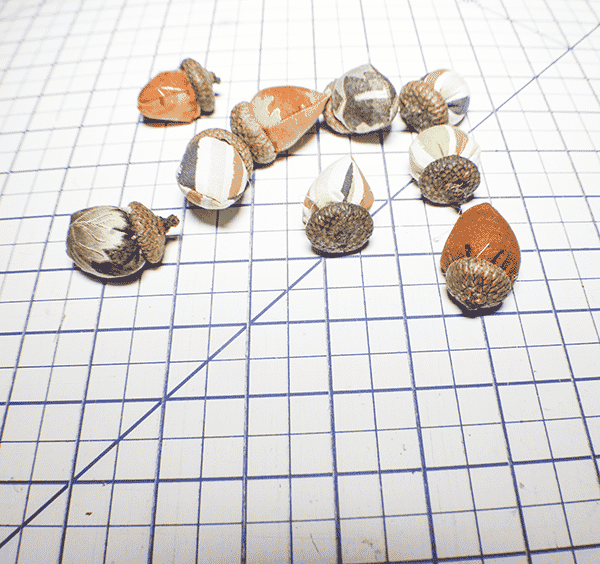
Step 7: Create the Acorns
Create the Acorns following my tutorial
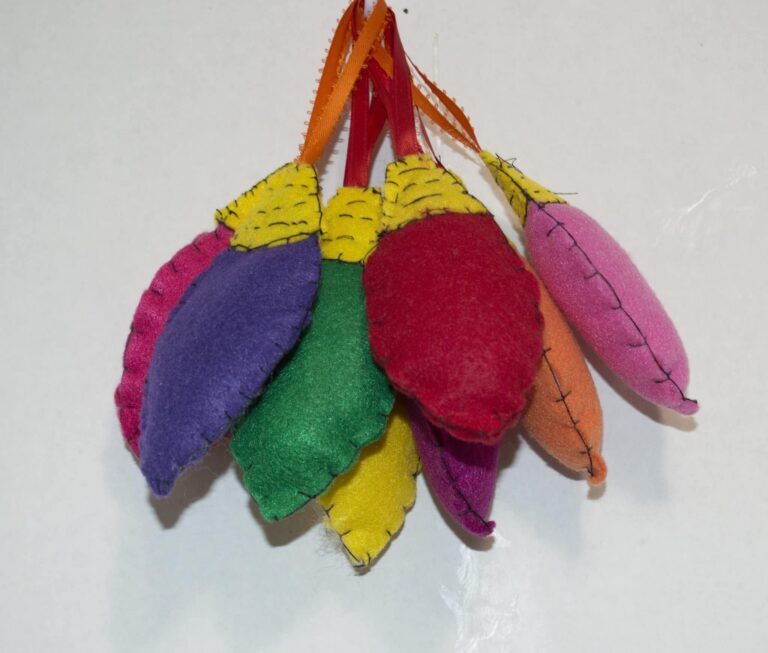
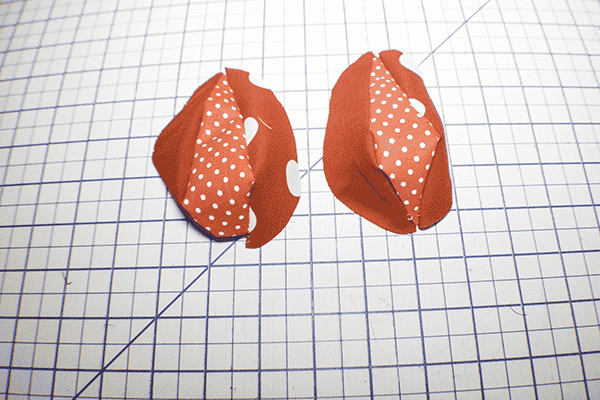
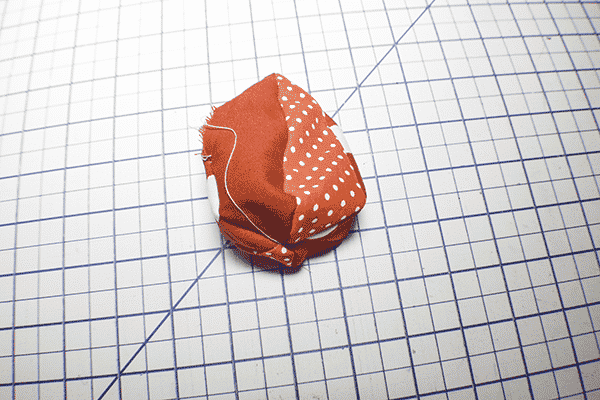
Step 8: Create the Apples
Using the pattern piece. Cut six in various shades of red or green. Stitch three together using a 1/4″ seam allowance starting 1/4″ from the topped stopping 1/4″ from the bottom. Then, stitch the next three together in the same way. Stitch the two sections of three together to make the apple shape but leave an opening on the side for turning. Turn right sides out and stuff with polyester fiberfill.


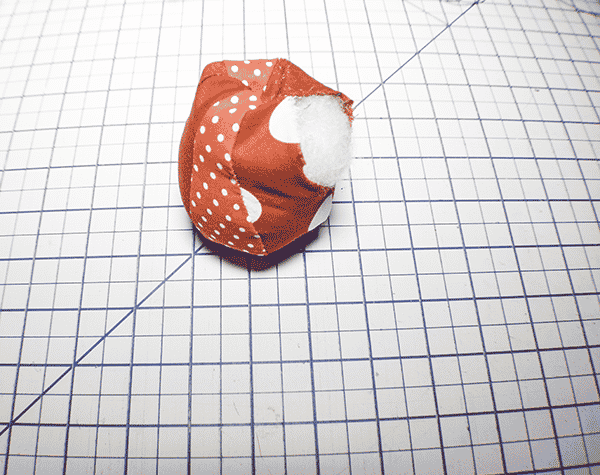
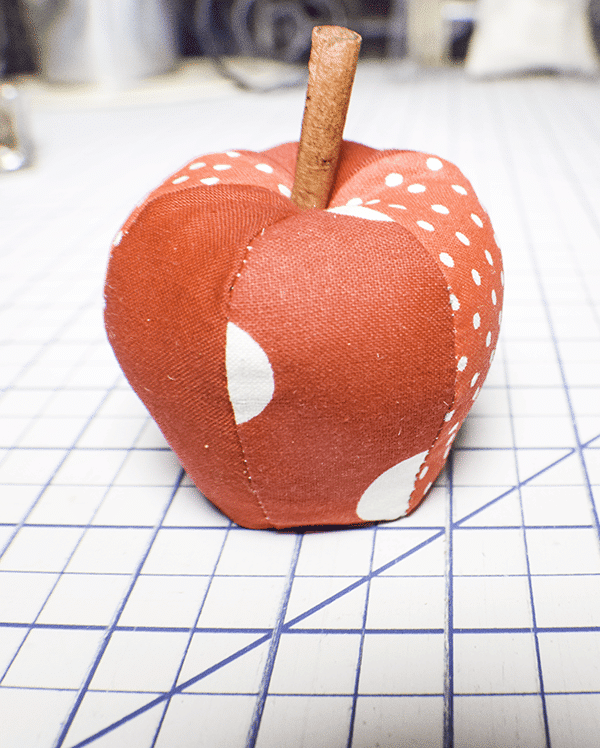
Insert a long needle with a long piece of thread through the top of the apple going through the opening in the side. Push the needle back down through to the bottom of the apple and add a button to cover up the threads. Keep going up and down the apple to create the shape of the apple. Once you have secured the button on the bottom and are happy with the shape, add a cinnamon stick to the top to act as a stem. Stitch the opening closed using ladder stitch. Thanks to Orange Bettie for the pattern for the apple.
Step 9: Insert the Fruits and Nuts
inset the fruits and nuts so that they are spilling out of the Cornucopia. You have now finished your fabric cornucopia with fabric fruits and nuts. Thanks to Crafty Staci for this fun idea.
I hope you enjoyed this fabric cornucopia project. If you would like more sewing and crafting tutorials subscribe to my newsletter and receive avers to my free printables library
If you would like video tutorials of some of Sew Very Crafty's most popular posts subscribe to our free YouTube channel here.