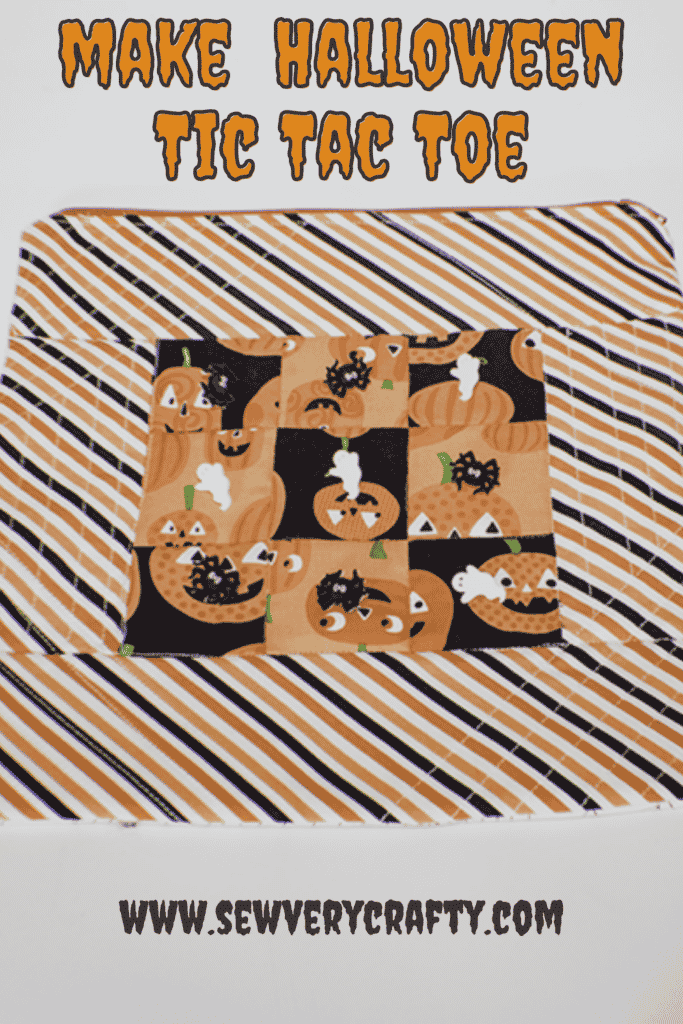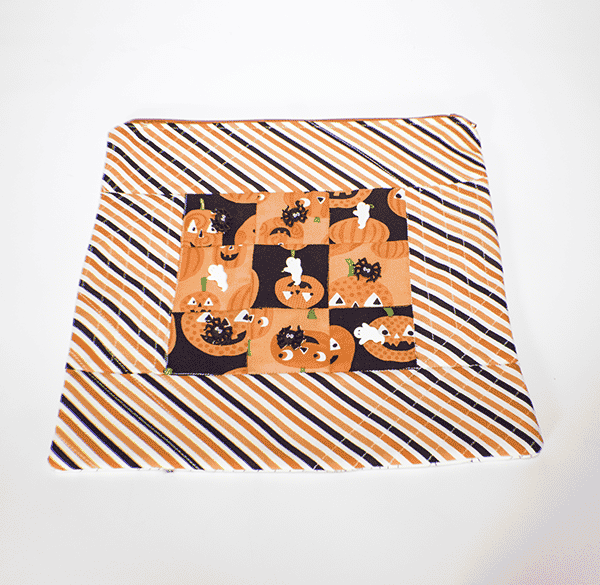
I have a bunch of Halloween fat quarters left over from my Halloween pumpkin pillow cover so I decided to make this adorable little tic tac toe game using some of the other pieces of fabric. Of course you can make this out of any fabric the you like but I thought Halloween would be fun. This halloween tic tac toe game is a beginner quilting project. That is fun to make and fun to play. For another child's game check out my jumbo sized tic tac toe.
I chose Moda fat quarters designed by My Sister and Me Designs called Too Cute to Spook. I purchased them at the Fatquartershop.com. It was more expensive than I usually spend but it is a large collection that I can use for a lot of things. Of course you can head to JOANN Fabric & Craft Stores, ![]() or
or
What you will Need: How to Make Halloween Tic Tac Toe
- 1/8 yd orange fabric and black fabric for squares
- 1/4 yd Striped fabric
- 1/4 yd Spider Fabric
- 1/8 yd Fabric for pocket
- 1/4 yd fusible fleece
- 14″ zipper
- 10 Halloween Buttons; 5 of each type (I bought two packets)

Step 1: Cut Your Tic Tac Toe Fabrics
- 2 1/2″ W x WOF of Orange Cotton
- 2 1/2″ W x WOF of Black Cotton
- two 3″ x 6 1/2″ Striped Cotton
- two 3″ x 11 1/2″ Striped Cotton
- two 3″ x 11″ Cotton (inside pocket)
- one 11″ x 11 1/4″ Spider Cotton (for back)
- two 11″ x 11 !/4″ fusible fleece like Pellon 987F
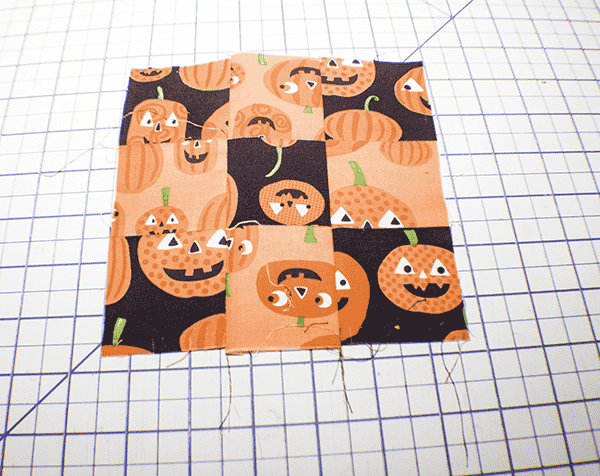
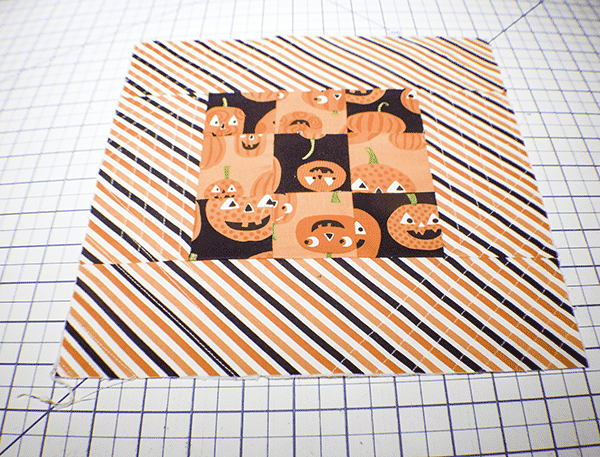
Step 2: Create the Tic Tac Toe Board
Sew the Orange and Black strips using a 1/4″ seam allowance. Press the seam open. Cut in half. Alternate the colors and stitch them together again. Cut into 2 1/2″ wide strips. All you need is 3 strips. Alternate the strips to create a checkerboard effect. Stitch together using a 1/4″ seam allowance.

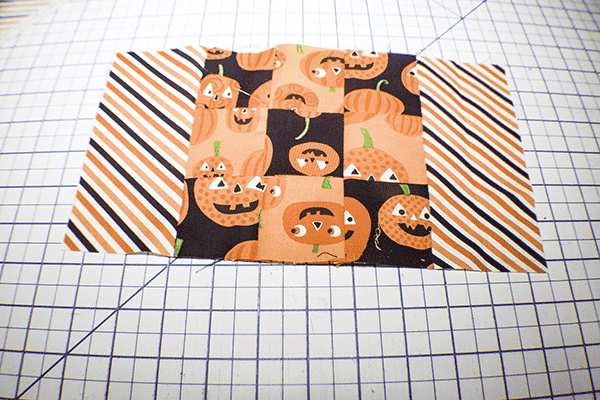
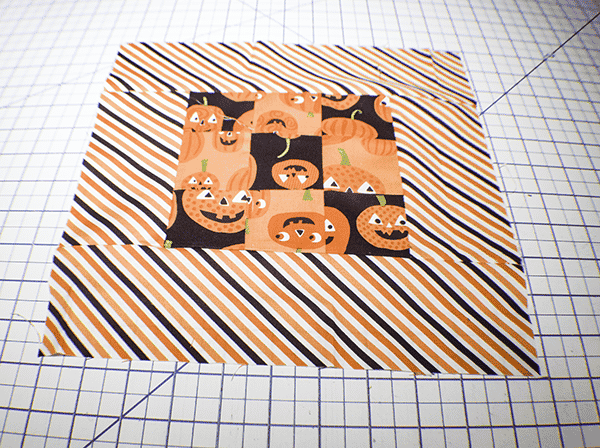
Step 3: Add the Border
Place the vertical borders right sides together with there checkerboard and stitch them using a 1/4″ seam allowance. Once you have added the vertical-sides add the horizontal sides stitching using a 1/4″m seam allowance. You have finished the front of your tic tac toe board.
Step 4: Fuse the Fleece
Fuse the fleece to the wrong side of the tic tac toe board and to the wrong side of the spider fabric that you are using for the backing of your project.
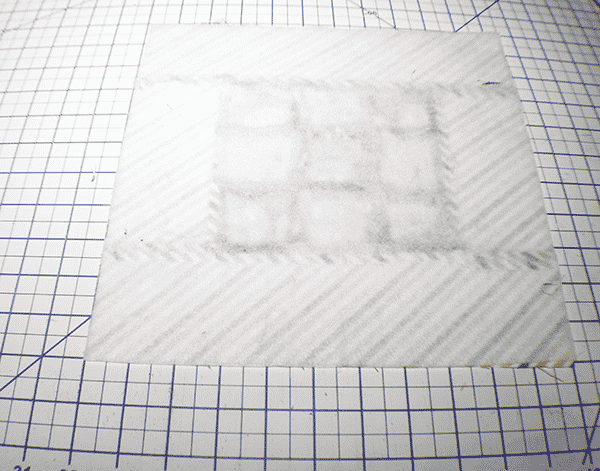

Step 5: Quilt the Front of the Board
Now that you have created your tic tac toe board quilt along the borders any way you like. As you can see, I quilted mine on the diagonal.
Step 6: Add the Pocket
Lay one pocket piece right side up. Place the zipper right side up on the pocket piece. lay the tic tac toe board right sides down on top of the zipper and pin. Using a zipper foot stitch through all layers. Topstitch along the zipper to secure the pocket in place. Repeat for the other side of the zipper and the spider fabric back.
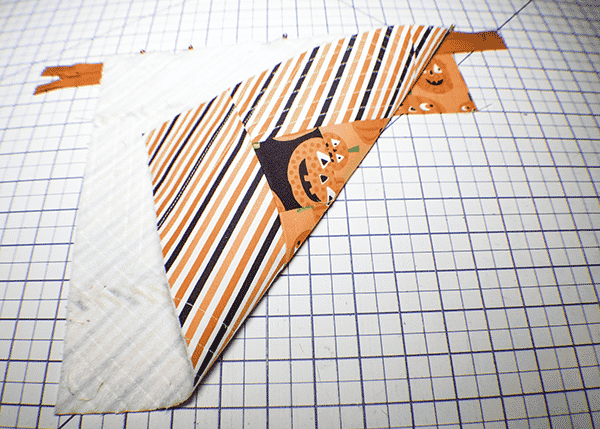

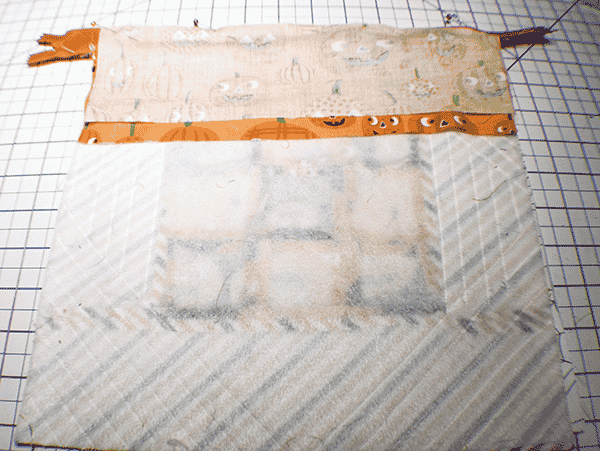
Step 7: Stitch the Front to the back
Open the zipper at least 1/2 way. With right sides together place the front and back pieces together as shown. Stitch all the way around leaving the bottom of the pocket open.
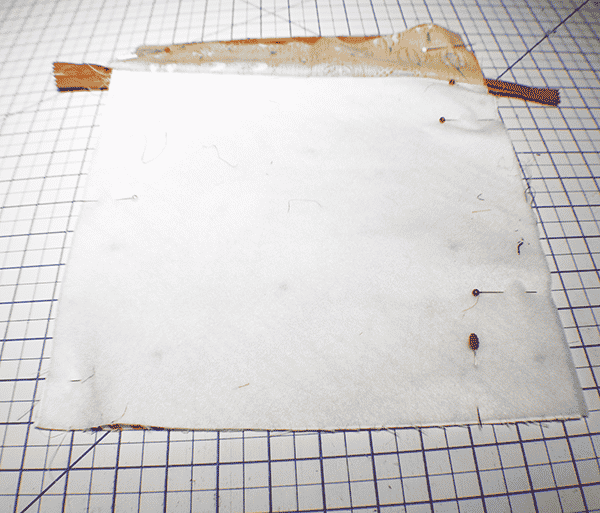
Step 8: Turn Right Sides Out
Turn the board right sides out through the zipper and the opening in the inner pocket. Press.
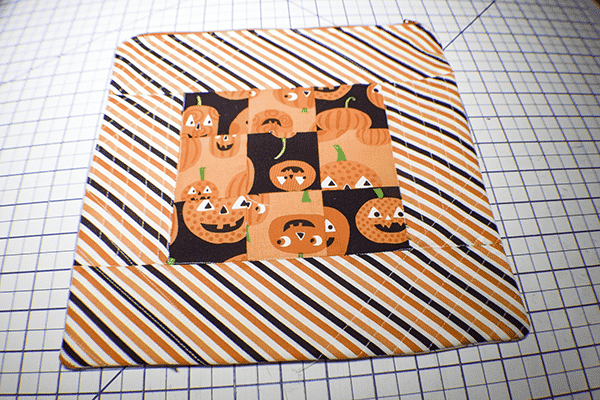
Step 9: Stitch the Pocket Closed
Push the pocket into the board and stitch in the ditch of the border all the way around. this will close up the pocket.
Step 10: Quilt the Board
Stitch along the seams that join the tic tac toe portion of the board through all layers. Add your buttons to the game and you have finished your halloween tic tac toe. The zipper pocket is to store your buttons so don't forget o put the in there.

I hope you enjoyed this Halloween project. if you would like more sewing and crafting projects subscribe to our newsletter and receive access to our free printables library
If you would like video tutorials o some of sew Very Crafty's most popular posts subscribe to our free Youtube channel here.