Easy DIY Car Trash Bag
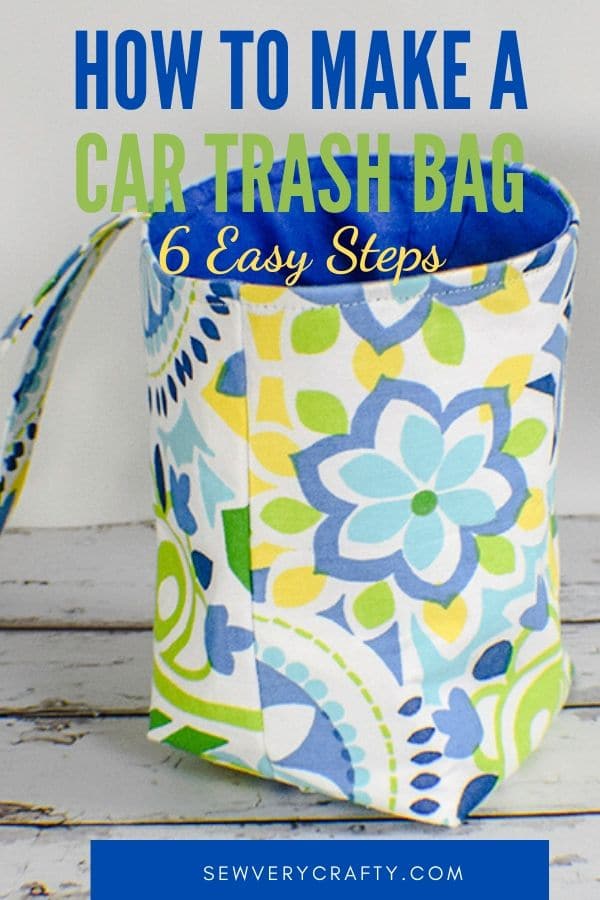
Want to learn how to make a fabric car trash bag? I have a very small car and was in desperate need of someplace to put my car trash like the paper wrappings from straws I get in the drive through so I decided to make an easy DIY car trash bag that even a novice sewer can make. It takes just a few remnants or fat quarters and a little bit of time to keep your car looking trash free. I got mine at my affiliate Hobby Lobby. I love the bold red and white vertical stripe. This was a remnant for 50% off but if you need to buy fabrics and crafting supplies at Hobby Lobby, here is a 40% off coupon to use at the store or online. I also recommend Fabric.com for the widest variety of fabrics you will find anywhere. This post contains affiliate links that if you click on them and make a purchase I may receive a small commission at no extra charge to you.
This is a very simple sewing project. This car trash bag pattern only requires beginner sewing skills to create and is the perfect size for any car especially a small car and it is washable. If you would like to see a video of how to create this project just click the video below and head over to YouTube. While you are there give me a thumbs up and subscribe to my channel.
What you will Need:
- 2 pieces of outer fabric that measure 10″ x 10″
- 2 pieces of lining fabric that measure 10″ x 10″
- 2 Pieces of medium weight interfacing like Pellon 808
that measure 10″ x 10″
- 1 piece of fabric that measures 3″ x 15″ for the strap
- Standard sewing supplies
Step 1: Easy DIY Car Trash Bag
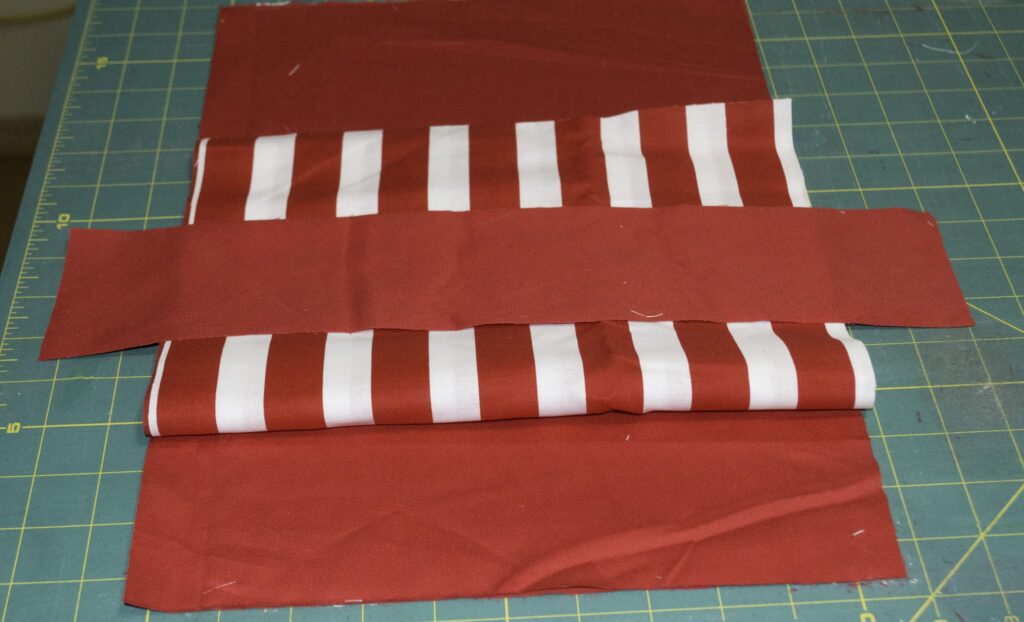
Fuse the interfacing to the wrong sides of the outer fabric. If you are unfamiliar with using fusible interfacing it is a very simple process. One side of the interfacing has glue. You lay the wrong side of the fabric onto the glue side of the interfacing and press with a hot iron. The interfacing will fuse with the fabric so that when you sew it you can treat the fabric and interfacing combination as one piece. The purpose of the interfacing is to create structure to your car trash bag. You only need to fuse the interfacing to the wrong side of the exterior fabric. There is no need to interface the lining.
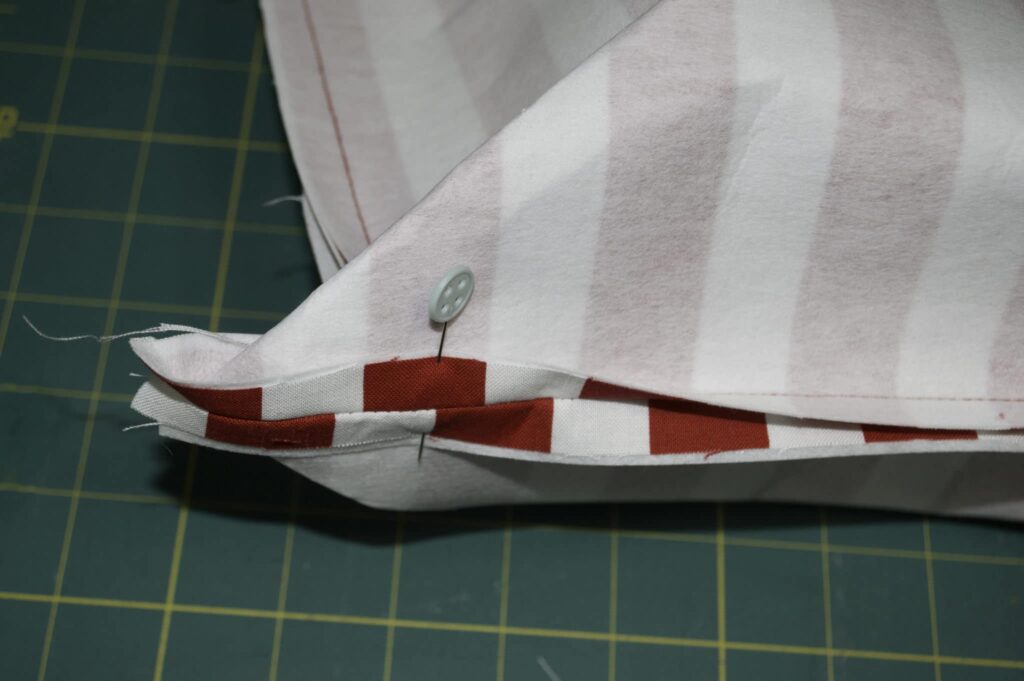
Once you have fused the interfacing, place the outer fabric right sides together. Sew around three sides using 1/2″ seam allowance. Box the bottoms of your bag. Boxing the bottom is easy to do. You simply match the bottom seam to the corresponding side seam and pin. Measure down 2″ from the tip and sew a line across all layers. When you turn the bag right sides out the side seam and the bottom seam should meet. Repeat this process for the other side of the bag.
Turn right sides out. This creates a small bag with a flat bottom.
Step 2: Easy DIY Car Trash Bag
Place the lining fabric right sides together and sew around the three sides but leave a 3″ opening at the bottom for turning. Box the bottoms in the same way you did for the outer bag. This creates a second small bag with a hole at the bottom.
Step 3: Easy DIY Car Trash Bag
In order to make the strap that goes around the shifter of your car, fold the 3″ x 15″ piece of fabric in half lengthwise and press. Open the piece then fold the raw edges to the center. Fold in half again. Top stitch along both edges of the strap. You should have a 1″ wide strap to attach to your bag.
If you are not familiar with top stitching it is simply sewing the strap together from the right side. Take care with these stitches because they will be seen.

Step 4: Easy DIY Car Trash Bag
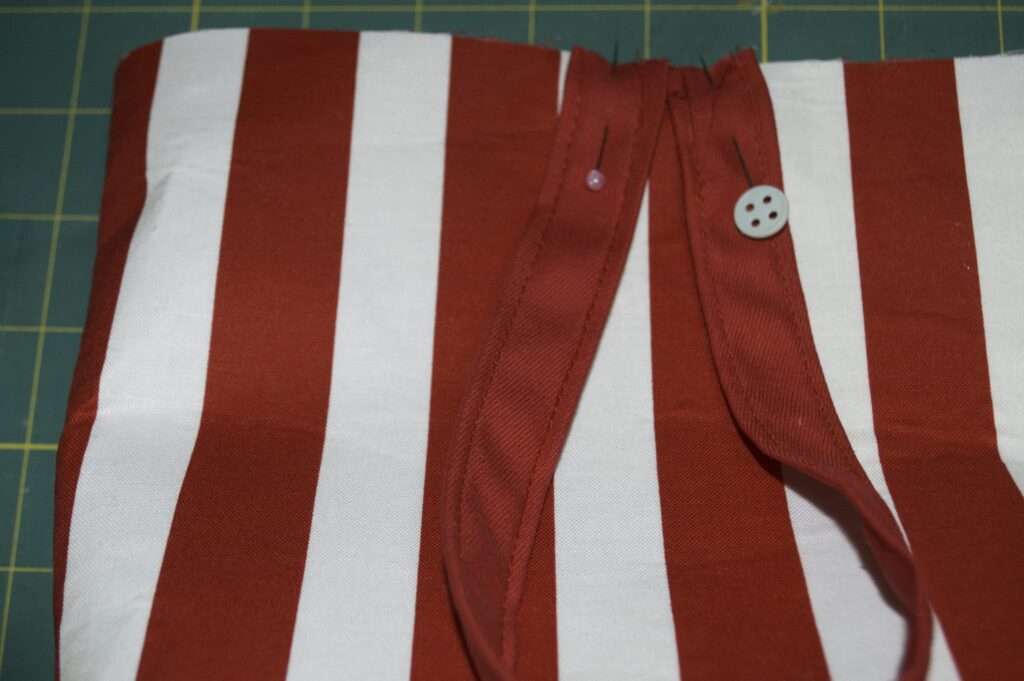
To add the strap to the bag, fold the strap in half and pin the short raw edges to the raw edges of the right side of one side of your bag. Baste in place so that the loop is facing down toward the right side of your bag.
Step 5: Easy DIY Car Trash Bag
Place the outer bag inside of the lining bag so that the two bags are right sides together matching the side seams. Sew around the top of the two bags using a 1/4″ seam allowance.
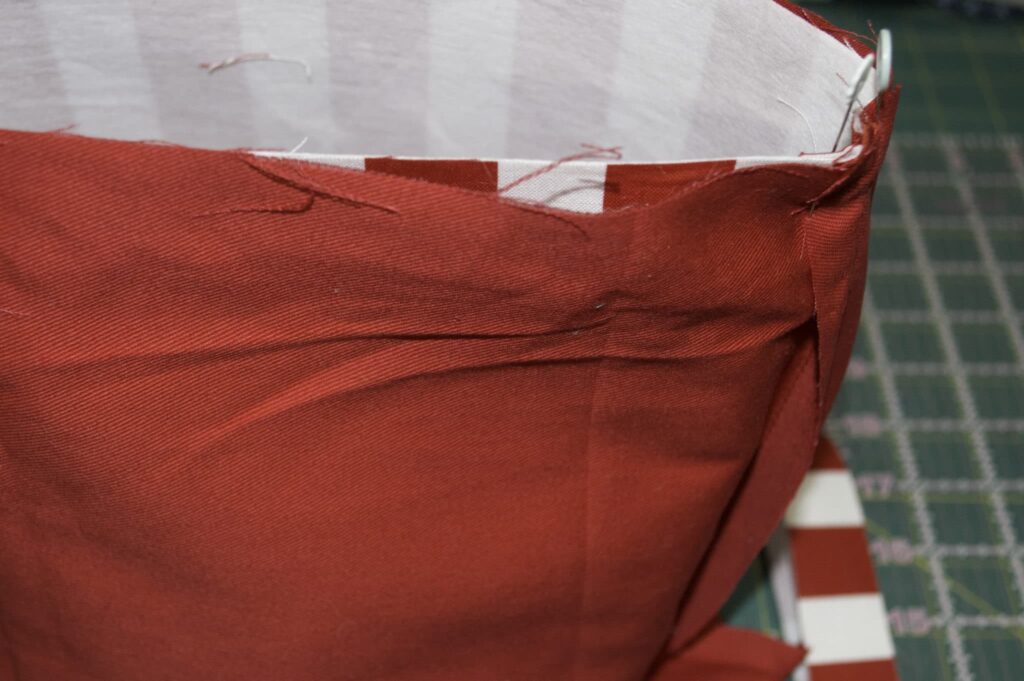
Step 5: Easy DIY Car Trash Bag
Turn the bag right sides out by pulling the outer bag through the opening you left in the lining. You will see the outer bag and the lining bag are now connected with the strap hanging on the outer side.
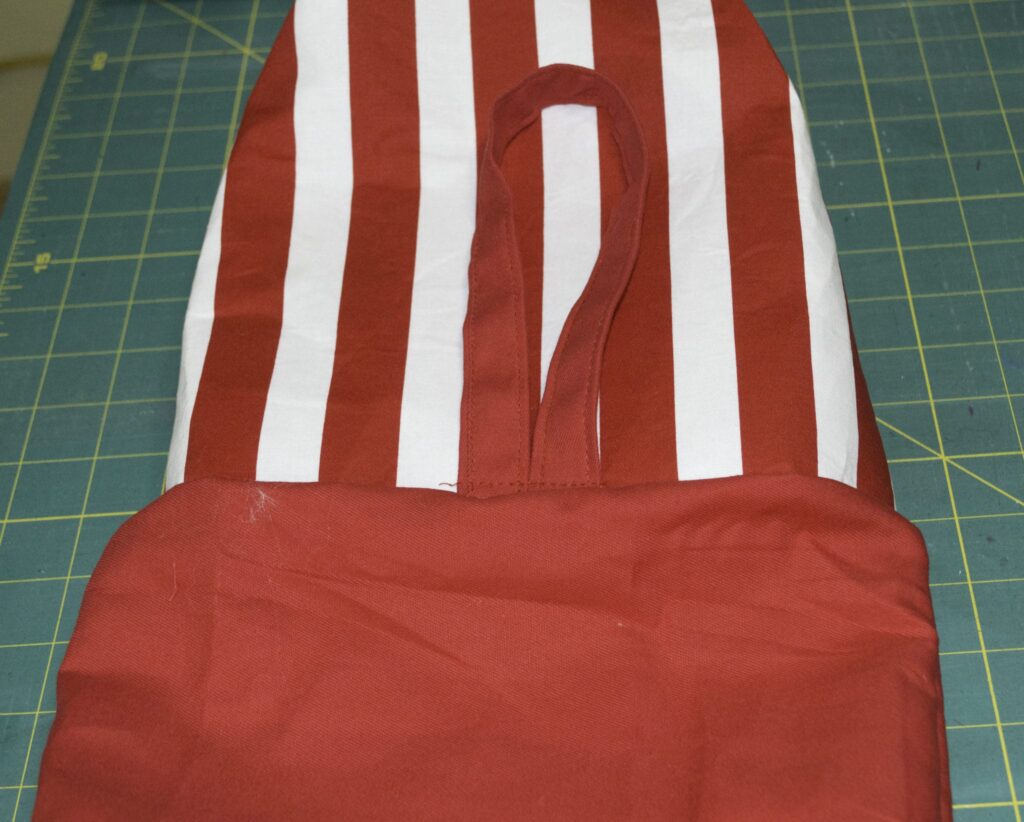
Step 6: Easy DIY Car Trash Bag
Push the lining inside the outer bag and press. The strap should be facing outside of the bag. Top stitch around the top of the bag and sew the hole in the lining. You have completed the easy DIY car trash bag. Place the strap over your car's shifter with the bag on the passenger side and you are ready to go. If you want, you can place a plastic bag inside to keep the bag clean or you can simply wash it.
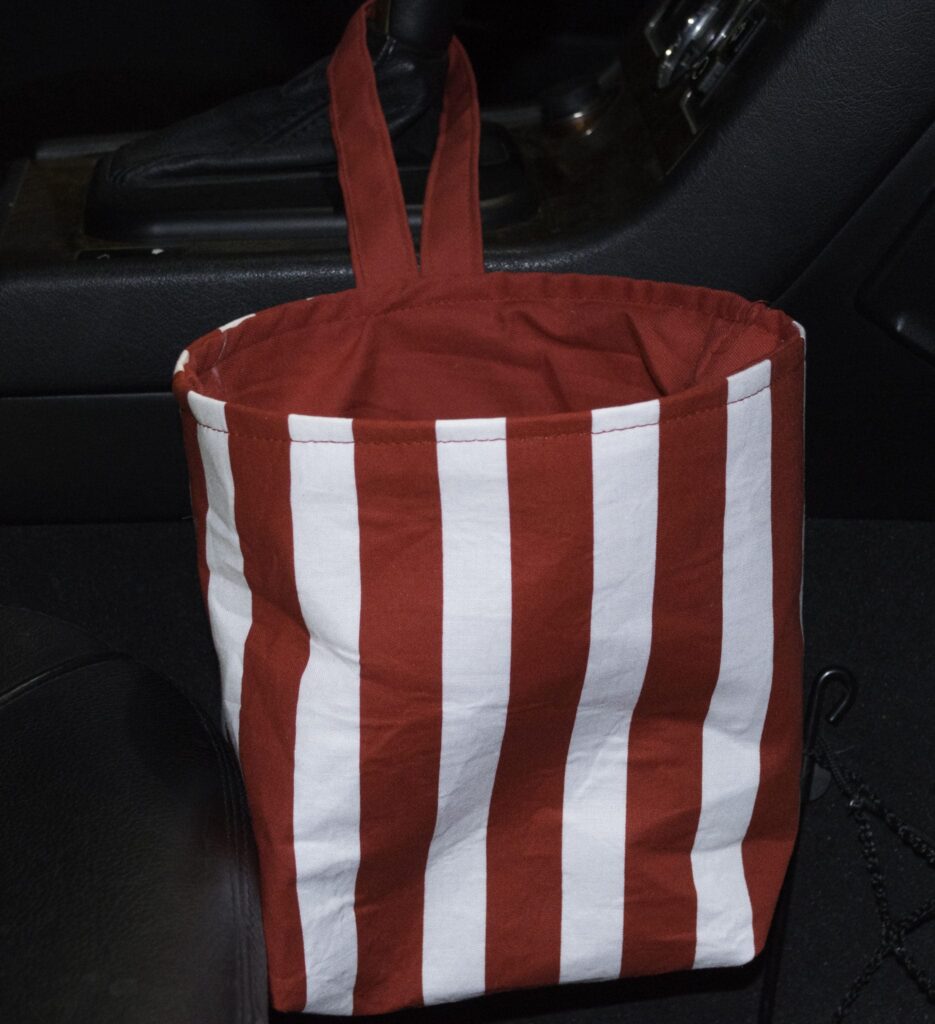
If you want more bag patterns and tutorials sign up for my newsletter and receive my free ebook that contains 15 handbag patterns and tutorials.
This is a step-by-step tutorial on how to sew a DIY car trash Bag. 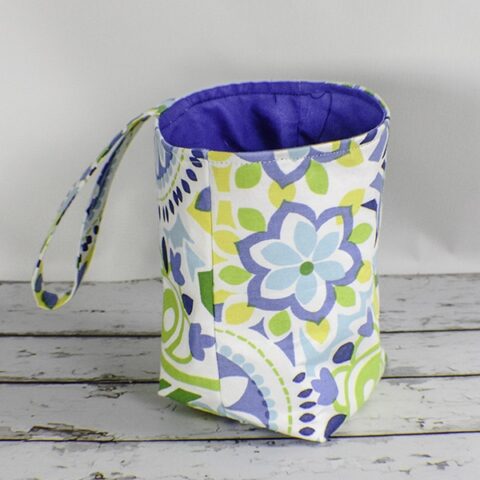
How to Make a DIY Car Trash Bag
Materials
Tools
Instructions



Really beautiful and practical! Thanks for the project idea!
Thank you. I use mine everyday.
really beautiful… thank you for sharing this project
Thank you so much.
Thank you. I was havaing trouble following instructions that I found in a quilting book. Your tutorial tolde exactly what I neede to do.C.
Your welcome. I am glad I could help.
Thank you so much for the measurement and instructions. I wized right through it. Such a fun little item to make. I’ll be making 15 for Christmas gifts this year.
You are welcome. I love mine. It is a fun little project. Thanks for giving it a try.
Finally a simple design that has easy instructions! Thank you!
You are very welcome.
Great help thank you I’ve made 4 as Christmas gifts I just love your instructions so easy to follow
Thank you. Glad you enjoyed the project.
Looks great! Can’t wait to start mine, one question, is the circumference of the opening pretty small? How big is the diameter of the opening?
The circumference is about 18″ and the diameter is about 6″. I hope this helps.
Great project! Mine came out perfect!
Great. Thank you for trying the project.
I used coordinating vinyl table cloths from thrift store (.99 each). Wipe out with disinfecting wipe. Wonderful gifts and love it for myself too. Thanks!
Great idea. Thanks for trying out the project.
Great idea!
Thank you
I used coordinating vinyl table cloths from thrift store (.99). Wipe bag clean with disinfecting wipe. Good gift and love it for myself too. Thanks!
This is a great little bag . One suggestion. After many years of making purses I have found the outside looks better if the craft pellon is ironed to the lining. Sometimes it will crease or pucker or if you have fabric you cannot iron such as plastic covered. I have made trash bags with pockets in the front for notepad, pen and sunglasses. Just a little more involved but handy!
Great suggestion. Thank you. The 808 can be problematic at times for sure.
Hi! I was wondering if you had any recommendations for a waterproof fabric for the lining?
I like Ripstop Nylon
Why not sew one outside fabric and one inside and interfacing in 20” by 10” and still can do the box corners. That’s how I make mine. Less-sewing and faster.
That is a good idea. Thank you for the suggestion.
Easy to follow instructions…I loved how my bag turned out! Thank you!!
Thank you for trying out the project. I just love mine.
This came out really nice. Thank you for the YouTube tutorial!!
You are so welcome. I am glad it came out well.
I used this as practice for boxed corners and really liked how easy this little bag came together. Thank you!
You are so welcome.
Carol, would like to try sewing your idea. Can you share tutorials. TU
Anyone can sew my projects.
How do you attach the loop to a headrest?
In order to attach it to a head rest you may have to make it larger or you can leave the loop open and attach velcro to it to hold it together once it is on the head rest.
I added a snap for hanging from the headrest
Perfect.