
How to Make a Halloween Treat Basket
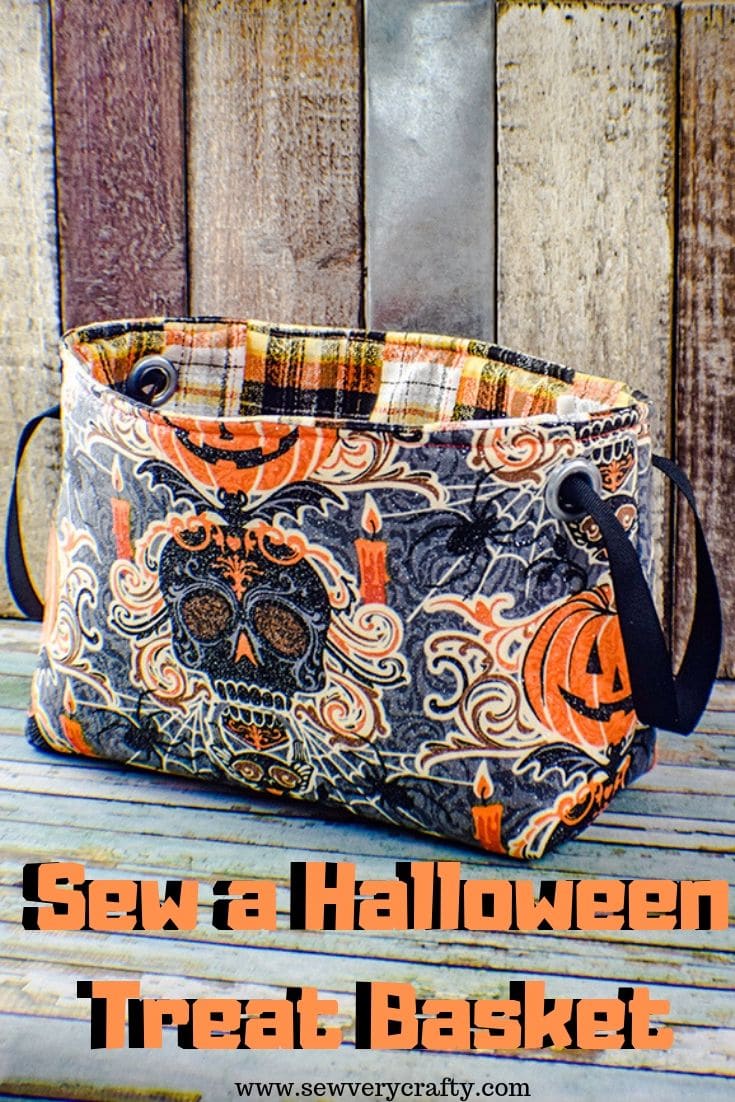
Every year I look for something to put my Halloween treats in to hand out to all of the little goblins that come to my door but never have anything suitable for the occasion. I end up using a generic bowl and fill it with candy to hand out on Halloween night. This year is going to be different. I decided a Halloween fabric treat basket was in my future. I found some awesome fabric over at Joann's that I used for this project and paired it with some fusible foam for structure to create this haunted Halloween holder.
Although I normally use remnants from my remnant stash I didn't have quite the right fit for this project so I headed to JOANN Fabric & Craft Stores![]() instead. Of course you could go to Hobby Lobby or Fabric.com to get the perfect Halloween fabric for your treat basket if you like. Since I made this project I came across a terrific line of Halloween fabrics that would be perfect for this project. It is not an affiliate link but I love the fabric and thought you might like it too. This line is from independent designer Crystal Whitlow and you can find it here.
instead. Of course you could go to Hobby Lobby or Fabric.com to get the perfect Halloween fabric for your treat basket if you like. Since I made this project I came across a terrific line of Halloween fabrics that would be perfect for this project. It is not an affiliate link but I love the fabric and thought you might like it too. This line is from independent designer Crystal Whitlow and you can find it here.
This post contains affiliate links that if you click on them and make a purchase I may receive a small commission at no extra cost to you. As an Amazon Associate I earn from qualifying purchases. Regardless this is a simple sewing project that anyone with basic sewing skills can accomplish. Lets get sewing.
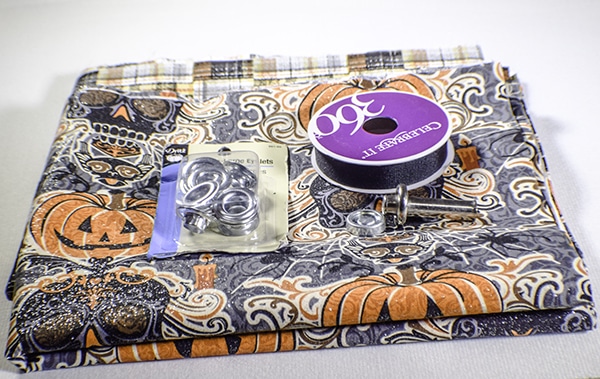
What you will Need: How to make a halloween treat basket
- 1/2 yd primary fabric and lining fabric
- 1/2 yard fusible foam stabilizer
- 26” length of 1″ wide grosgrain ribbon
- 4 Extra Large Grommets
- Grommet setter
- Hammer
Step 1: Cut your Fabrics
Cut two pieces of your outer fabrics, lining fabrics and fusible foam to measure 9″ x 14″.
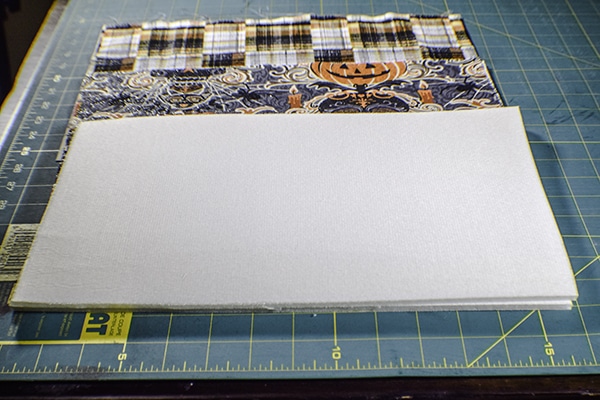
Step 2: Fuse the foam
Fuse the foam stabilizer to the two pieces of outer fabric following the manufacturers instructions. You should simply need to place the glue side to the wrong side of the fabric and press using a hot iron until the glue melts and the two fabrics are fused together and can be treated as one.
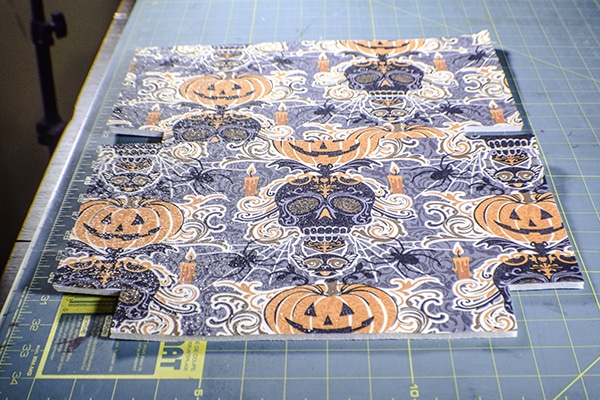
Step 3: Cut your corners
Measure a 2′ x 2″ square from the bottom corners of the main fabric and cut out the shape. You should have two pieces of fused fabric with the corners cut out of the bottom.
Step 4: Sew together
Place the two pieces right sides together and pin. Sew the side seams and the bottom using a 1/4″ seam allowance. Do not sew around the corners.
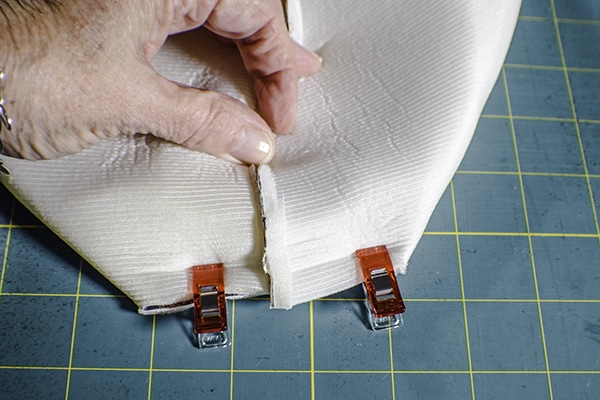
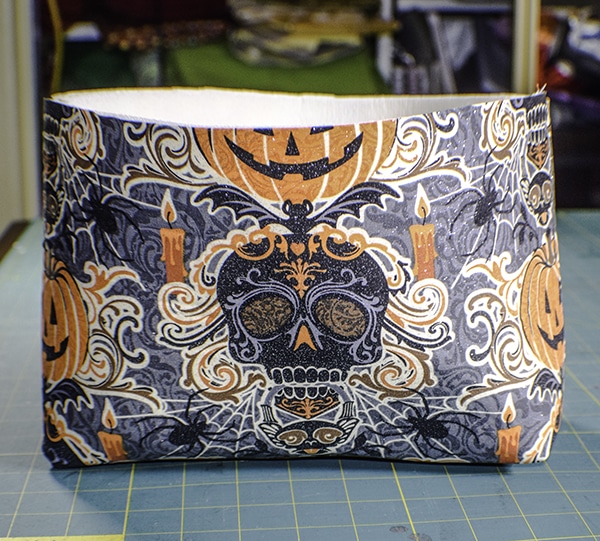
Step 5: Box the corners
Align the bottom seam and the side seam and lay flat. Sew together using a 1/4″ seam allowance. Repeat for all corners. Turn right sides out. You have now completed your outer treat basket. You will notice that I use clips to hold bag at this points. I highly recommend wonder clips. If you would like your own check out my Amazon shop and purchase some wonder clips for your sewing room.
Step 7: Create the lining
Create the lining in the same way that you created the outer basket but without using the foam stabilizer. You will also leave a 3″ opening in the bottom of the lining for turning. When you come to boxing the corners sew them using a 1/2″ seam allowance for a snug fit.
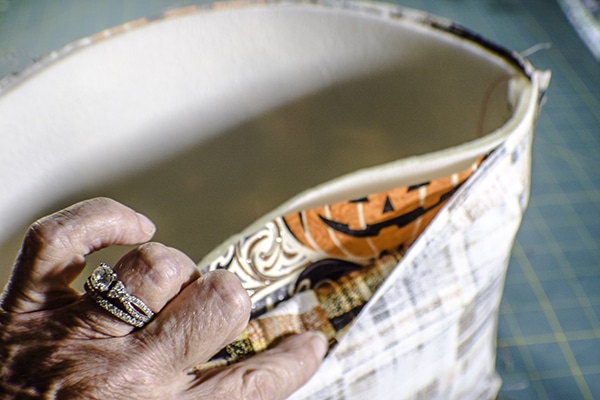
Step 8: add the lining
Place the outer bag into the lining bag so that the right sides are together. Using a 1/4″ seam allowance sew all the way around the top.
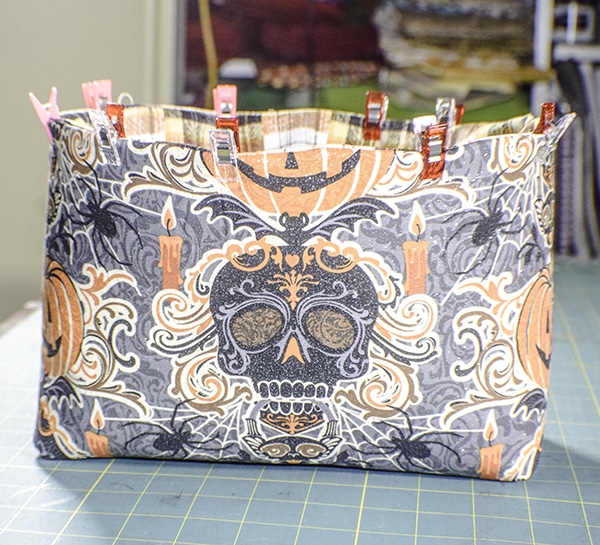
Step 9: Turn the Bag
Turn the bag right sides out through the opening that you left in the lining. Top stitch all the way around the top of the basket. You should have a completed basket at this point. Simply close the opening using your machine or ladder stitch. I chose to add handles to my basket.
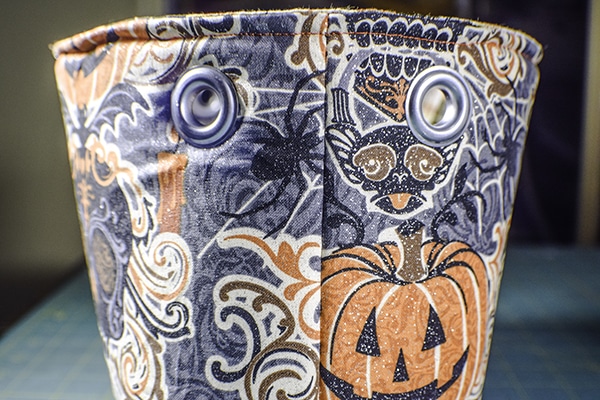
Step 10: Add the Grommets
Insert the grommets following the manufacturers instructions. Measure 1″ from the top and 1 1/2″ from the side seams on each side to insert the grommets. You will have 4 grommets all together. This is a terrific video on how to add the grommets to your project.

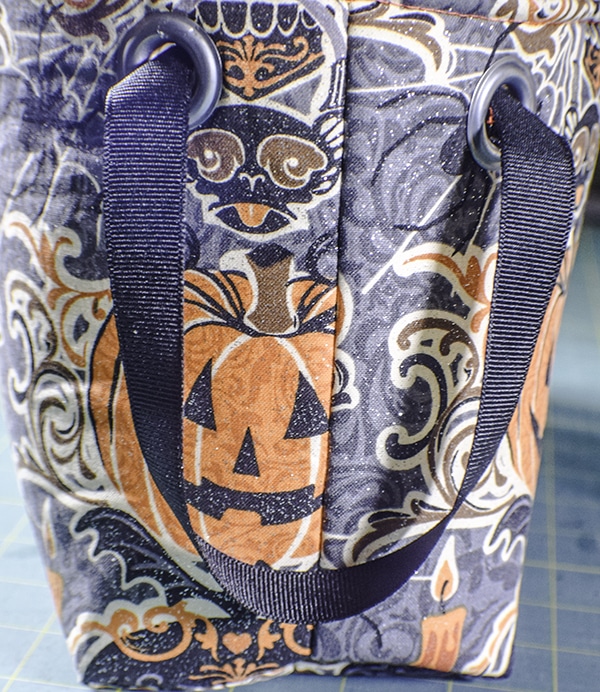
Step 10: insert the ribbon
Cut two 13″ pieces of ribbon. Apply Fray Check to the ends to prevent fraying. Insert the two ends into the grommets and cross over the ends. Sew the ends together by stitching a box around the crossed over ends. Repeat for the other side. You have now completed adding handles to your Halloween treat basket.


I hope you enjoyed this fun Halloween project. If you would like more sewing and crafting projects sign up for our newsletter and receive your free eBook of 15 handbag patterns and tutorials.
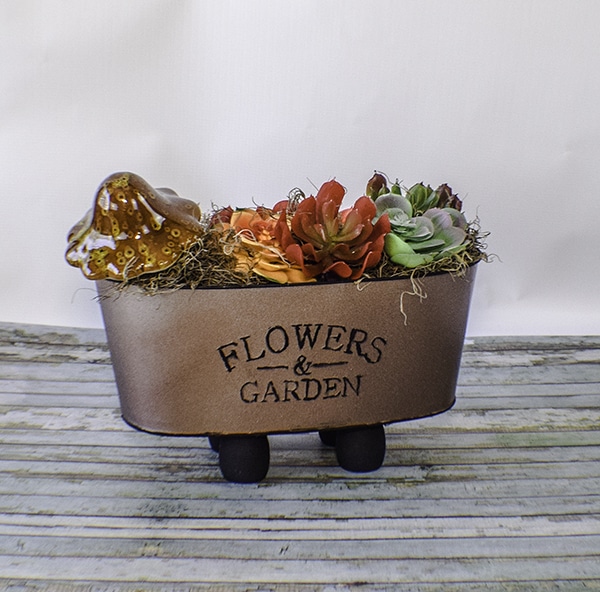
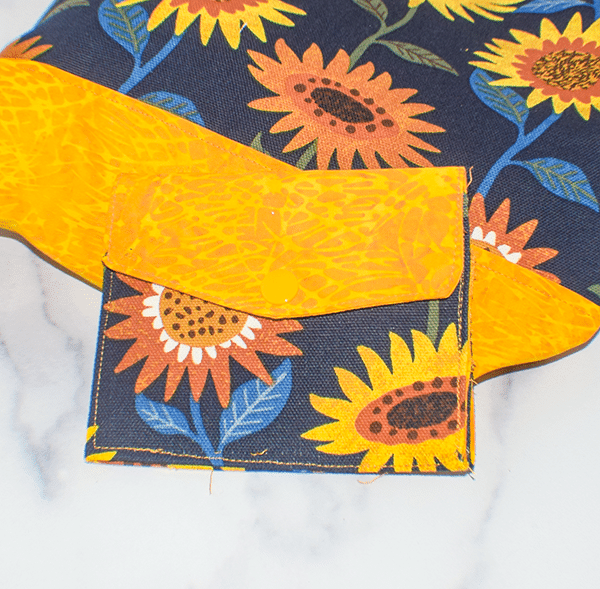
If you would like to see other Halloween projects check out my simple Pumpkin Treat bag, Halloween Garden Flag or my Google Eyed Mason Jar.


When cutting the 2×2 squares out of the bottom corners, are the bottom corners along the long edge or the short edge? Thank you!
The cuts are 2″ x 2″ squares cut from each corner of the bag. So, if you have a square sized 2″ on all sides place it in the corner and cut around it to create a corner cut out. You will reallu only cut two sides as the other two sides will be the edges of the bag.