How to Make a Pumpkin Treat Bag

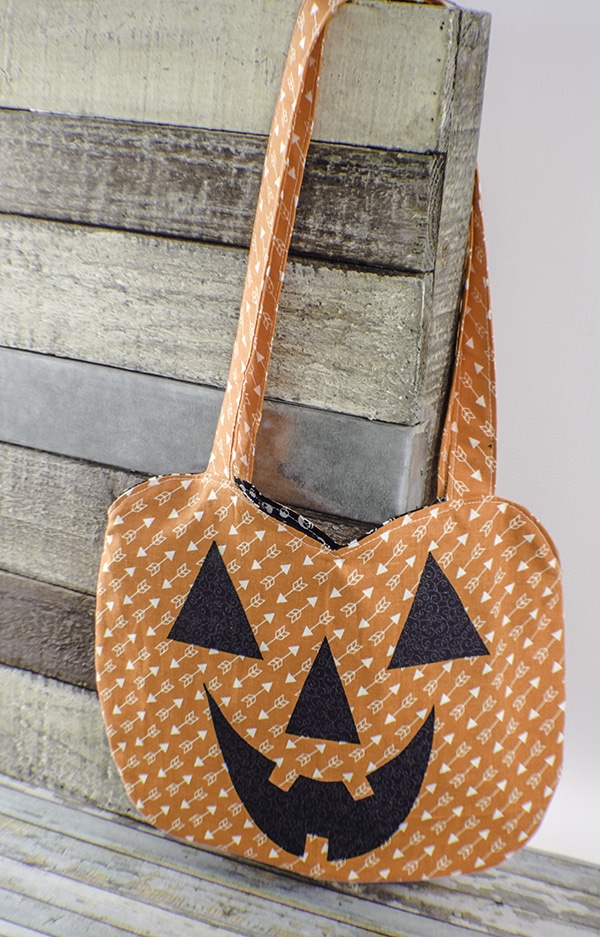
Well it is that time of year and Halloween is just around the corner. That means trick or treat time and the need for a fun little trick or treat bag. Nothing says Halloween like a jack-o-lantern so here is a simple tutorial on how to make a pumpkin treat bag for your little goblin this year. This is a simple sewing project with a little bit of applique to make the face. Anyone with basic sewing skills can make this terrific little pumpkin treat bag in just a few minutes using the included free pattern. The free pattern was obtained from sewing.org but modified to suit this purpose and tutorial.
I used, as usual, remnants that I purchased at JOANN Fabric & Craft Storeswith Halloween colors and themes but you could go to Hobby Lobby or Fabric.com to get exactly the Halloween fabric for your pumpkin treat bag. This post contains affiliate links that if you click on them and make a purchase I may receive a small commission at no extra cost to you.
If you would like a video tutorial of this project head over to YouTube and check out my video. While you are there subscribe to my free YouTube channel.
What you will Need: How to make a Pumpkin Treat Bag
- Free Pattern Here
- 1/4 yd Orange fabric
- 1/4 yd Lining fabric
- 4″ x 24″ of either fabric for handles x 2
- 8″ x 10″ piece of black fabric for face
- 8″ x 10″ piece of Pellon 805 Wonder Under Fusible Web
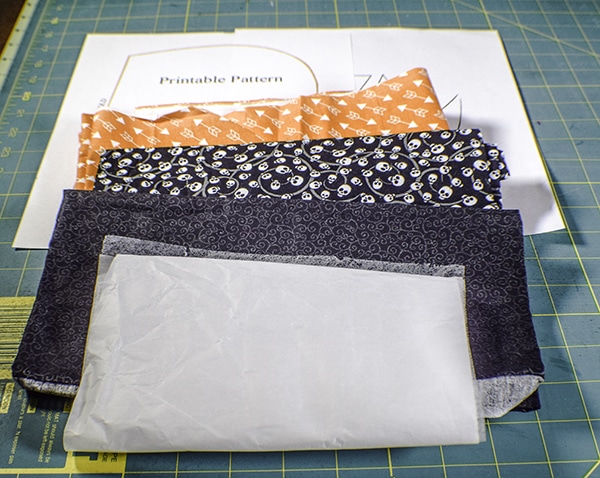
Step 1: Cut Your Fabrics
Place the pumpkin pattern on the fold and cut. Cut a second piece on the fold so that you have two pumpkin shapes. Repeat for the lining. Cut the fabric of your choice for the handles. You should cut two pieces that measure 4″ x 24″. In order to cut the pieces for the face you must first add the fusible web to the wrong side of the black fabric. If you have never used fusible web it is a simple process. The web is paper backed. Place the non-paper side to the wrong side of your fabric and press with a hot iron so that it fuses with the fabric. Leave the paper on. Place your pattern pieces onto the right side of the fabric and cut them out.
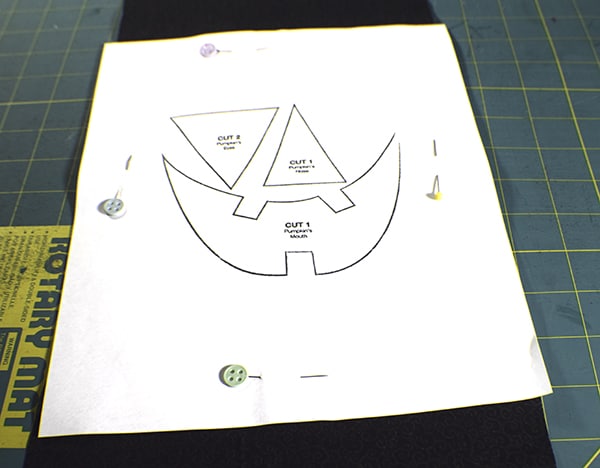
Step 2: Place the Face onto the Pumpkin
Remove the paper backing from the black pattern pieces and place the pieces onto one of the pumpkin front so they make a jack-o-lantern face and press with a hot iron. The pieces will fuse together. You have the option here to stitch down the face using a zig zag stitch but since this is a child's bag I chose not too.
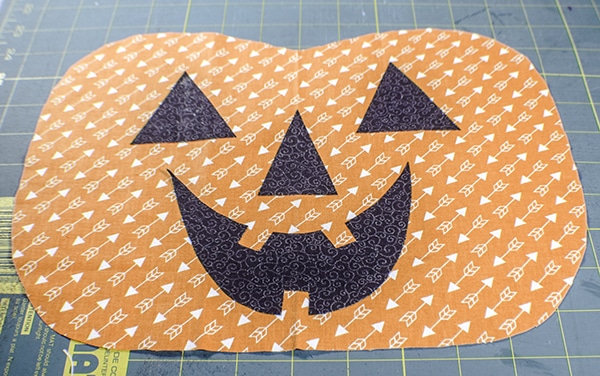
Step 3: Create the Handles
Fold the handle pieces in half lengthwise and press. Open up the fabric and fold the edges into the center and press. Fold again so that the raw edges are enclosed. Top stitch down both sides of the handle. Repeat for the second handle.
Step 4: Sew the bag together
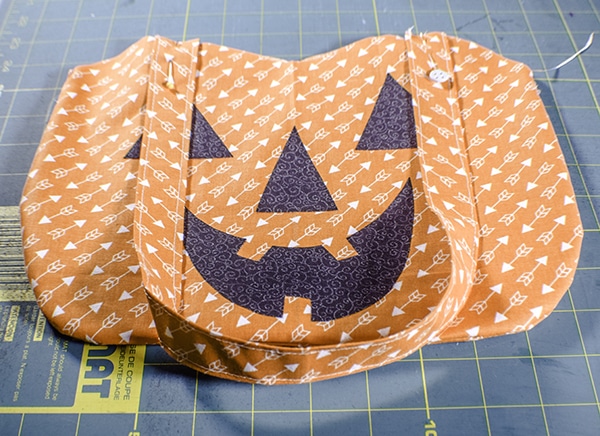
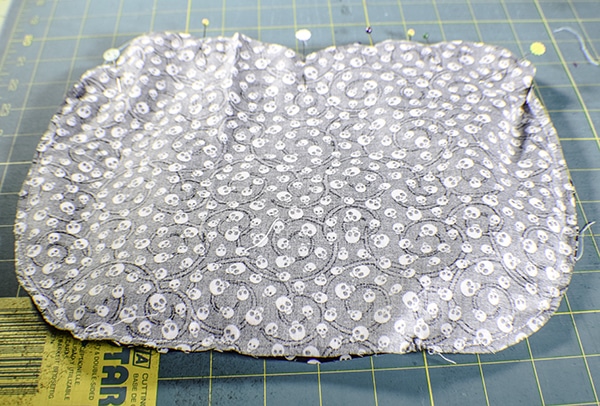
Place the pumpkin pieces right sides together. Sew the sides using a 1/4″ seam allowance until you reach the curve of the top but leave the top open. Repeat for the lining but leave a 4″ opening at the bottom of the lining for turning. Turn the outer pumpkin right sides out.
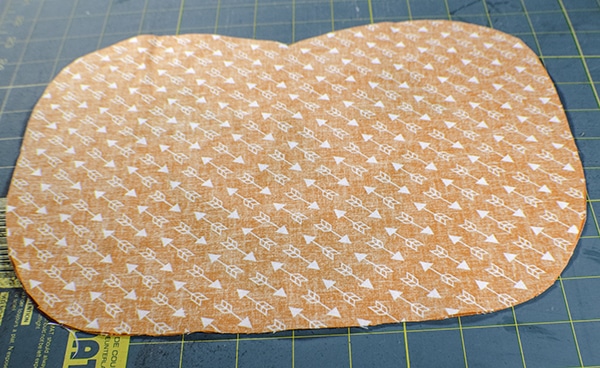
Step 5: Add the Handles
Place the handles onto the bag and pin. The handles should be about 5″ apart from inside edge to inside edge. Baste the handles in place. Insert the outer bag into the lining so that they are right sides together and the handles are tucked in between the layers. Sew around the top of the bag making sure that you reverse over the handles to make them secure.
Step 6: Finish the Bag
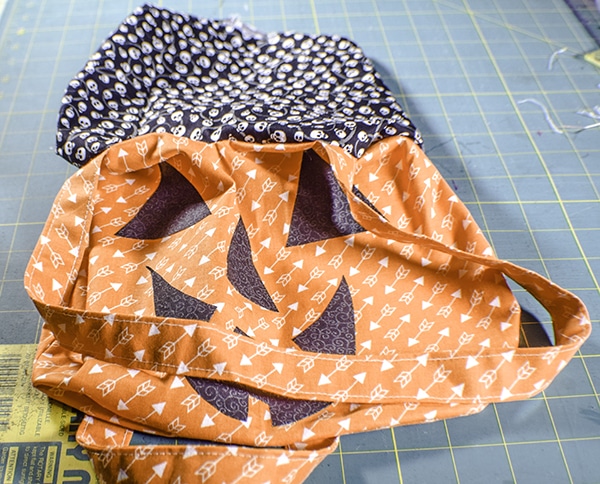
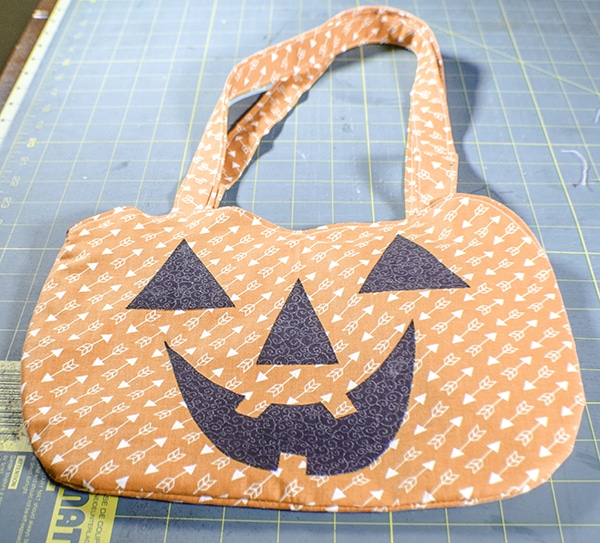
Turn the bag right sides out through the opening you left in the lining. Stuff the lining into the outer bag and press. Top stitch around the top of the bag. Close the opening in the lining using your machine or ladder stitch and your pumpkin treat bag is complete for your little goblin to on Halloween night.

I hope you enjoyed this simple sewing project. If you would like more sewing and crafting projects sign up for our newsletter and receive your free eBook of 15 handbag patterns and tutorials.




I made 5 of these for Halloween, each one a little different. They turned out so cute and they were so fun to make. Made my 2 girls’ first trick-or-treating experience extra special (well for me haha). Great pattern!!! I wish I could post a pic of how they turned out!
That is awesome. I would love to see pictures. If you would like to post some you can head over to my Facebook page at https://Facebook.com/sewverycrafty1 and post your photos there. I can’t wait to see them.
Hi! I did a practice run yesterday, and while totally adorable, I need to tweak something. Is there a better guideline on how far to sew up on the sides? Mine looked a little ragged up there …
Not really, I just stitched mine to the curve of the top on each side and it came out fine. I just made sure that all of the sides were the same. I am sure I probable measured them at the time but the number escapes me know. I gave mine away so I can’t measure it for you. I am sorry that I cannot be of more help to you.
Cute! Thank you for sharing.
You’re welcome.