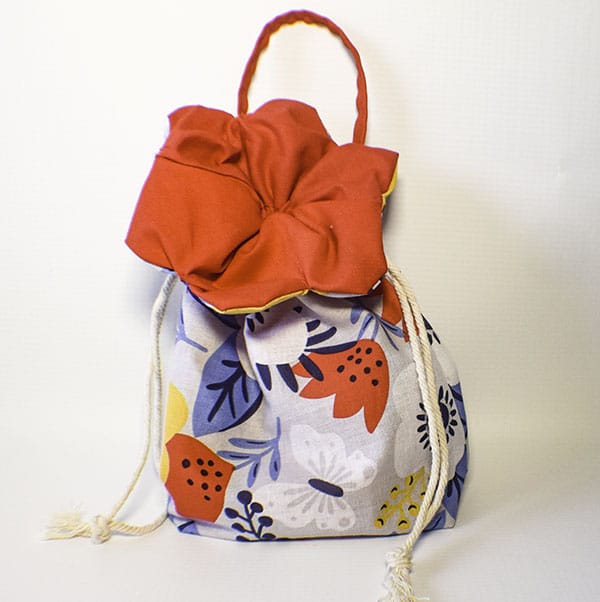
I love to make reusable fabric gift bags. They are part of the gift that just keeps on giving. This flower gift bag is particularly fun to make and to give. It is really just a simple drawstring bag with a scalloped edge but it gives that flower look to make it extra special. Use contrasting fabrics to really give this bag a bold look. This is a beginner sewing project that anyone with basic sewing skills can make. If you are a beginner you can really expand your skills with this project by learning to sew curves and corners. If you aren't comfortable sewing curves check out my post on how to do it.
I used basic quiutlign cotton for the outer bag of this project and Kona cotton for the lining. I purchased both at JOANN Fabric & Craft Stores but you could head to Hobby Lobby, Fabric.com or onlinefabricstore.net to get exactly what you want for your flower gift bag. Cotton is really the best fabric for this project. This post contains affiliate links that if you click on them and make a purchase I may receive a small commission at no extra cost to you. As an Amazon Associate I earn from qualifying purchases.
What you will Need: How to Make a Flower Gift Bag
- Pattern Piece you can get by clicking on this link
- Outer fabric 2 pieces that measure 7½″ × 11″
- Lining fabric 2 pieces that measure 7½″ × 11″
- Lining Fabric 1 piece that measures 1½″ × 6″ for the handle
- 2 pieces of cording that measure 22″ each
Step 1: Cut out the Fabrics
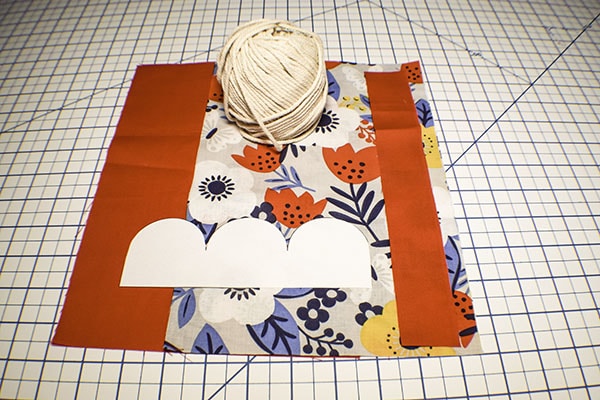
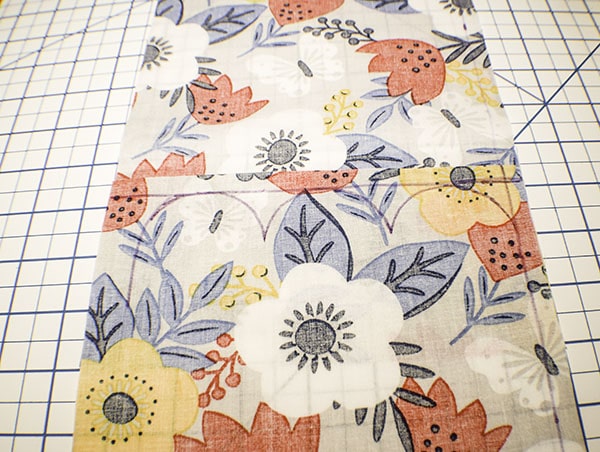
Print out the pattern. Make sure it prints out at 100%. Cut out the fabrics pursuant to the dimensions above. On the wrong side of the outer and lining fabrics mark a 3/8″ seam allowance. Place the pattern piece on top of each fabric piece leaving a 1/2″ seam allowance along the top and the sides as shown. Trace the shapes and cut out. Cut out 1 1/8″ squares from the bottom of each piece.
Step 2: Create the Handle
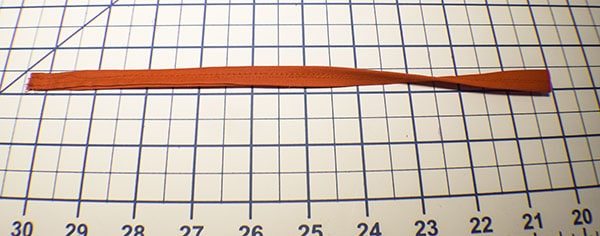
Take the handle piece and fold the long edges into the center and press. Fold in half enclosing the raw edges and press again. Topstitch along both long edges.
Step 3: Attach the Handle
Take one of the outer bag pieces and measure down 3 3/4″. Find the center of the fabric piece by folding it in half lengthwise and make a mark. Place the handle pieces on either side of the mark and stitch. Fold the handle up to enclose the raw edges and stitch again.
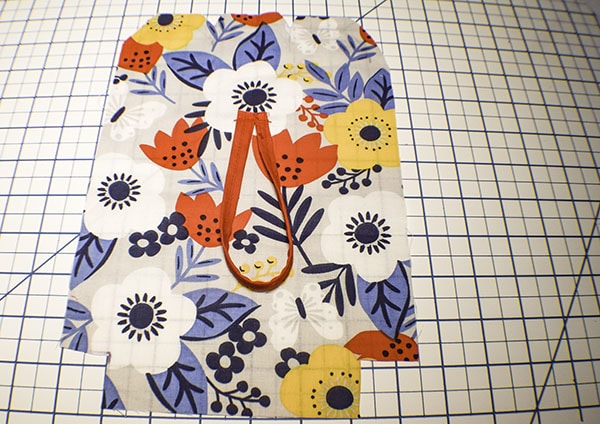
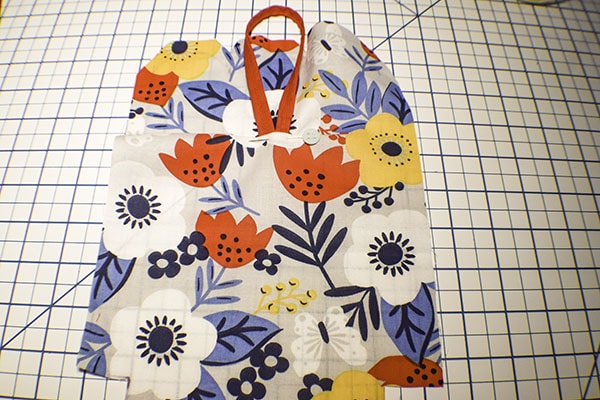
Step 4: Stitch the Outer Bag
Place the pattern piece back onto the outer bag pieces leaving the 1/2″ seam allowance and make a mark at the bottom of the pattern piece on both sides of each piece. Measure down 5/8″ from those marks and make another mark. Ultimately, this will serve as the casing for the cording. Place the outer pieces right sides together. Stitch from the top to the first mark and from the second mark to the bottom on both sides. Then stitch the bottom.
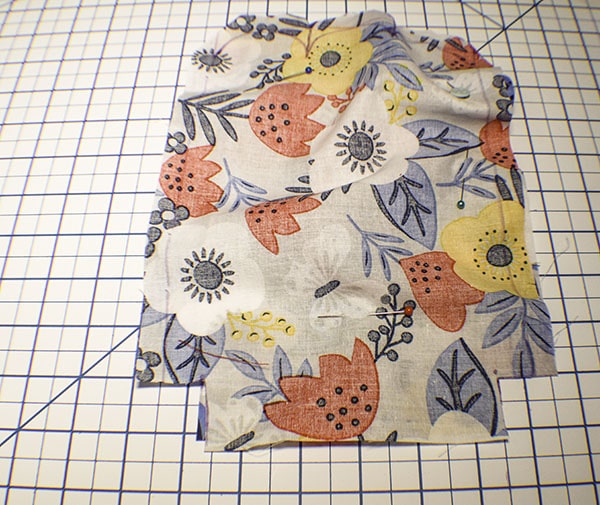
Step 5: Box the Corners
Box the corners by pinching the bottom seam to the side seam and closing up the hole in each corner. This will create a line. Stitch along the line using a 1/2″ seam allowance. Repeat for the other side. Turn the outer bag right sides out.
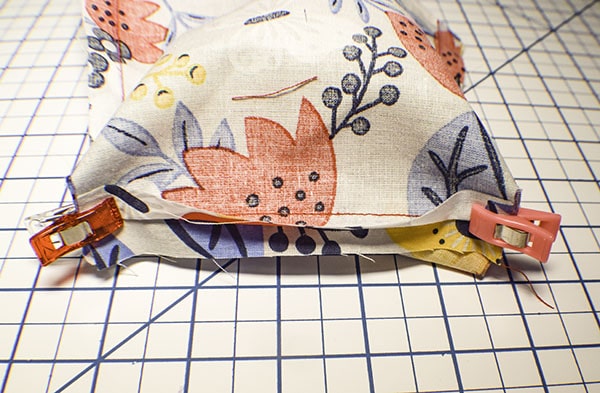
Step 6: Stitch the Lining
Place the lining pieces right sides together. Stitch along the sides and bottom leaving an opening on one side for turning. Box the corners in the same way that you did for the outer bag.
Step 7: Stitch the Outer Bag to the Lining
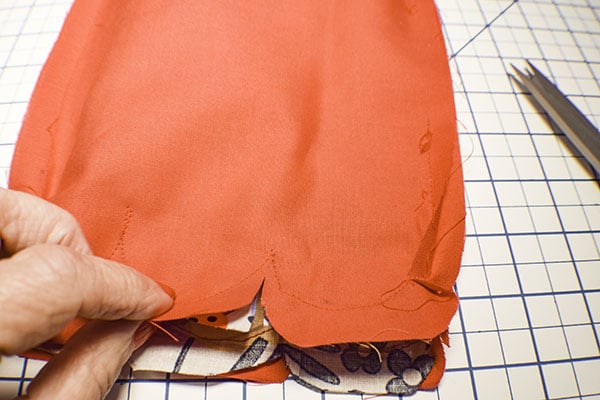
Place the outer bag inside the lining bag so that they are right sides together. Match the scallops and side seams. Stitch around the scallops using a 1/2″ seam allowance. Take this part slowly so that your curves are nice and round. Clip in between each curve without clipping the stitching. Clip the curves without clipping the stitching. Turn the bag right sides out through the lining. Push out the scallops using a poking tool like That Purple Thang if necessary. Press. Topstitch around the scallops taking your time. Stitch the opening closed using ladder stitch or your machine.
Step 8: Add the Cording
Measure down 2 1/4″ and draw a line all the way around the bag using a disappearing pen. Draw another line 5/8″ down from that line. Stitch along both lines. This will create the casing. Using a bodkin or safety pin insert the cording into the casing so that it goes all the way around. Insert the second piece of cording through the other side in the same way. Tie the ends together. Insert your gift and you have finished your flower gift bag.

I hope you enjoyed this Flower Gift Bag. If you would like more sewing and crafting projects sign up for our newsletter and receive your free eBook of 15 handbag patterns and tutorials taken from the blog.
If you would like video tutorials of some of Sew Very Crafty's most popular posts subscribe to our free YouTube channel here.


