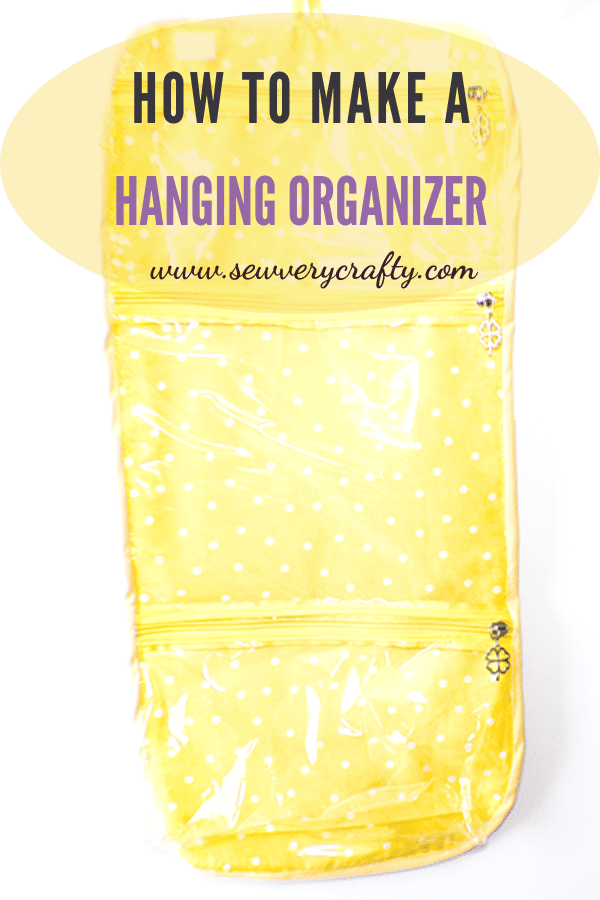
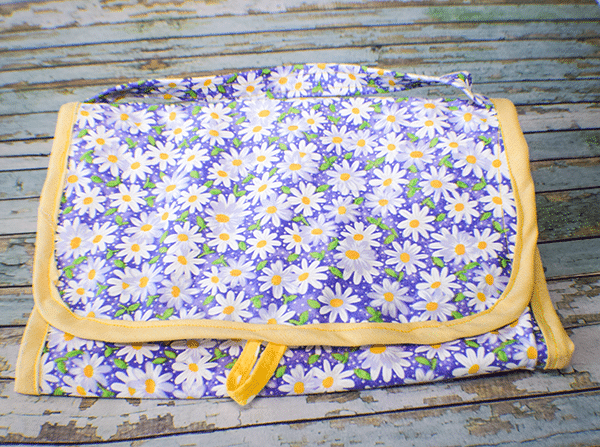
I have been looking for a pattern for how to sew a hanging organizer and came across this one on YouTube. I wanted to share it with you. There are quite a few steps and a few zippers but it is really pretty simple to put together. I just love how this turned out. Of course I will use too.
I used cotton fabrics and clear 4 gauge vinyl for my project that I purchased at JOANN Fabric & Craft Stores![]() and the zippers I got on Amazon. But you could head to
and the zippers I got on Amazon. But you could head to
What you will Need: How to Sew a Hanging Organizer
- Pattern you can get by clicking on this link
- 1 yd outer fabric and lining fabric
- 1 yd 8 gauge clear vinyl
- 3 11″ #5 continuous zippers
- 1 package 1/2″ premade bias tape
- 72″ 1 5/8″ bias binding
- Sew in 1″ Velcro
- Double sided sewing tape
- Teflon sewing foot
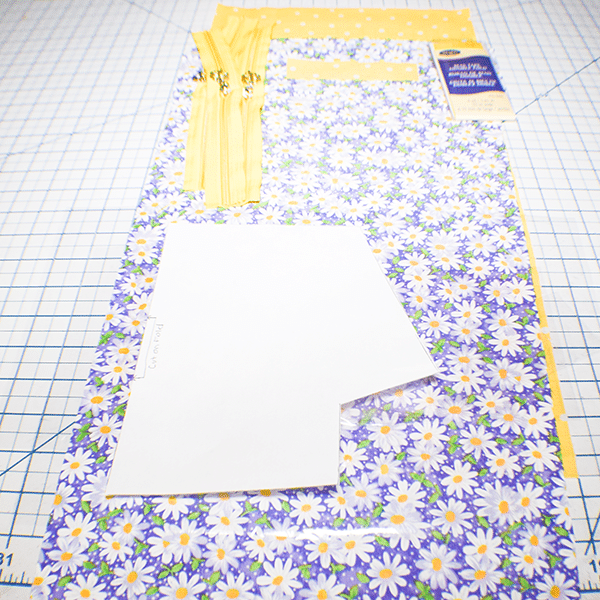
Step 1: Cut your Fabrics
Outer Fabric
- 1 piece that measures 10 3/4″ x 23 1/4″
- 1 Piece that measures 3 1/4″ x 11 7/8″
Lining Fabric
- 1 piece that measures 10 3/4″ x 23 1/4″
- 1 piece that measures 1 1/4″ x 4 3/4″
Clear Vinyl Fabric
- 10 3/4″ x 2″ — 1
- 10 3/4″ x 4 3/4″ — 1
- 14 5/8″ x 8 1/4″ — 1
- 10 3/4″ x 9 1/4″ — 1
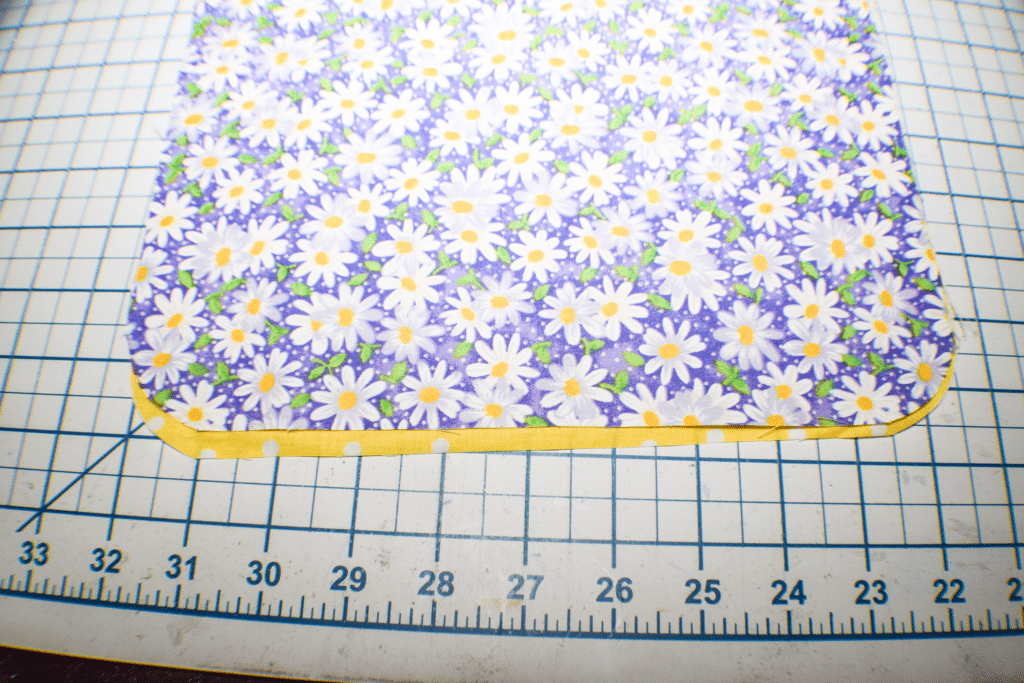
Step 2: Round the Corners
Take the main outer and lining pieces and round the corners. You can do this by using the lid of a jar or a round ruler.
Step 3: Cut the Bottom Vinyl Piece
Download and cut out the pattern piece. Take the 14 5/8″ x 8 1/4″ piece of vinyl and fold it in half widthwise. Place the pattern piece on the fold and cut out the pattern.
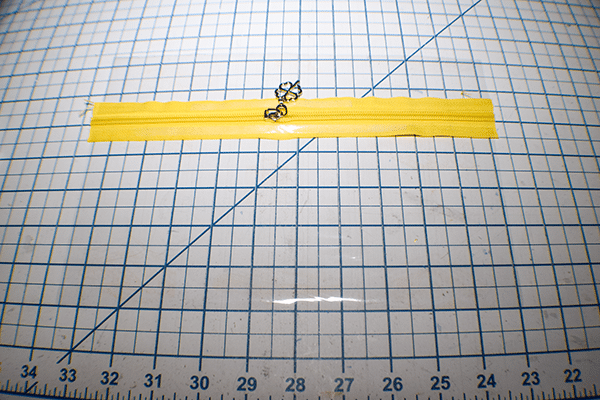
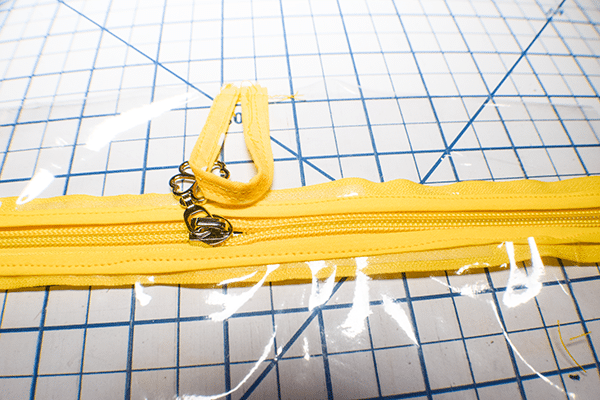
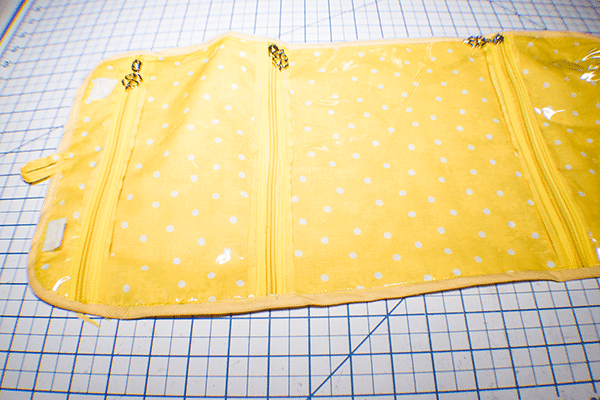
Step 4: Stitch the First Zipper
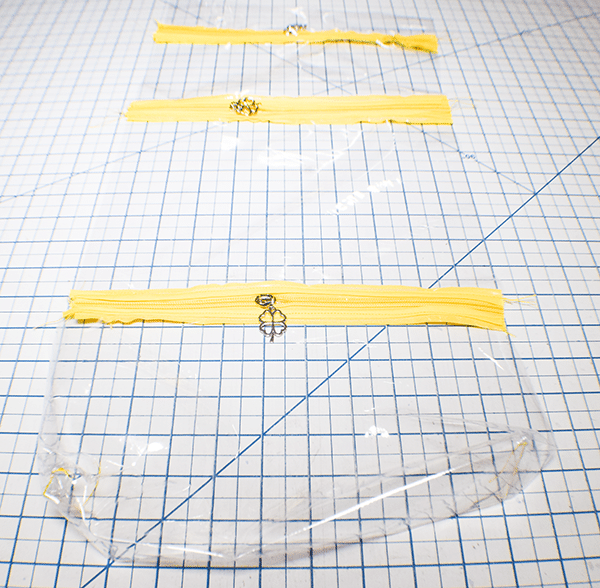
Take the 10 3/4″ x 2″ and the 10 3/4″ x 4 3/4″ pieces of vinyl. Place double sided sewing tape on the top and bottom of the right sides of one of the zippers. Then, place the 2″ piece on the top of the zipper and the 4 3/4″ piece on the bottom of the zipper. Stitch the vinyl to the zipper on both the top and the bottom using a teflon foot. Place two pieces of packaged bias binding that measures 10 3/4″ long along the zipper teeth. Stitch on the top and the bottom of each piece of binding.
Step 5: Stitch the Second Zipper
Place the second zipper onto the bottom of the first piece of vinyl in the same way that you did for the first zipper. Then, place the 10 3/4″ x 8 1/4″ piece of vinyl on the bottom of the zipper. Stitch the zipper and place the binding in the same way that you did previously.
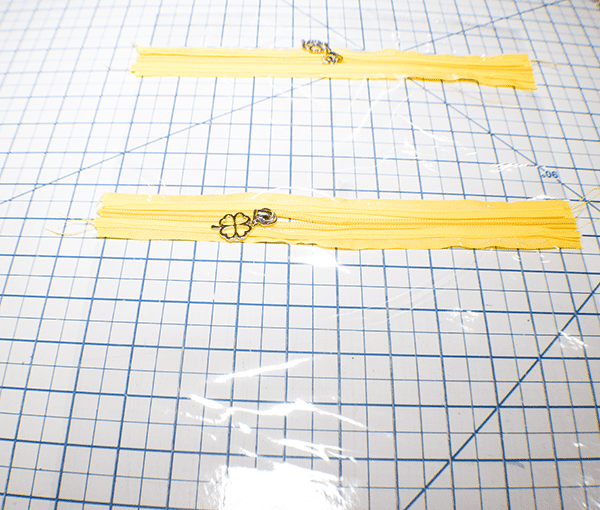
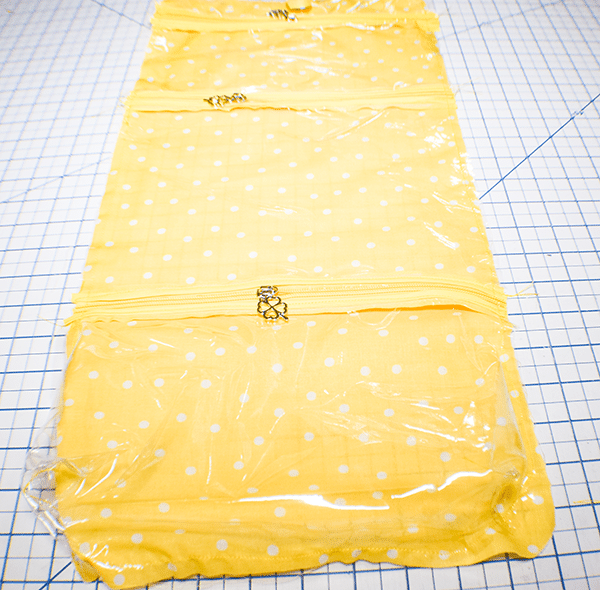
Step 6: Stitch the Third Zipper
Stitch the third zipper to the bottom of the second piece of vinyl in the same way as before.
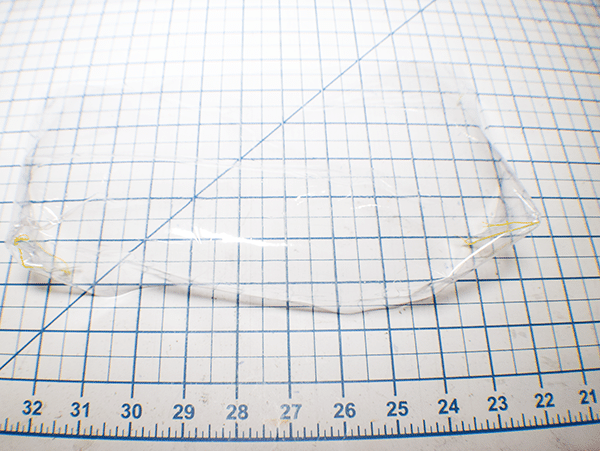
Step 7: Box the Bottom
Pinch the bottom corners together and clip. Stitch along the line you created. Do this for both sides. Turn the boxed corners to the wrong side.
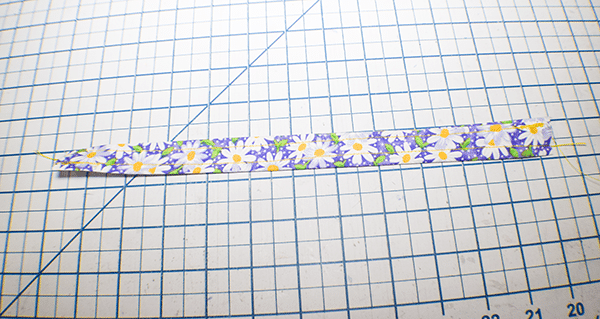
Step 8: Create the Handle and the Hanger
Take the 3 1/4″ x 11 7/8″ piece of outer fabric and fold the long raw edges to the center and press. Fold in half and press again. Stitch along both sides. Do the same with the 1 1/4″ x 4 3/4″ lining piece.
Step 9: Add the Handle
Measure down from the top of the outer fabric 6 1/2″ and place one end of the handle on one side and the other on the other side. Clip. Measure over 2 3/8″ from the raw edge on each side and make a mark. Stitch a box from the mark to the edge to secure the handle.
Step 10: Add the Hanger
Fold the hanger in half and place it on the top center of the vinyl piece with the loop facing down. Stitch along the hanger using a 1/4″ seam allowance.

Step 11: Add the Velcro
Cut two 5/8″ pieces of Velcro. Measure down the long side of the vinyl piece 5/8″ and along the short edge 2″ and place one side of the Velcro and stitch. Do this for both sides. Measure down on the right side of the outer fabric 4 3/4″ from the bottom and 2″ from the side and stitch the other side of the Velcro. Do this for both sides.
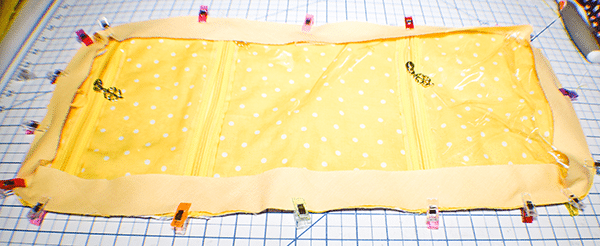
Step 12: Add the Vinyl Piece to the Lining
Place the vinyl piece so that the wrong side is on the right side of the lining. Snip the curves of the boxed corners. Clip. Stitch all the way around using a 1/4″ seam allowance. Stitch along the top of the second zipper and the top of the the third zipper to divide the pockets.
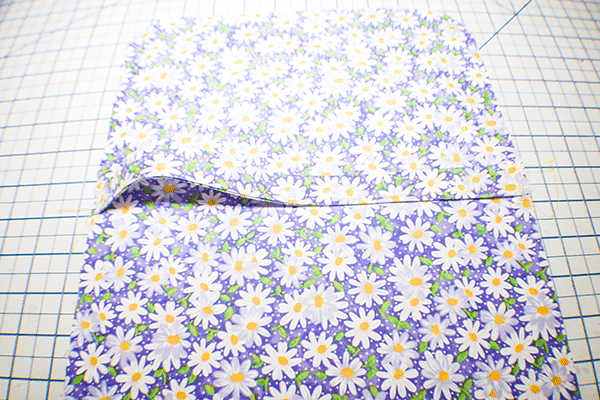
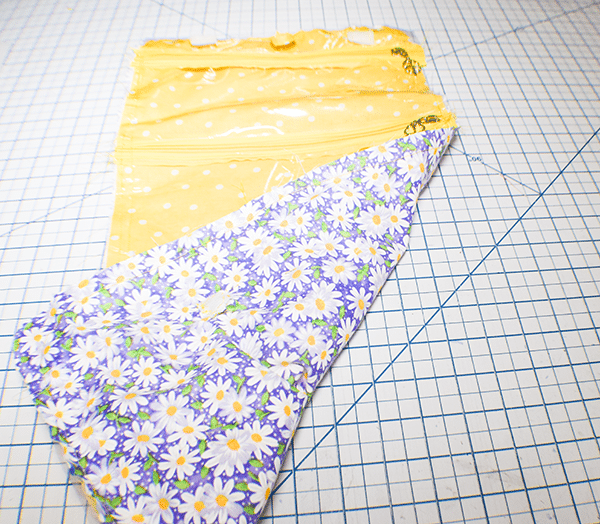
Step 13: Add the Outer Fabric
Place the outer fabric wrong sides together with the lining fabric. Stitch all the way around using a 1/4″ seam allowance.
Step 14: Add the Bias Binding
You can create your own bias binding for this project. To do this follow my tutorial on making bias binding. You will be making 1 5/8″ wide binding. Place the Binding right sides together on the vinyl side of the piece and stitch it on using a 3/8′ seam allowance overlapping the ends. Double fold the binding to the other side of the piece and clip. Stitch all the way around the piece either by hand or by machine to secure the binding. You have now finished your hanging organizer.
I hope you enjoyed this hanging organizer project. If you would like more sewing and crafting projects subscribe to our newsletter and receive your free eBook of 15 handbag patterns and tutorials.
If you would like video tutorials of some of Sew Very Crafty's most popular posts subscribe to our free YouTube channel here.